# Set Up Privacy Center Login (/docs/privacy-center/configuration-and-publishing/set-up-privacy-center-login)
After you finish this guide, data subjects can sign in to your Privacy Center with email verification, a JSON Web Token (JWT) from your own login, or OAuth 2. To choose a method, read [End-User Identity Verification](./identity-verification-concept.mdx).
## Step 1: Configure the method [#step-1-configure-the-method]
Configure JWT and OAuth settings on the [**Privacy Center > Authentication Methods**](https://app.transcend.io/privacy-center/authentication-methods) page in the Admin Dashboard.
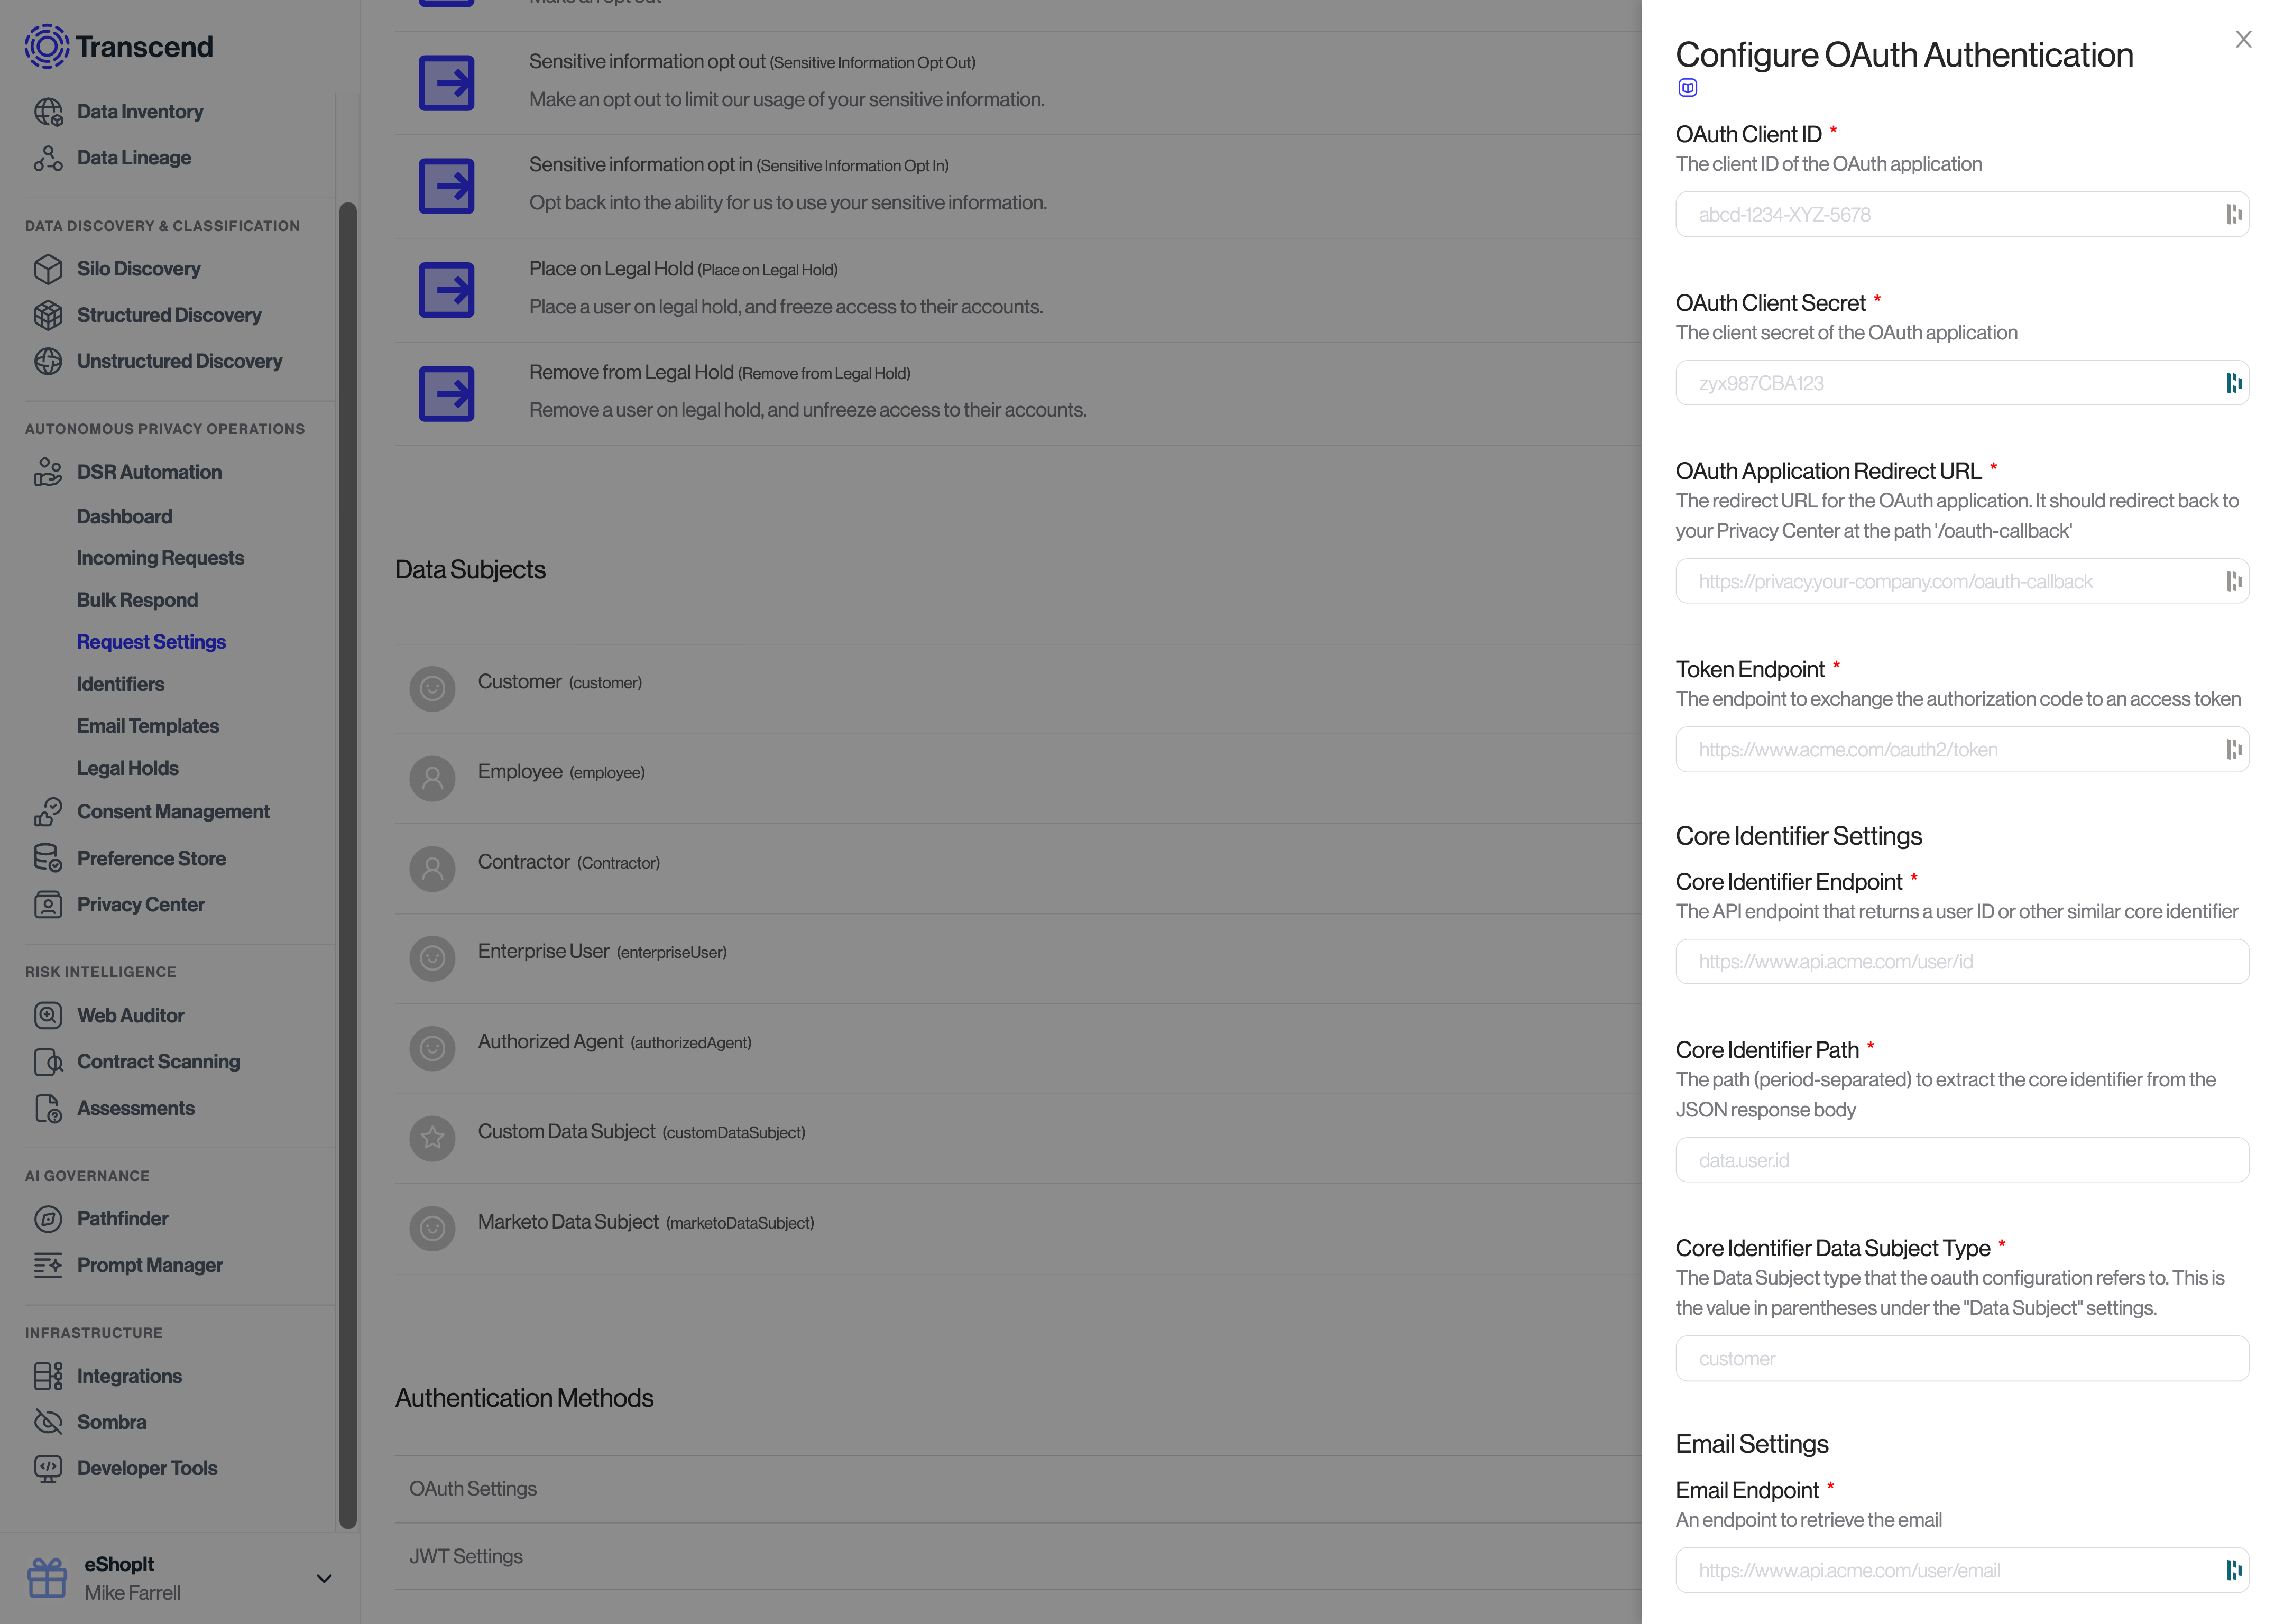
### Email verification [#email-verification]
Email verification comes pre-configured. To customize the email sent in this verification flow, modify the [Email Template](https://app.transcend.io/privacy-requests/email-templates) with the title **Privacy Center Email Login**.
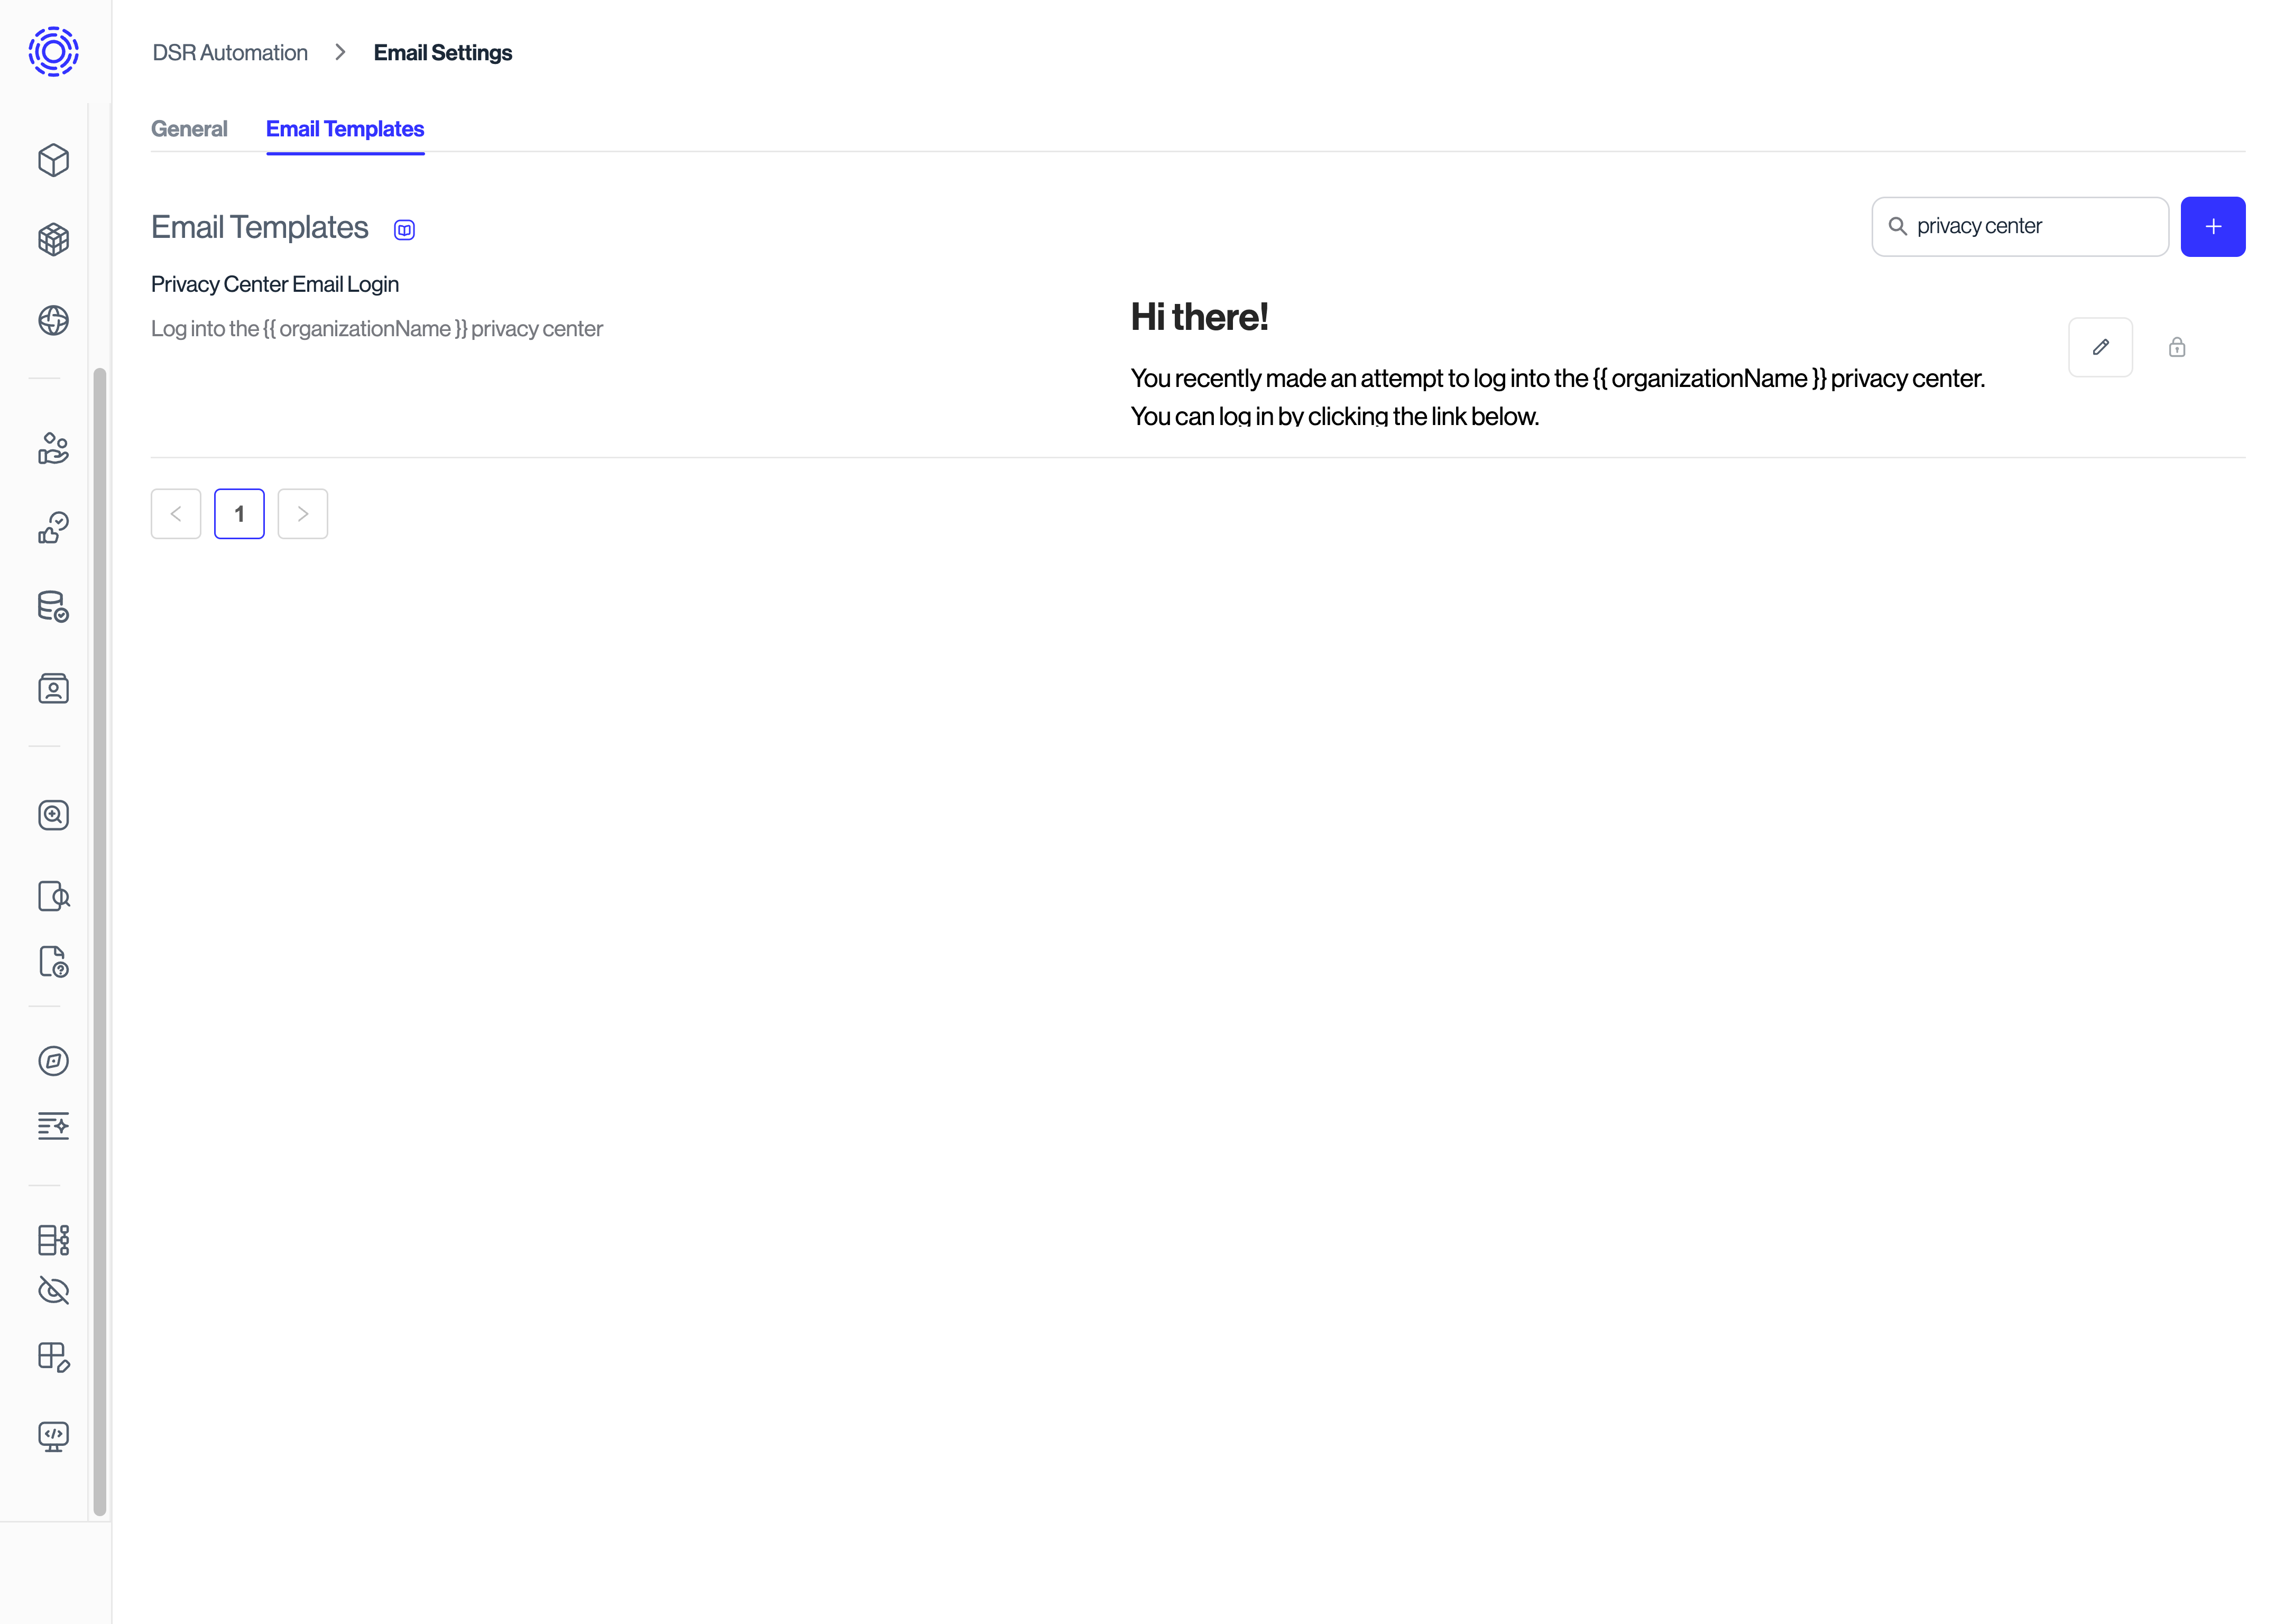
### JWT account login [#jwt-account-login]
1. Host an endpoint on your authentication service that checks a user's session and redirects back to your Privacy Center. See [how to write the endpoint on your backend](../../dsr-automation/api-integration/identity-verification.mdx).
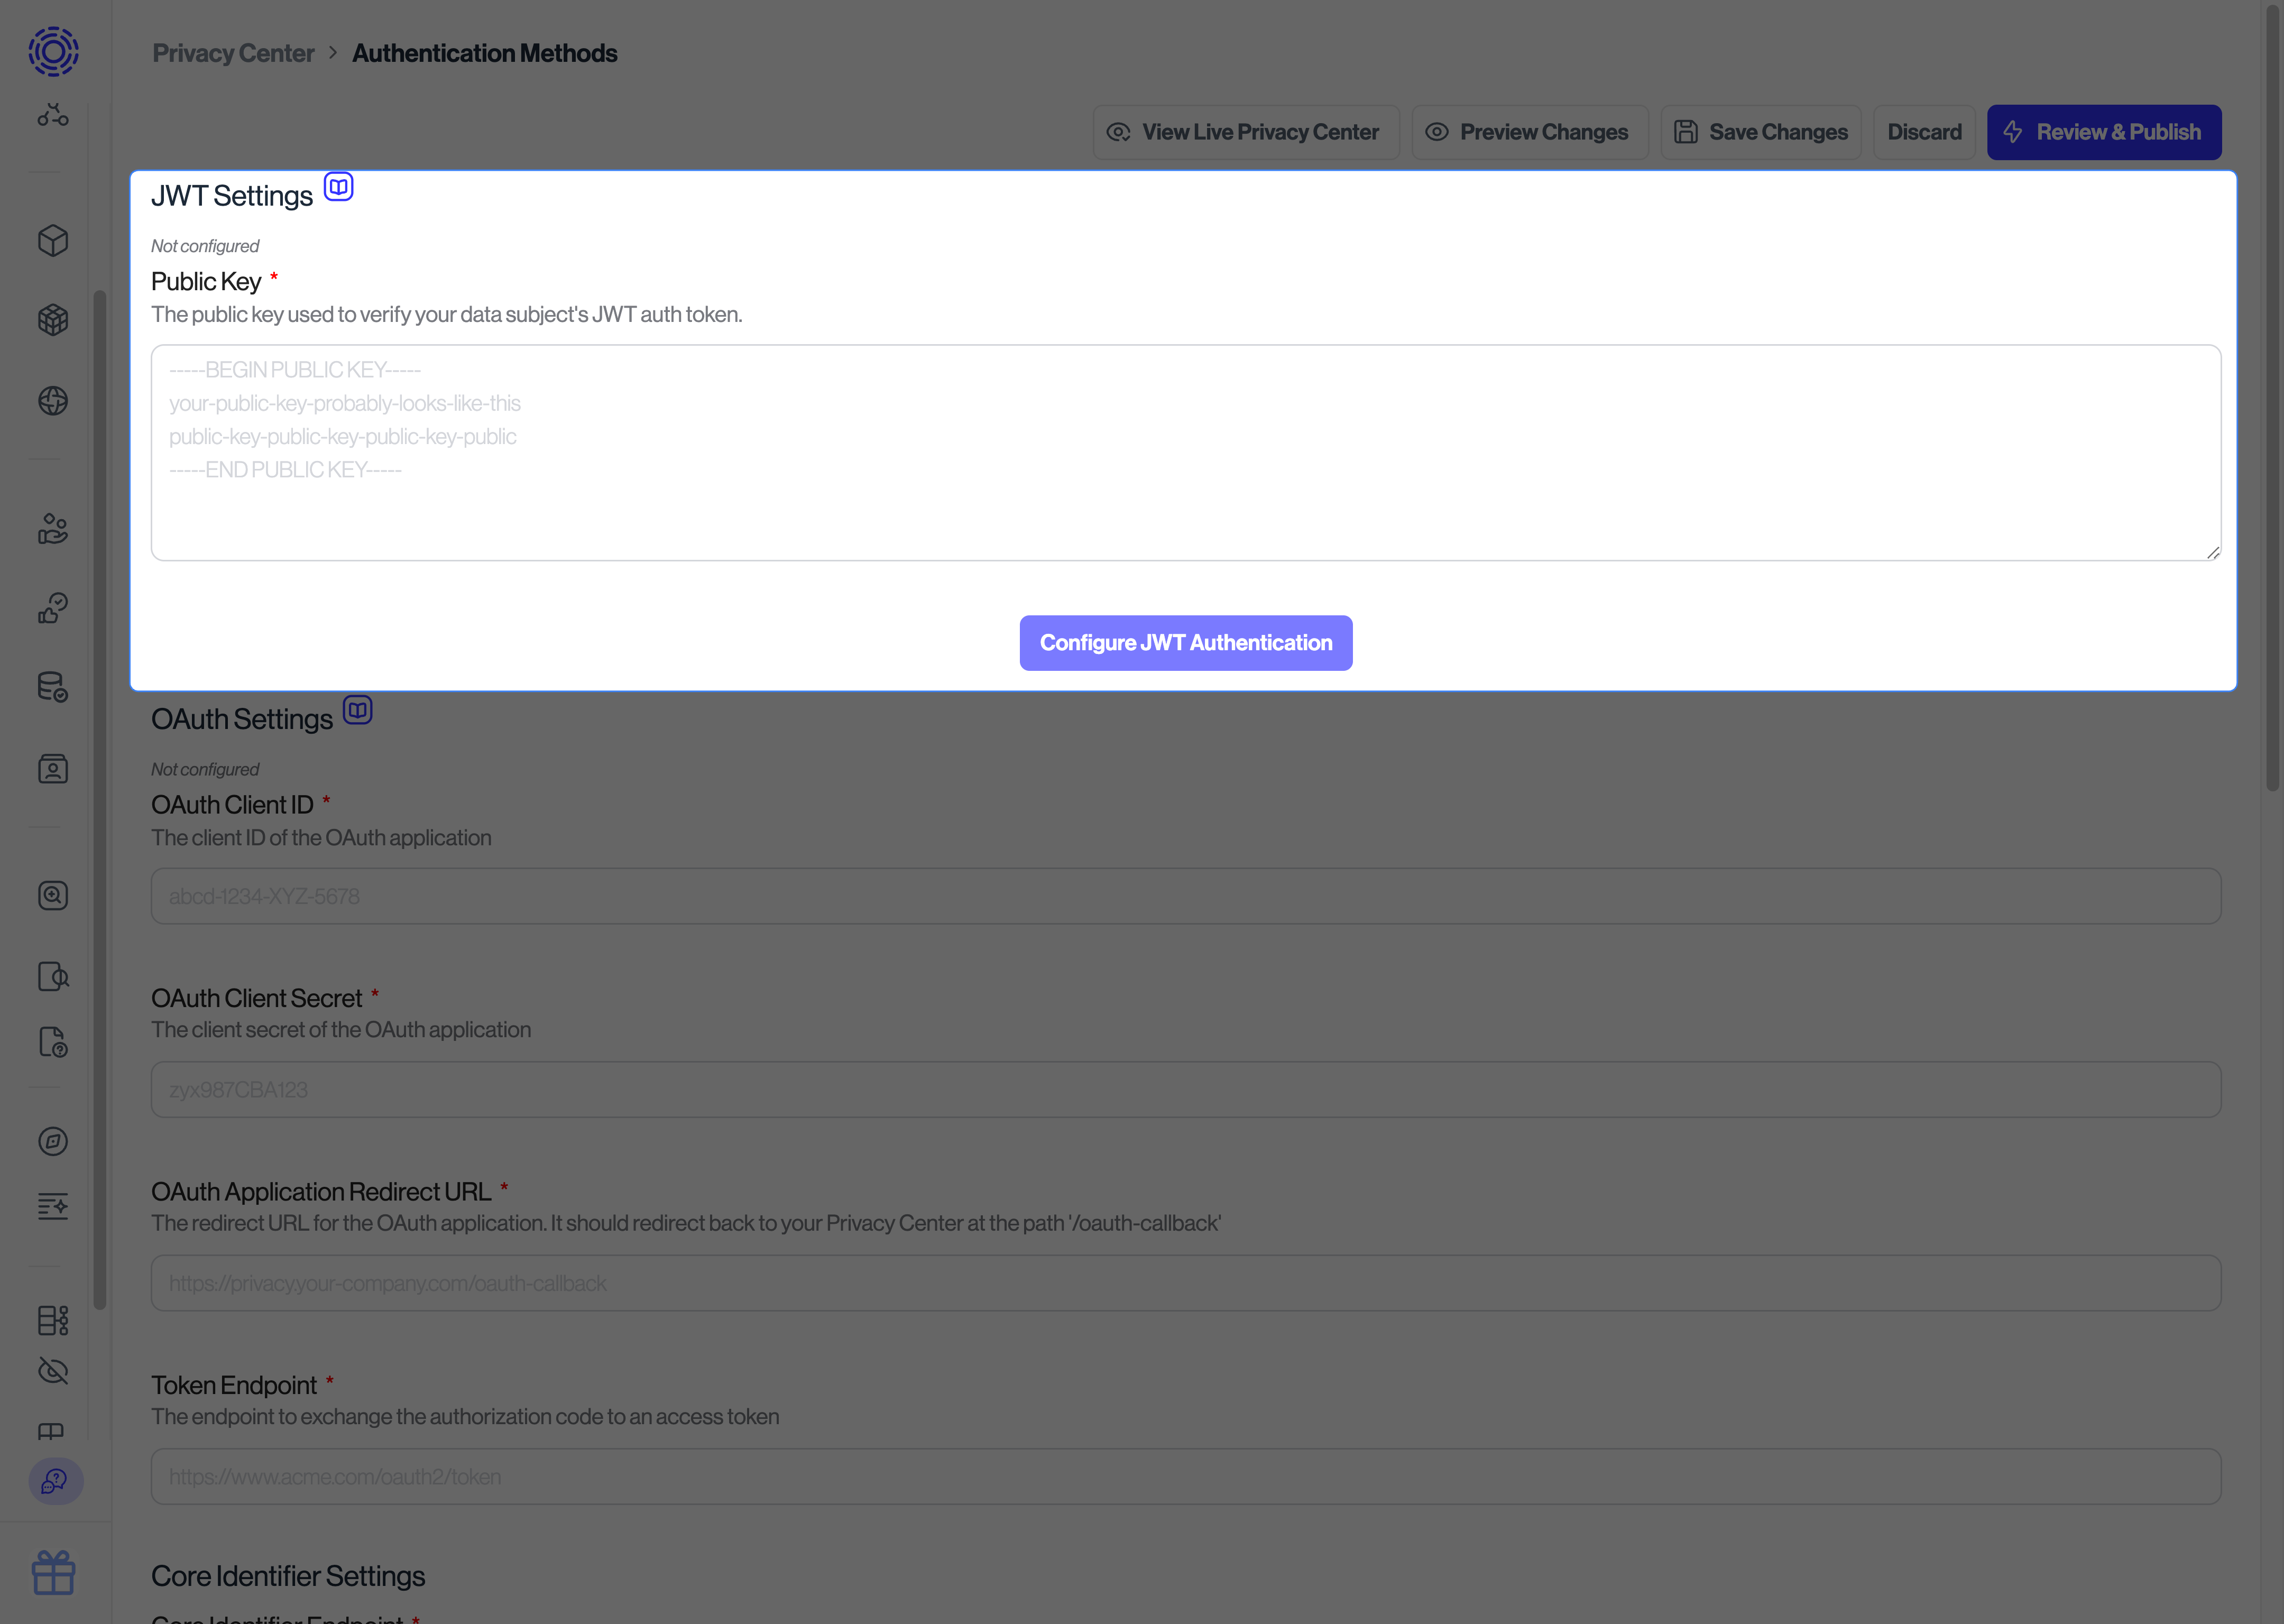
2. Go to the [**Privacy Center > Authentication Methods**](https://app.transcend.io/privacy-center/authentication-methods) page.
3. In the **JWT Settings** section, set the public key that Sombra uses to validate the session JWT.
#### Self-Hosted Sombra [#self-hosted-sombra]
If you are [self-hosting Sombra](../../sombra/introduction.mdx), provide this public key in the environment variables for your Sombra gateway as described in [Sombra authentication](../../sombra/deploying/customizing-sombra/authentication.mdx).
### OAuth 2 account login [#oauth-2-account-login]
1. Register a new application with your OAuth 2 provider. You can call it "Transcend Privacy Center". The application needs permission to return the user's email address.
2. Go to the [**Privacy Center > Authentication Methods**](https://app.transcend.io/privacy-center/authentication-methods) page.
3. In the **OAuth Settings** section, enter the Client ID, scopes, and the other values for your application.
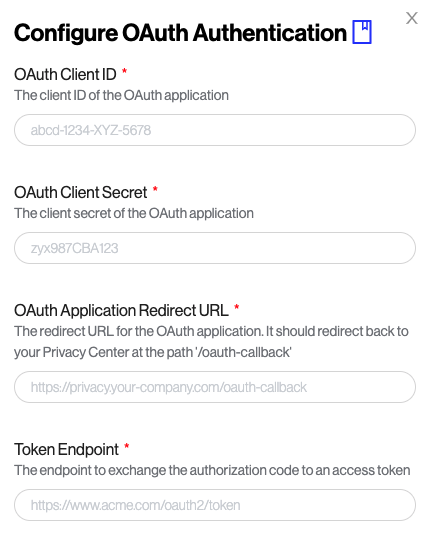
The same userinfo response can also include additional attested identifiers (name and value pairs). On a self-hosted Sombra, set `OAUTH_GET_EXTRA_IDENTIFIERS_URL` and `OAUTH_GET_EXTRA_IDENTIFIERS_PATH`. On Transcend-hosted Sombra, use **Extra Identifier Settings** under **Privacy Center > Authentication Methods**.
#### Self-Hosted Sombra [#self-hosted-sombra-1]
If you are [self-hosting Sombra](../../sombra/introduction.mdx), provide the OAuth configuration settings in the environment variables for your Sombra gateway as described in [Sombra authentication](../../sombra/deploying/customizing-sombra/authentication.mdx).
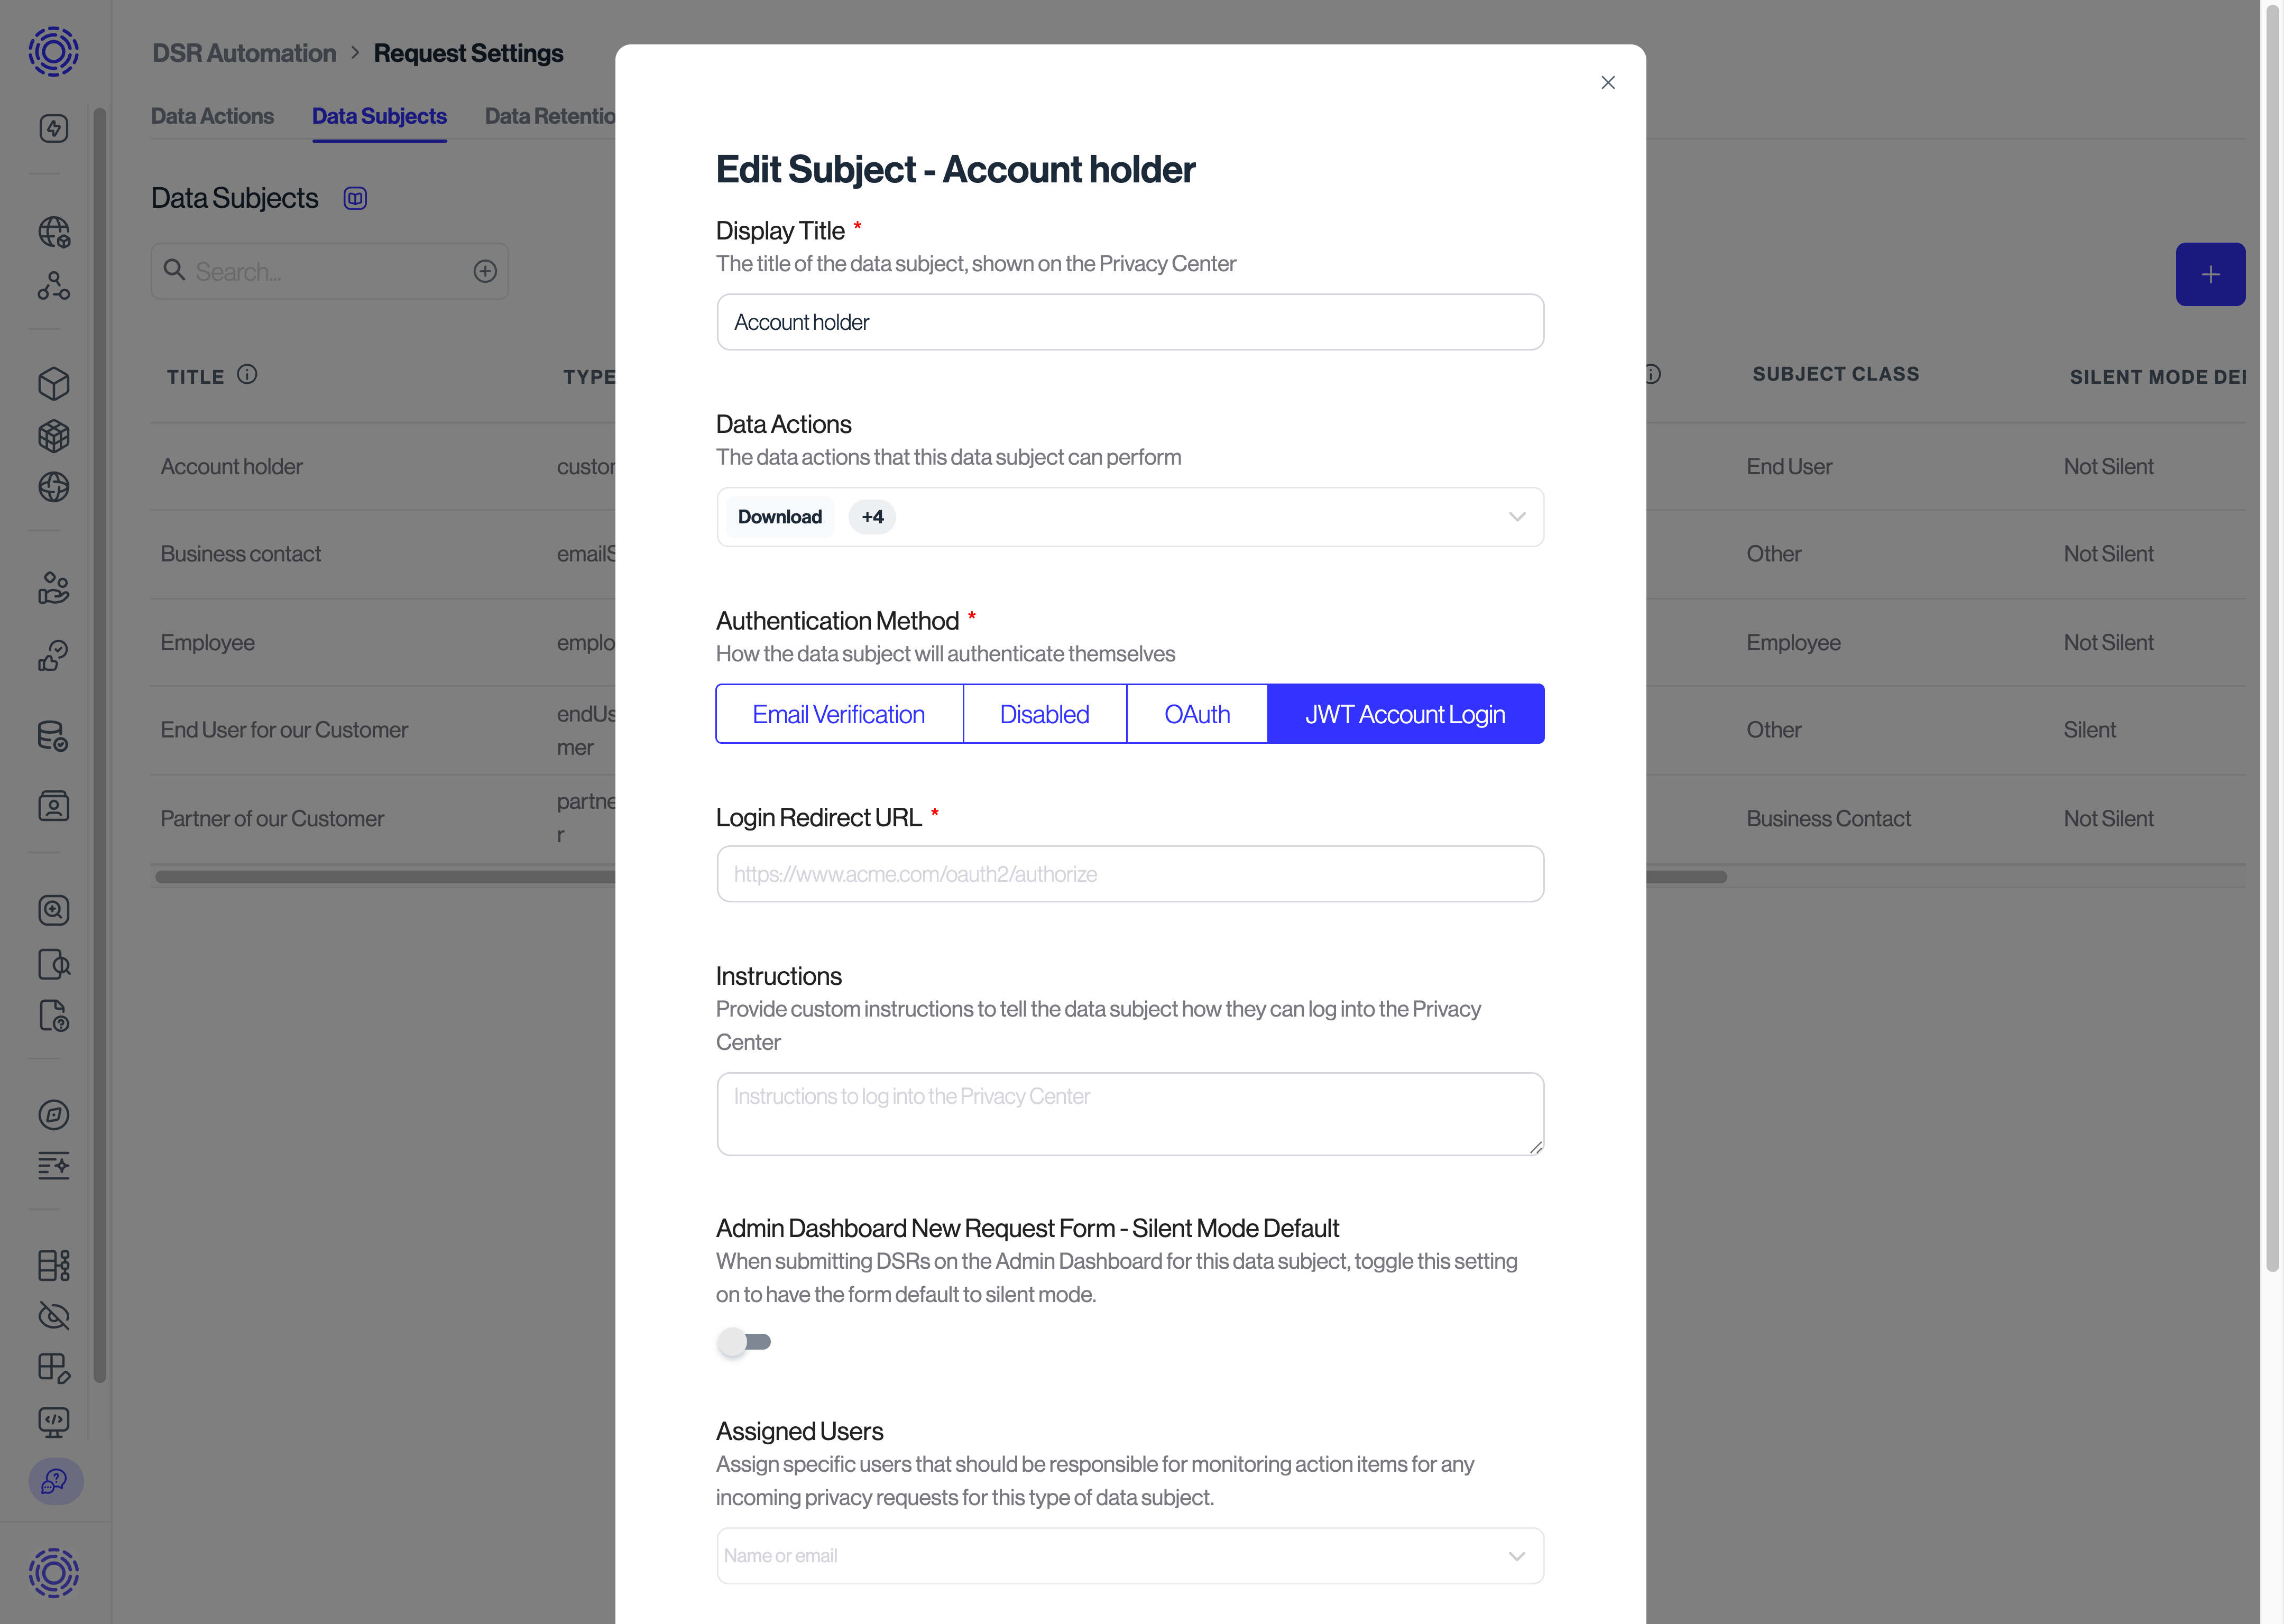
## Step 2: Turn on the method for a data subject [#step-2-turn-on-the-method-for-a-data-subject]
1. Go to [**Infrastructure > Workspace Configuration > Data Subjects**](https://app.transcend.io/privacy-requests/settings/data-subjects).
2. Click the pencil icon next to the data subject.
3. Set **Sign-in Method**.
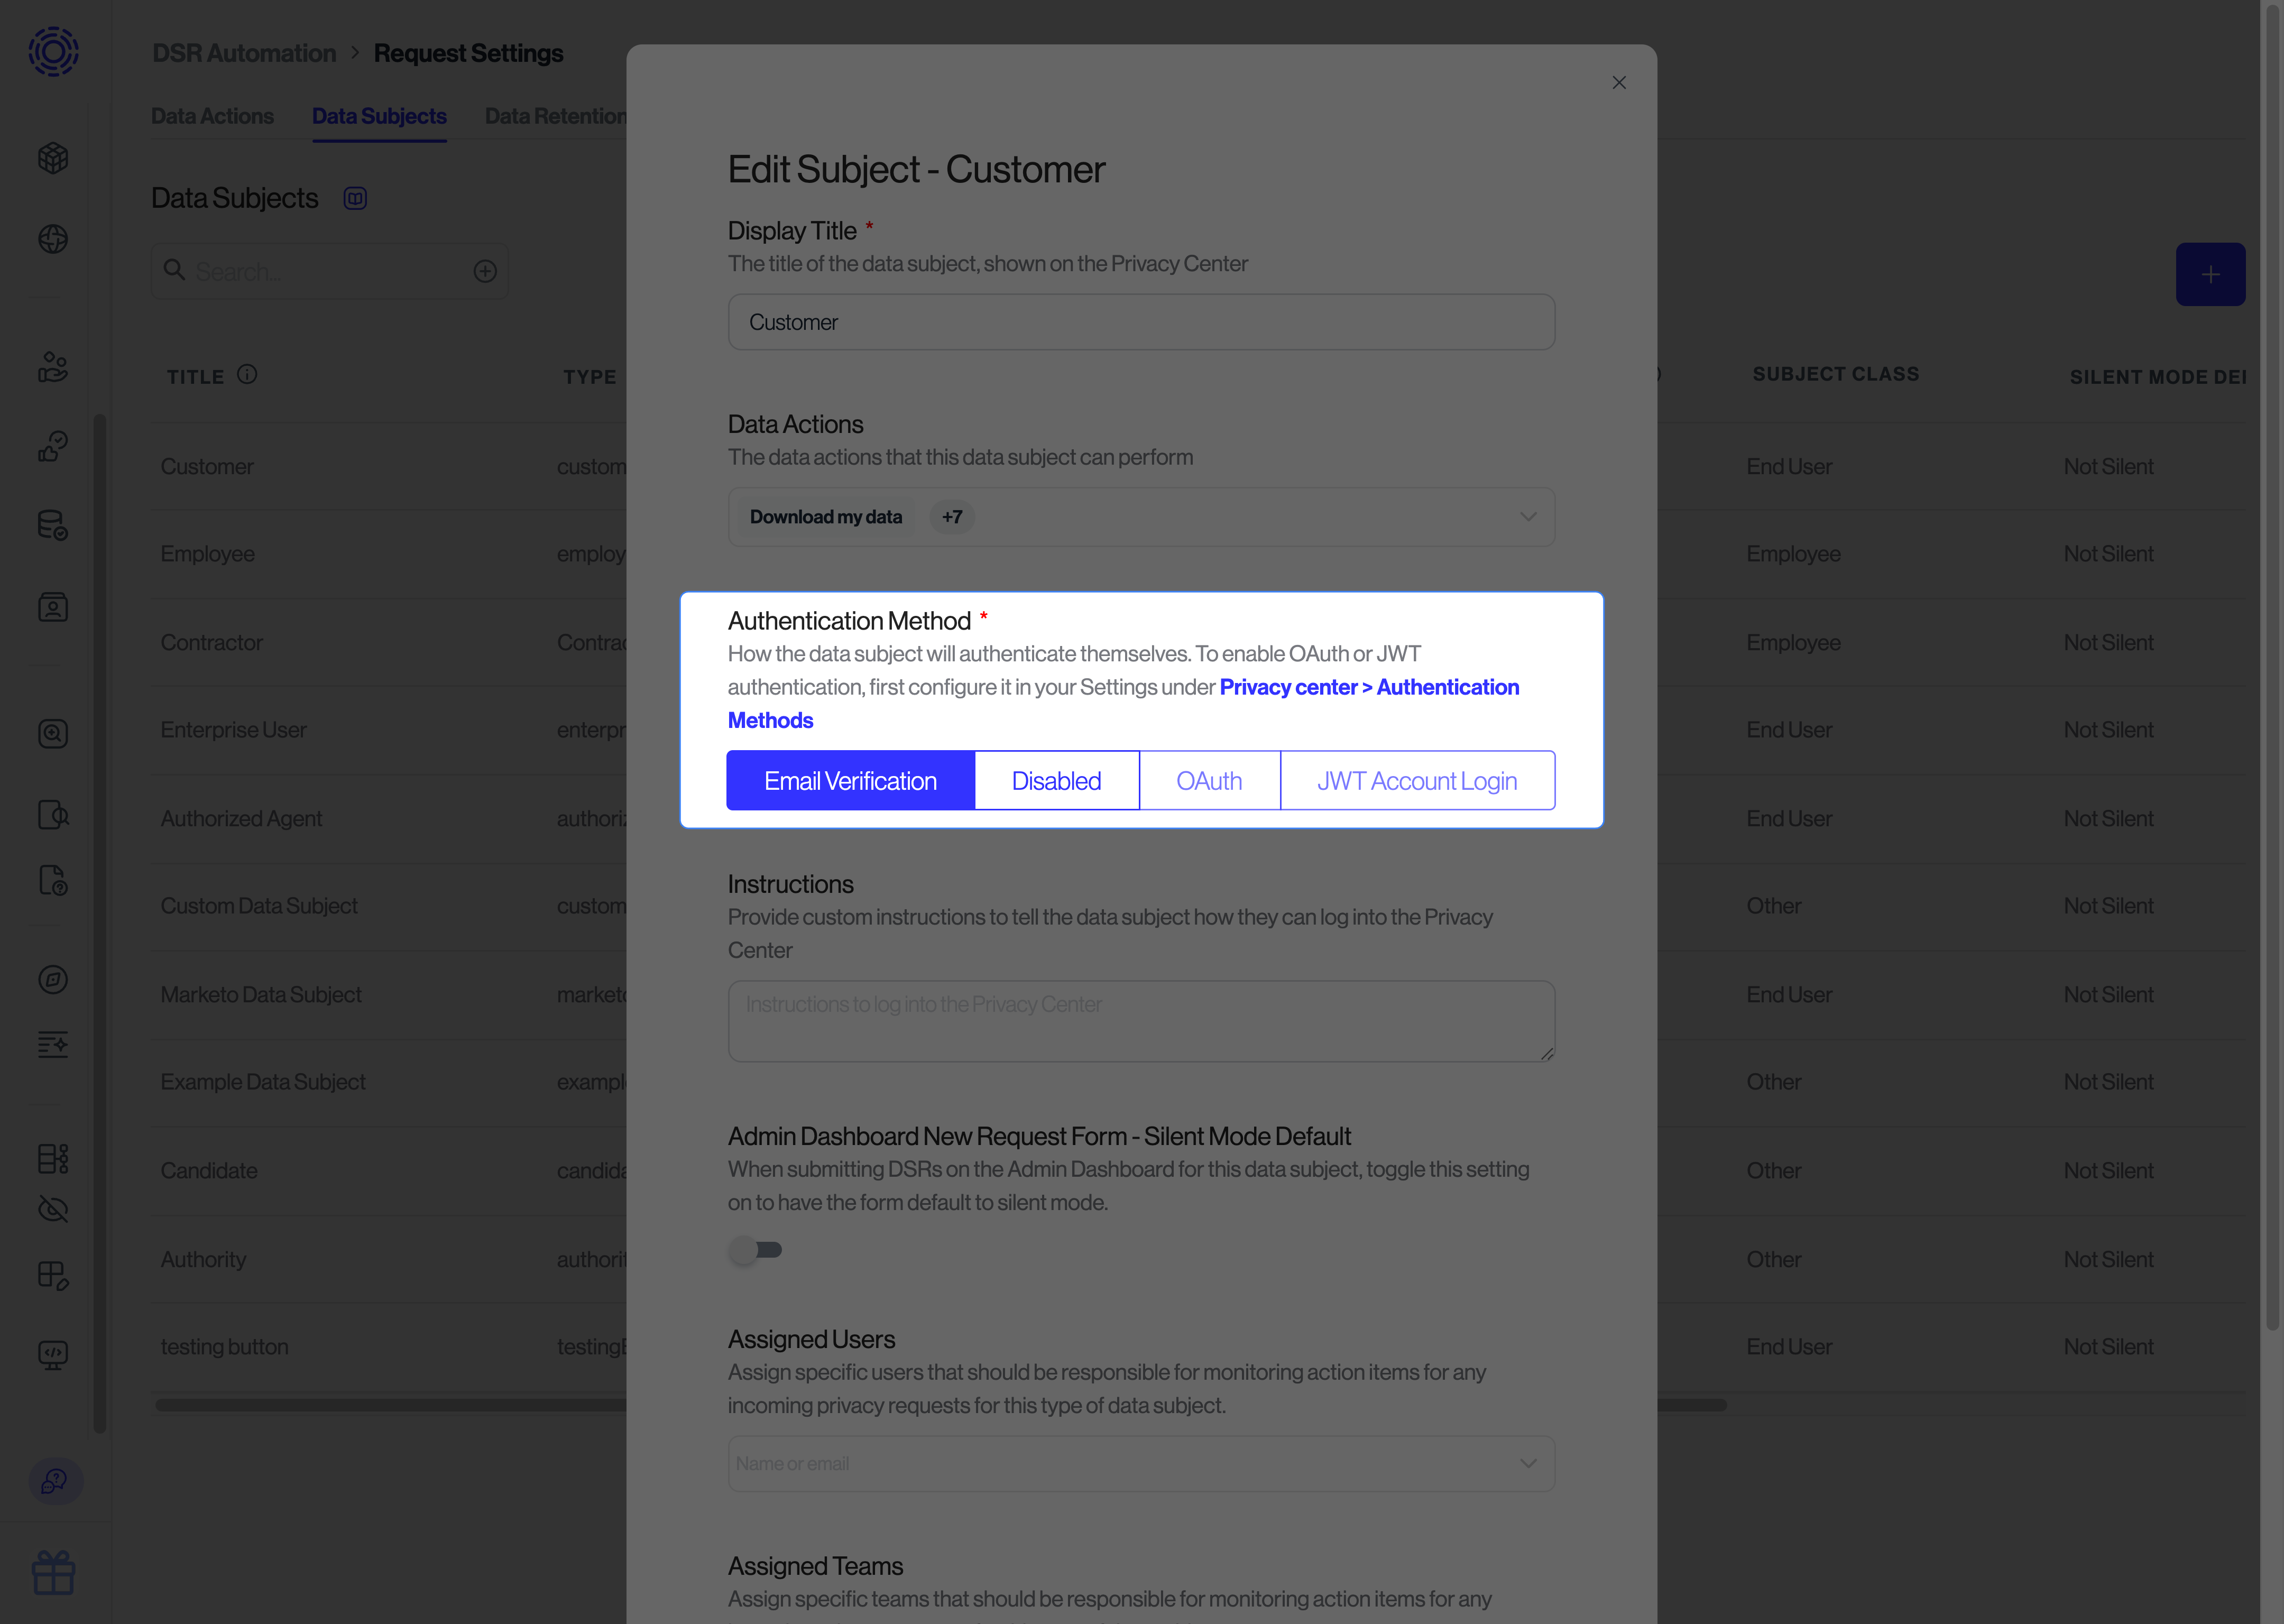
Read more about [configuring data subjects](../../dsr-automation/configuring-requests/data-subject-requests.mdx#data-subjects).