Apple In-App Account Deletion
Complying with Apple's in-app deletion requirement is as simple as connecting a button in your app to Transcend's API. Transcend will handle the rest.
Transcend powers the global deletion process in popular apps today.

Starting June 30, 2022, any application in the Apple App Store that offers account creation must also offer account deletion, including associated personal data. Failure to comply with this requirement can get your app de-listed! Our blog breaks it down in further detail.
From Apple: "It’s insufficient to only provide the ability to temporarily disable or deactivate an account. People should be able to delete the account along with their personal data."
This guide breaks down how to quickly comply. This guide will outline a workflow:
- Expose a button in the settings view of your application for a logged-in user to delete their account.
- Connect that button to a route on your backend, and
POSTa deletion request to/v1/data-subject-requeston Transcend's API.
If you're new to Transcend, then on Day 1, without anything else set up, Transcend will begin queuing outstanding erasure requests, and notifying teams with a CSV of outstanding tasks, and monitoring for task completion. Then, you should incrementally automate your deletion process across your data systems by connecting Transcend's pre-built integrations. You should connect your analytics, payments, and support SaaS tools (this only takes a few minutes per system) and your internal data systems.
Using Transcend, you can comply with Apple's requirement in less than an hour. You’ll also be setting yourself up to build a secure and scalable process to delete data across your stack or, where it makes sense, at larger scales with automation. This same workflow can be re-used for other compliance workflows like GDPR/CCPA data subject erasure requests.
This requires a Transcend account
If you do not have Transcend, please contact us, and we'll get you started ASAP.
To begin, go to Request Settings and ensure you have a deletion request workflow enabled.
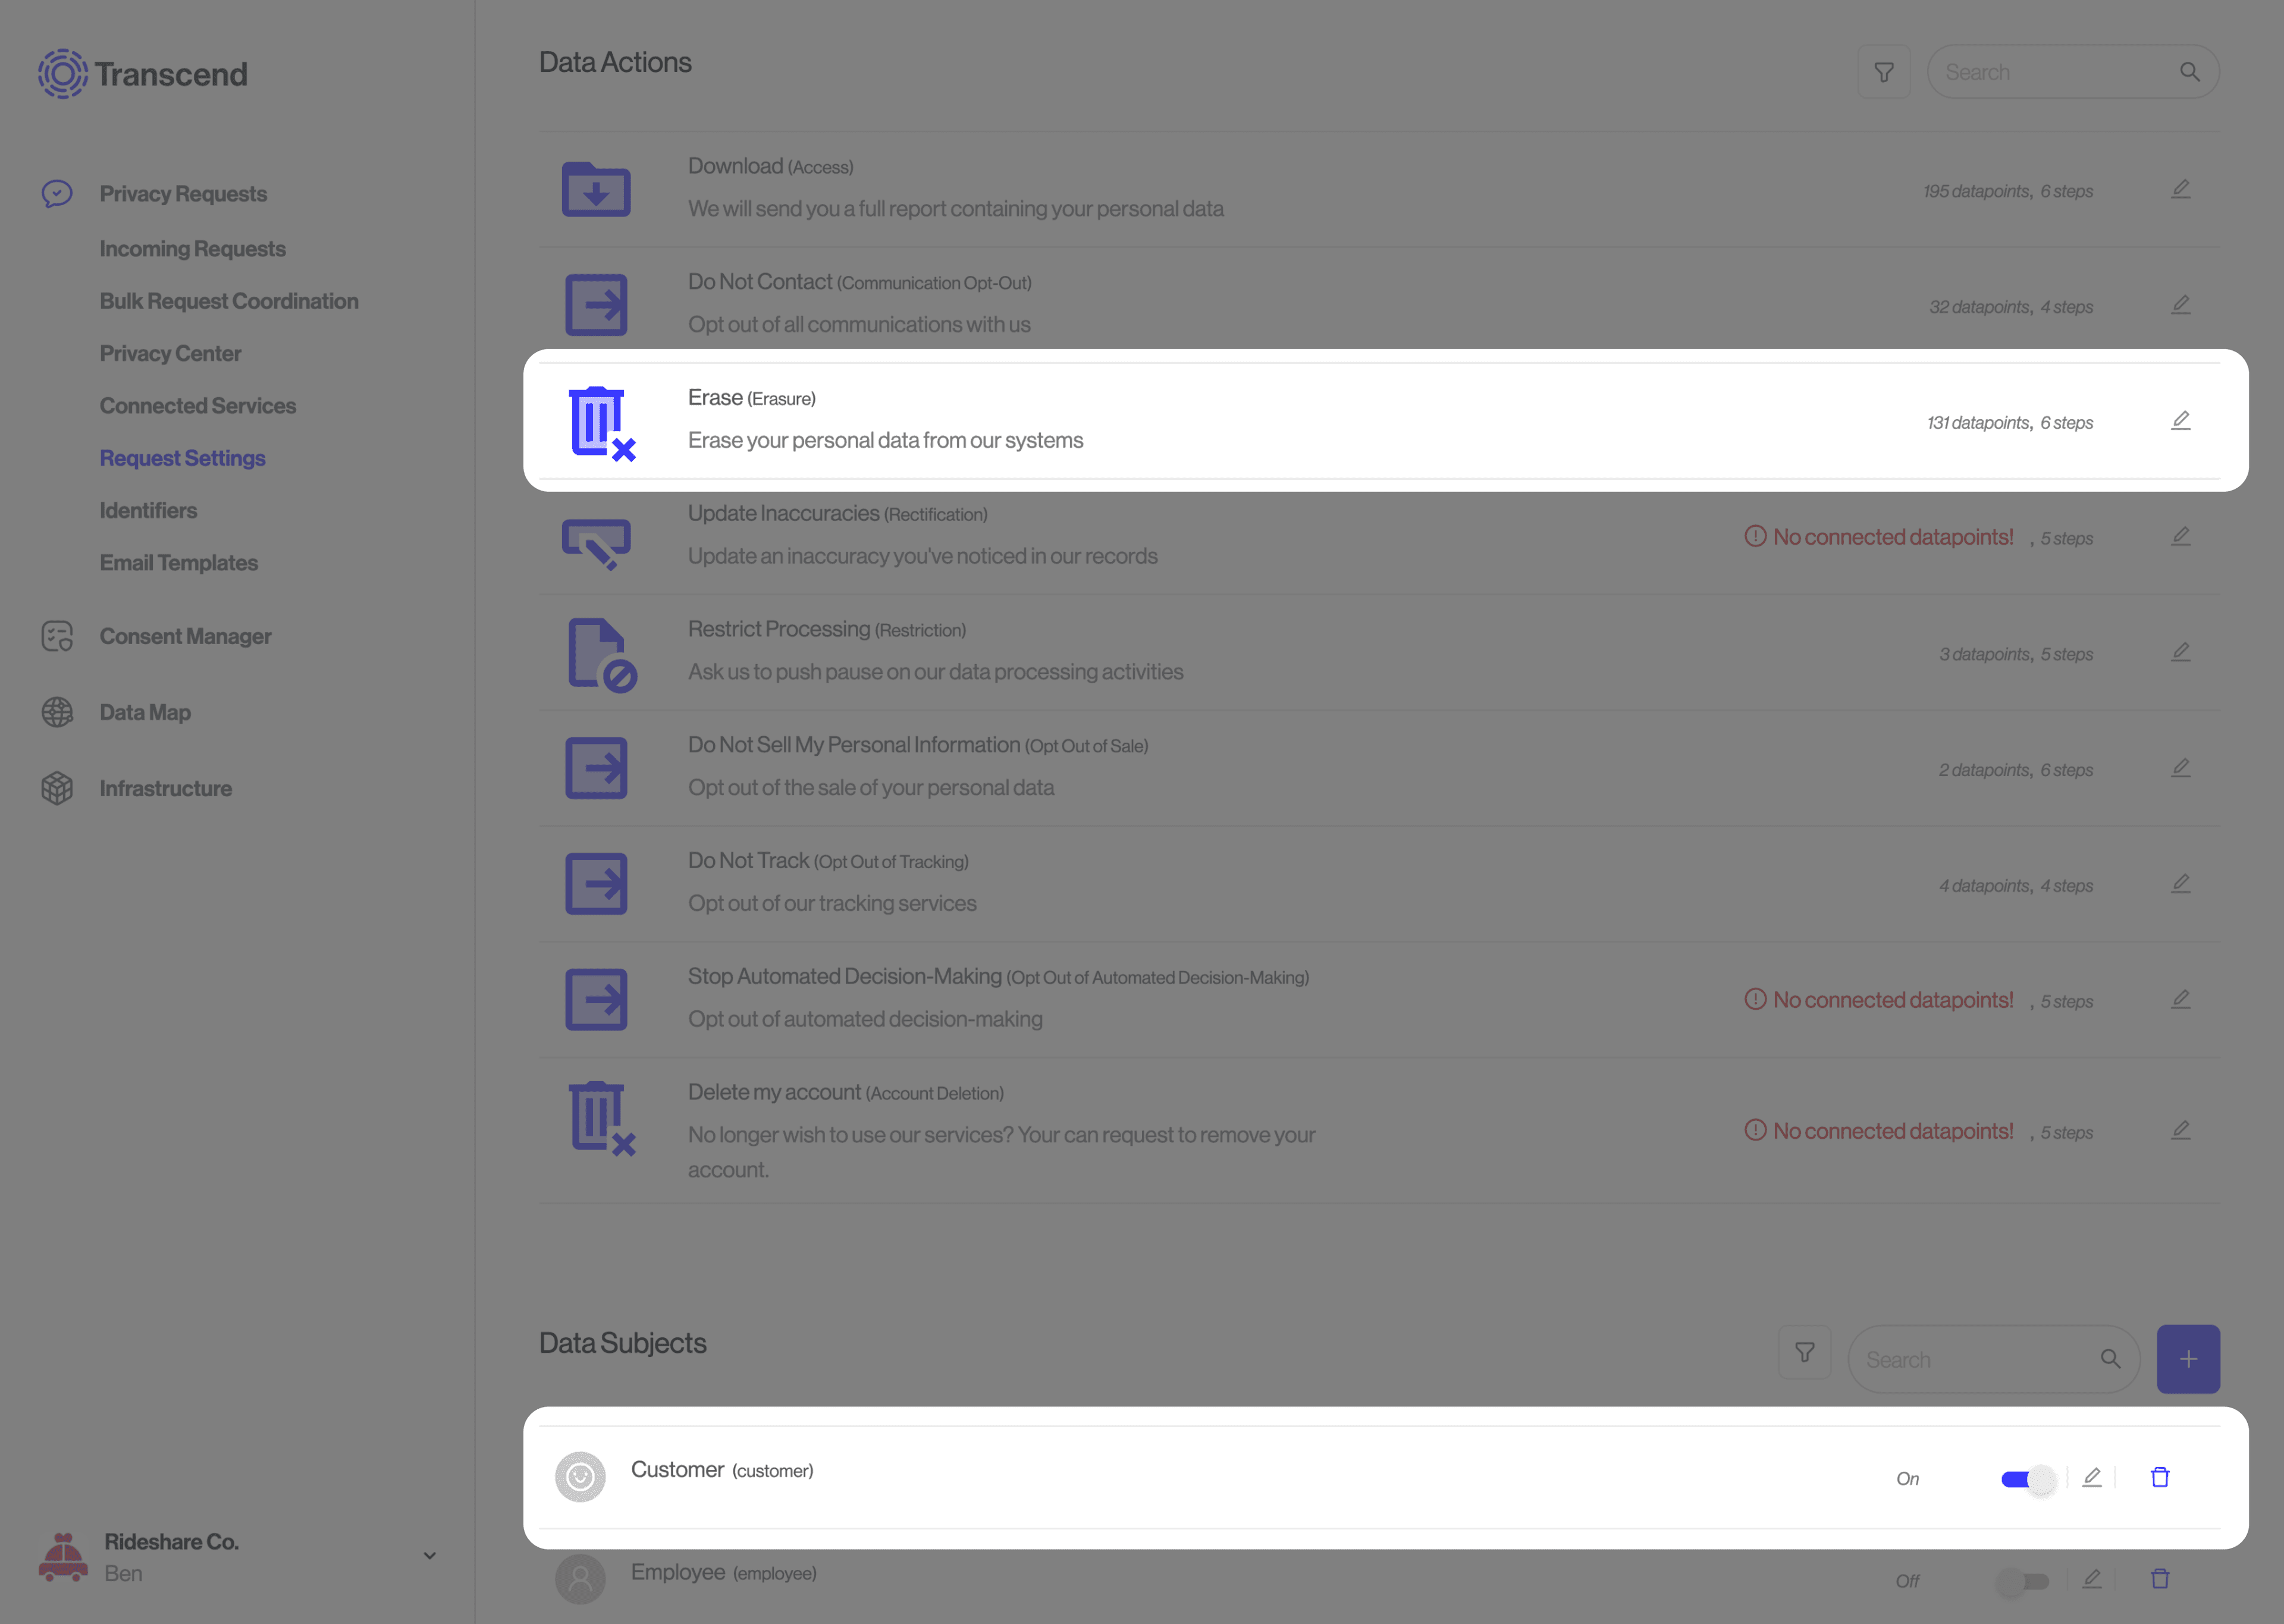
Under the "Data Subjects" section, click the edit icon and enable the "Delete all my data" request type.
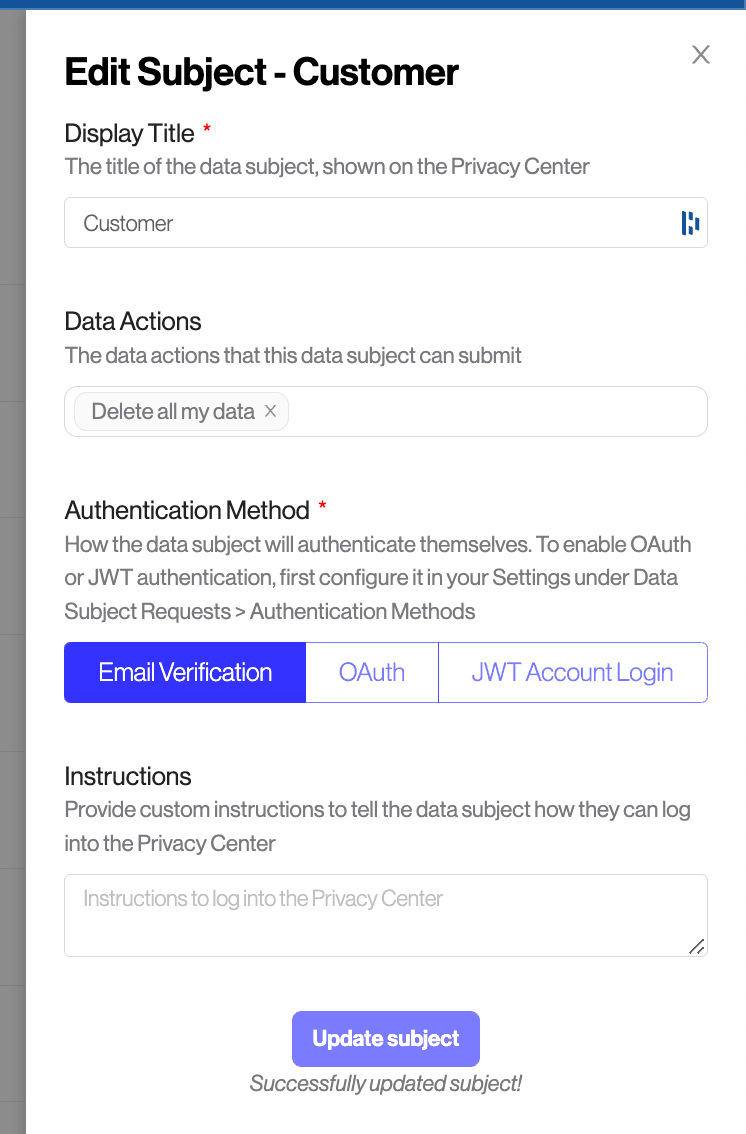
If you have multiple types of users that have different deletion workflows, you can create additional Data Subjects—just be sure to enable the "Delete all my data" request type on each of them.
In most circumstances, having one type of user ("Customer") will suffice.
Skip this step if you are re-using an deletion workflow
If you've already set up a compliance request deletion workflow in Transcend and your plan is to re-use it for account deletion, you can continue to the next step.
We recommend treating Apple account deletion requests in the same manner as you would process GDPR/CCPA compliance requests. These are the same underlying workflow, and it's easier to maintain one workflow. Furthermore, this workflow will be forward-compatible with the growing set of deletion requirements from platforms and new privacy laws.
If you do decide to treat Apple deletion requests separately from a compliance request, you can encode separate workflows into Transcend. However, separate workflows mean more maintenance, and your process will be less resilient to future changes in legislations.
If you've not yet set up a deletion workflow in Transcend, you should start by creating a simple manual workflow in which:
- Each new deletion request creates an audit entry in the "Incoming Requests" tab
- User identifiers associated with each request get added to a queue to be deleted
- Once per week, your team will be notified via email to delete that list of user identifiers
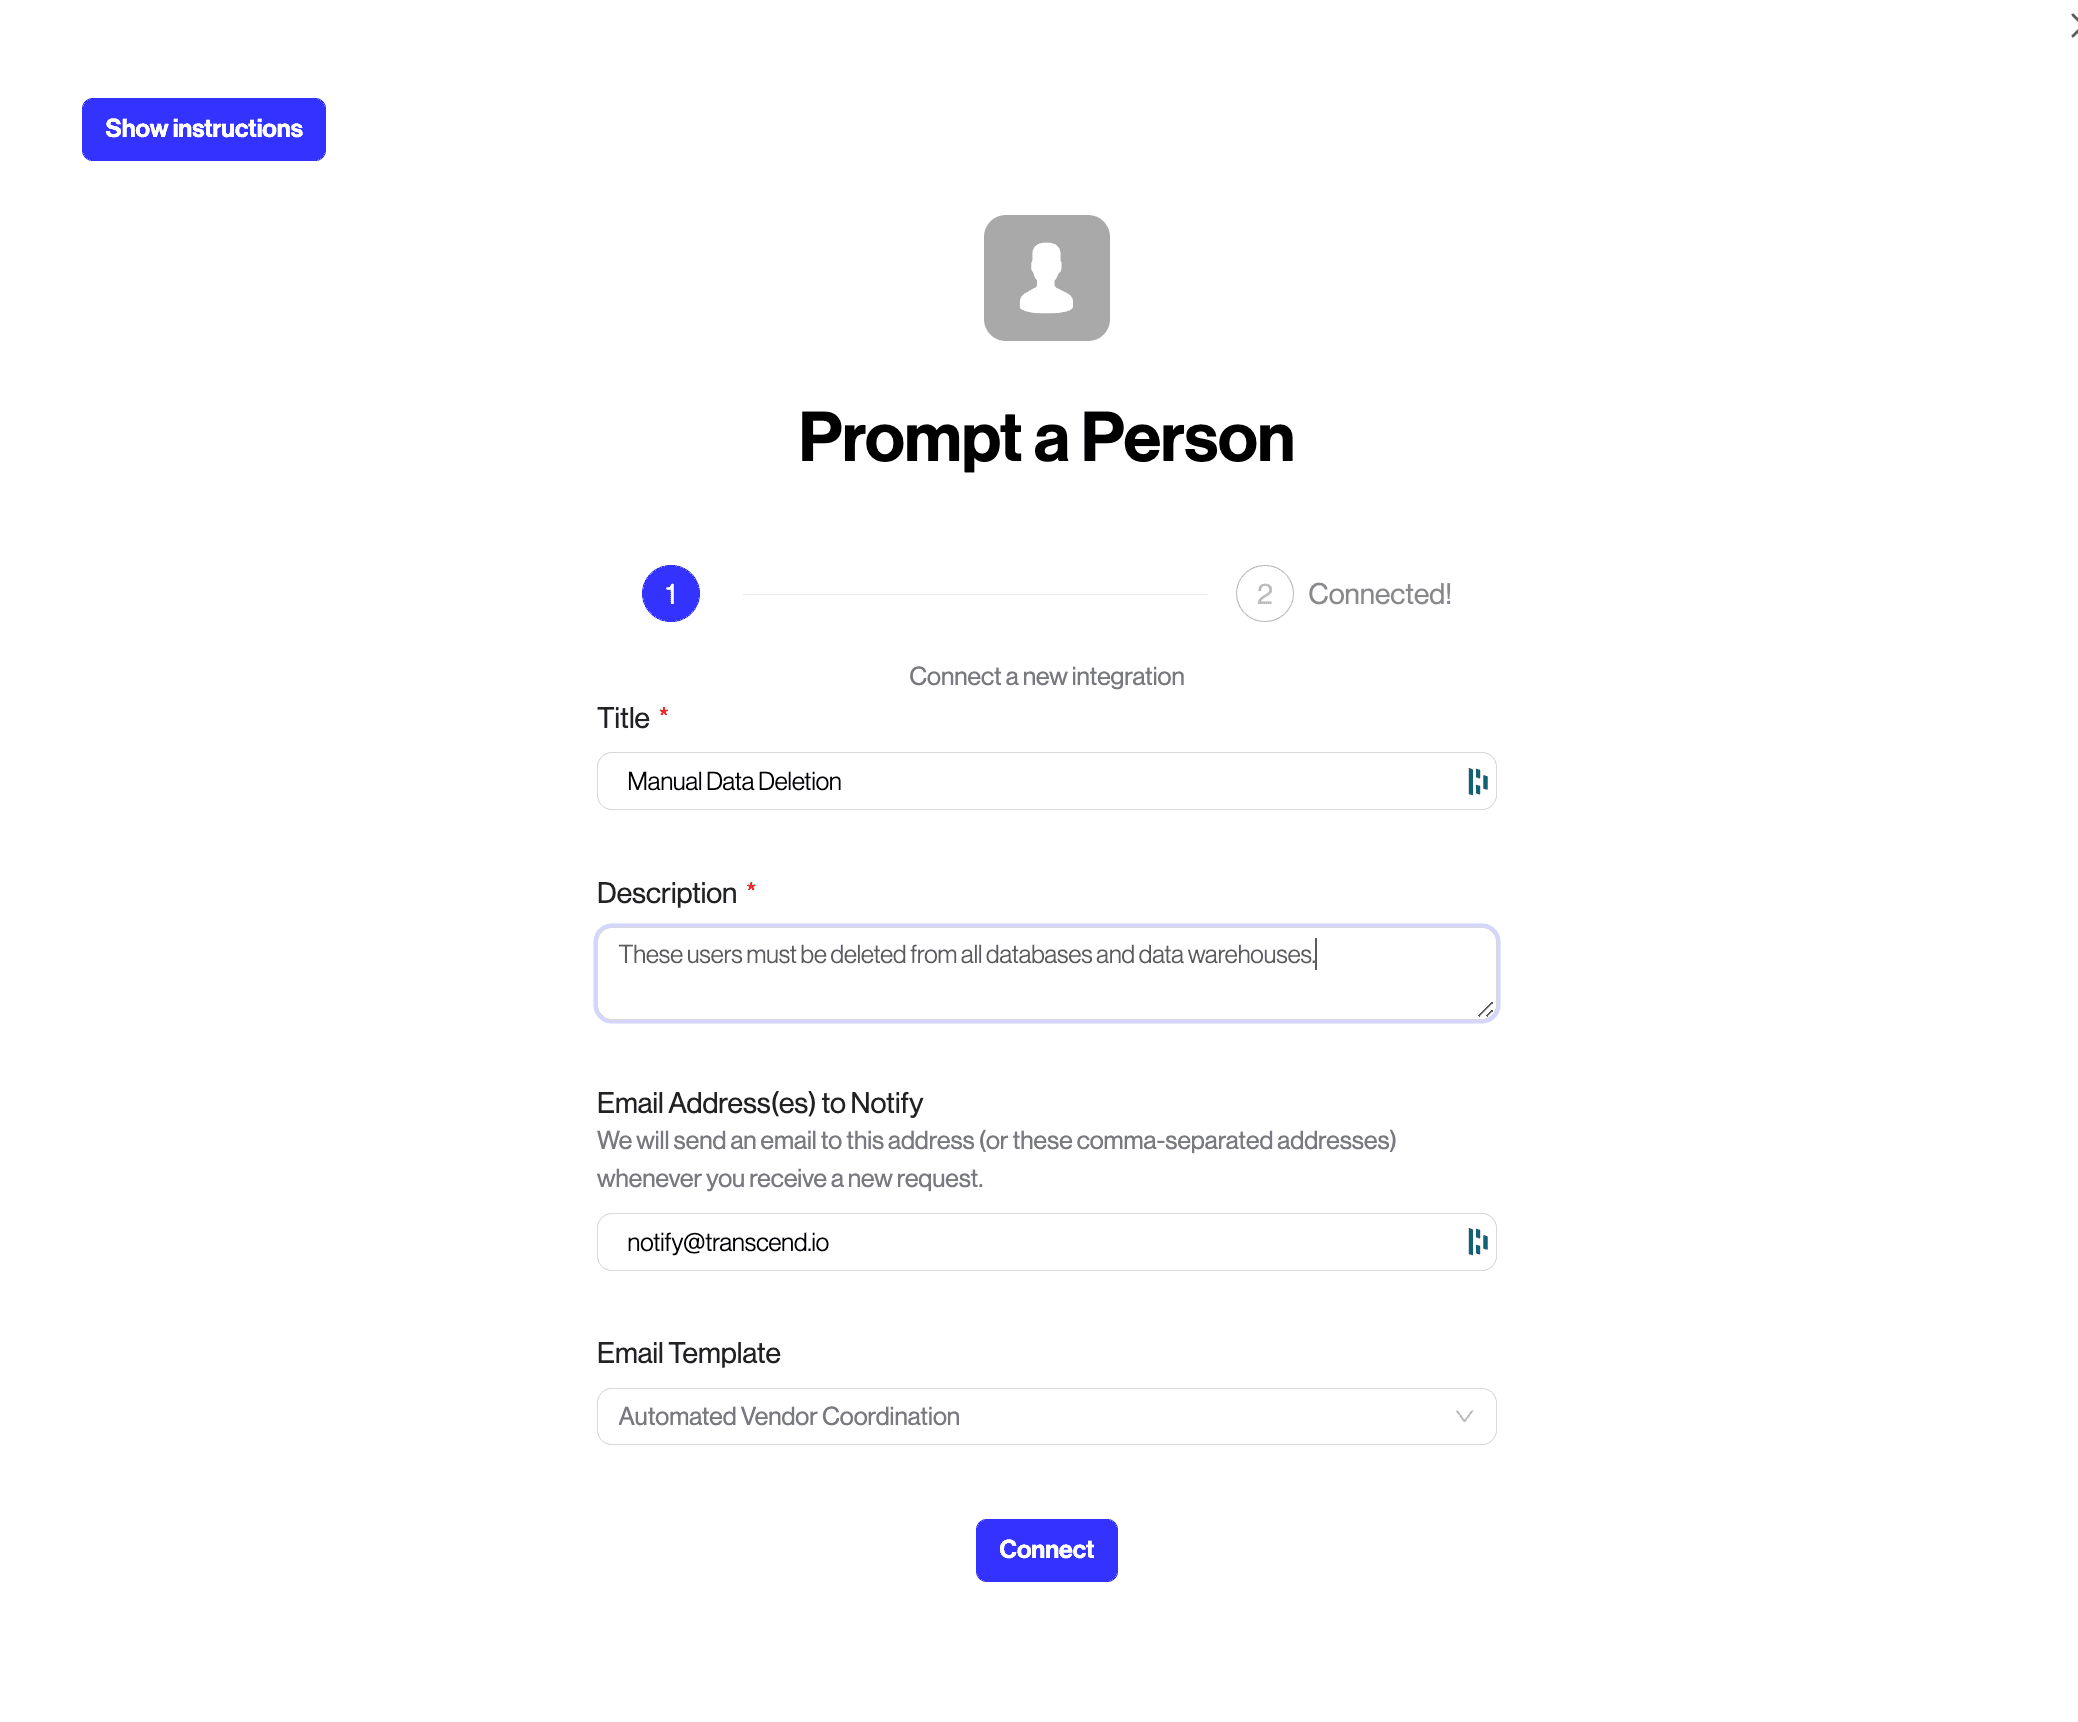
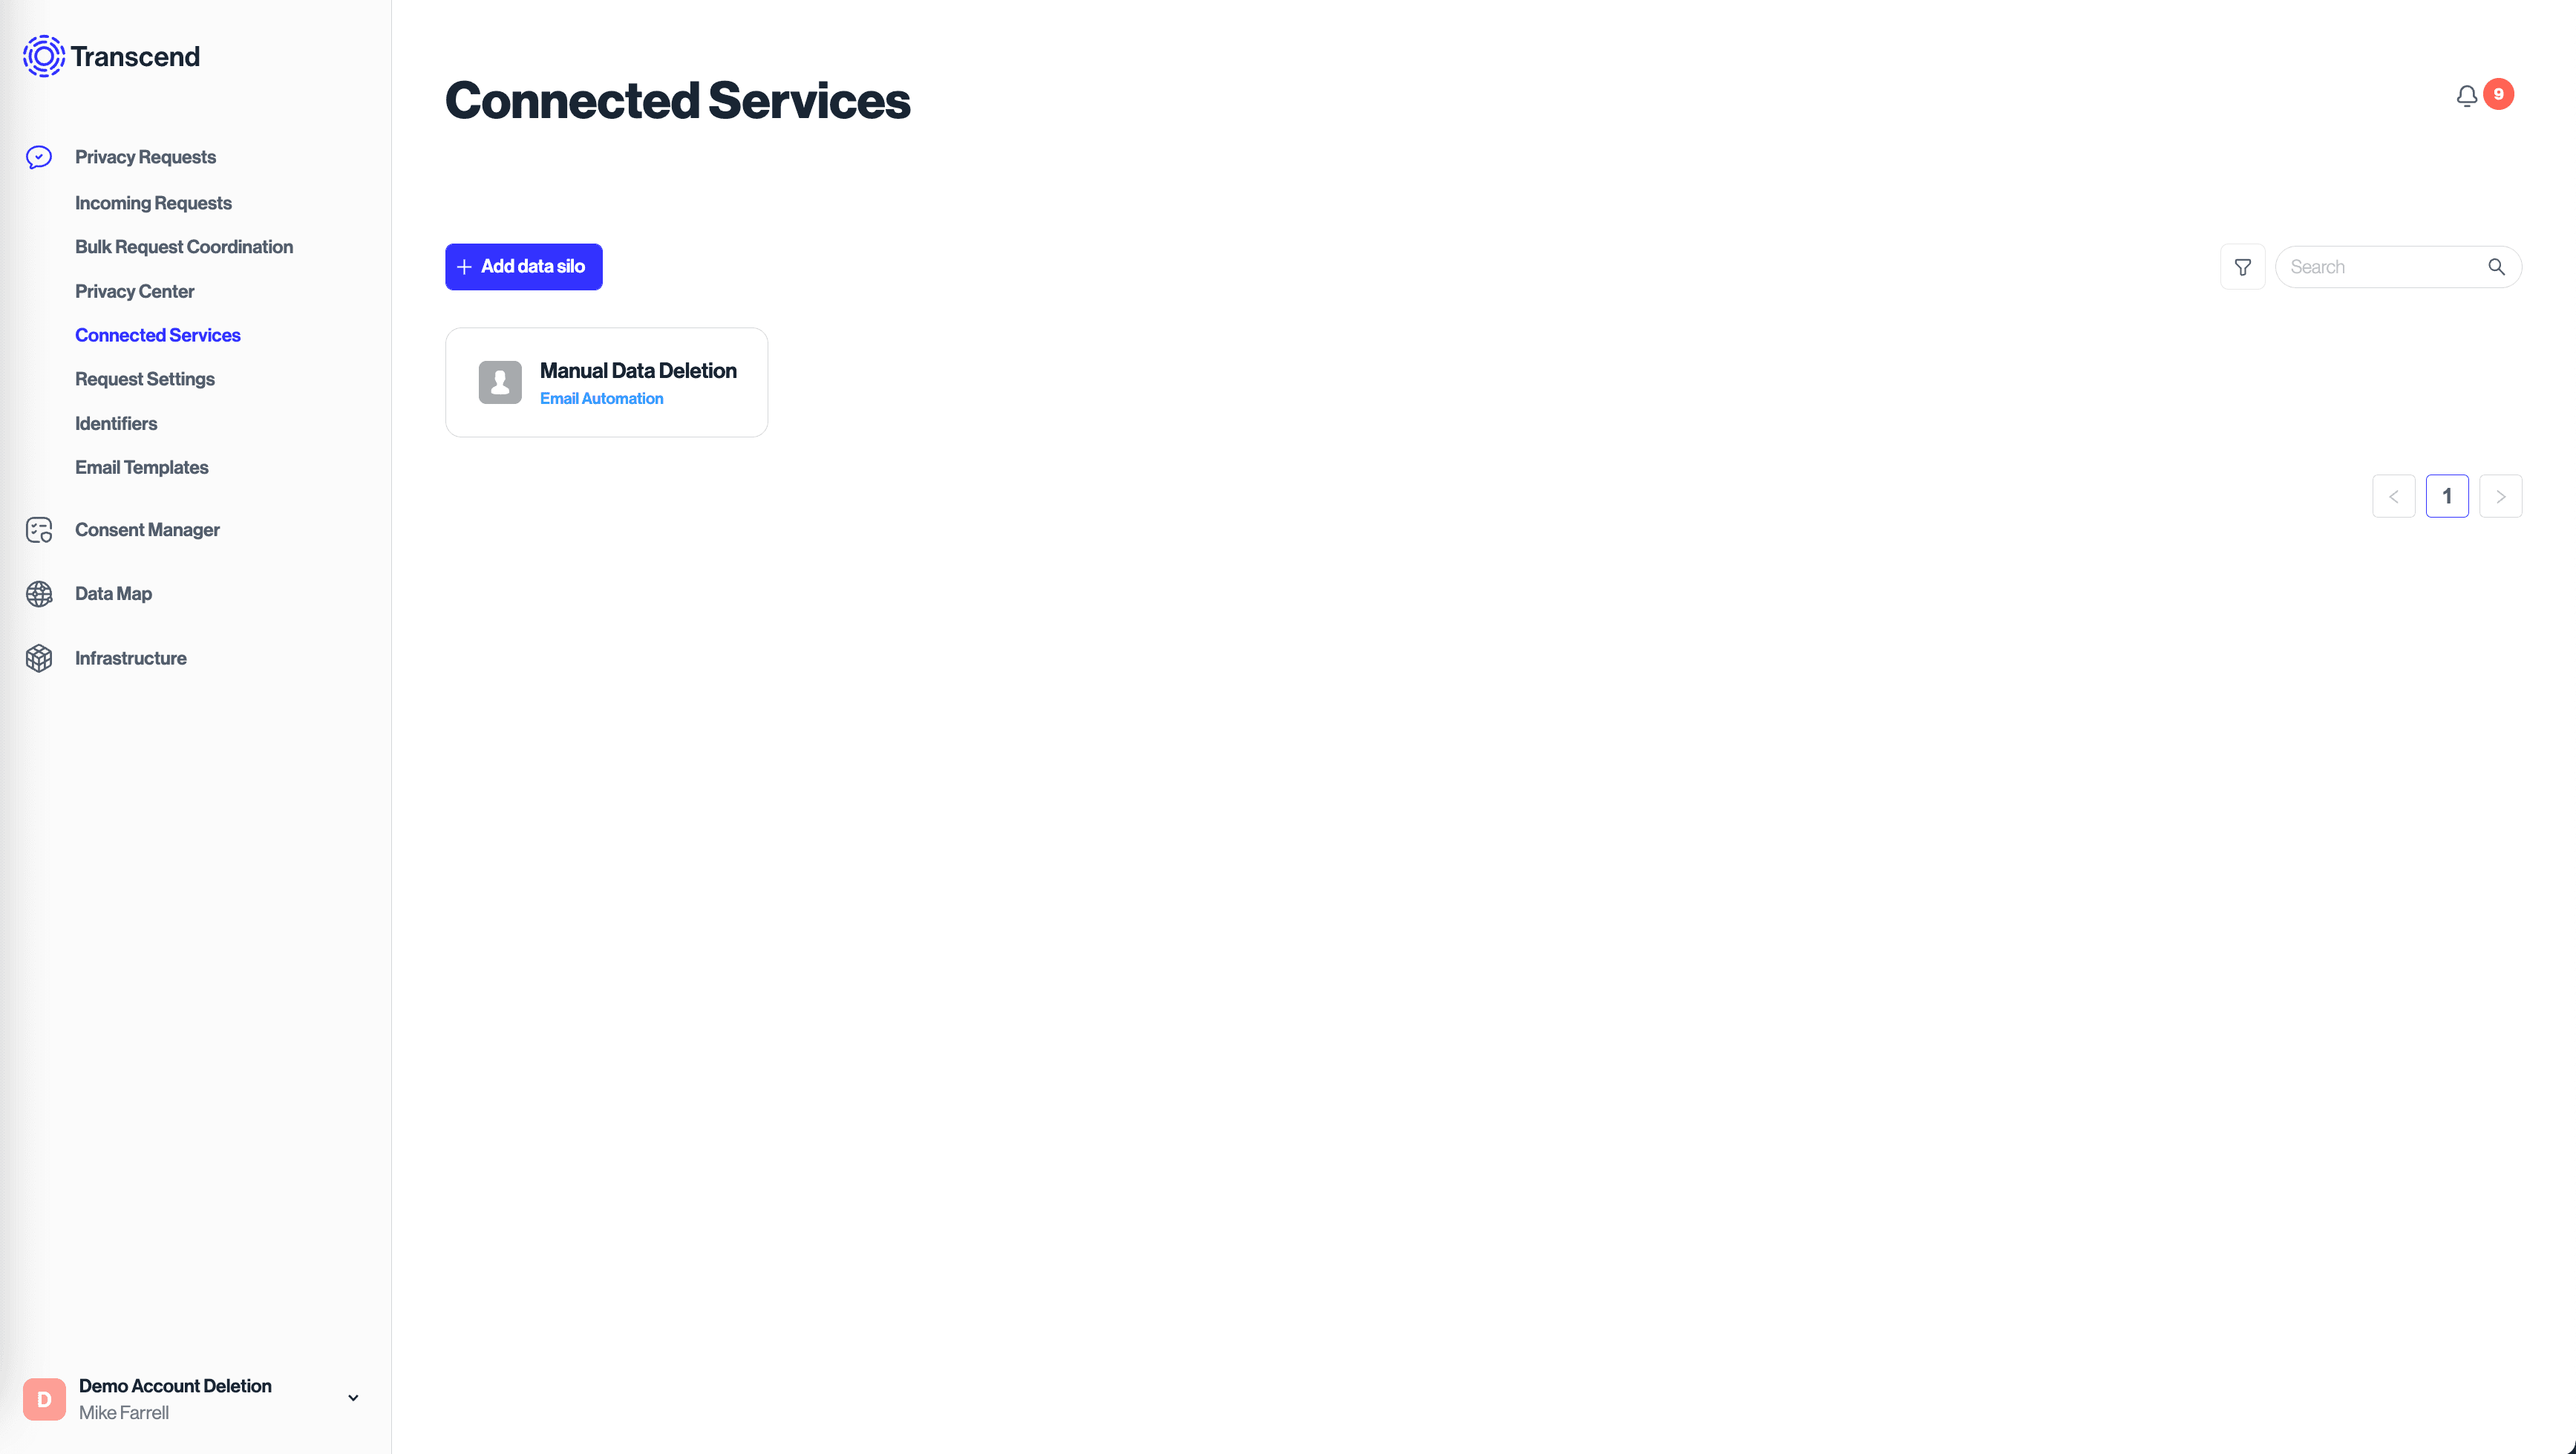
To create this workflow, add a Prompt a Person system under the Integrations section of the Admin Dashboard. You can input the email address of the person(s) that should be notified weekly, or leave it blank. If you have multiple teams that should each be notified separately to delete their respective systems, you can add multiple Prompt A Person integrations.
Upon connection, you should go to the configuration settings and ensure the newly created integration has "Live Mode" toggled on.
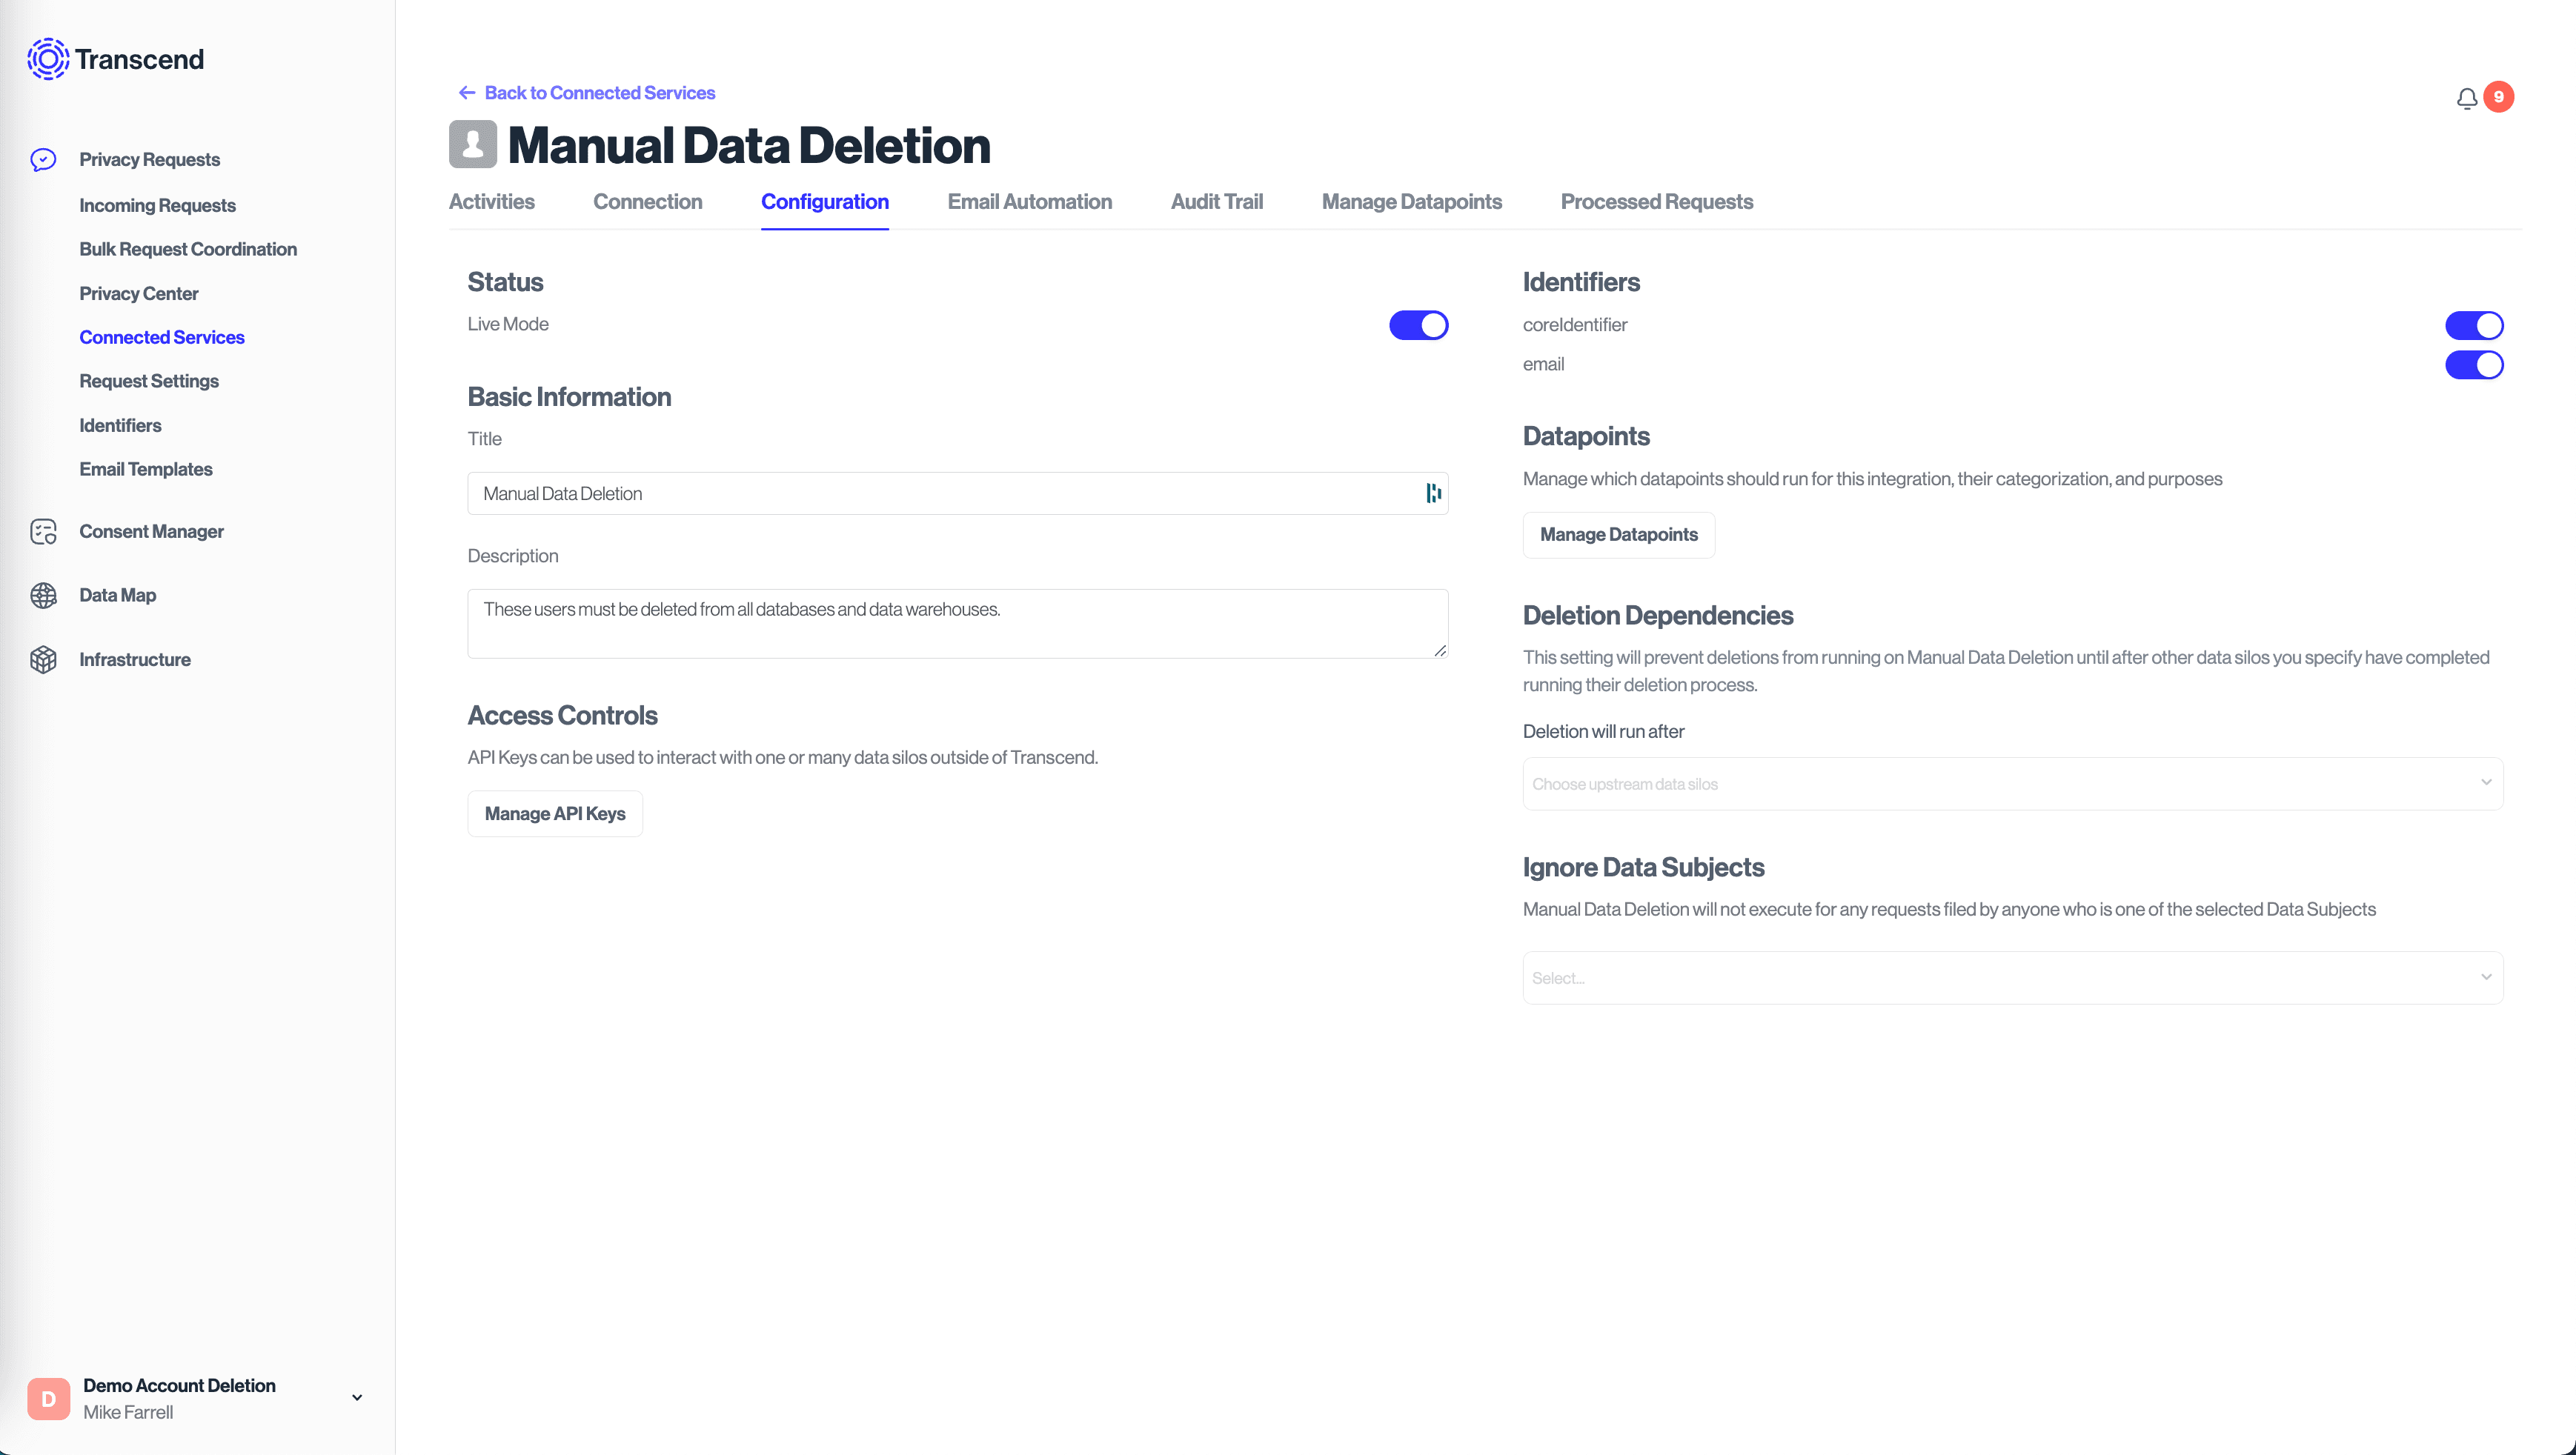
At this point, you've got a basic manual workflow set up in Transcend and can continue to the next steps.
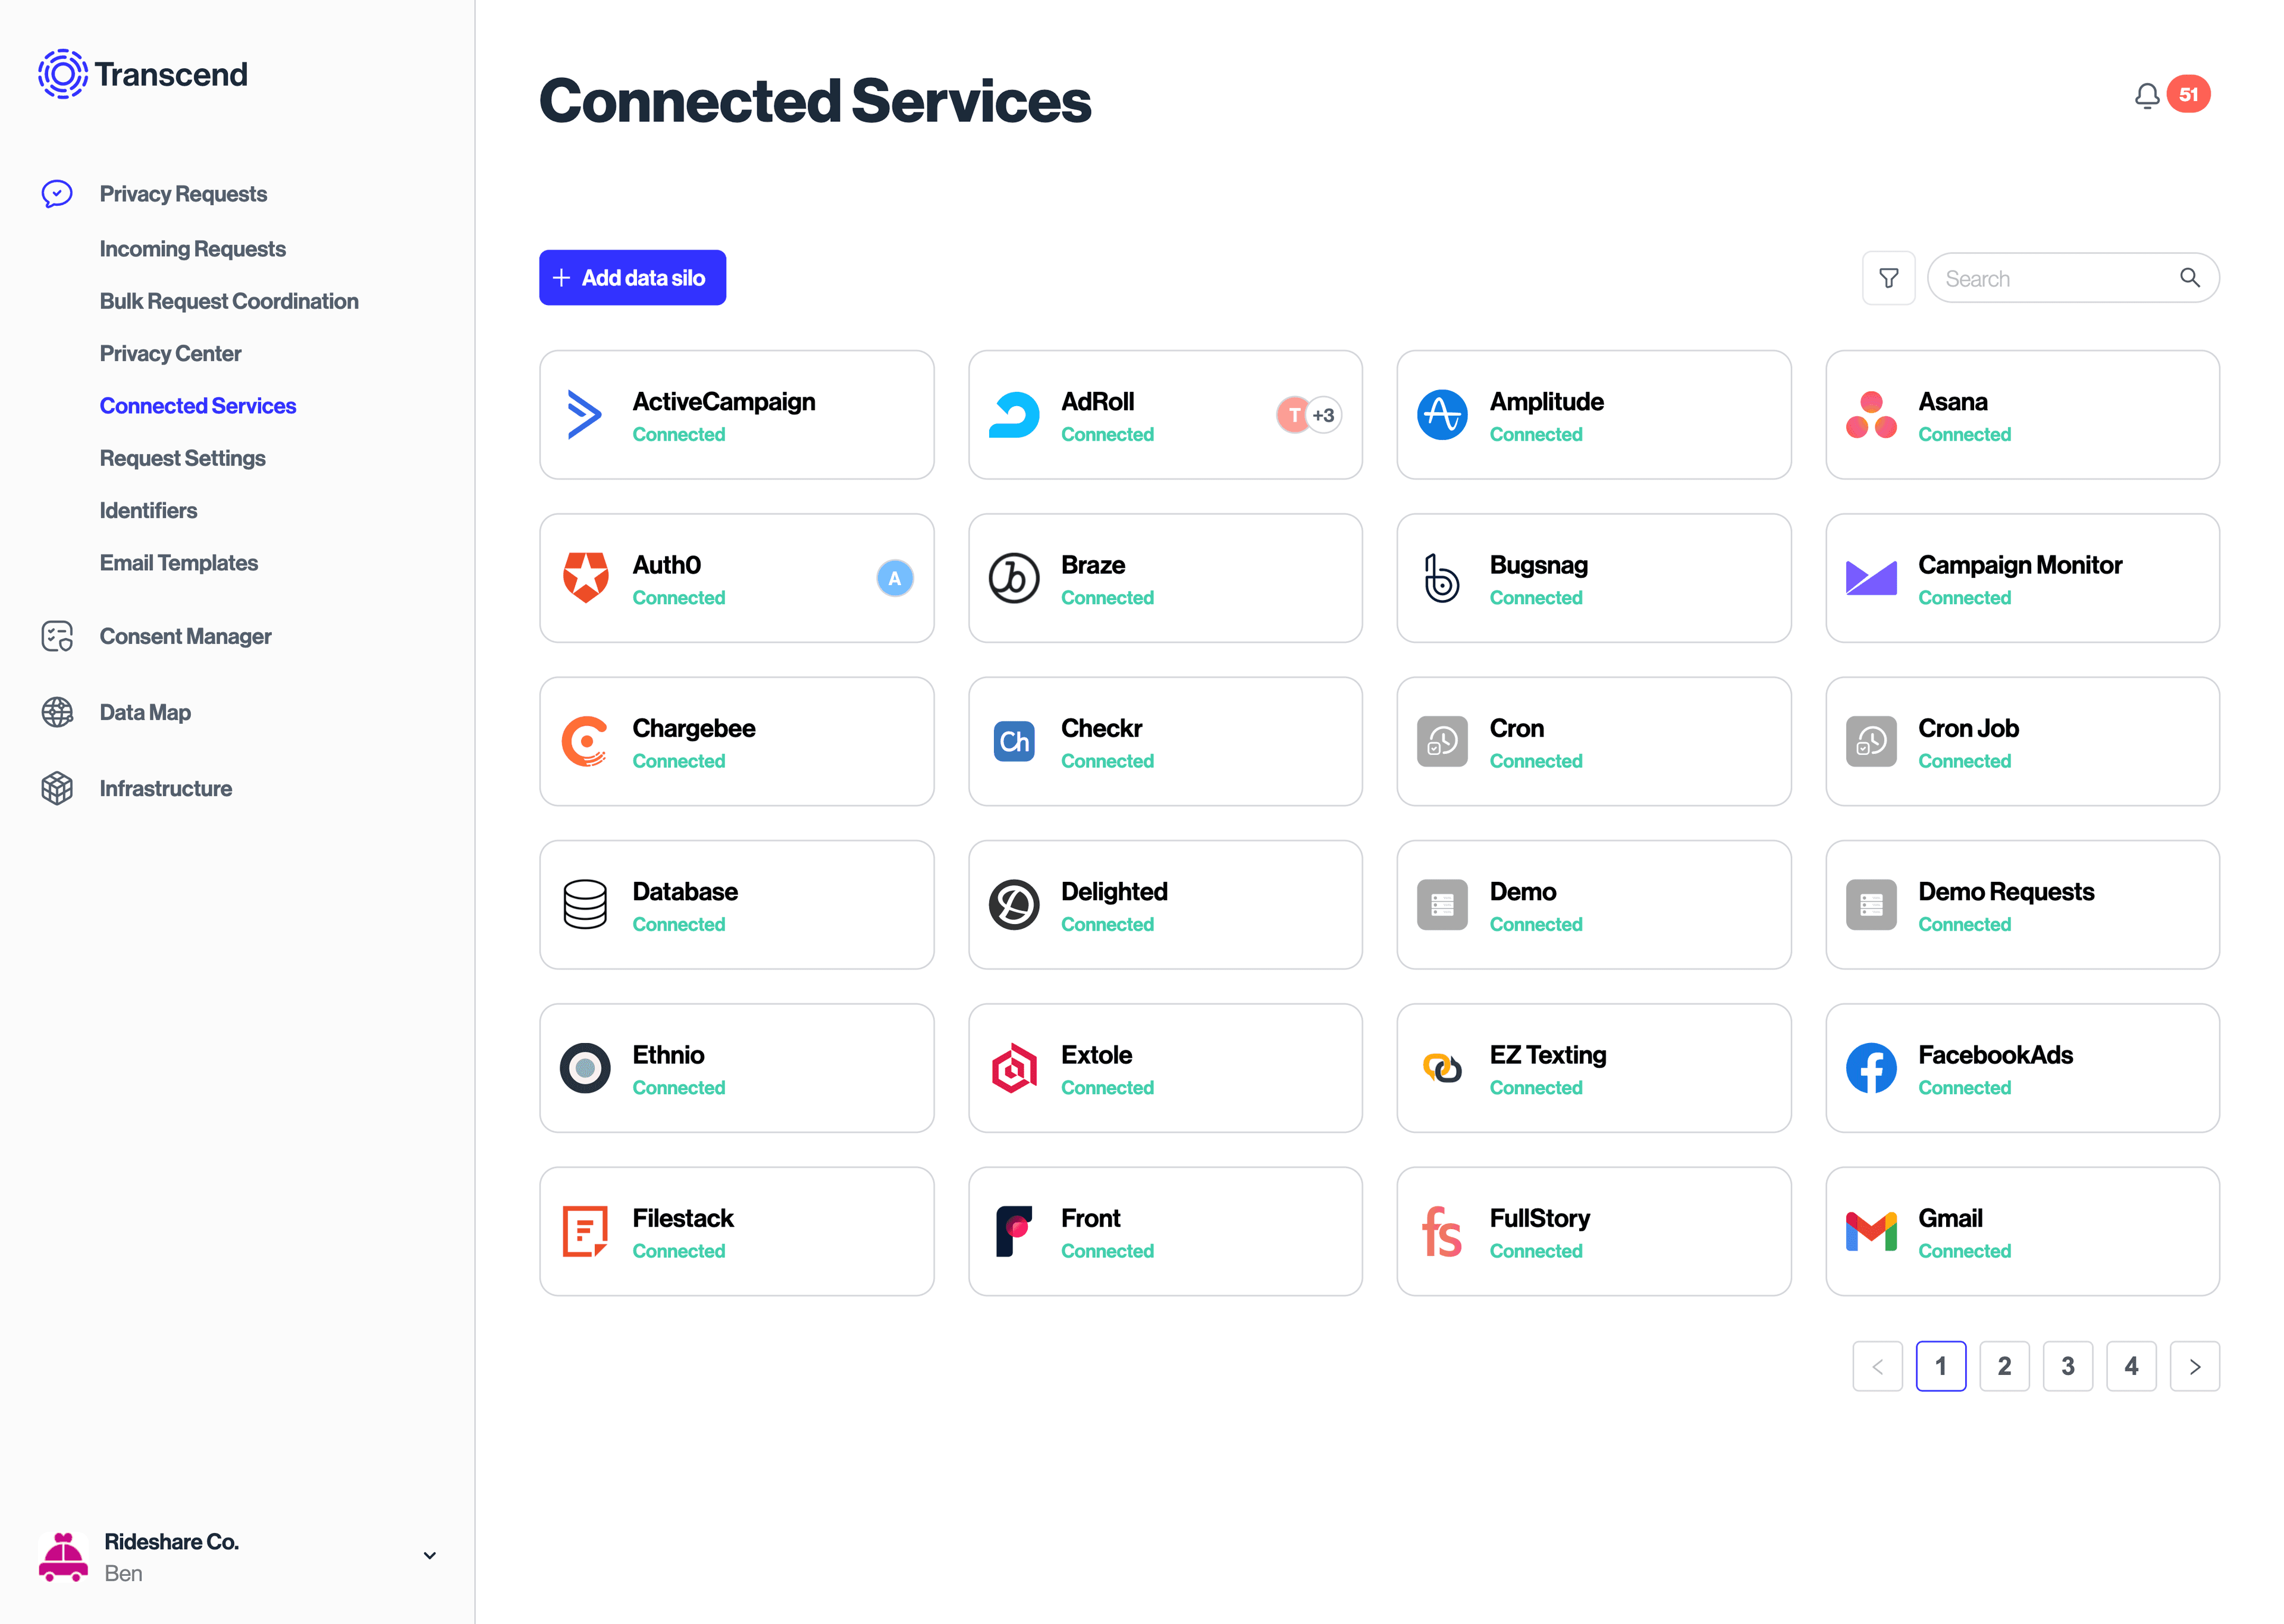
Grow Your Integrations
Over time, you may find the need to automate parts of the deletion request workflow and build up a larger set of systems to delete from. See Connecting SaaS Tools and Connect a Server: HTTP API for more information.
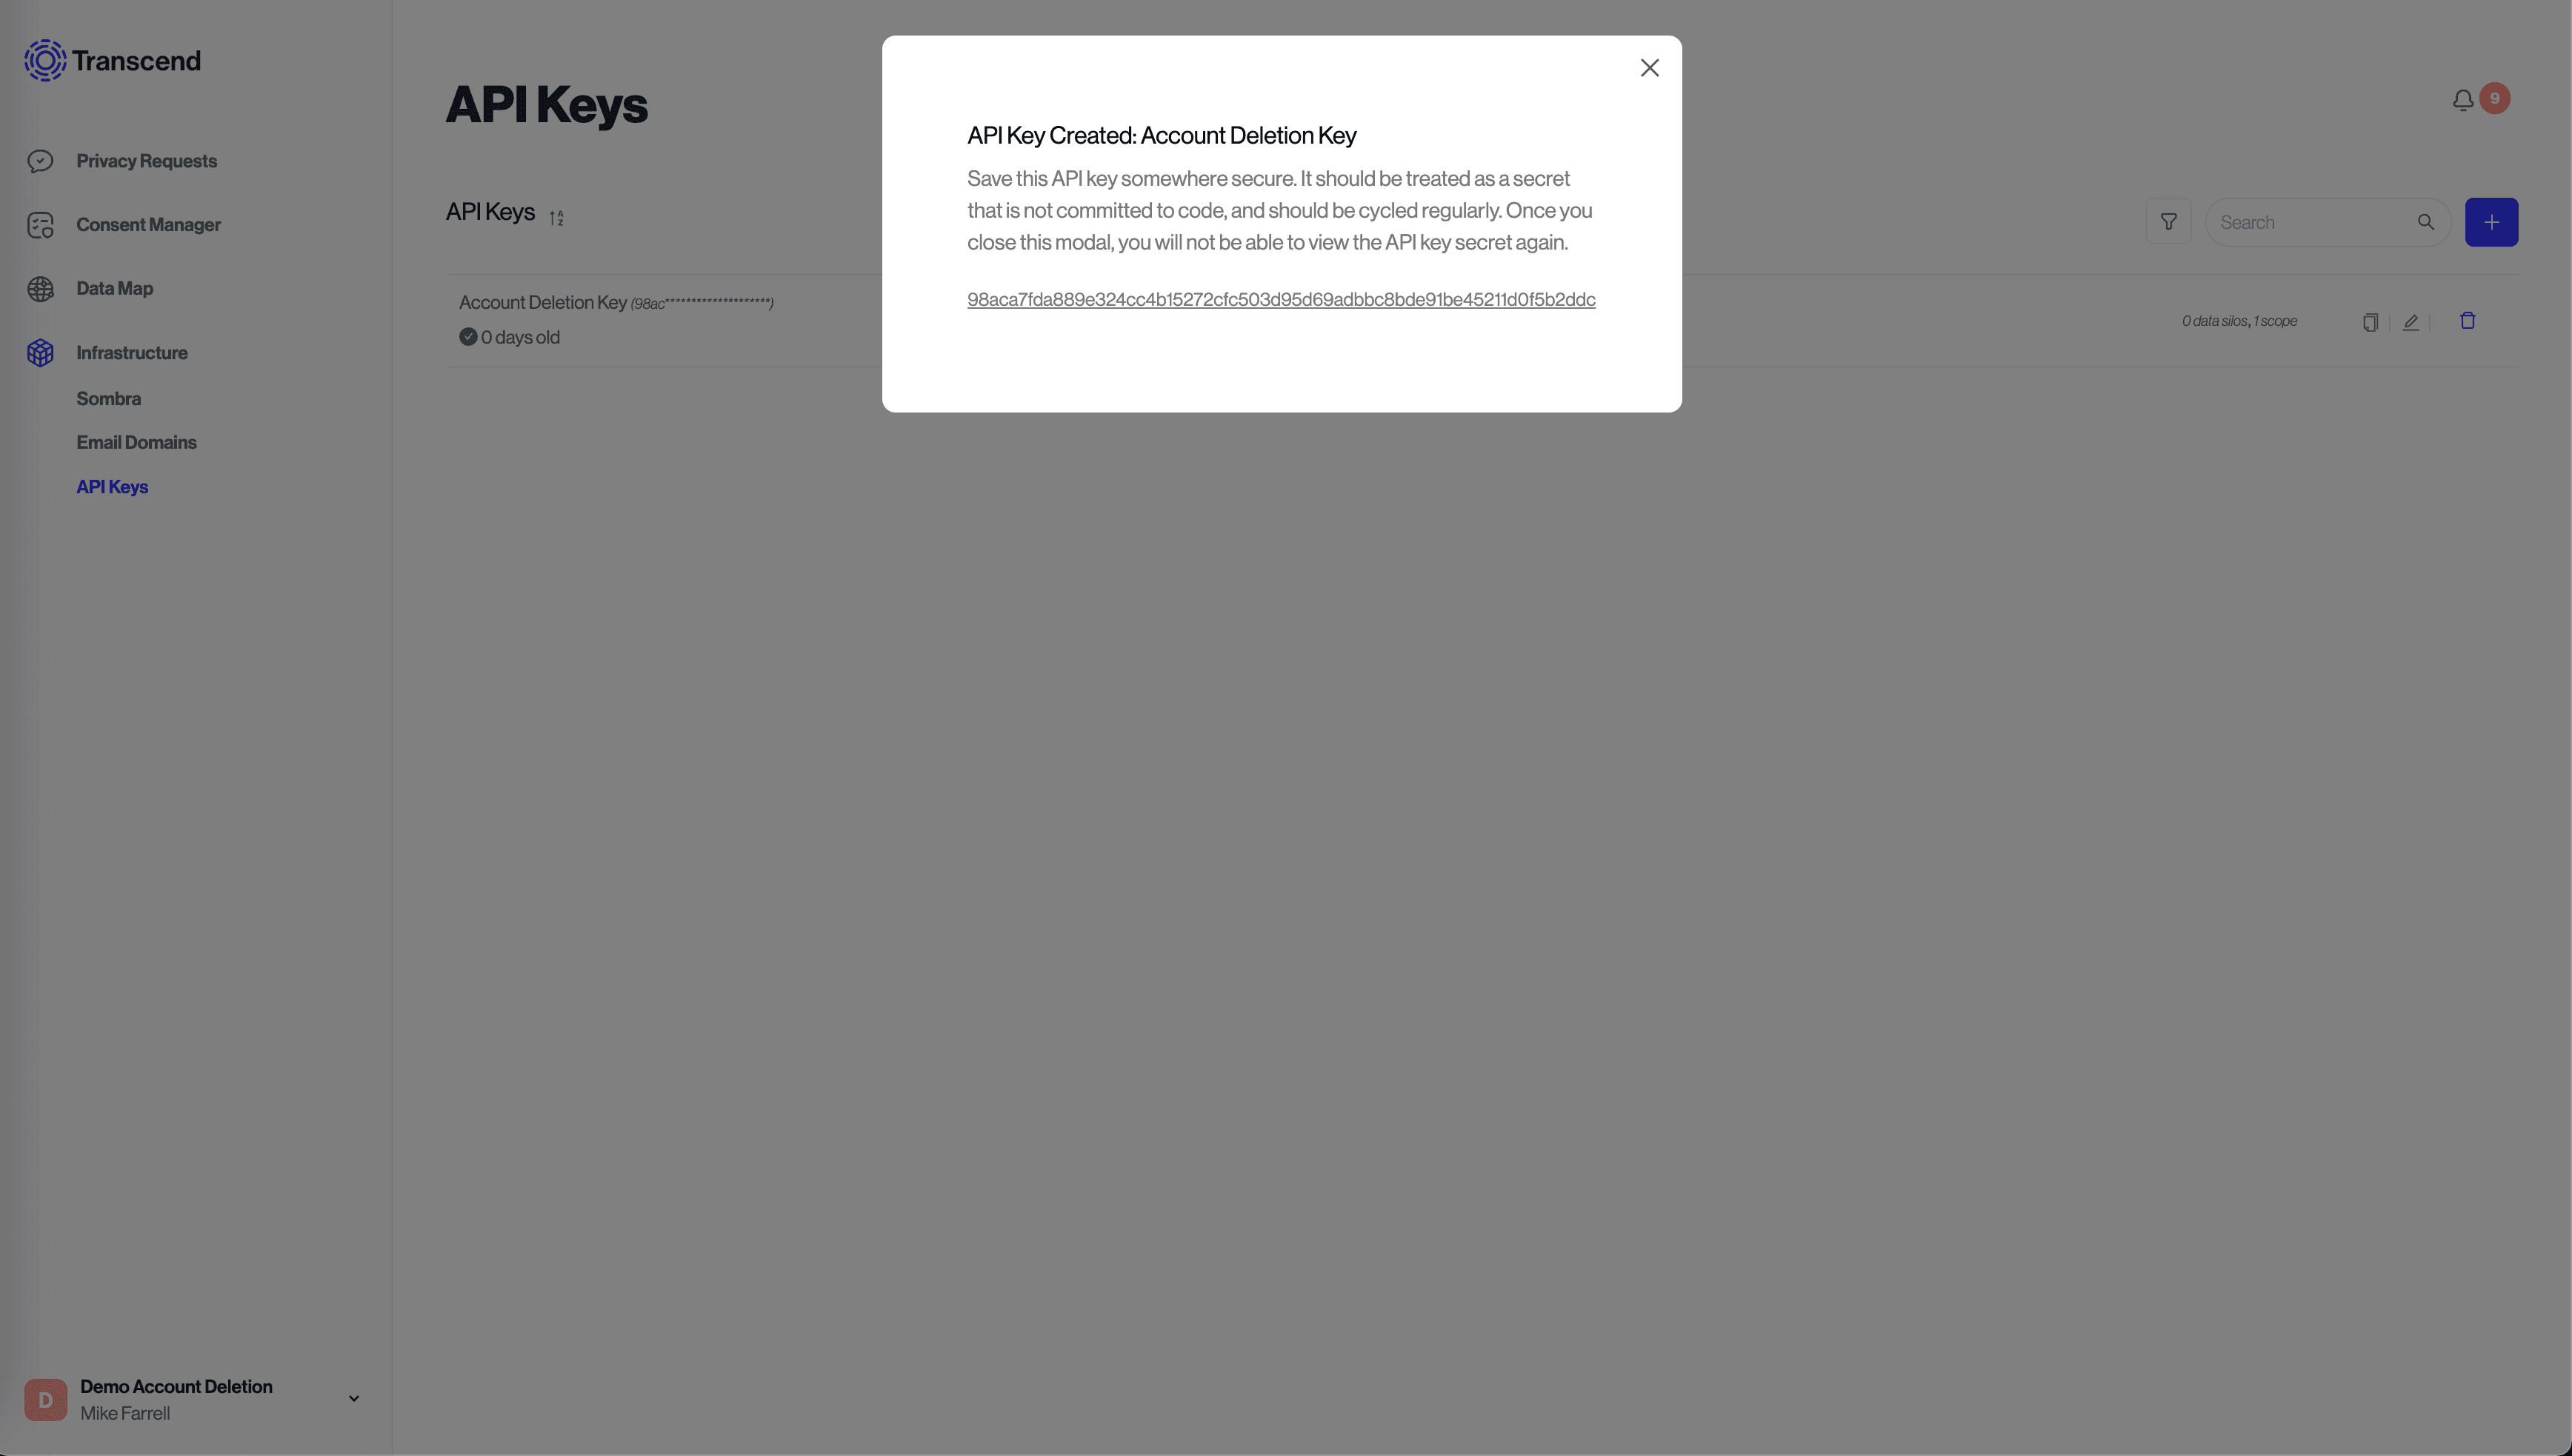
Go to the API Keys section of the dashboard and create a new API key with the scope "Submit New Data Subject Request".
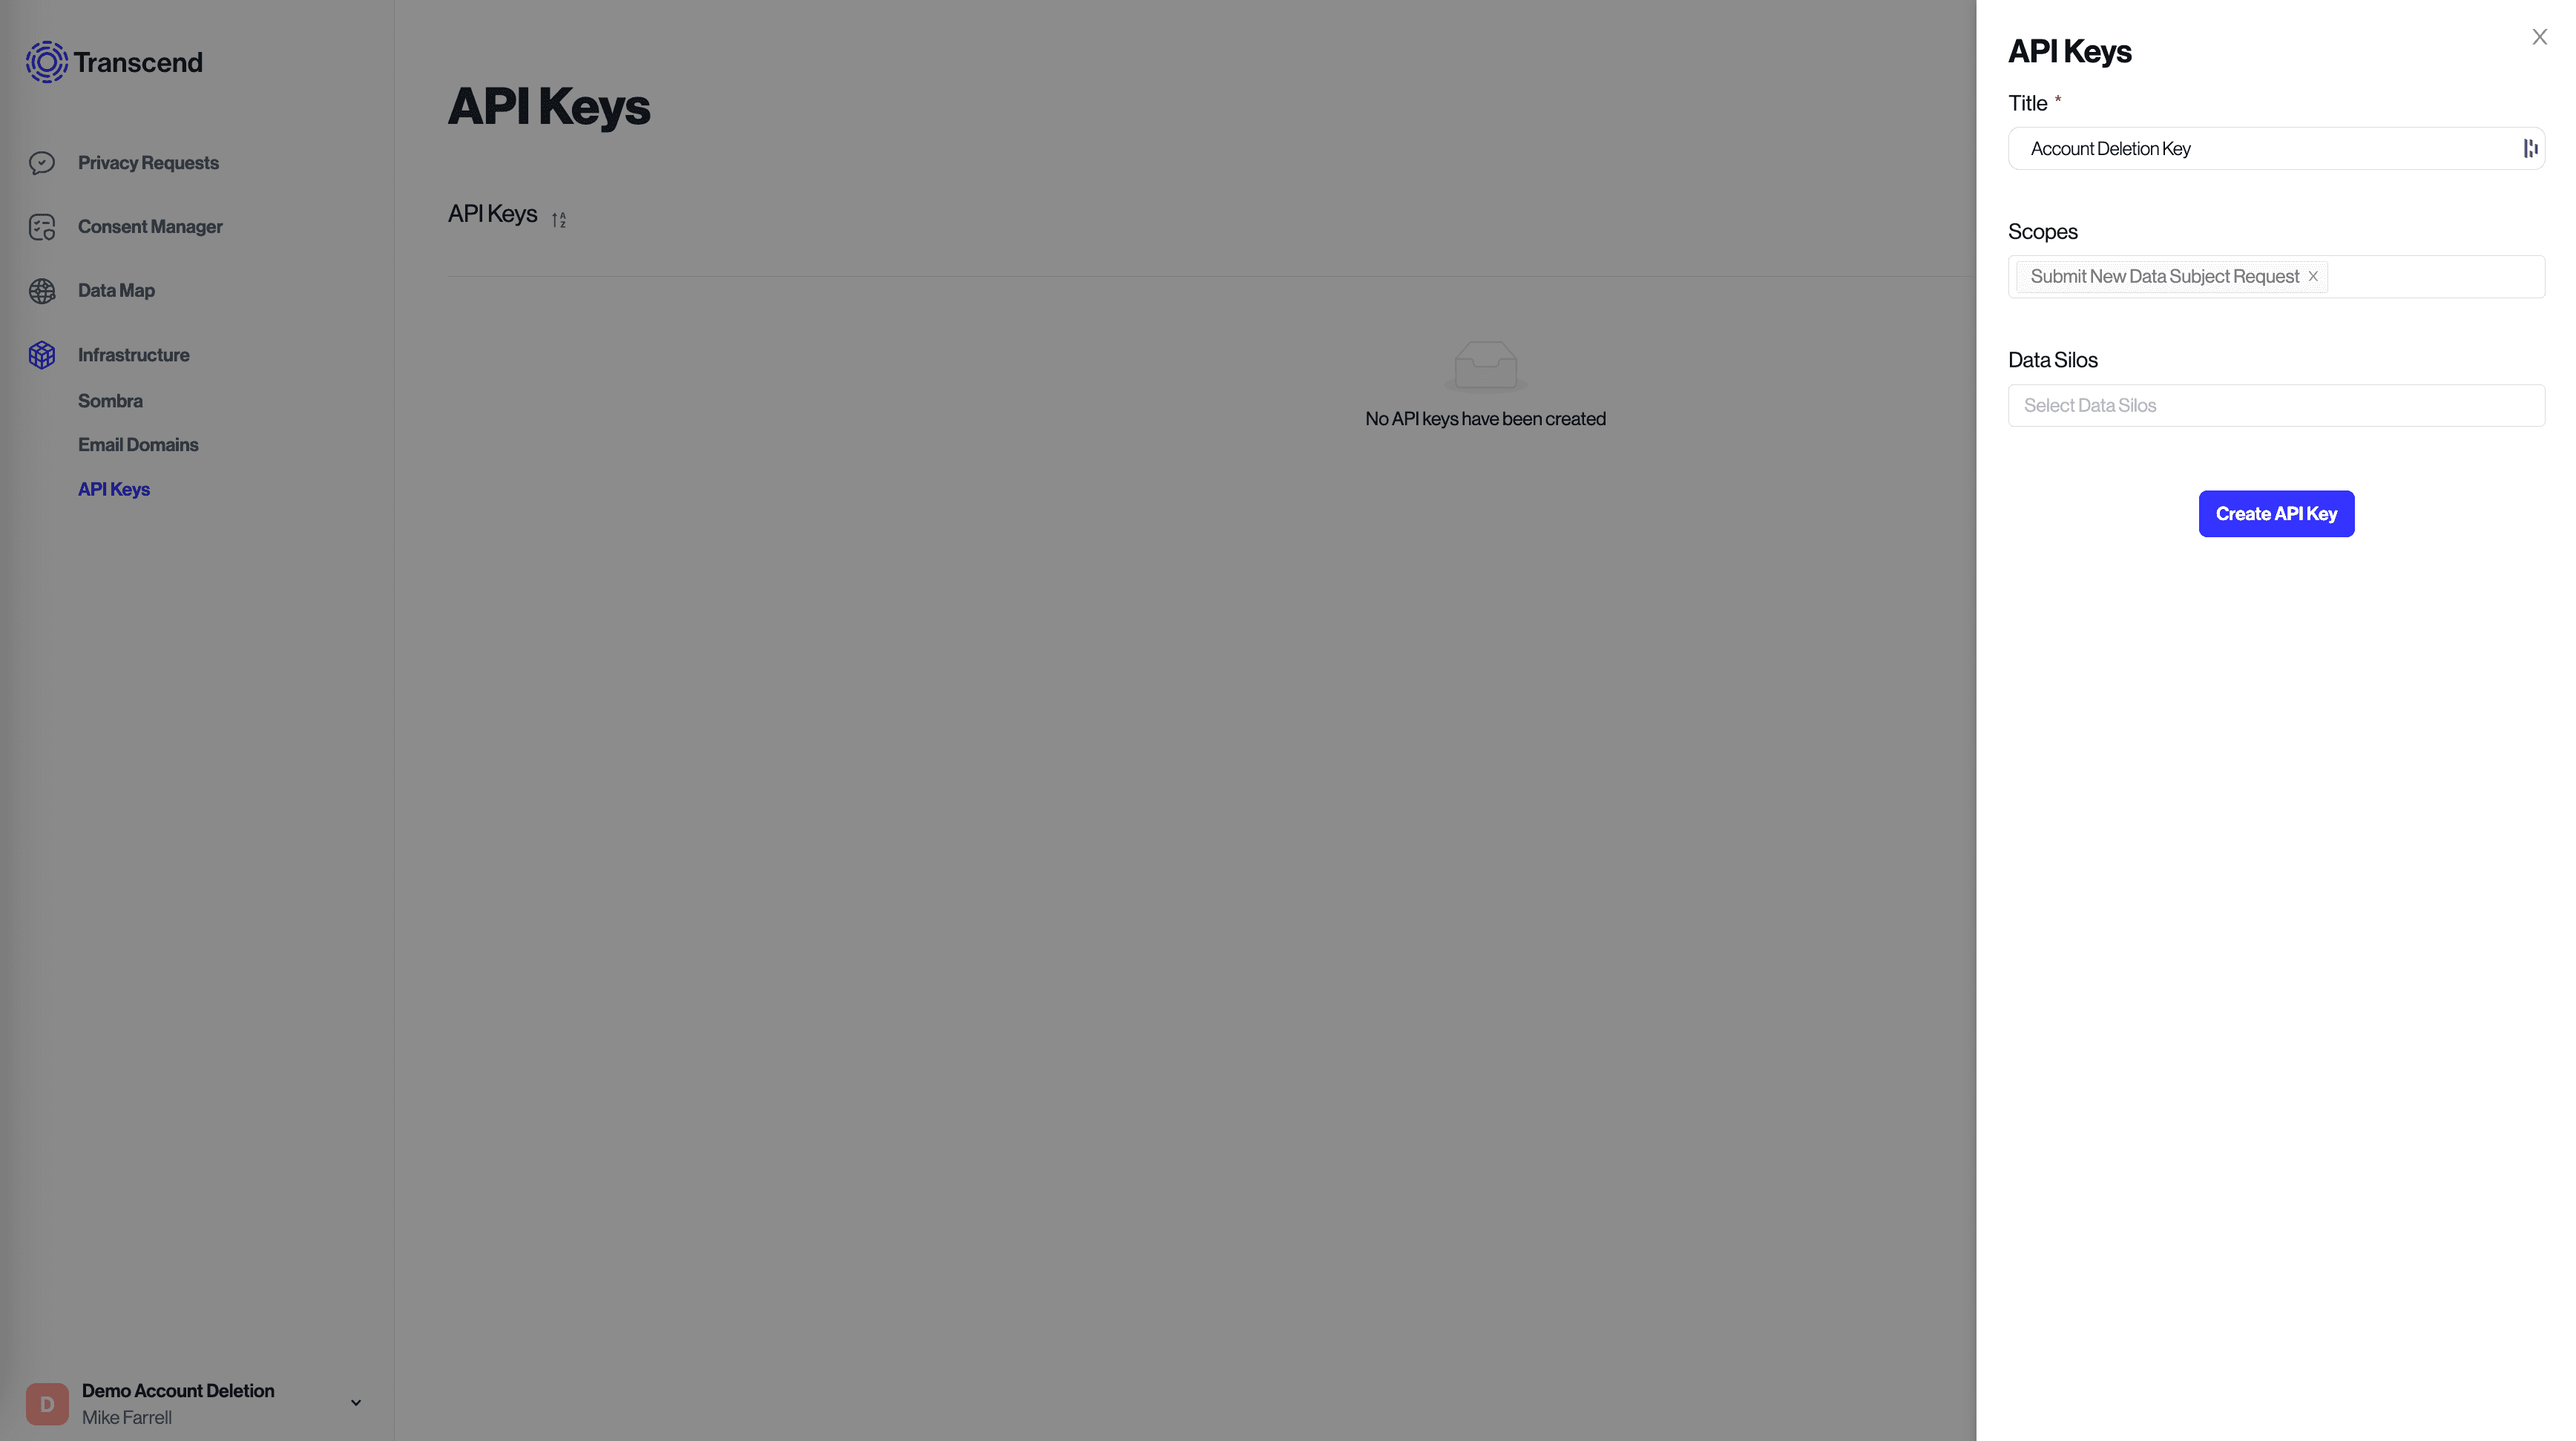
Save this API key somewhere safe. You will need access to this key from your backend.
Next, build an interface for your user's to request account deletion. You'll want to choose a place in your app to add this button, but it's typically in the user settings page.
The interface can be as simple as a button, however, you may want to add additional precautions to ensure the user is well aware of what they are doing. Some suggestions:
- Add warning text noting the action is irreversible.
- Make the button a popover confirmation.
- Disable the button until the user types in a phrase or confirms their password.
In the end, you should have something that looks like the following:
import React from 'react';
import { Button } from 'components';

const AccountDeletion: React.FC = () => (
  <React.Fragment>
    <h2>Delete my Account</h2>
    <p>
      Warning! This is an irreversible action. Your account and all of the
      associated data will be permanently deleted.
    </p>
    <Button onClick={() => backendAccountDeletion()} />
  </React.Fragment>
);Endpoint reference: submit a DSR
Once the user clicks the button and confirms their request for account deletion, you should trigger a route on your backend to initiate the account deletion. That route should:
- Verify that the user's session and any additional proof of authentication required for account deletion
- Upload the deletion request to Transcend
- Log the user out of their account
Submitting the deletion request to Transcend is a single POST request using our API for DSR Automation. There are a few configurations that you may want:
Submit a data deletion request with a User ID and an email address. These user identifiers will be used to key data that should be deleted. The user will receive an email receipt confirming the processing of deleting their account has begun. They will also receive an email upon the completion of the request.
{
  "headers": {
    "authorization": "Bearer <<apiKey>>",
    "content-type": "application/json"
  },
  "url": "https://multi-tenant.sombra.transcend.io/v1/data-subject-request",
  "method": "POST",
  "body": {
    "subject": {
      "coreIdentifier": "bfd219b5-19ce-4c32-a6cc-b8b0b2ba7fb7",
      "email": "jane@transcend.io",
      "emailIsVerified": true
    },
    "subjectType": "customer",
    "type": "ERASURE"
  }
}Set the emailIsVerified flag to false if you would like Transcend to send a 2FA confirmation link to the user before beginning the process of deleting their account,
{
  "headers": {
    "authorization": "Bearer <<apiKey>>",
    "content-type": "application/json"
  },
  "url": "https://multi-tenant.sombra.transcend.io/v1/data-subject-request",
  "method": "POST",
  "body": {
    "subject": {
      "coreIdentifier": "bfd219b5-19ce-4c32-a6cc-b8b0b2ba7fb7",
      "email": "jane@transcend.io",
      "emailIsVerified": false
    },
    "subjectType": "customer",
    "type": "ERASURE"
  }
}If you want to notify the user using a specific email template, rather than the default template for the workflow, specify the emailReceiptTemplateId option.
{
  "headers": {
    "authorization": "Bearer <<apiKey>>",
    "content-type": "application/json"
  },
  "url": "https://multi-tenant.sombra.transcend.io/v1/data-subject-request",
  "method": "POST",
  "body": {
    "subject": {
      "coreIdentifier": "bfd219b5-19ce-4c32-a6cc-b8b0b2ba7fb7",
      "email": "jane@transcend.io",
      "emailIsVerified": true
    },
    "subjectType": "customer",
    "emailReceiptTemplateId": "9a558f86-51d4-4237-8c2d-494551991989",
    "type": "ERASURE"
  }
}
Read more about creating and managing Email Templates
You can disable emails entirely and use Transcend to process the request in the background.
{
  "headers": {
    "authorization": "Bearer <<apiKey>>",
    "content-type": "application/json"
  },
  "url": "https://multi-tenant.sombra.transcend.io/v1/data-subject-request",
  "method": "POST",
  "body": {
    "subject": {
      "coreIdentifier": "bfd219b5-19ce-4c32-a6cc-b8b0b2ba7fb7",
      "email": "jane@transcend.io",
      "emailIsVerified": true
    },
    "subjectType": "customer",
    "type": "ERASURE",
    "isSilent": true
  }
}For more advanced workflows, you can pass additional identifiers. Configure these in the Identifiers section of the Admin Dashboard. The "Request Ingestion" preflight check must be configured for each of the identifiers specified in the attestedExtraIdentifiers field.
{
  "headers": {
    "authorization": "Bearer <<apiKey>>",
    "content-type": "application/json"
  },
  "url": "https://multi-tenant.sombra.transcend.io/v1/data-subject-request",
  "method": "POST",
  "body": {
    "subject": {
      "coreIdentifier": "bfd219b5-19ce-4c32-a6cc-b8b0b2ba7fb7",
      "email": "jane@transcend.io",
      "emailIsVerified": true,
      "attestedExtraIdentifiers": {
        "email": [{ "value": "another-email@example.com" }],
        "phone": [{ "value": "+13852904629" }],
        "custom": [{ "value": "mbrook", "name": "username" }]
      }
    },
    "subjectType": "customer",
    "type": "ERASURE"
  }
}
Check out our API Reference
Check out other inputs and examples in our API Reference.