Map and filter data flows
Add data flows between systems and filter the Data Lineage map in the Admin Dashboard.
This guide walks through adding data flows and filtering the map. For what Data Lineage is and when to use it, read Data Lineage.
Before you start
You need all of the following:
- Early Access turned on for Data Lineage.
- At least two data systems in Data Inventory → Inventory → Data Systems.
- Permission to manage data systems if you will add or remove flows.
Add data flows from the Data Systems table
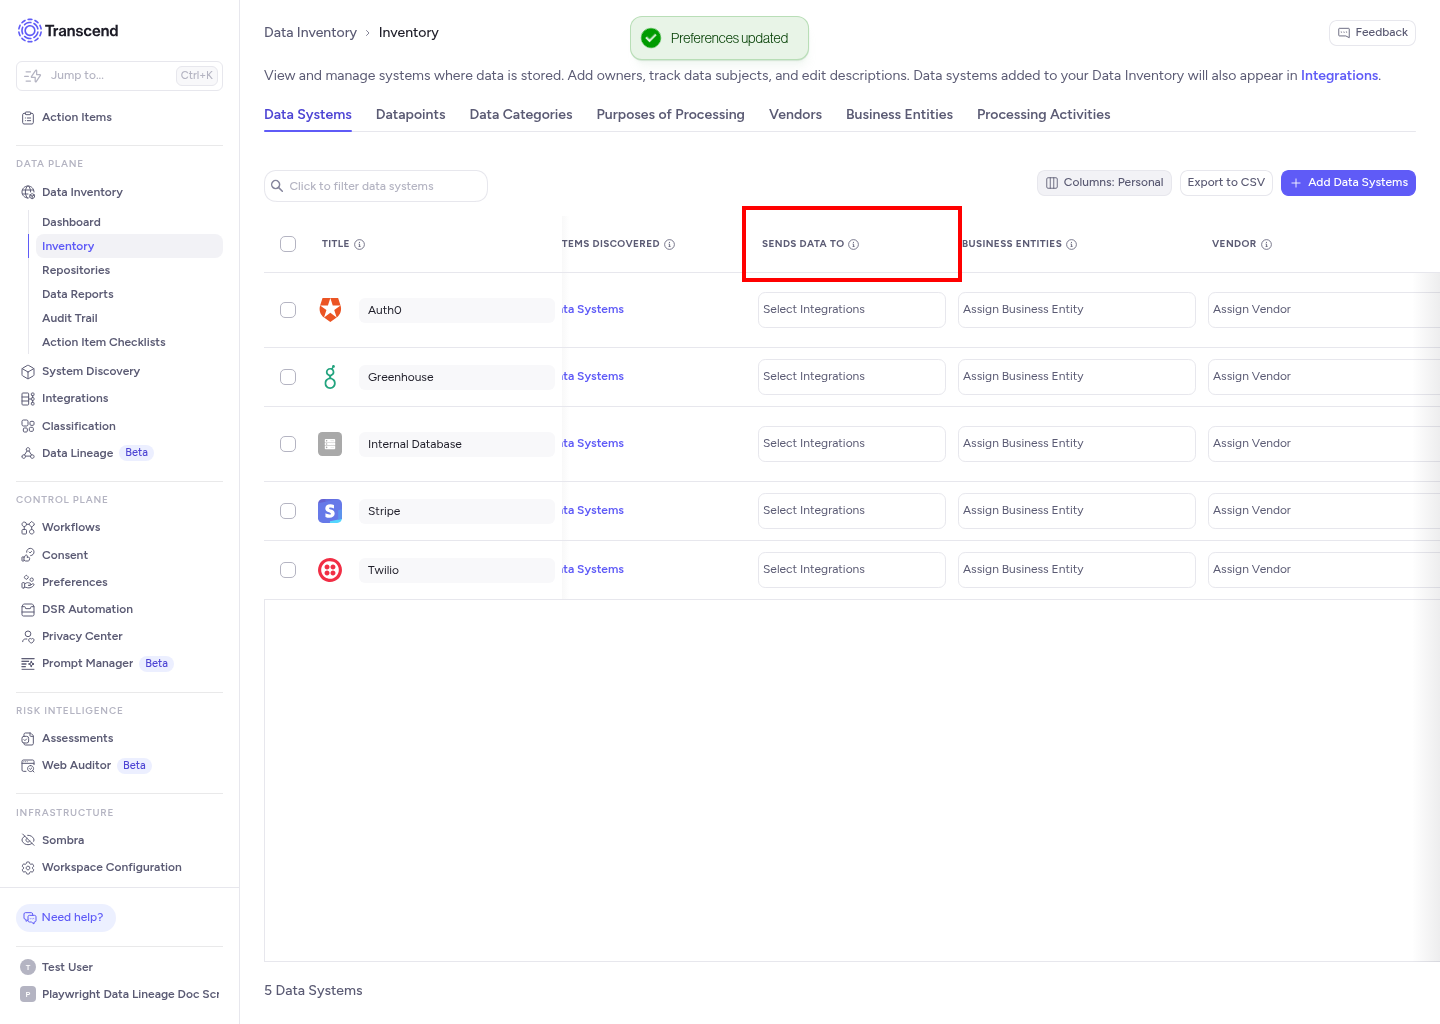
- In the Admin Dashboard, go to Data Inventory → Inventory → Data Systems.
- Open Columns and show the Sends Data To column if it is hidden.
- In the Sends Data To cell for a source system, select one or more receiving systems.
- Click outside the cell to save. The selections appear on the Data Lineage map.
Draw a data flow on the map
- Go to Data Inventory → Data Lineage.
- Drag from the handle on the right side of one data system card to the handle on the left side of another card.
- Release the mouse. A Connection added message confirms the save.
The new arrow matches an update to Sends Data To on the Data Systems table.
Remove a data flow
- On Data Lineage, click an arrow to select it.
- Click the delete control on the arrow.
- A Connection deleted message confirms the removal.
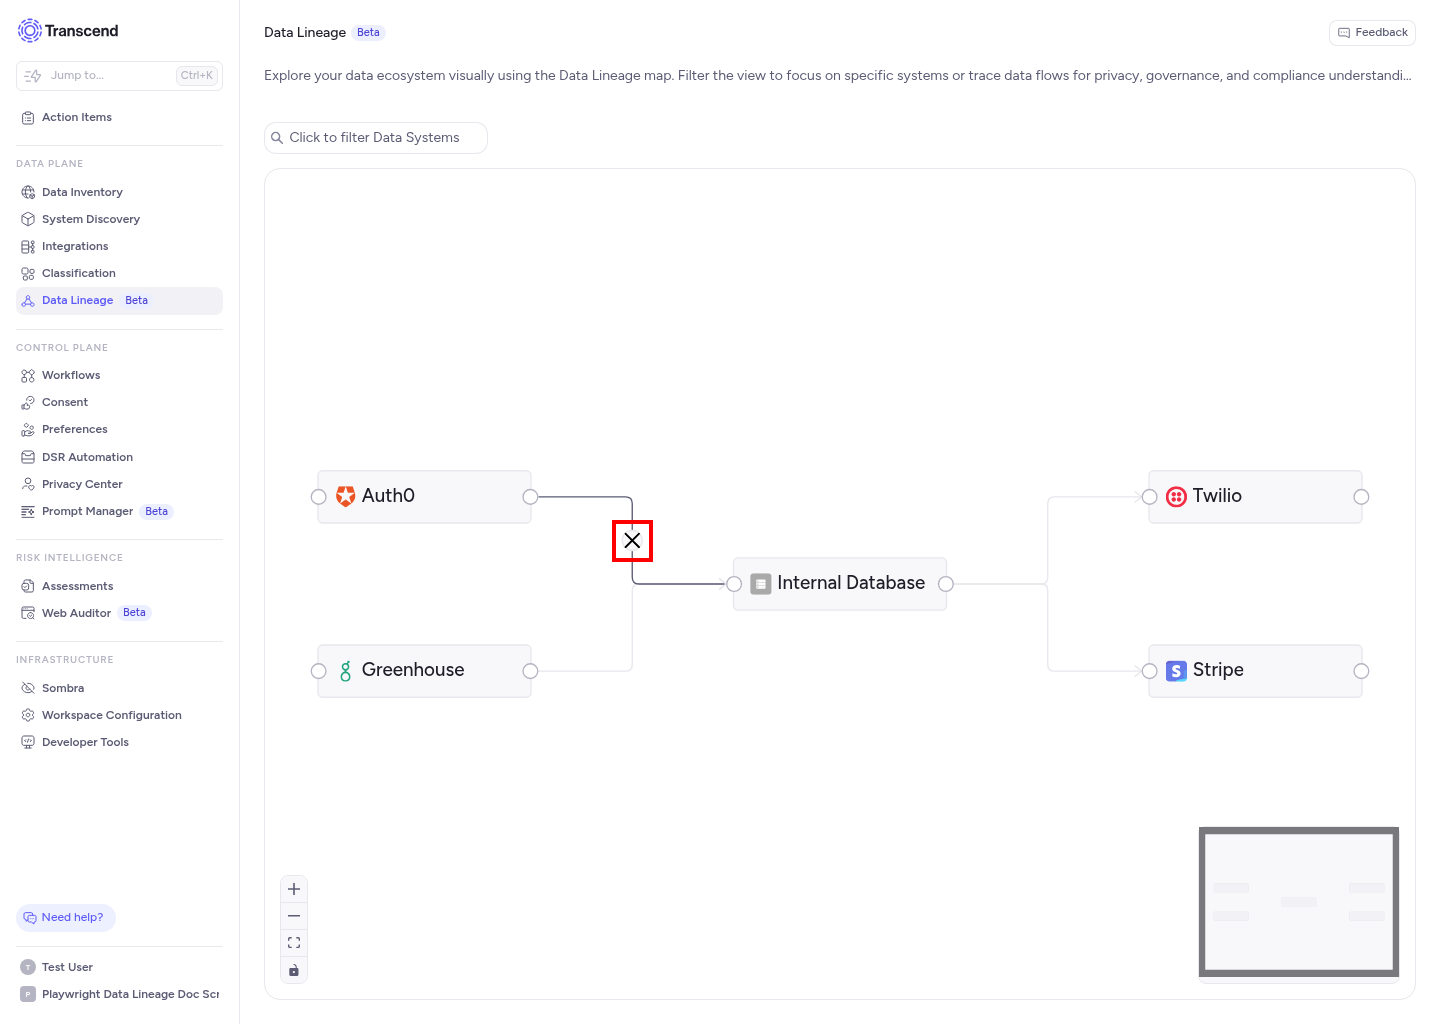
The matching entry in Sends Data To is removed on the Data Systems table.
Filter the map
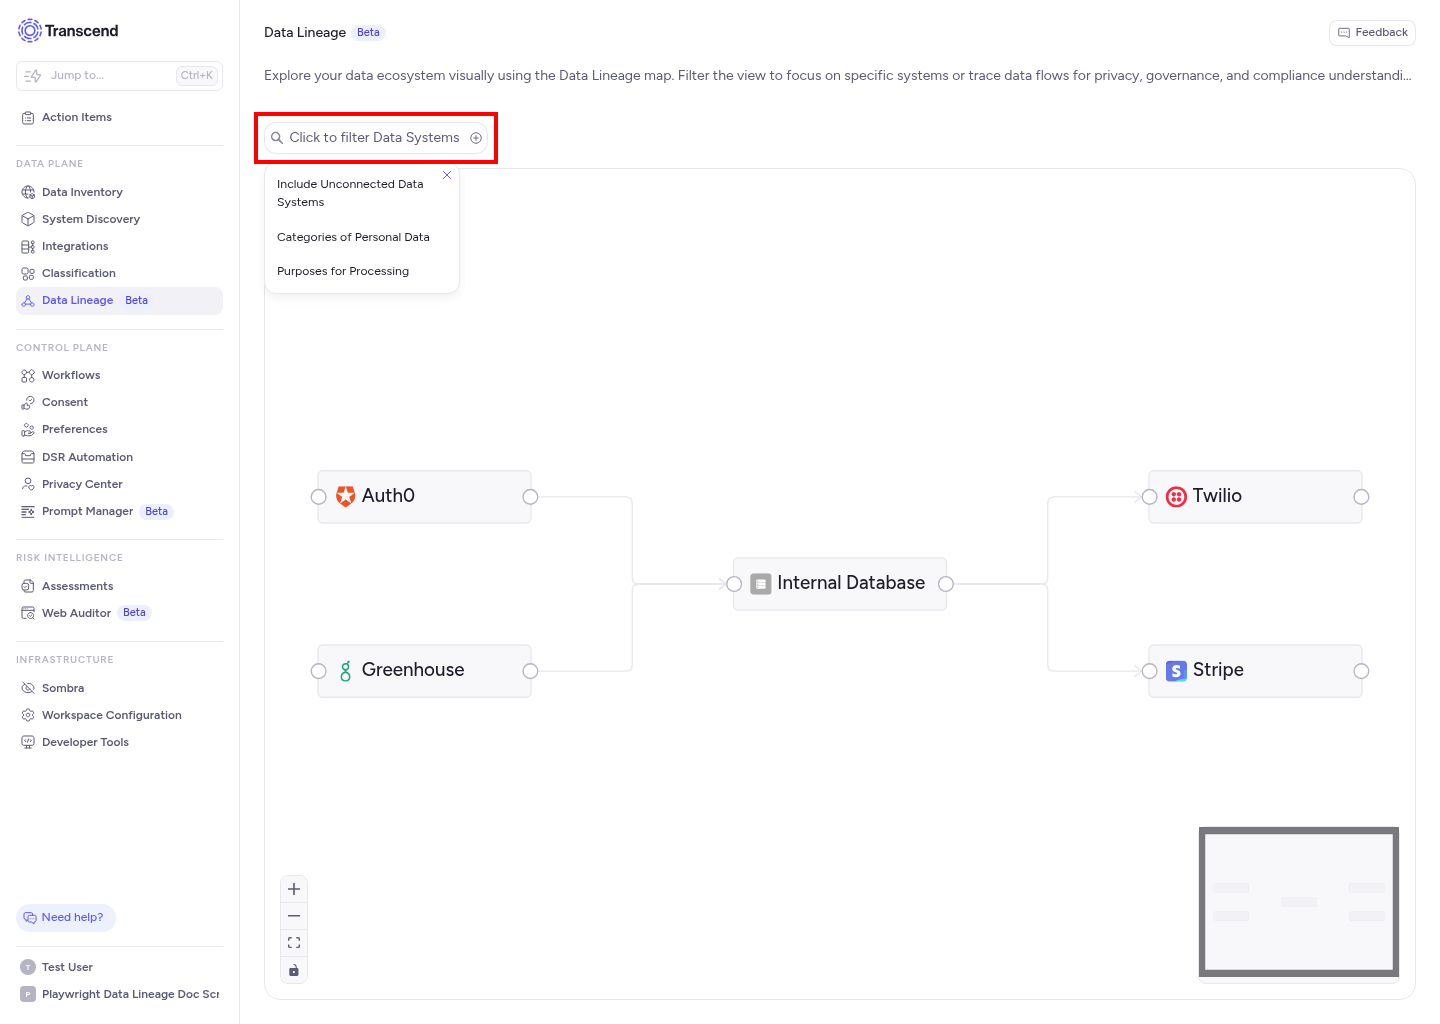
- On Data Lineage, click the filter bar (Click to filter Data Systems).
- Add Categories of Personal Data, Purposes for Processing, or Include Unconnected Data Systems as needed.
- Close the filter popover. The map updates to show only matching connected systems, or unconnected systems when that option is on.
Show data systems with no flows
When no data flows exist yet, the map is empty.
- Go to Data Inventory → Data Lineage.
- Click Show unconnected data systems, or turn on Include Unconnected Data Systems in the filter bar.
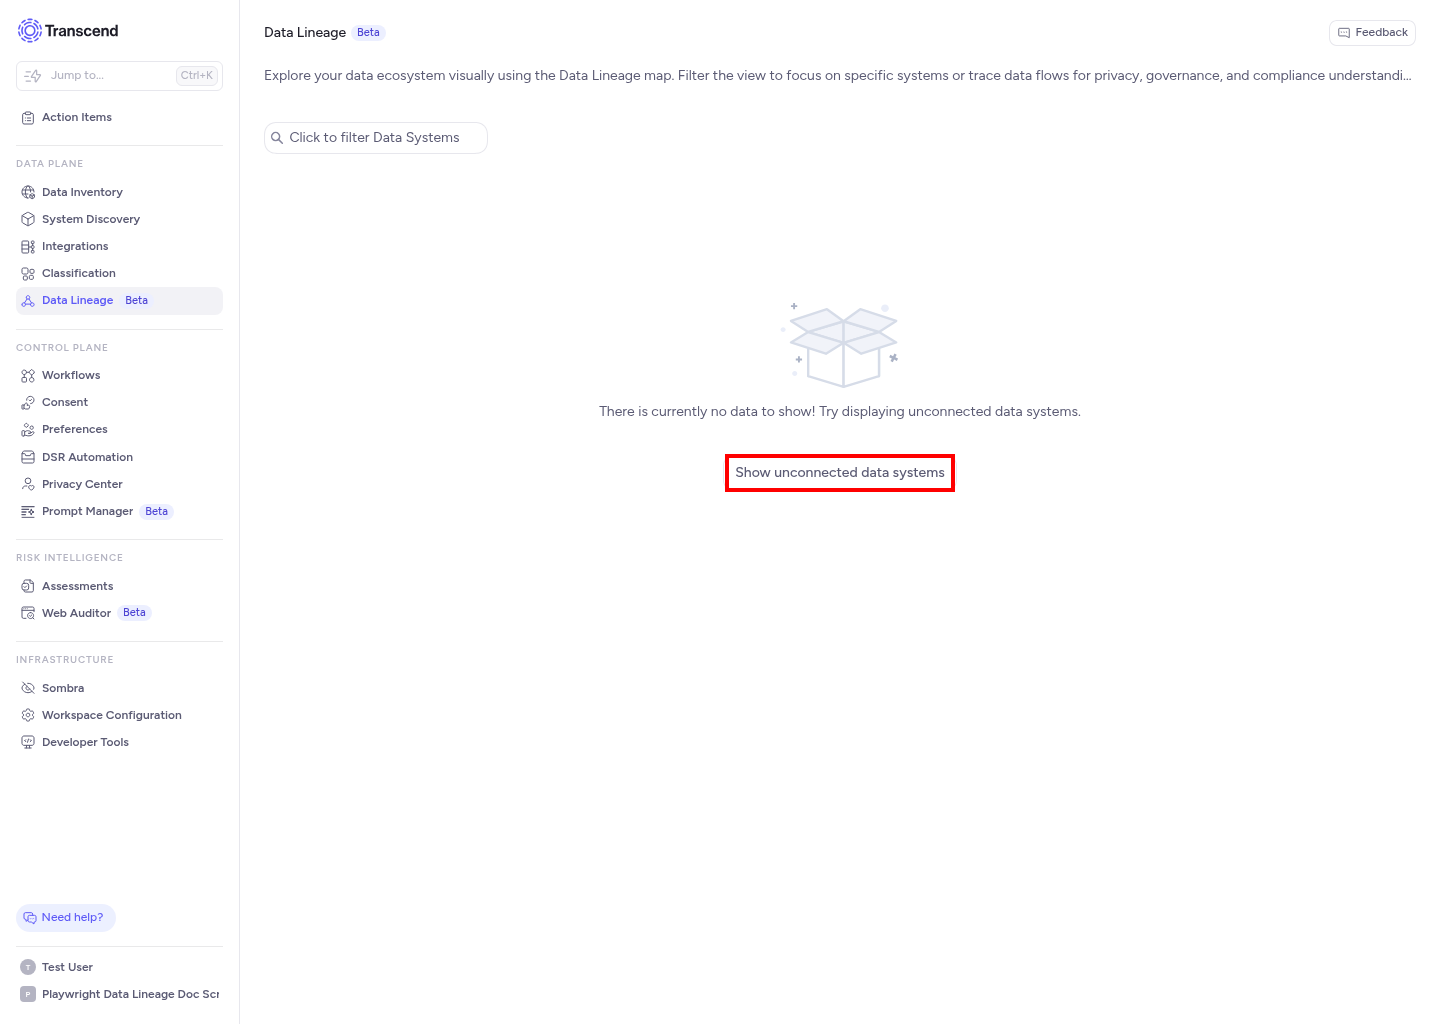
You can then draw new arrows or set Sends Data To on the Data Systems table.