Assessments Quickstart Guide
This document will outline the creation, sharing, review, and finalization of assessments. It should serve as a primer on including assessments as part of your data privacy program.
Within the "Assessments" page, you have the option of either importing your existing, completed assessments or creating new assessments based on templates. These groupings can be organized around your needs, such as by time (e.g., DPIA July 2024) or by orgs (e.g., AI Impact Assessment - Org ABC). Within these groups, you can then dynamically assign assessments.
Importing completed assessments requires mapping a number of different fields from external platforms to corresponding fields within Transcend. Since each platform is unique, we will work to support several platform-specific formats starting from the most popular ones.
For now, Transcend supports the ability to import OneTrust-formatted assessments. To import your OneTrust assessment templates in the Transcend App, navigate to "Templates", and click on "Import from CSV".
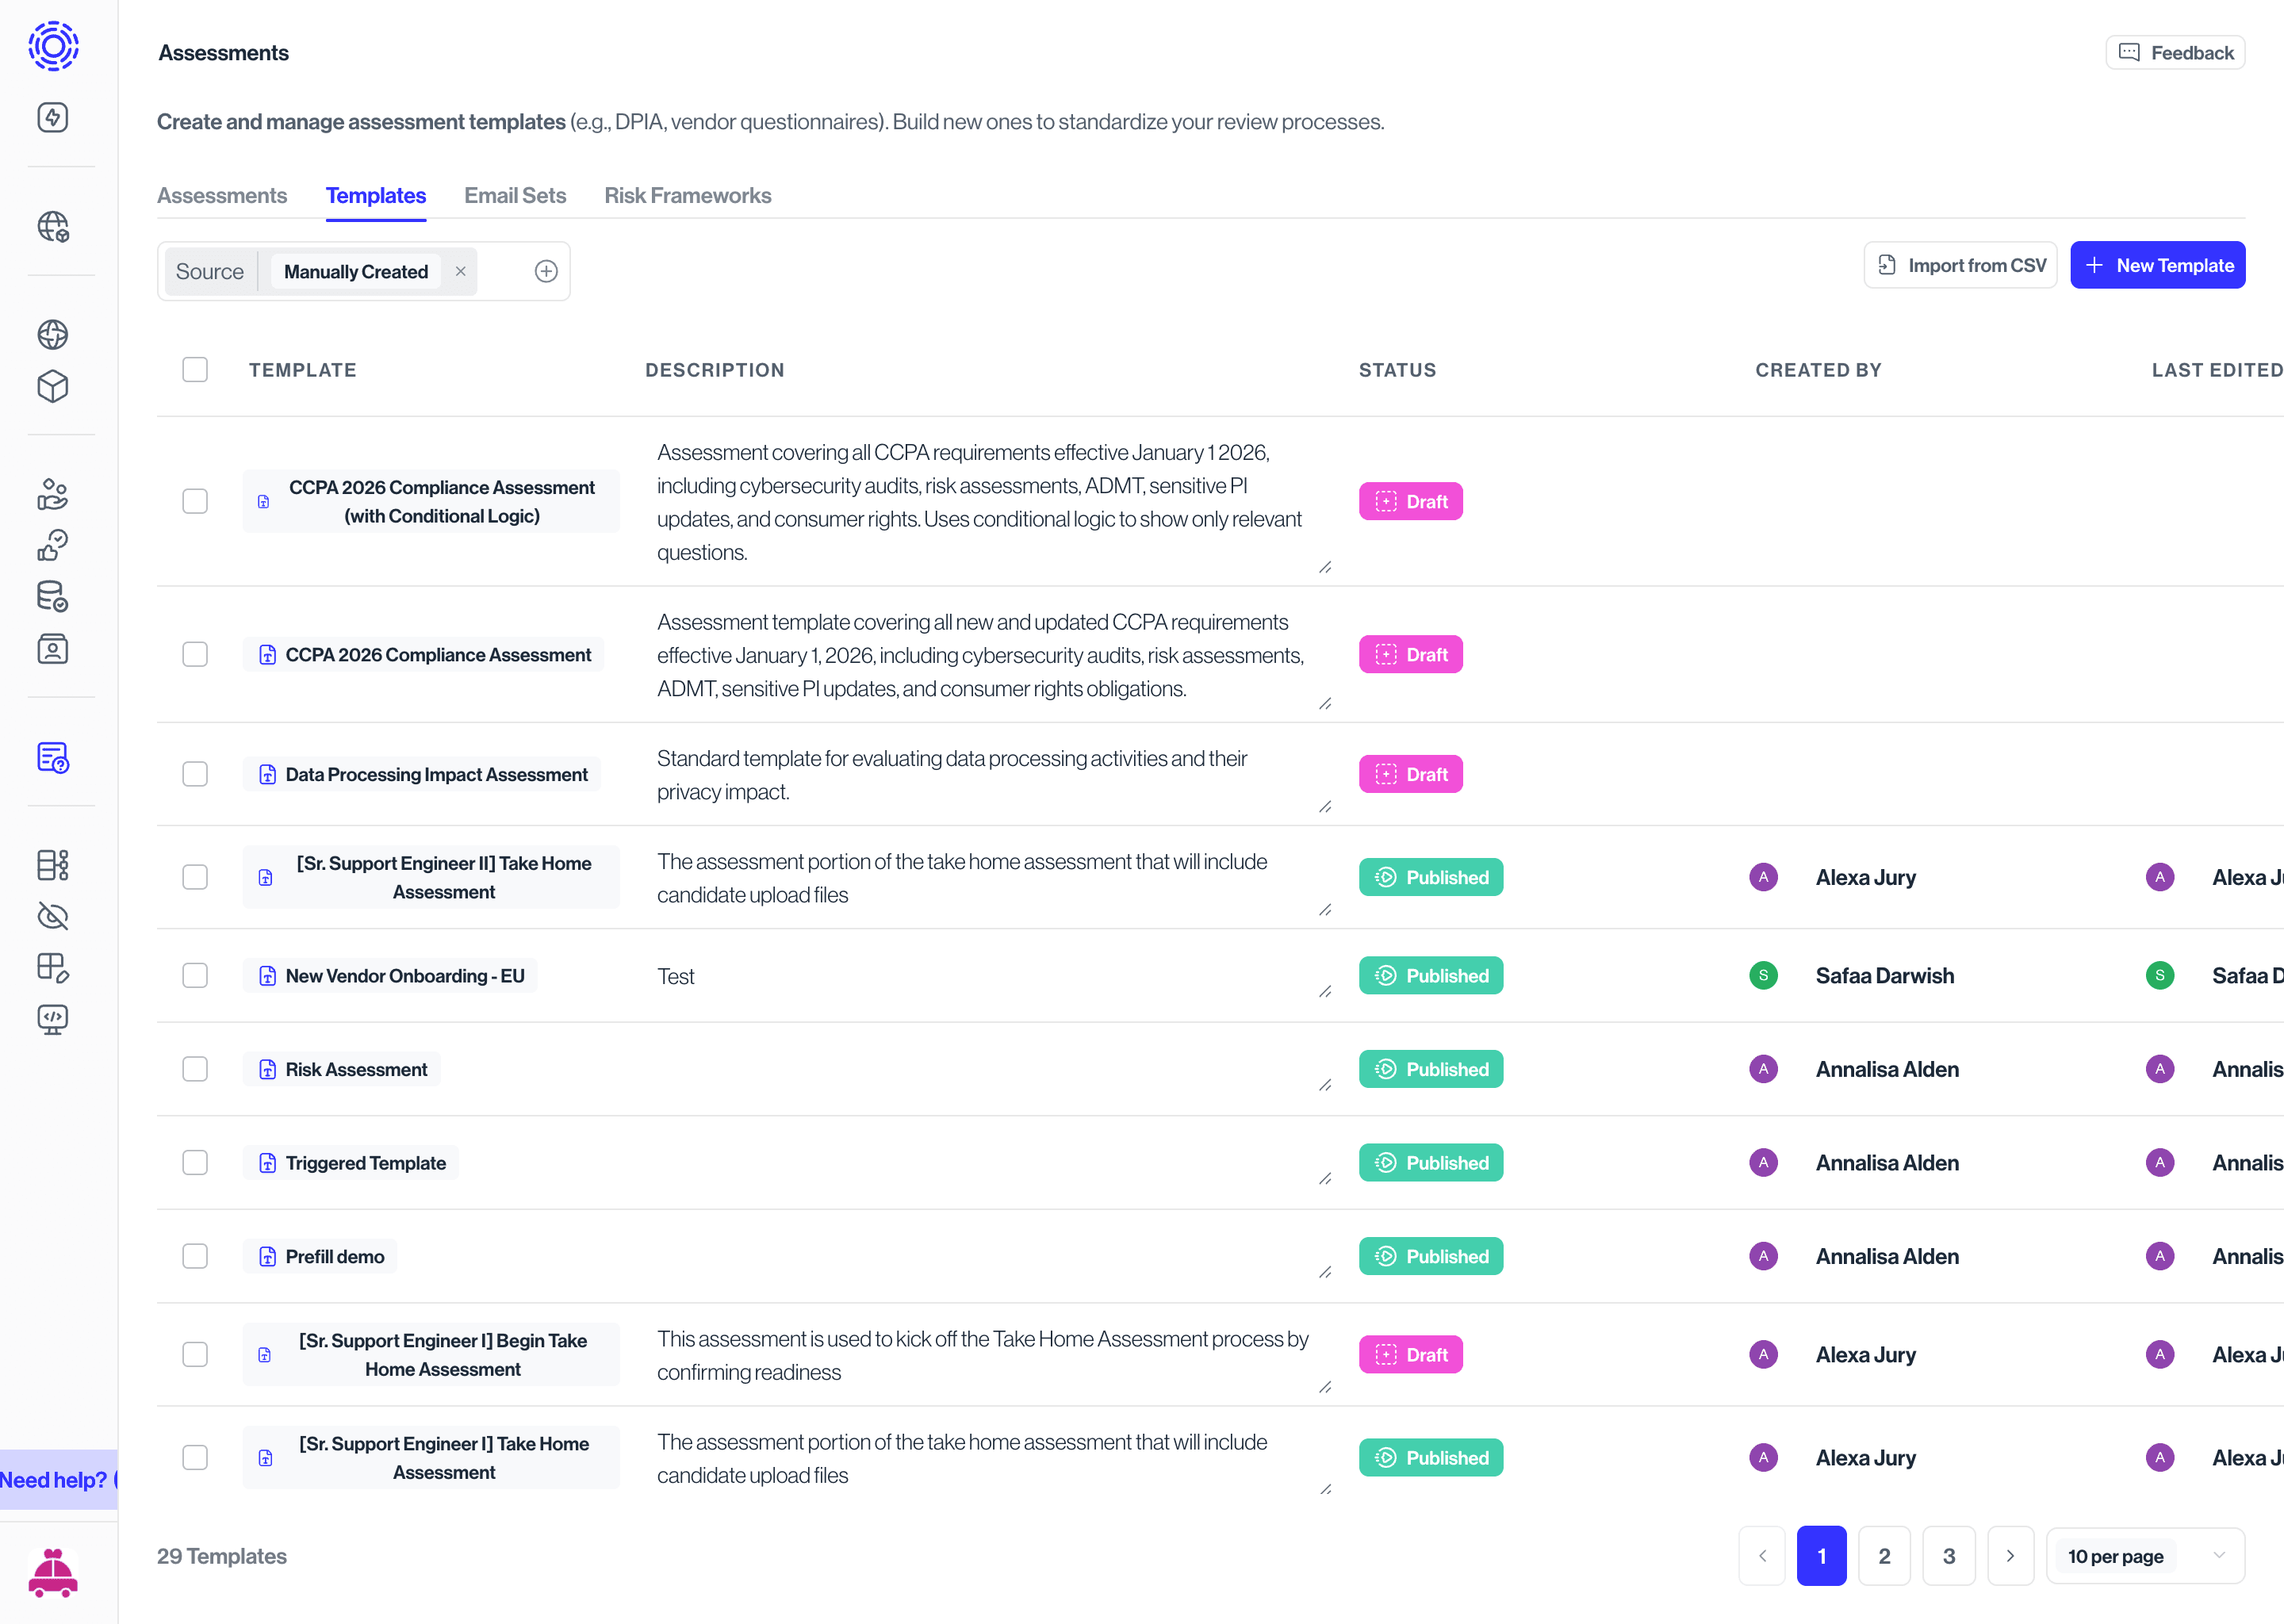
Here you will have the option to download the CSV template that should facilitate the mapping from OneTrust fields to Transcend fields.

In the CSV template, you will find all the information needed to correctly import your completed assessments. Please note that all of the prepopulated column headers relate to the metadata of the assessment. This metadata should be included in the assessments that you export from OneTrust.
After this section of metadata, the rest of the assessment is represented with each column corresponding to a separate question and each row corresponding to its answer.
Note: Assessments are based on templates. You can import or create your own templates under the "Templates" tab, or you can use some of the templates that are provided by default. For more instructions, review our Templates guide.
In the Assessments tab, click on the “New Assessment” button.
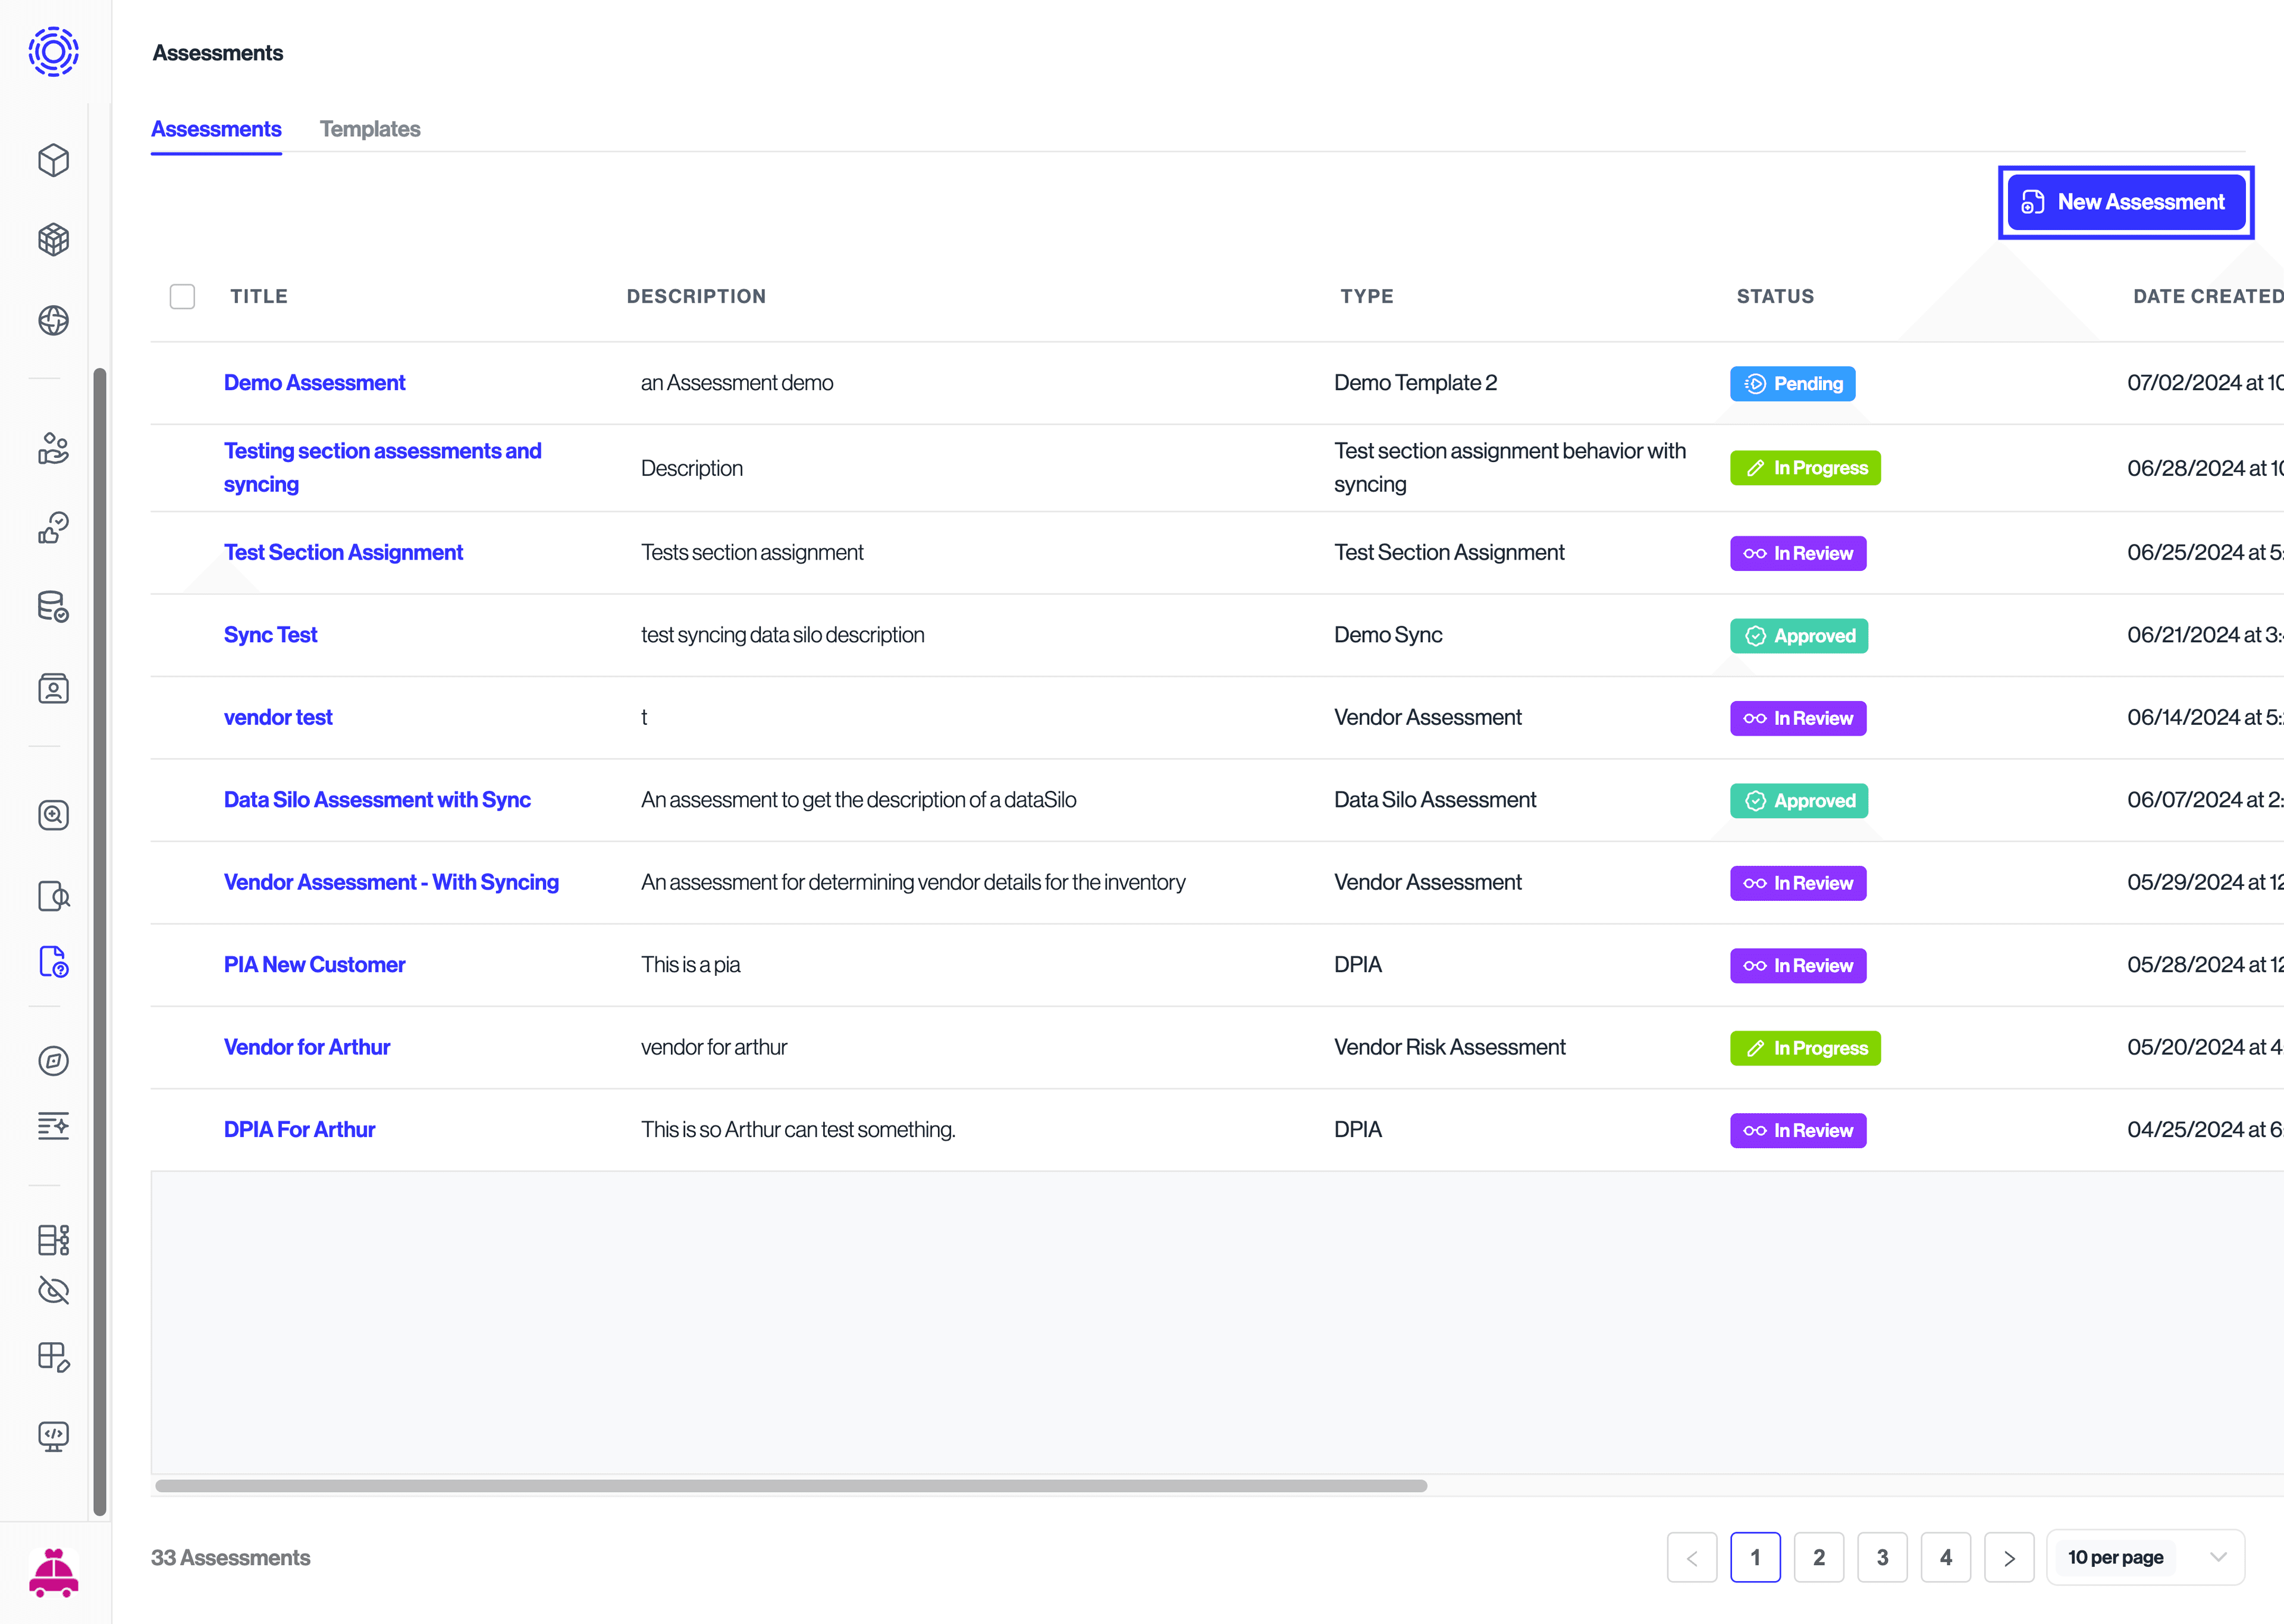
A modal will appear where you can edit the title and description of the assessment and associate a template to it.
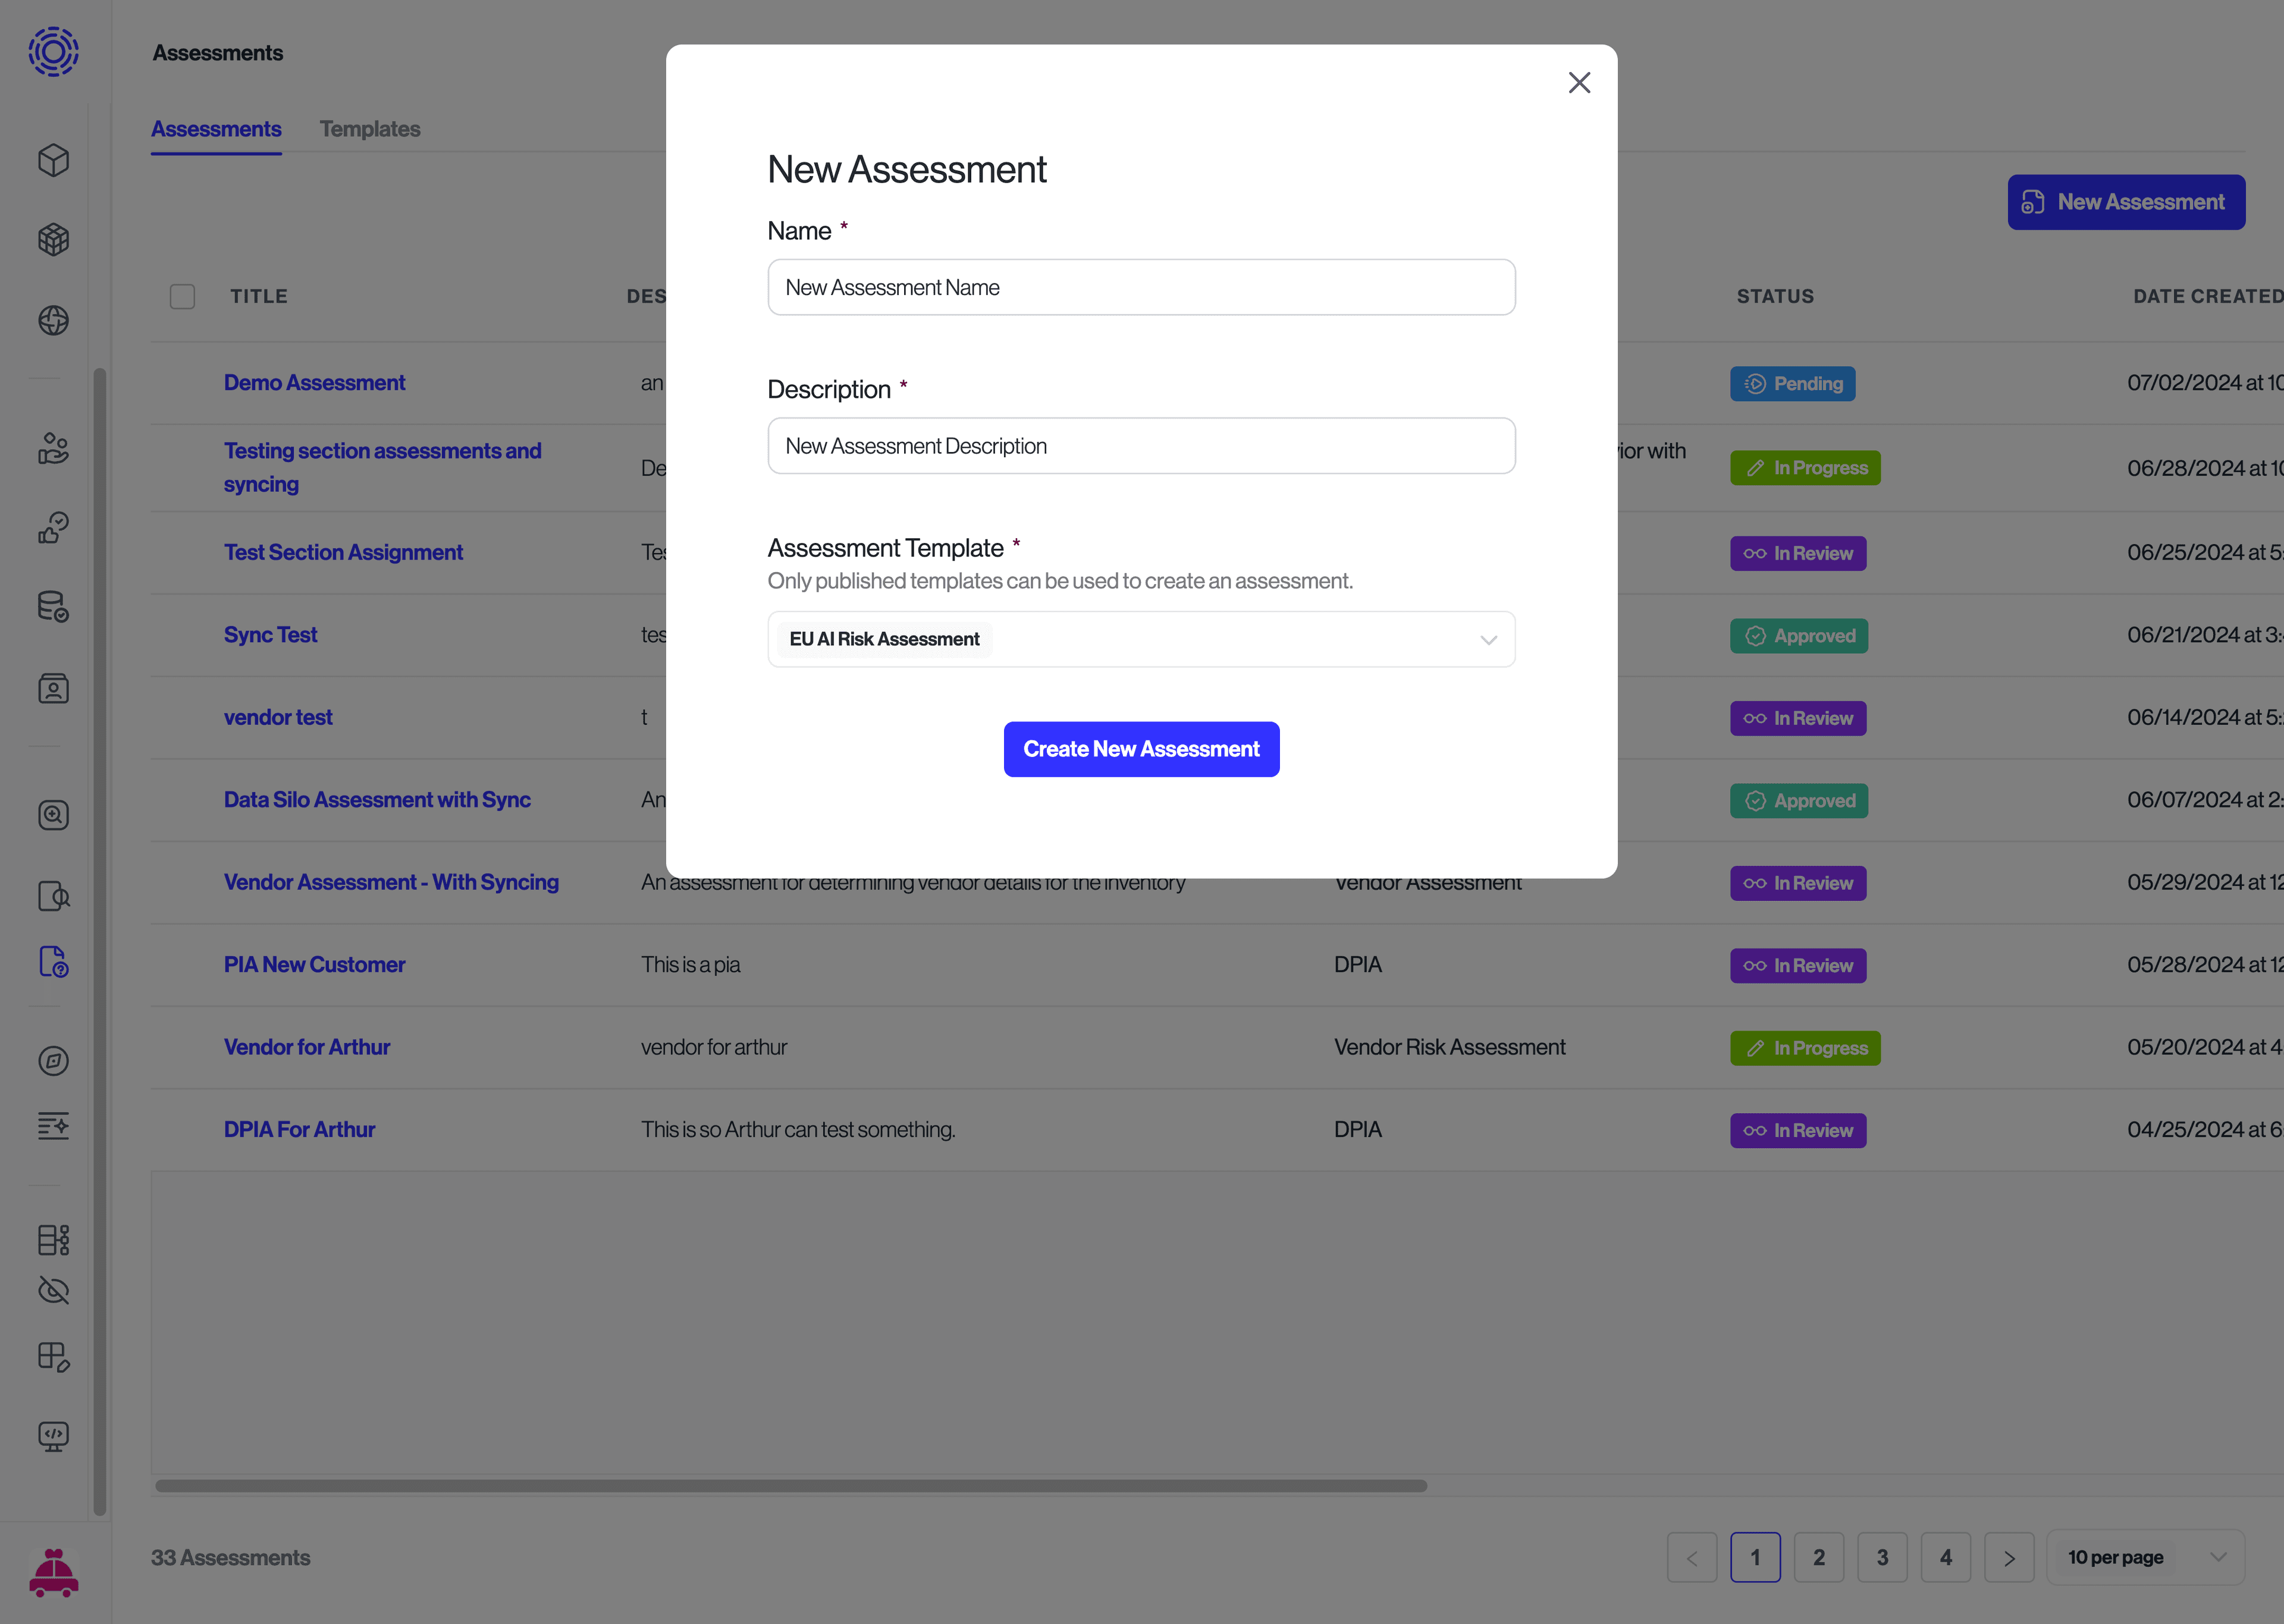
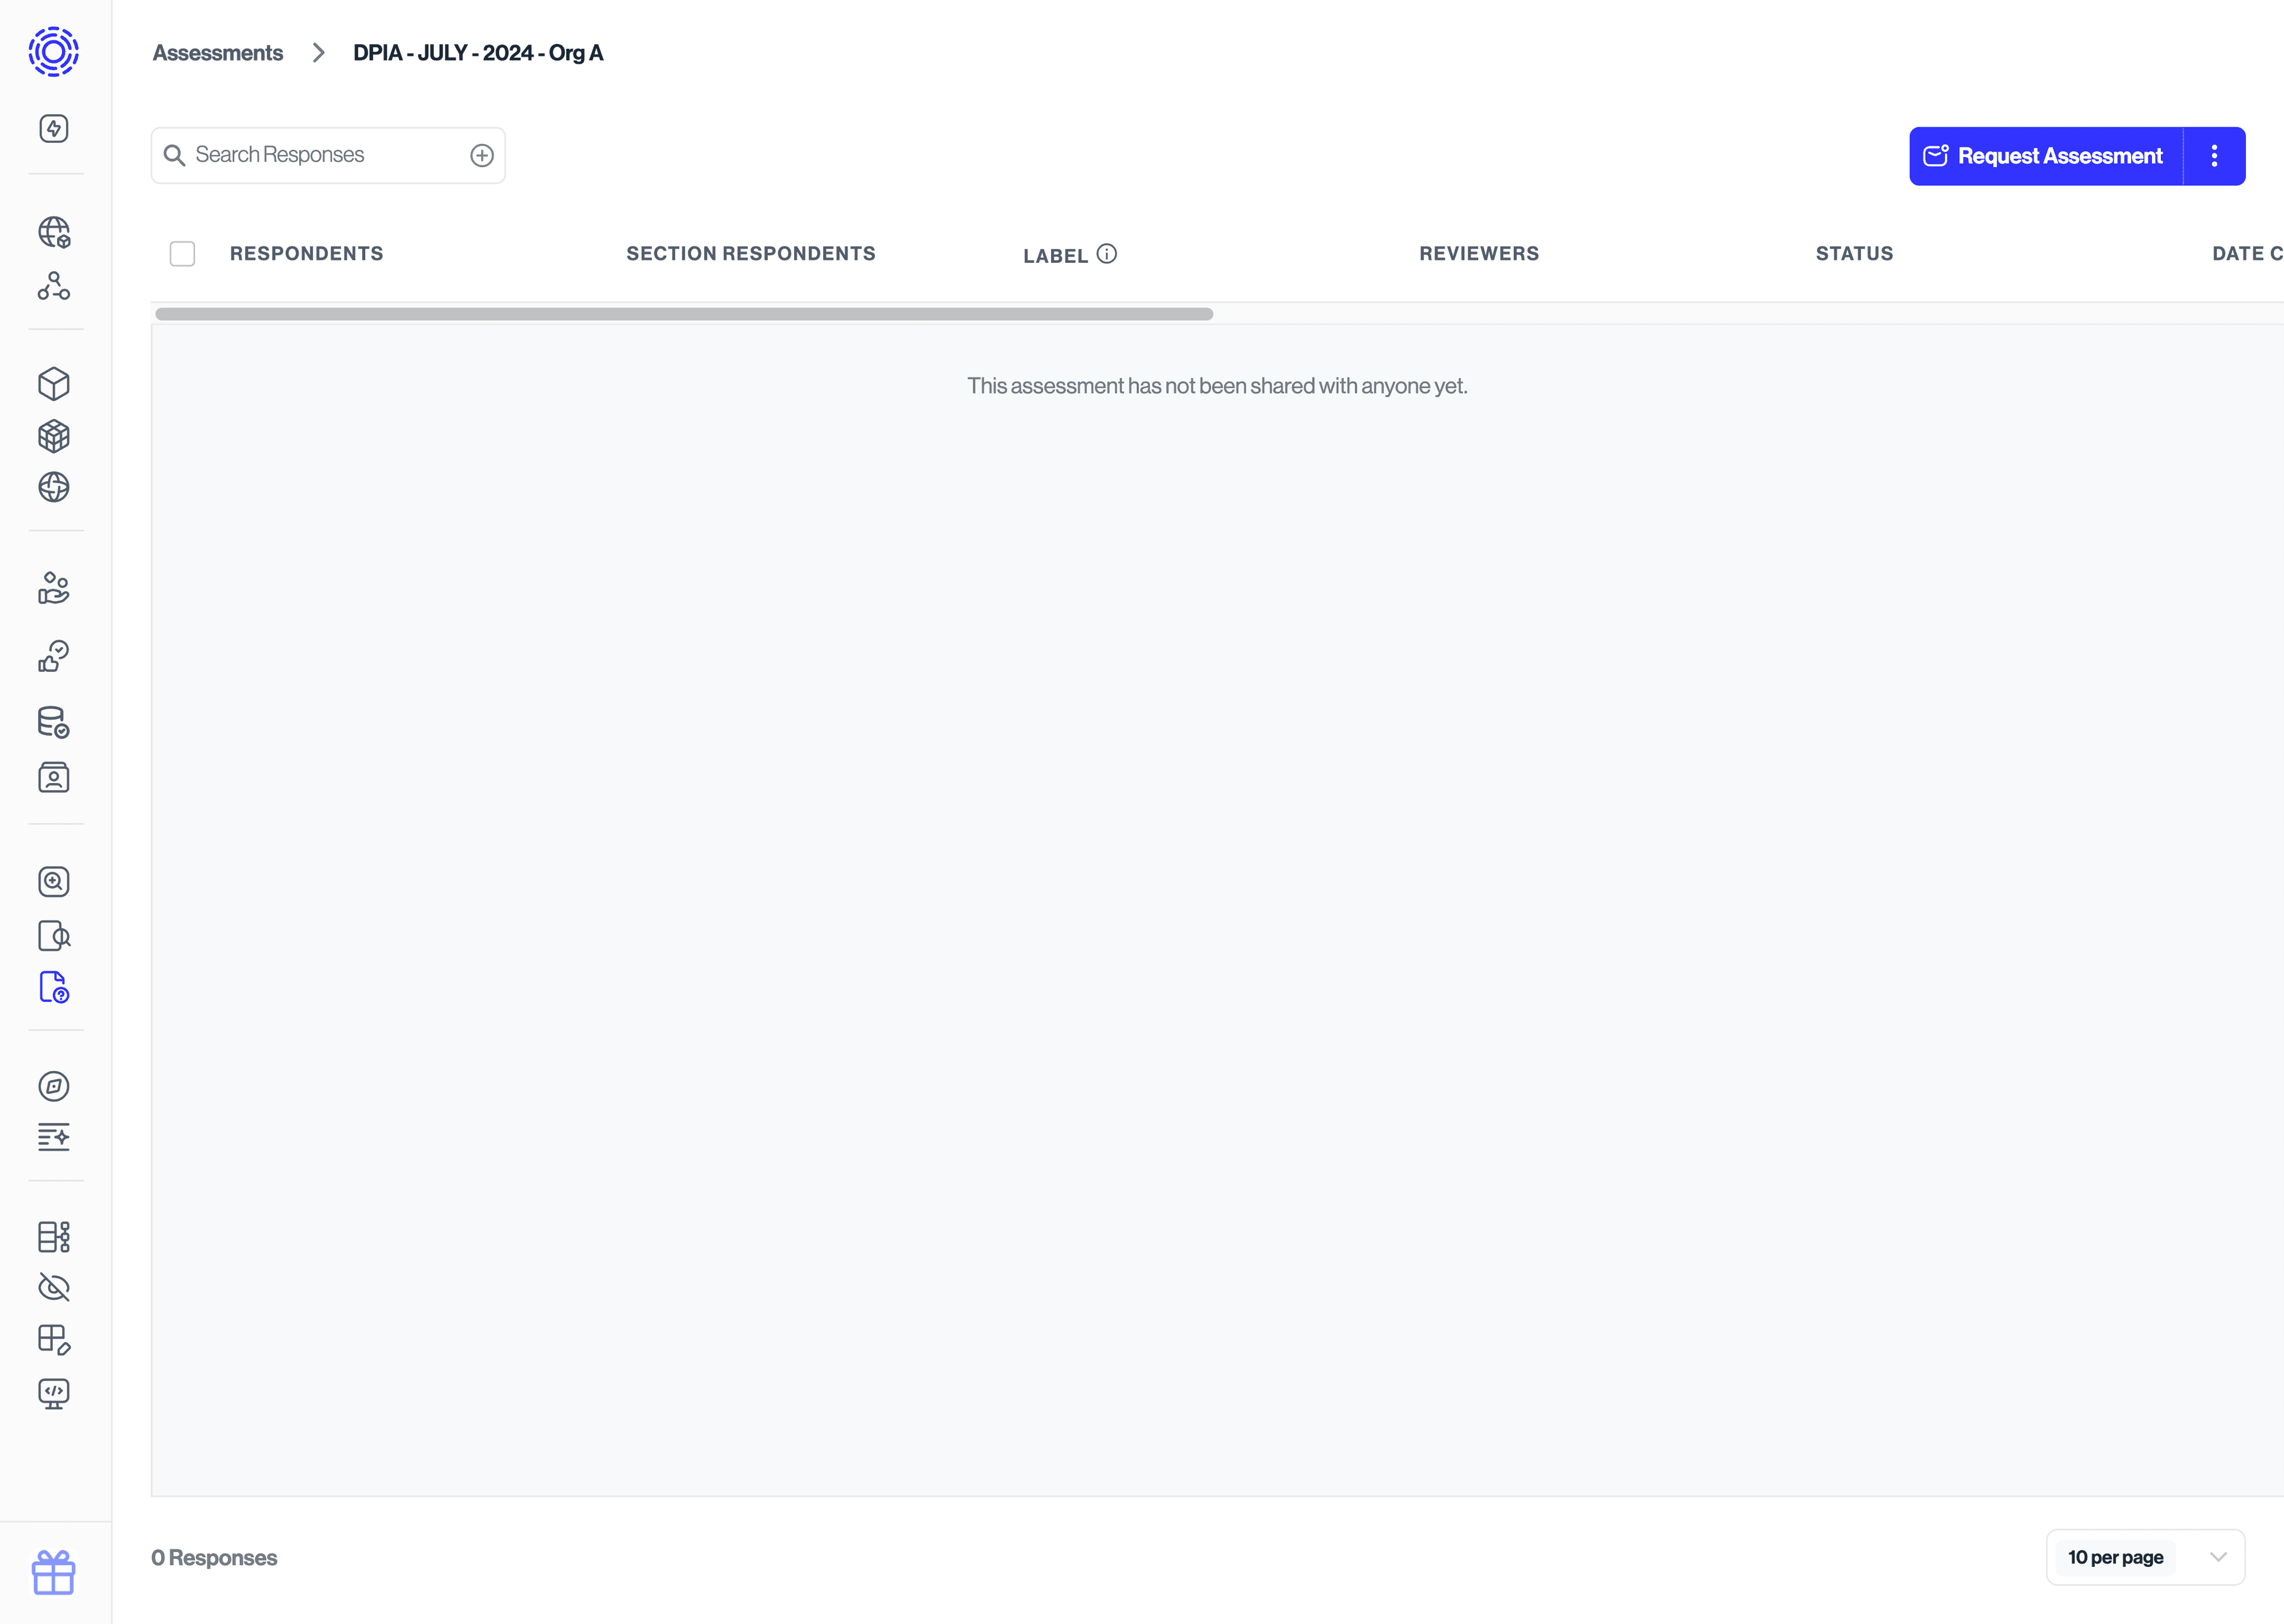
Once you have created this assessment, you will see a corresponding row added to your "Assessments" tab. Click on it and you will arrive at an empty page where you can start assigning this assessment.
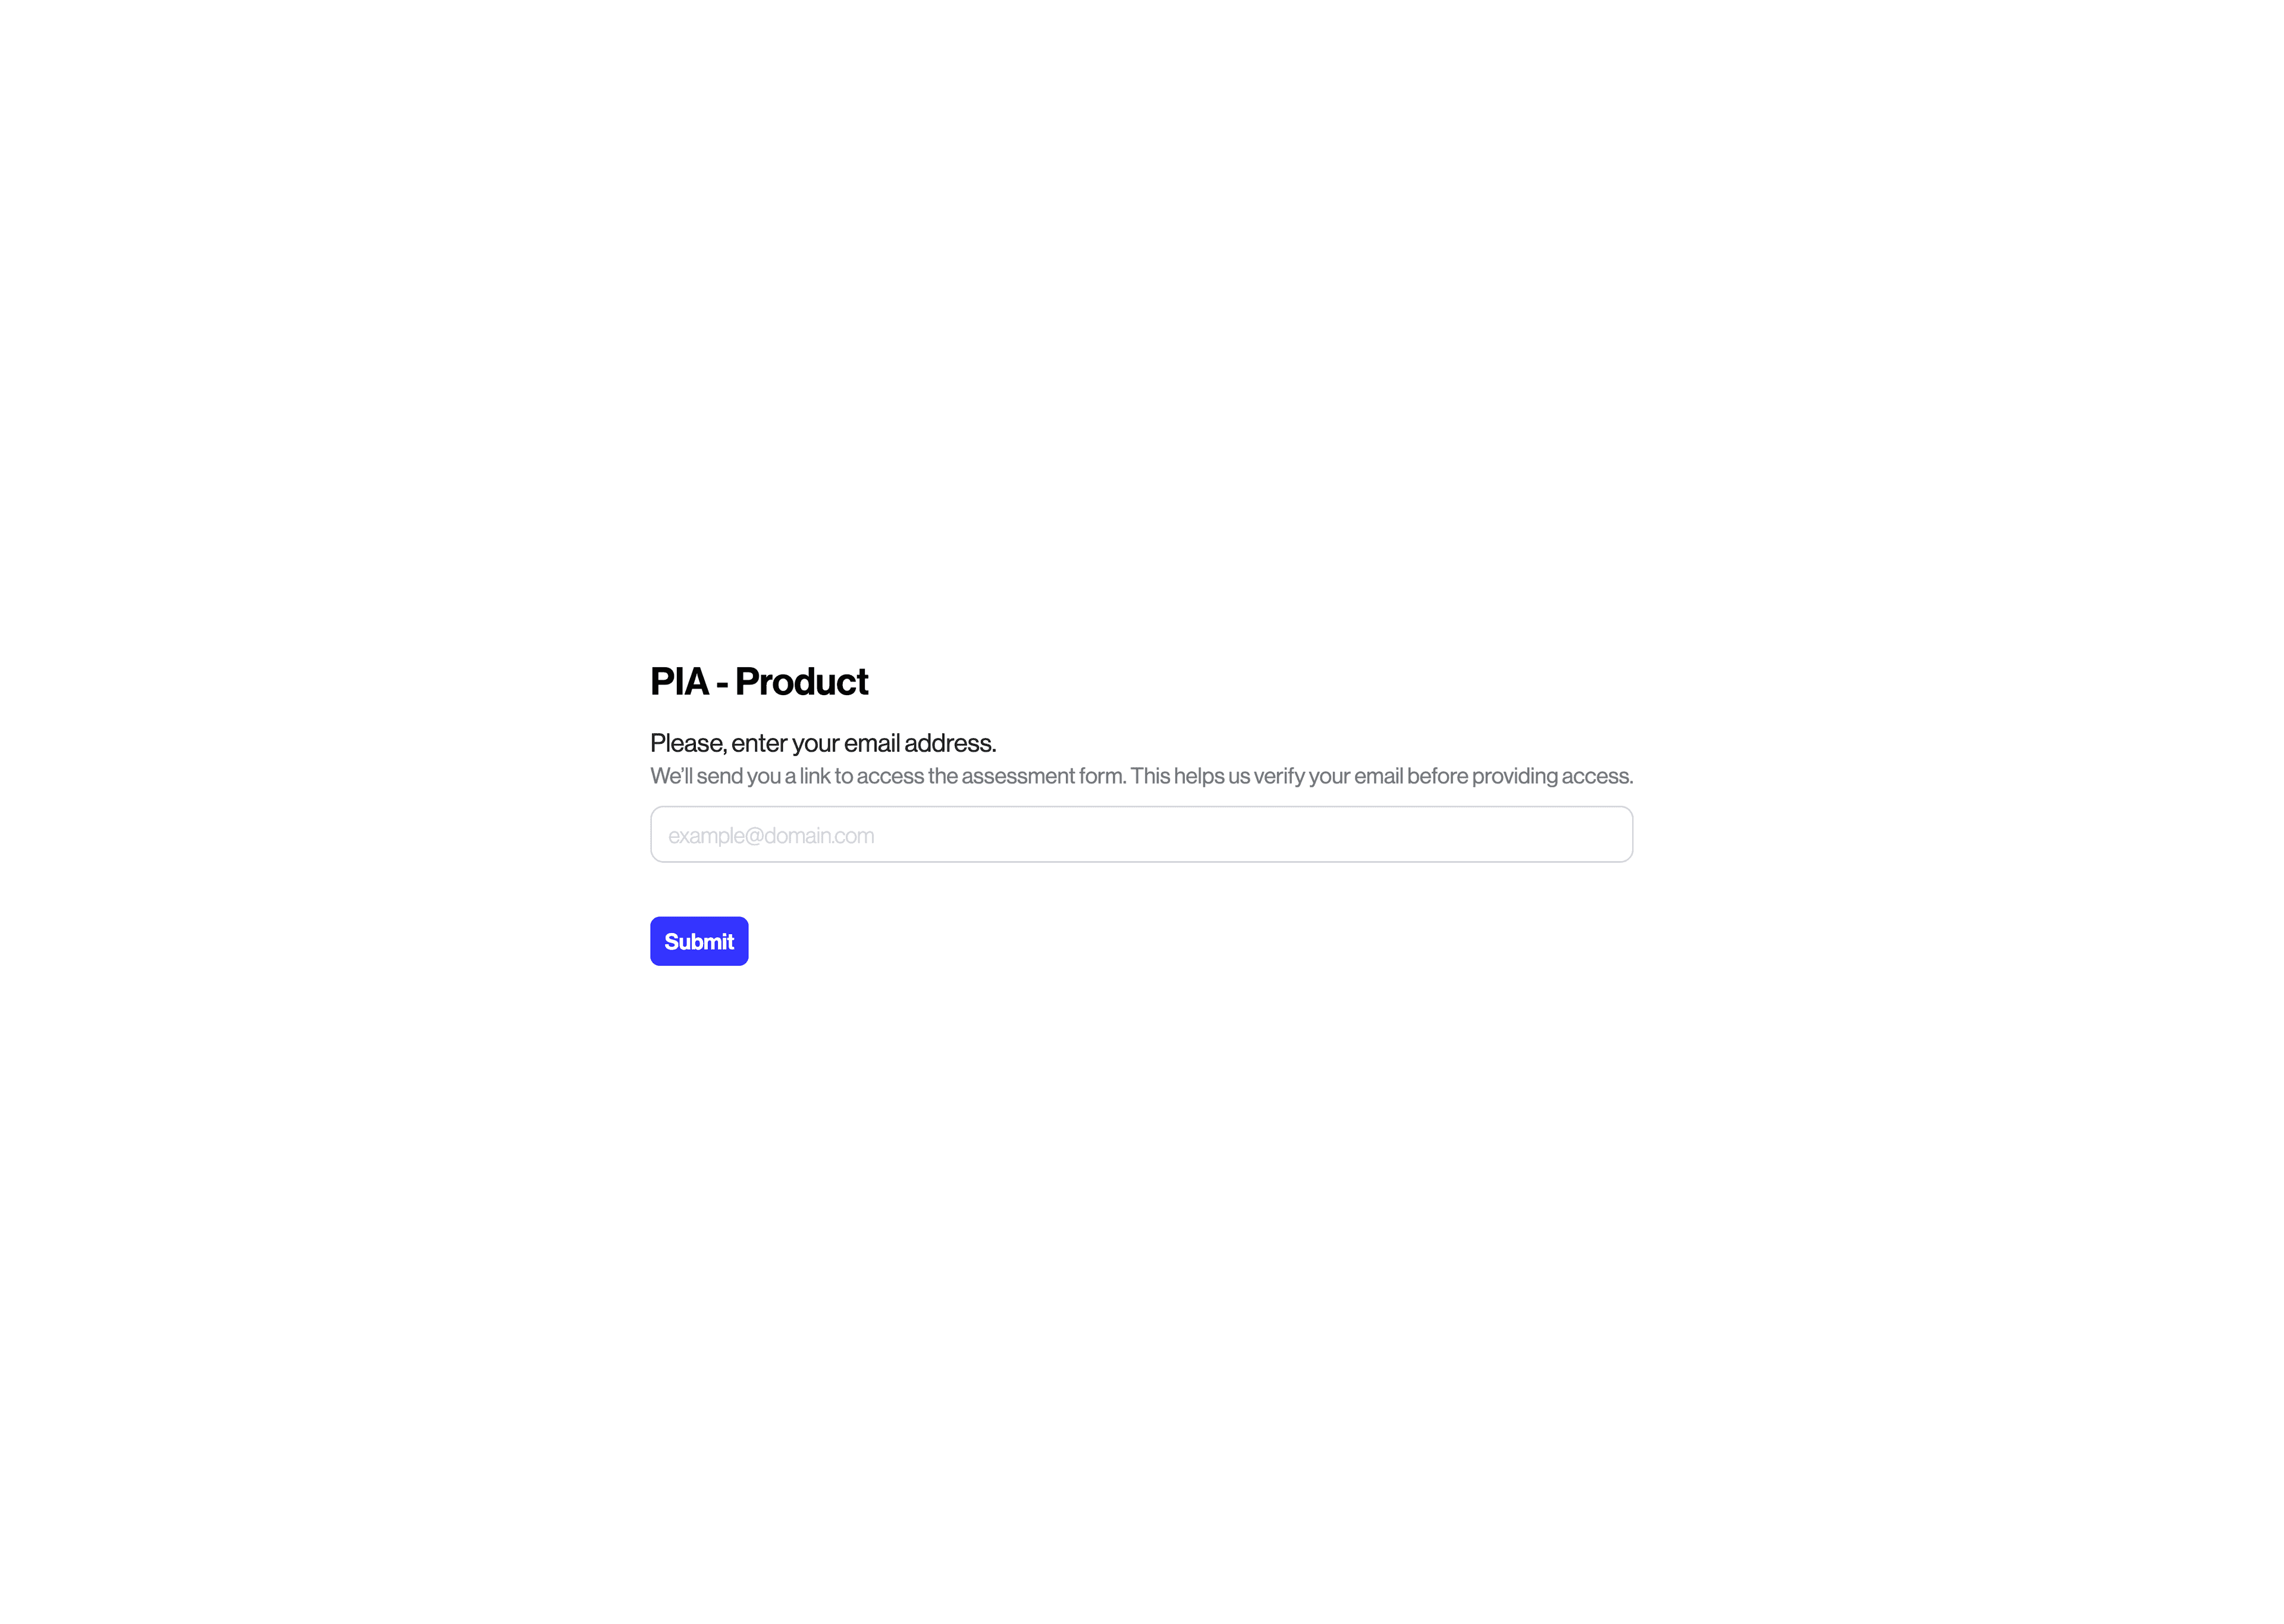
If you'd like to embed a link that individuals can click on to self-serve these assessments, you can click on the kebab button on the top right, and then click on the "copy Assessment link".
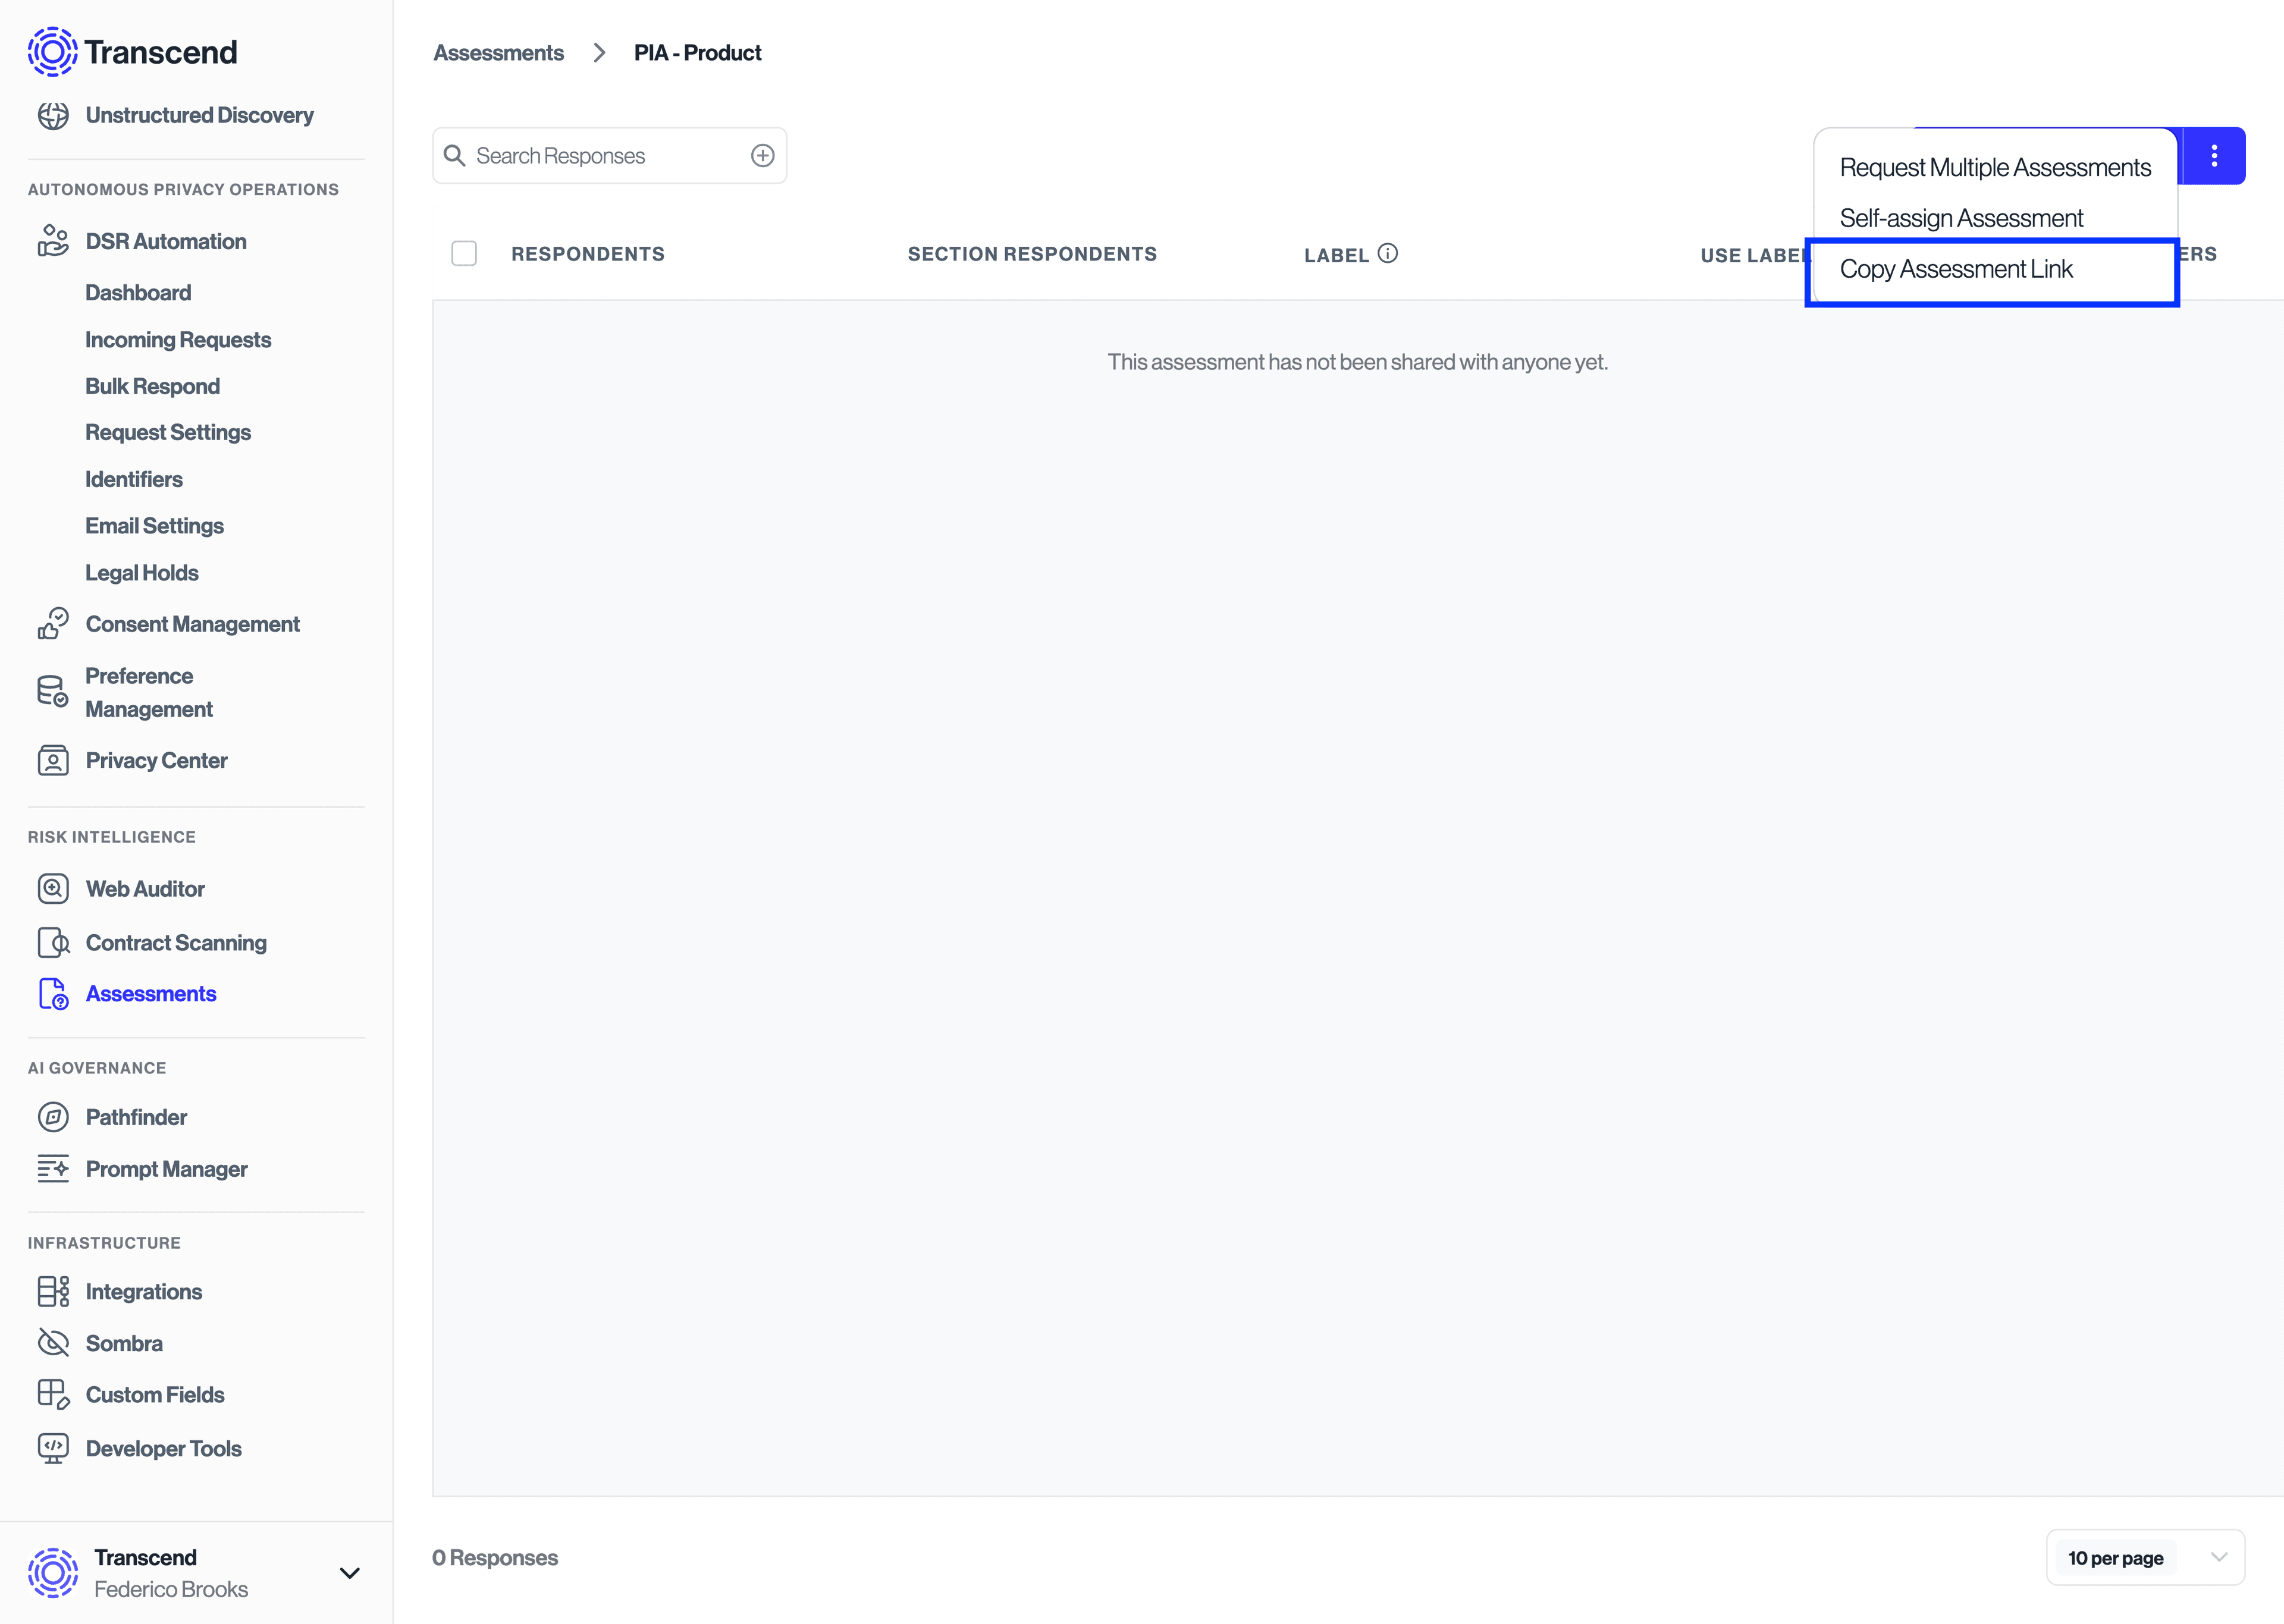
That link can be integrated into your intranet or workflow to have individuals self-serve Assessments.
If you'd like to assign Assessments directly instead, click on the "Request Assessment" button on the top right, which will open a new modal.
This view will let you assign folks by searching for their names or inserting their email addresses. Any assignee selected in this view will be able to collaborate on the same copy of the assessment.
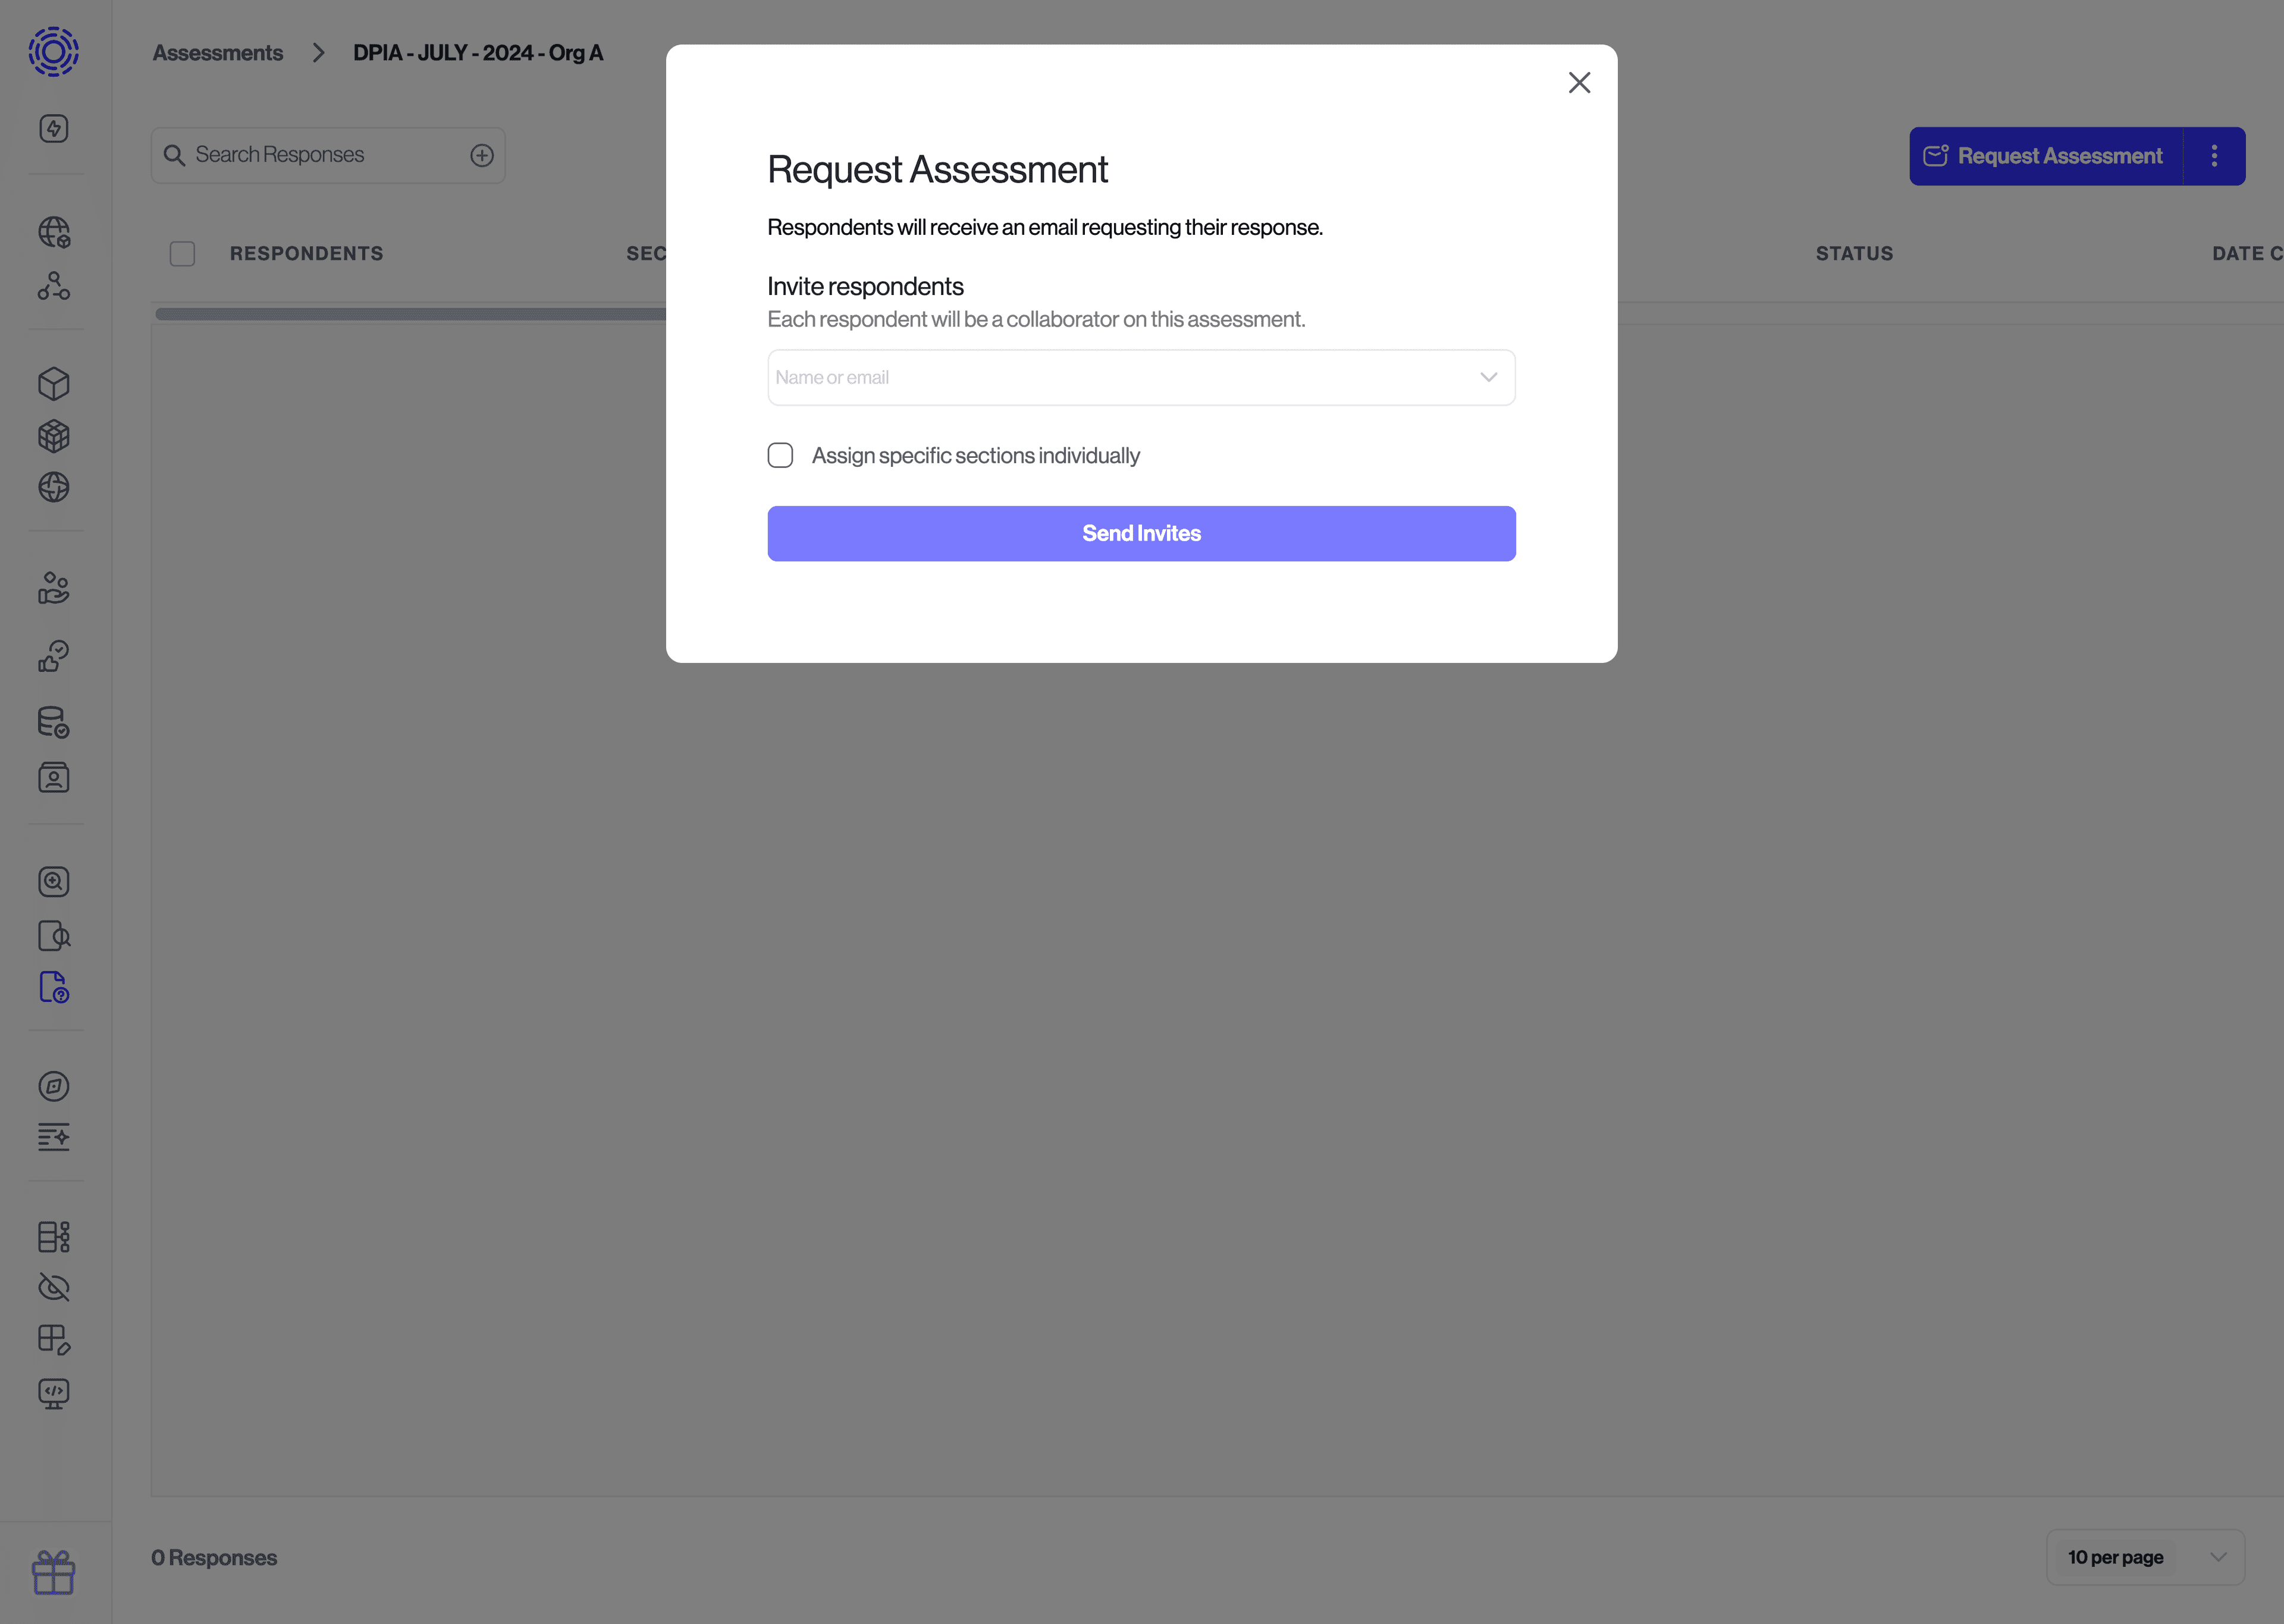
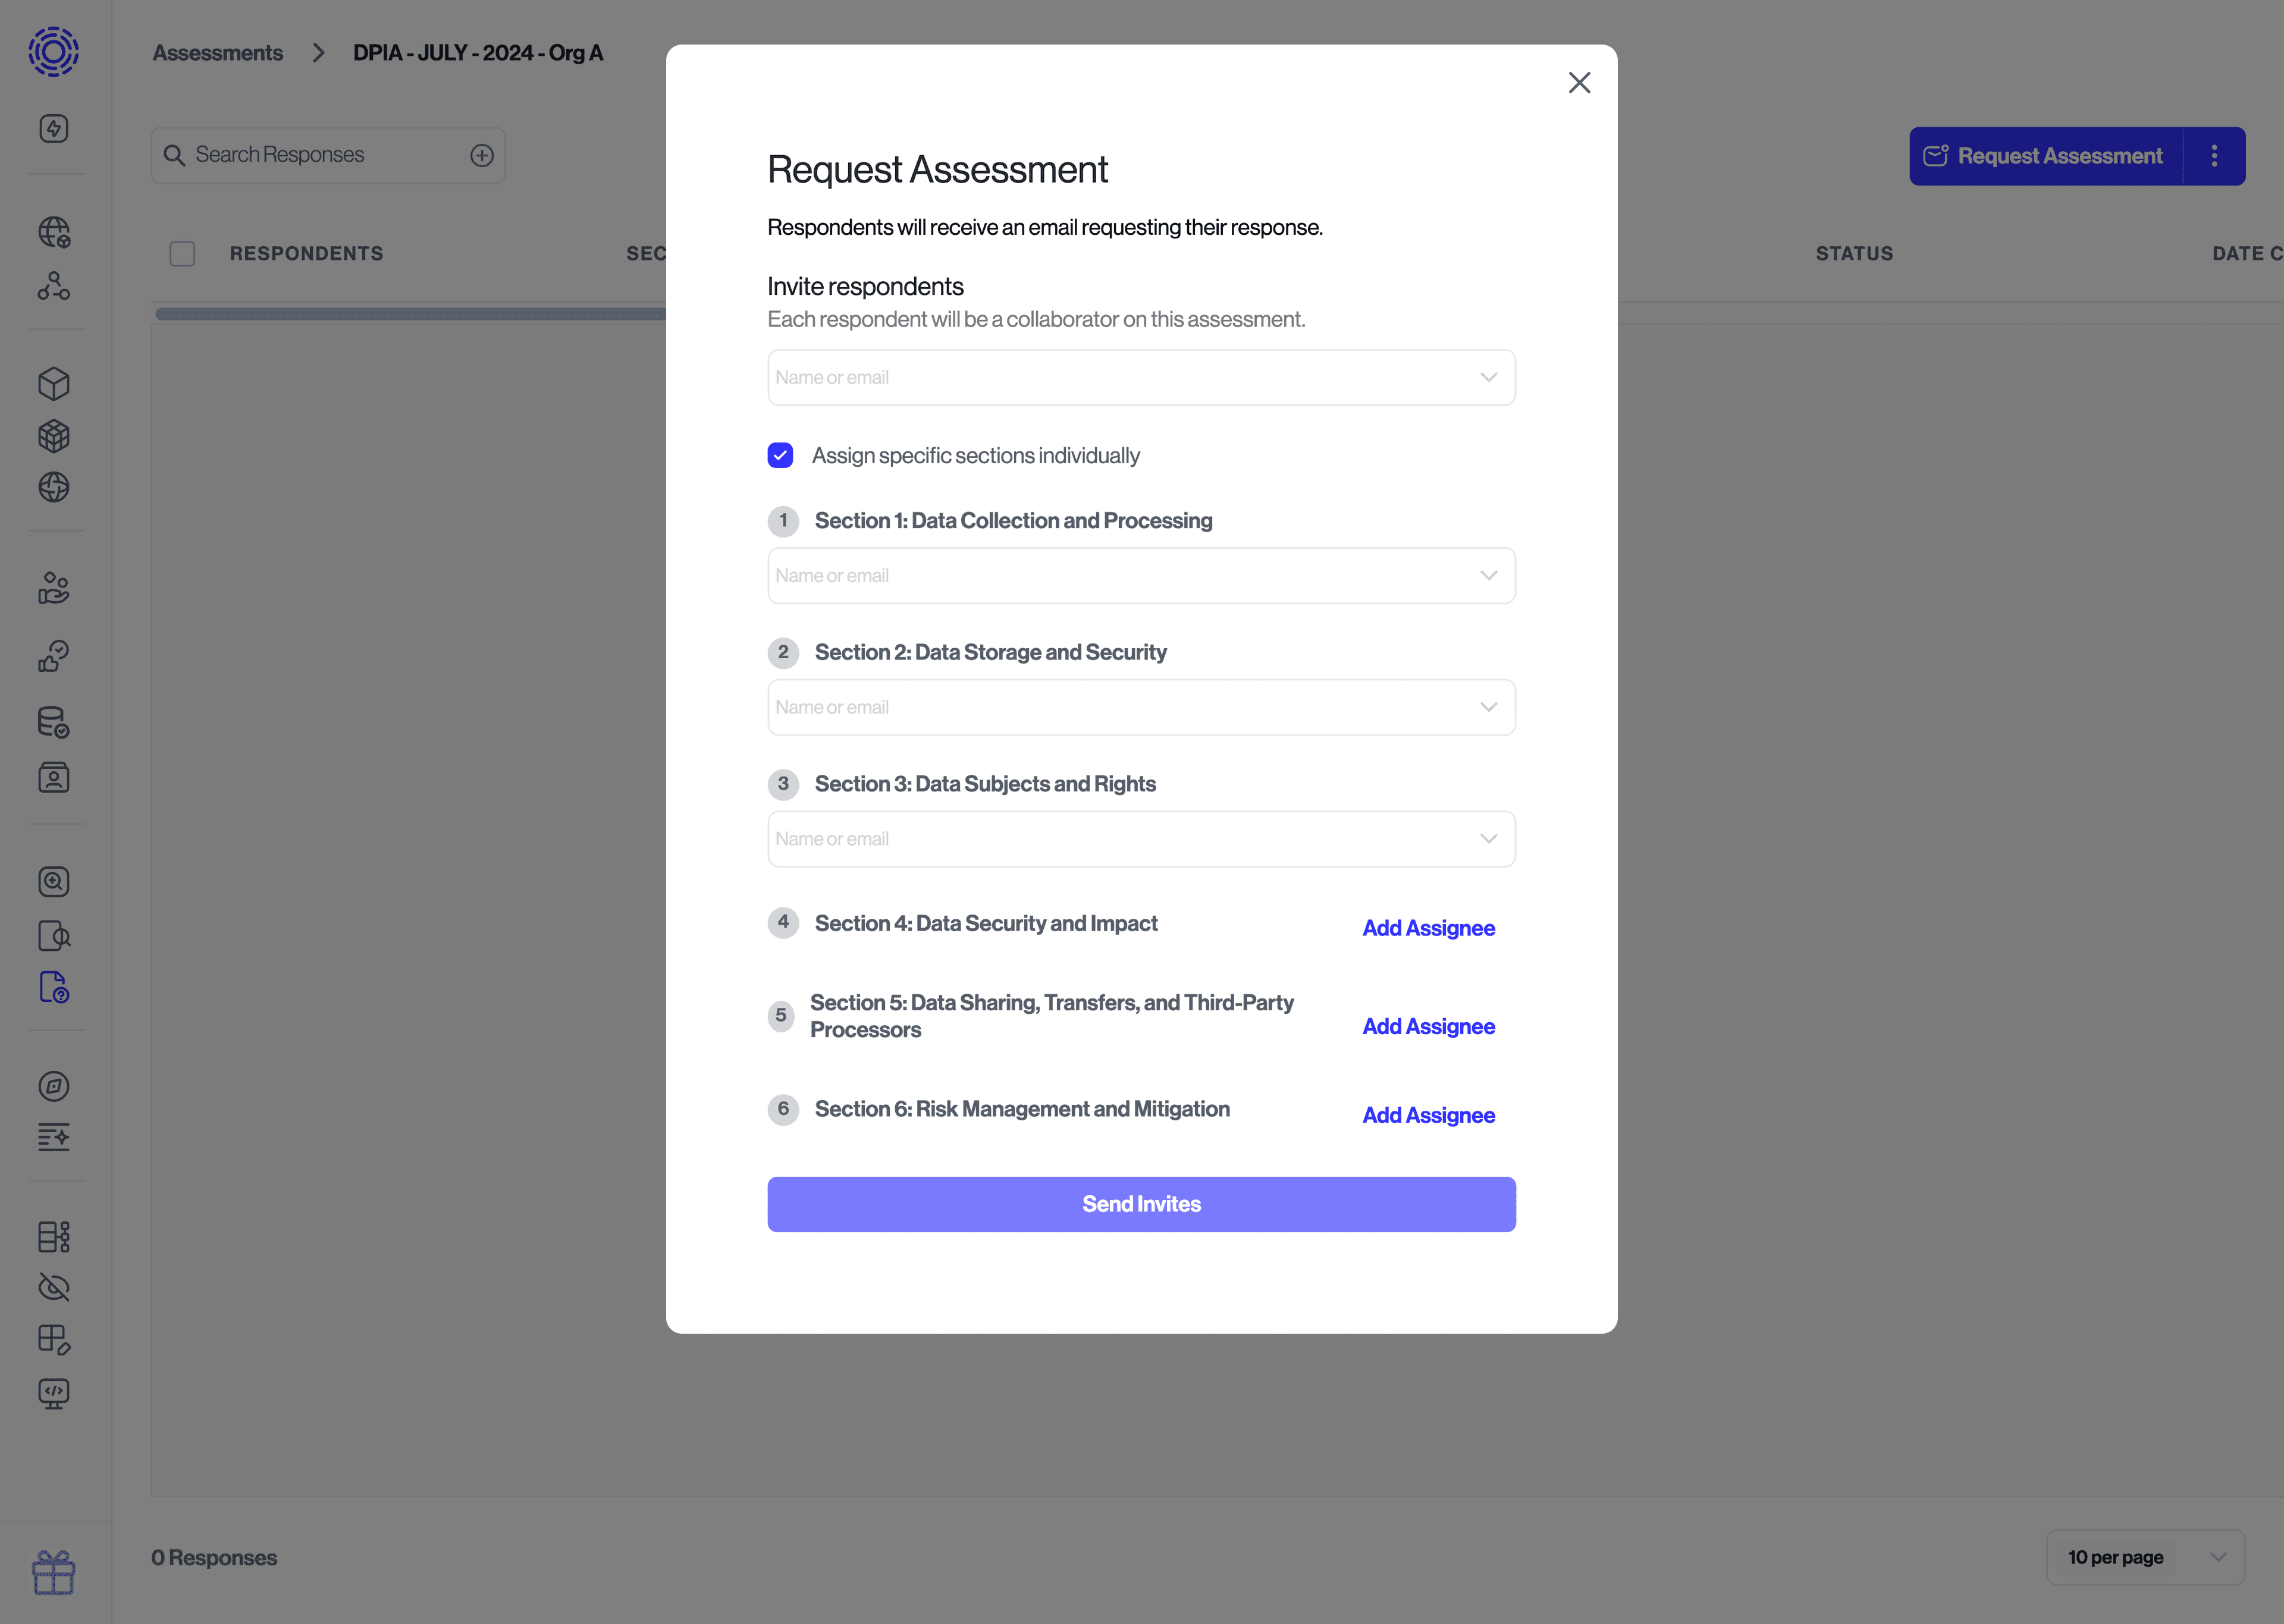
You will also see a checkbox to "assign specific sections individually". Selecting this option will allow you to assign each section to a different assignee. Click on "send invites" when you've finished selecting your assignees.
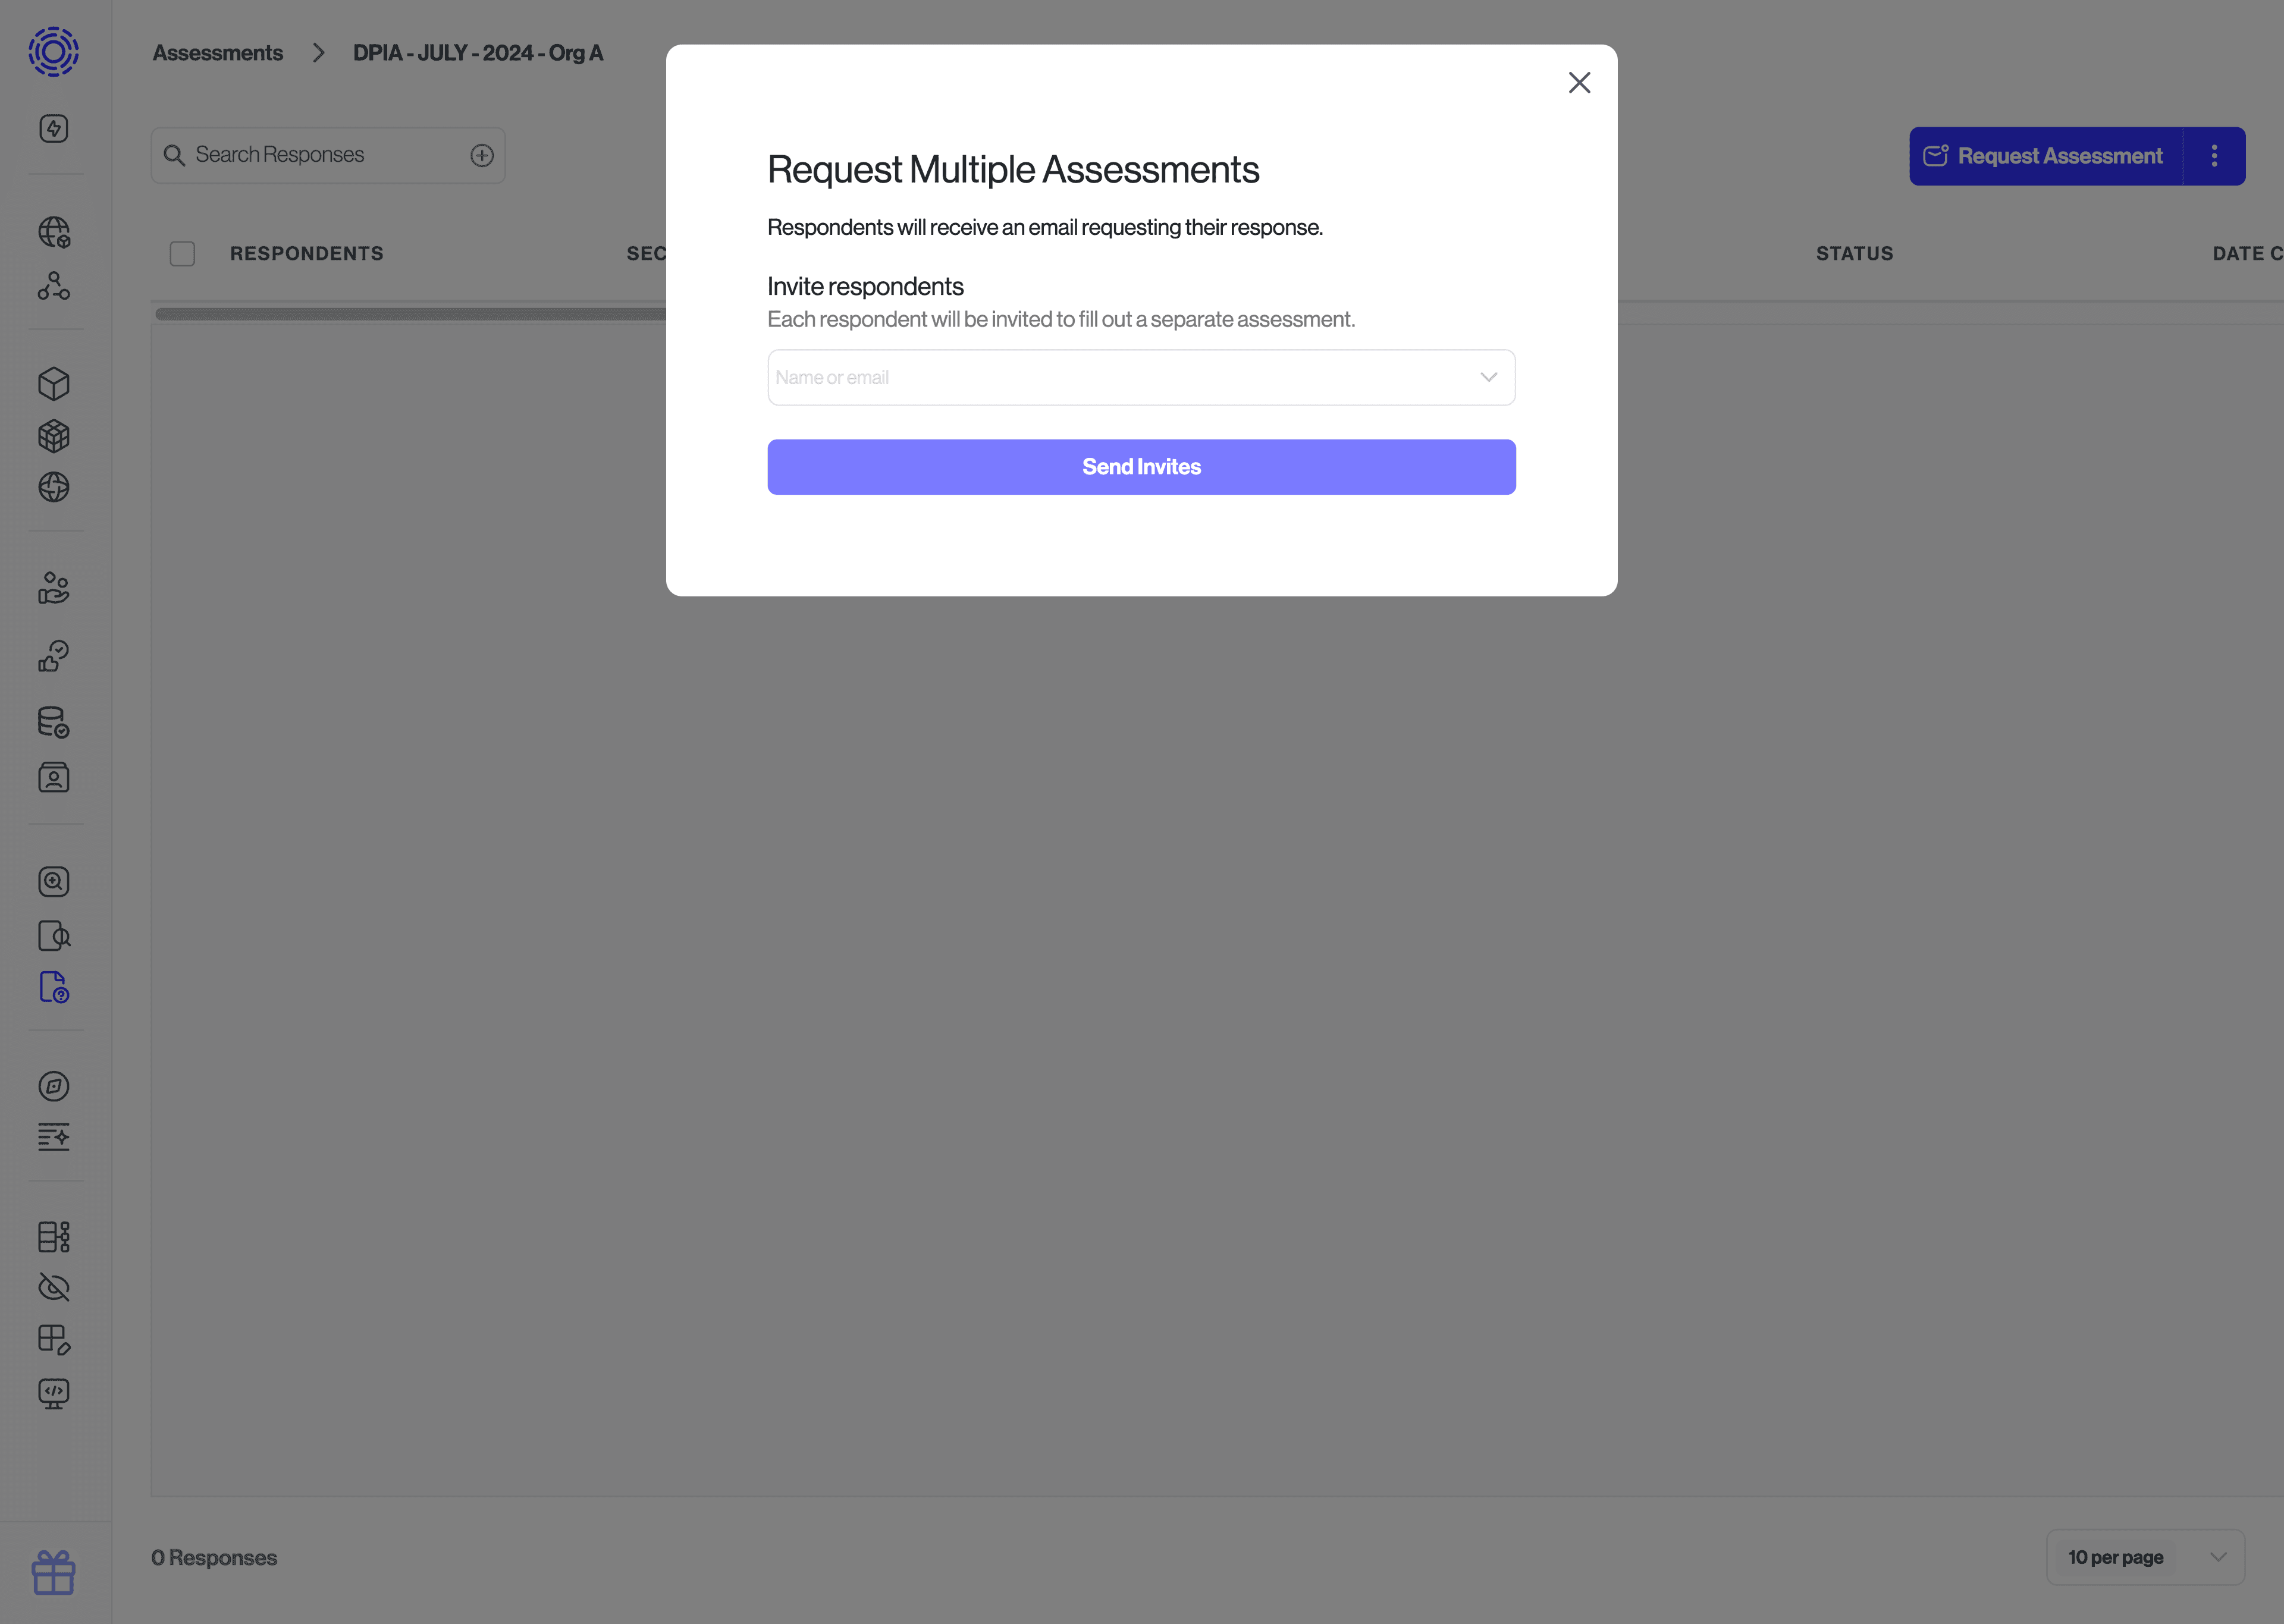
If you'd like to quickly create and assign multiple copies of the assessment, rather than inviting several folks to the same copy, you can instead click on the kebab menu button next to "Request Assessments", and then select the "Request Multiple Assessments" option. Adding several assignees in this view will create a separate copy of the assessment for each assignee.
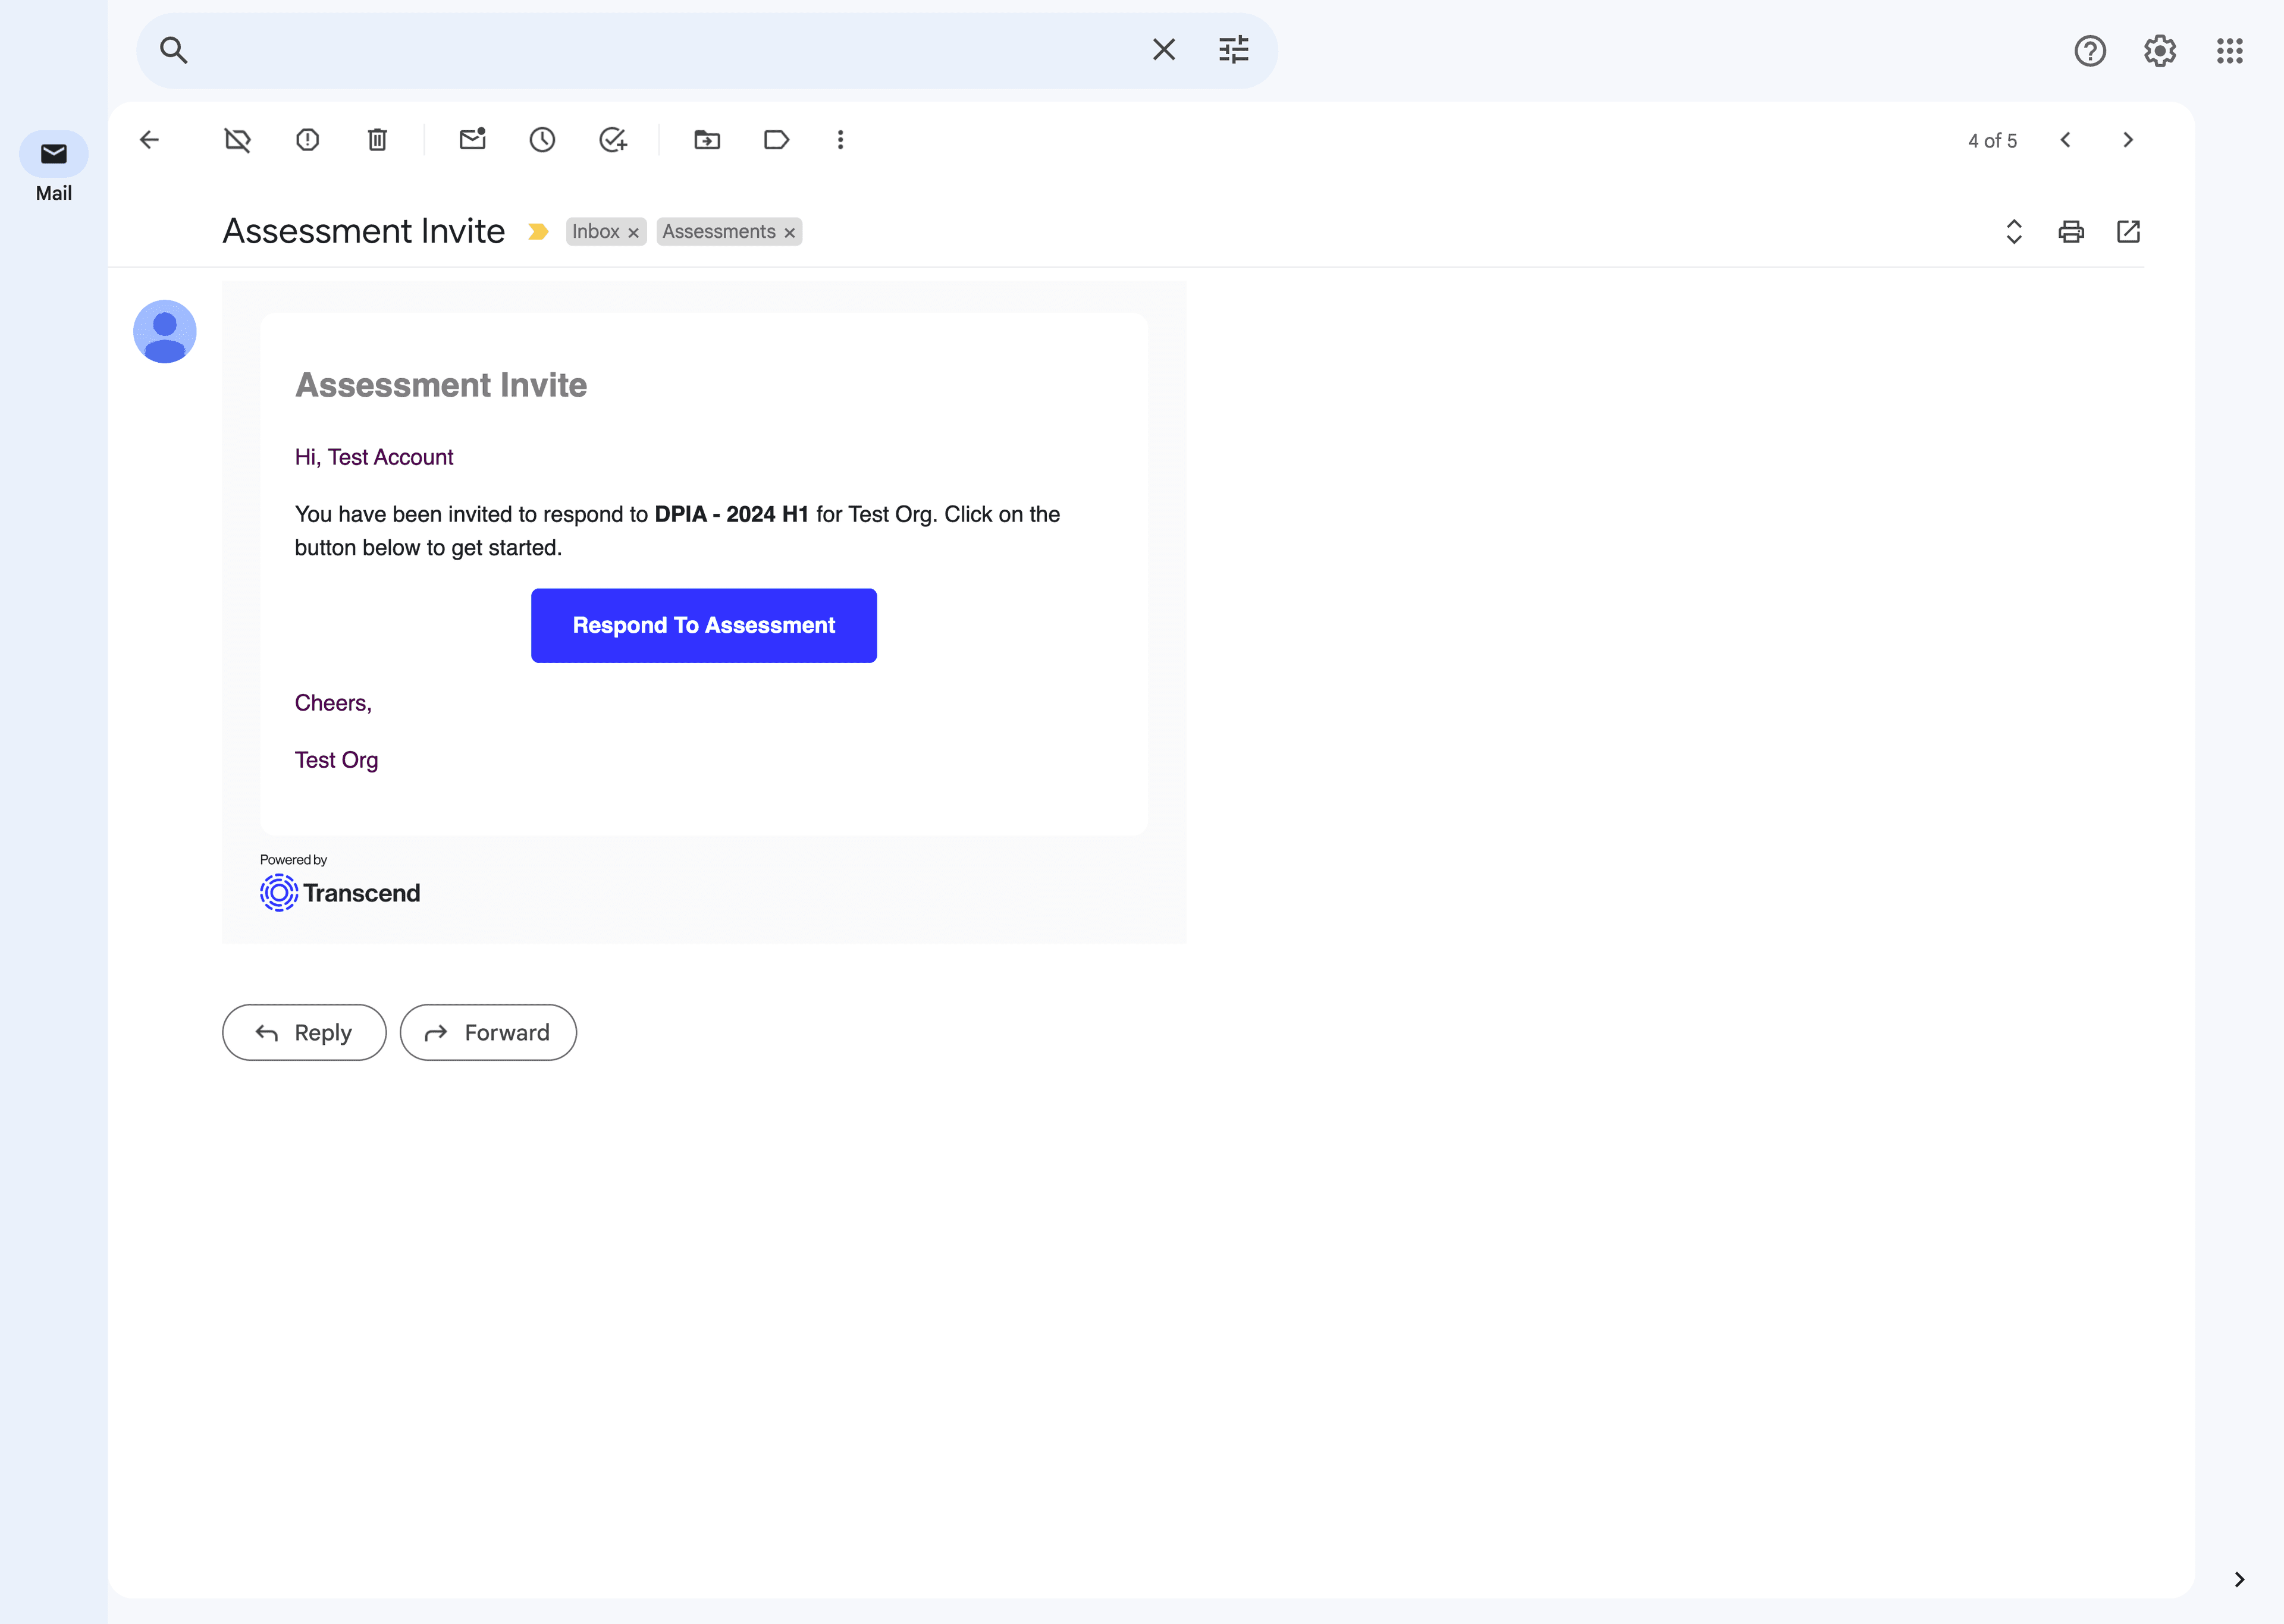
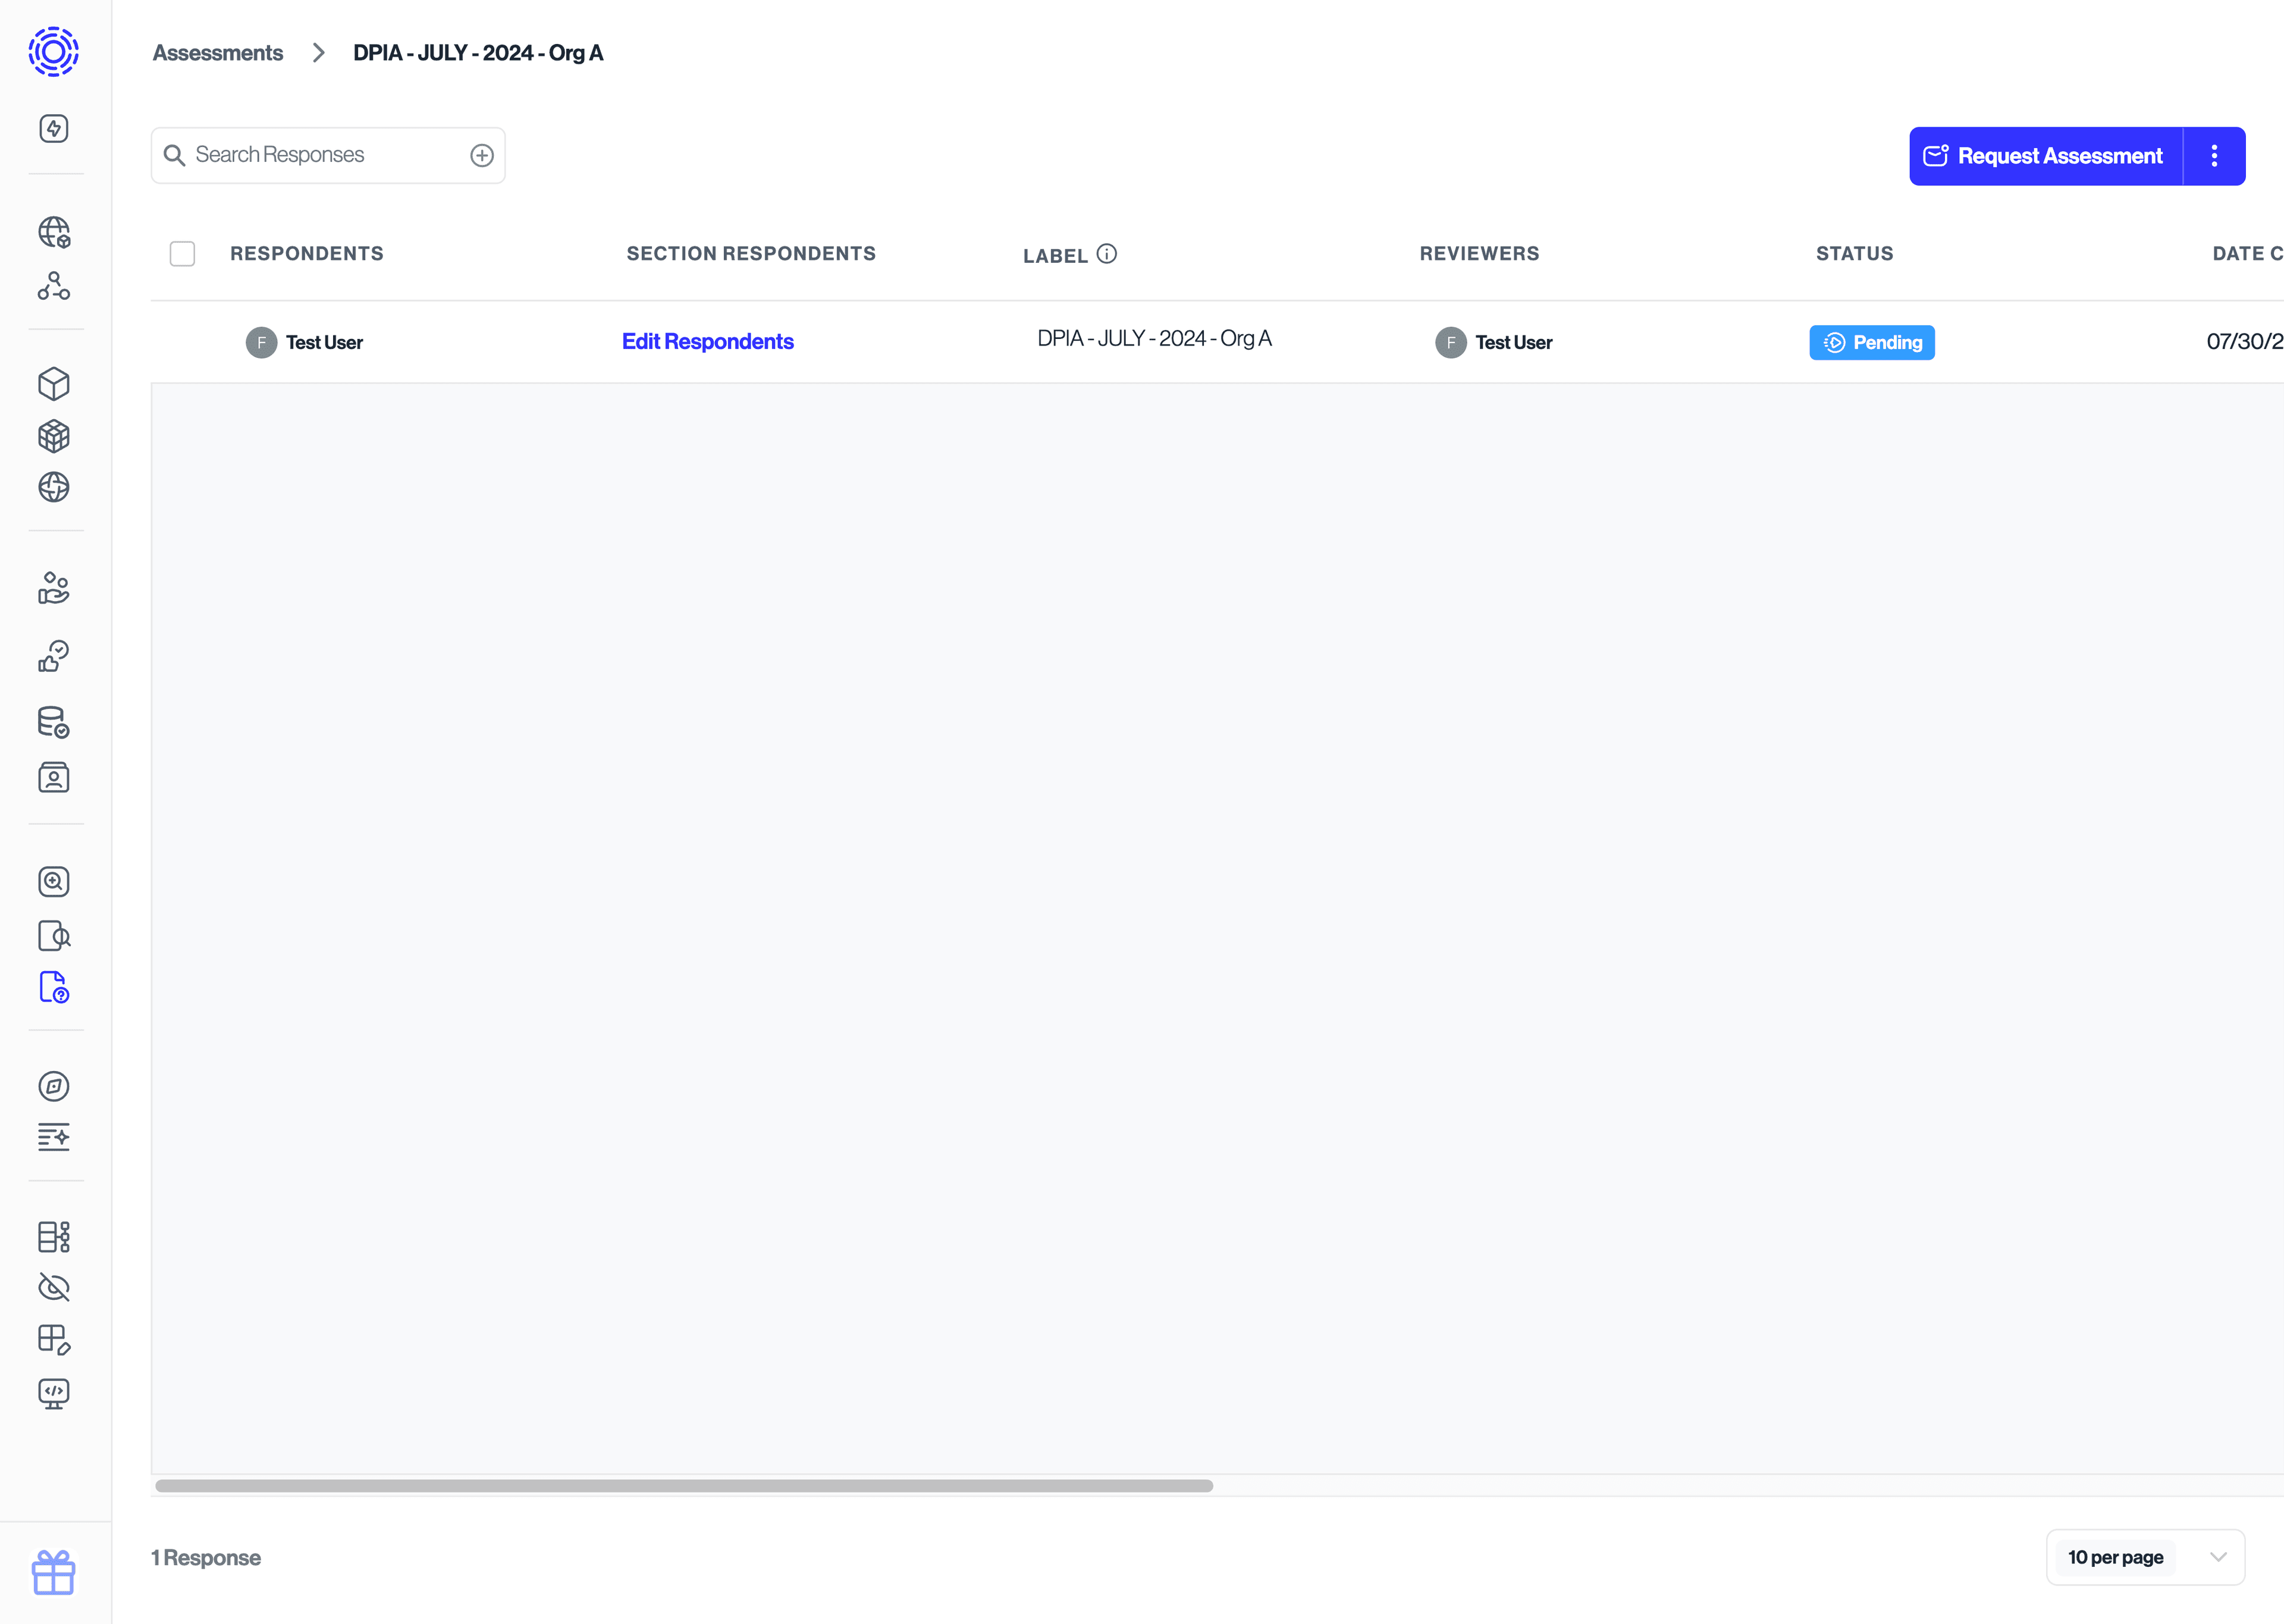
Once you have assigned the assessment, you will see new rows appear within the assessment page for each copy of the assessment, and the assignee will receive an email requesting their responses to the assessment.
Within the assessment page, you can optionally customize the "Respondents", "Reviewers", "Section respondents", "Label", and "Due date" fields of the assessments for easier management.
You have now successfully shared your first assessments! We will now move to the "review" flow.
Note: The person who sends out the assessment is set as the reviewer by default. This can be changed by selecting a different reviewer within the assessments table.
Now that your assessments have been shared with the respective assignees, they will be responsible for filling them out and returning them to you for review.
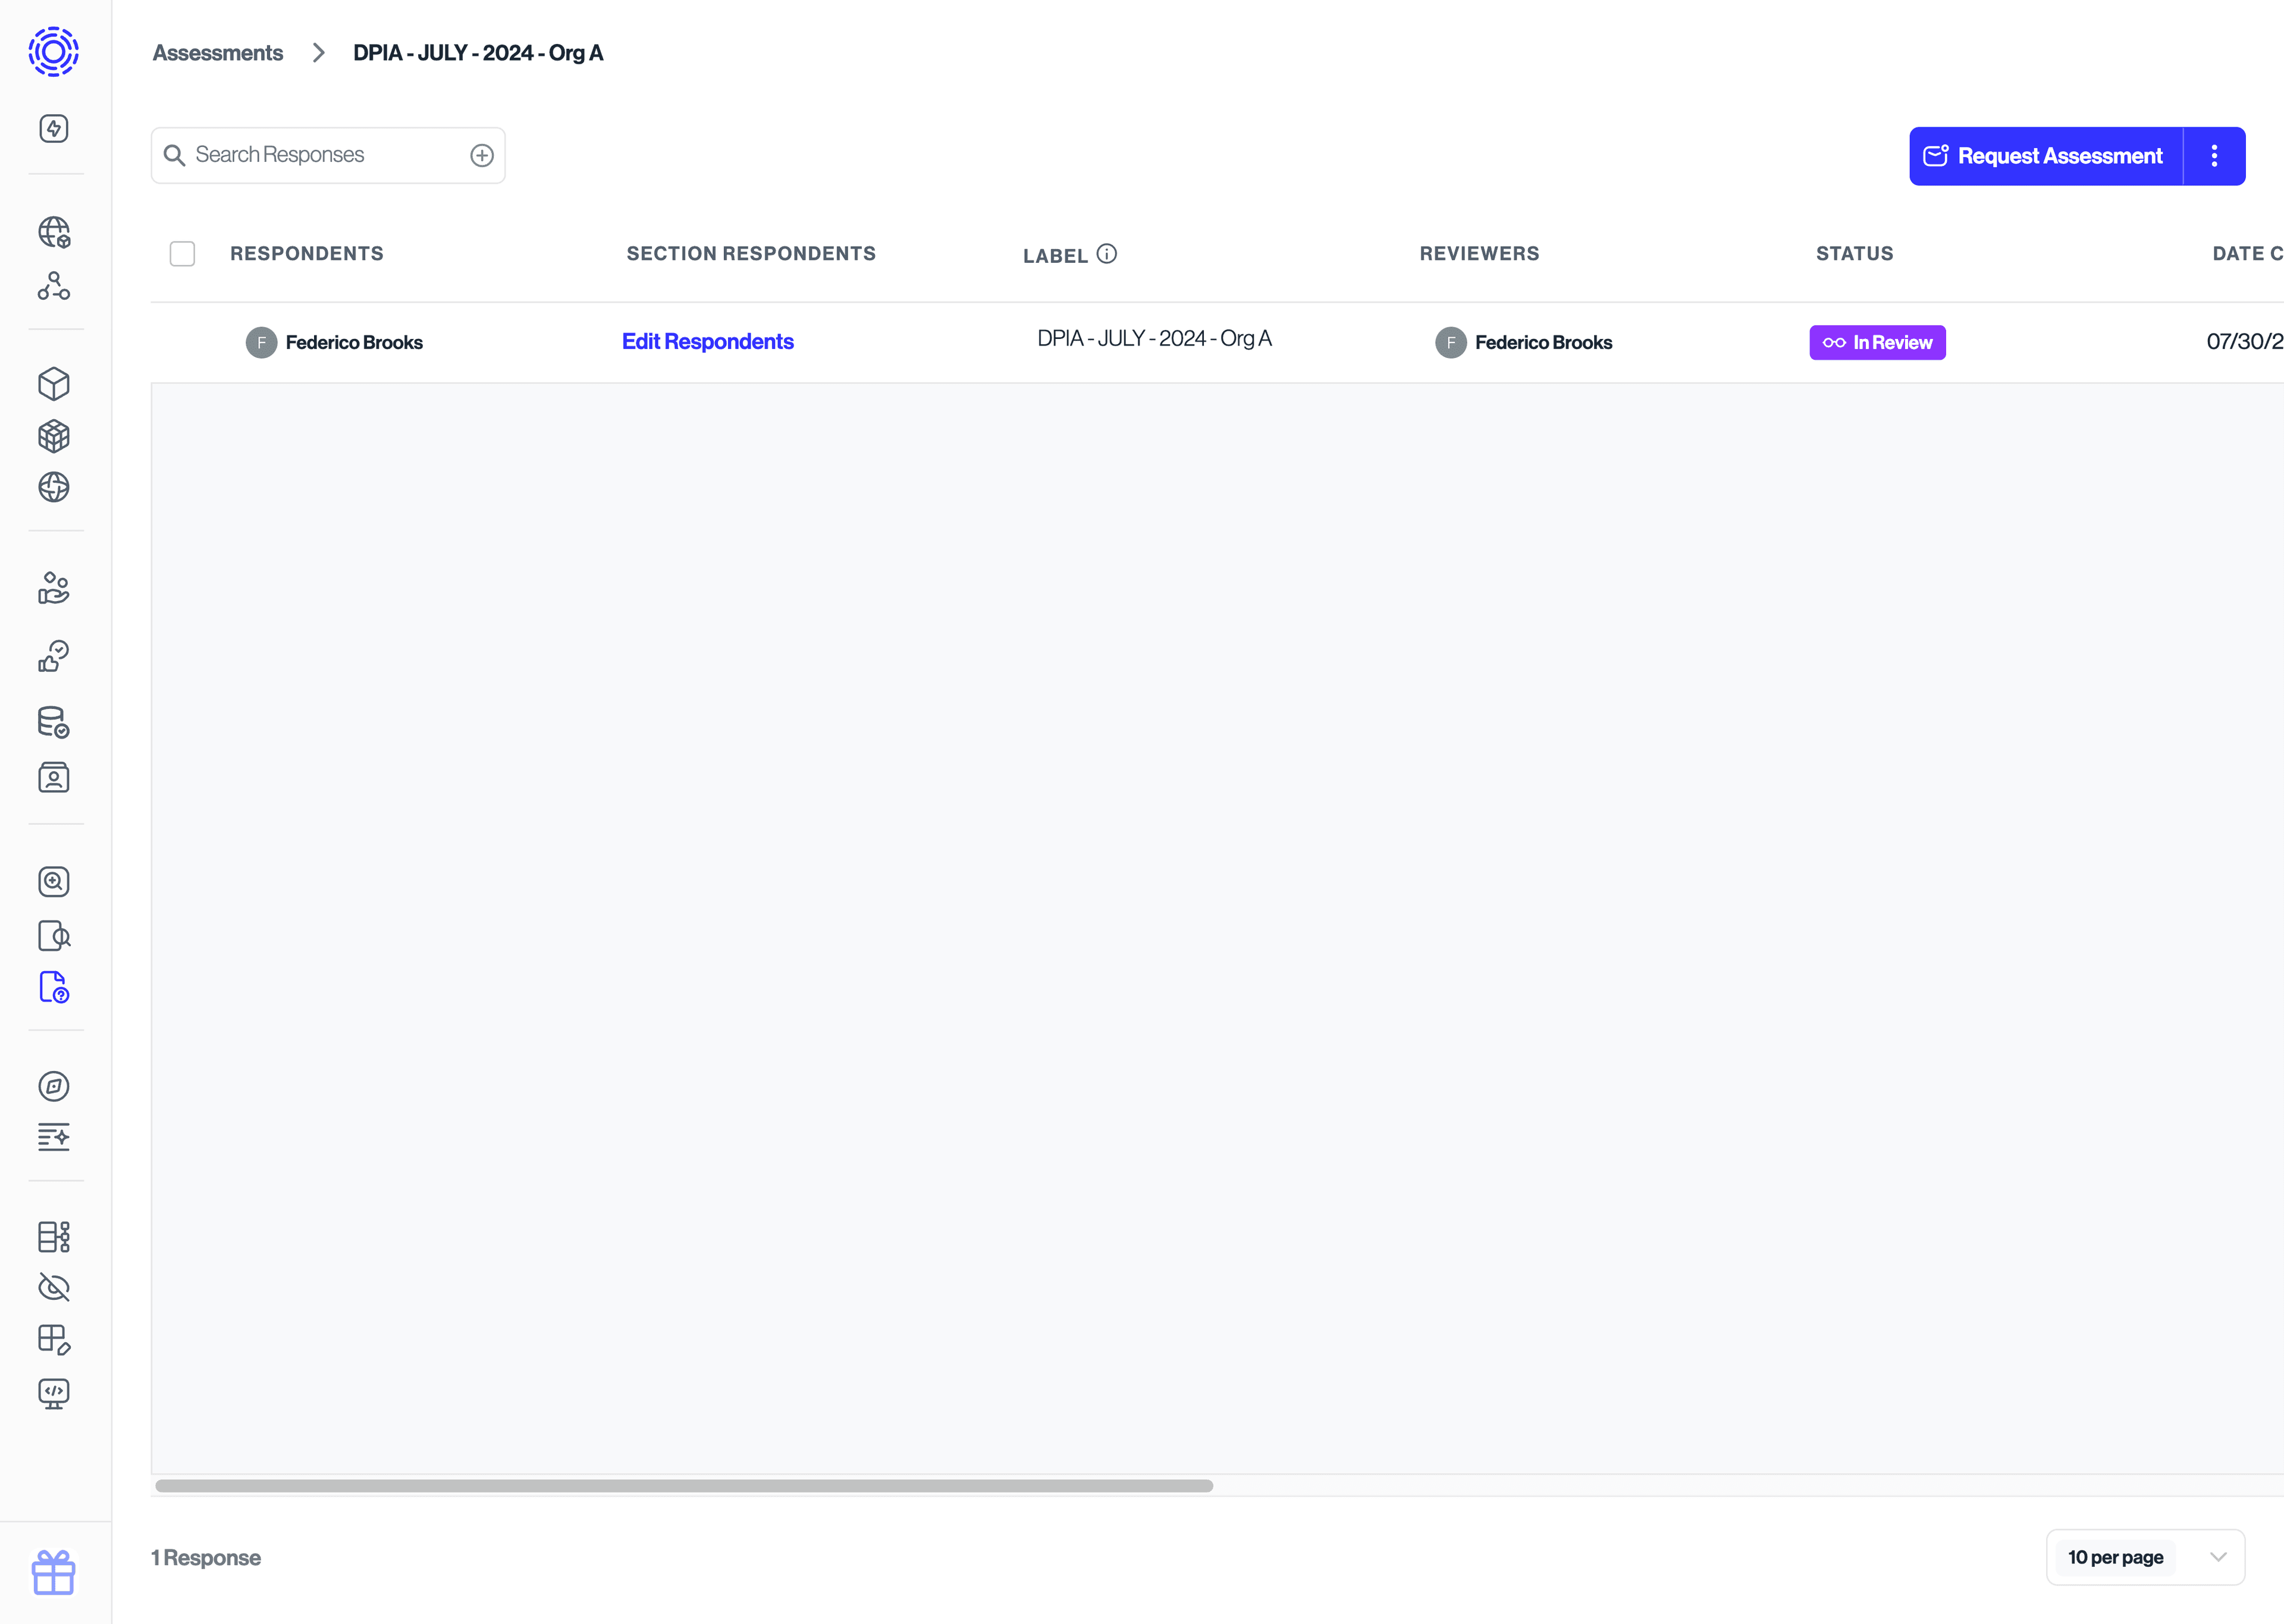
To keep track of the status, you can refer to the "Status" field within each assessment page. When responses have been submitted by the assignee, the status will be updated to "In Review", and an email will be sent to the reviewers to let them know that a new response is ready for review.
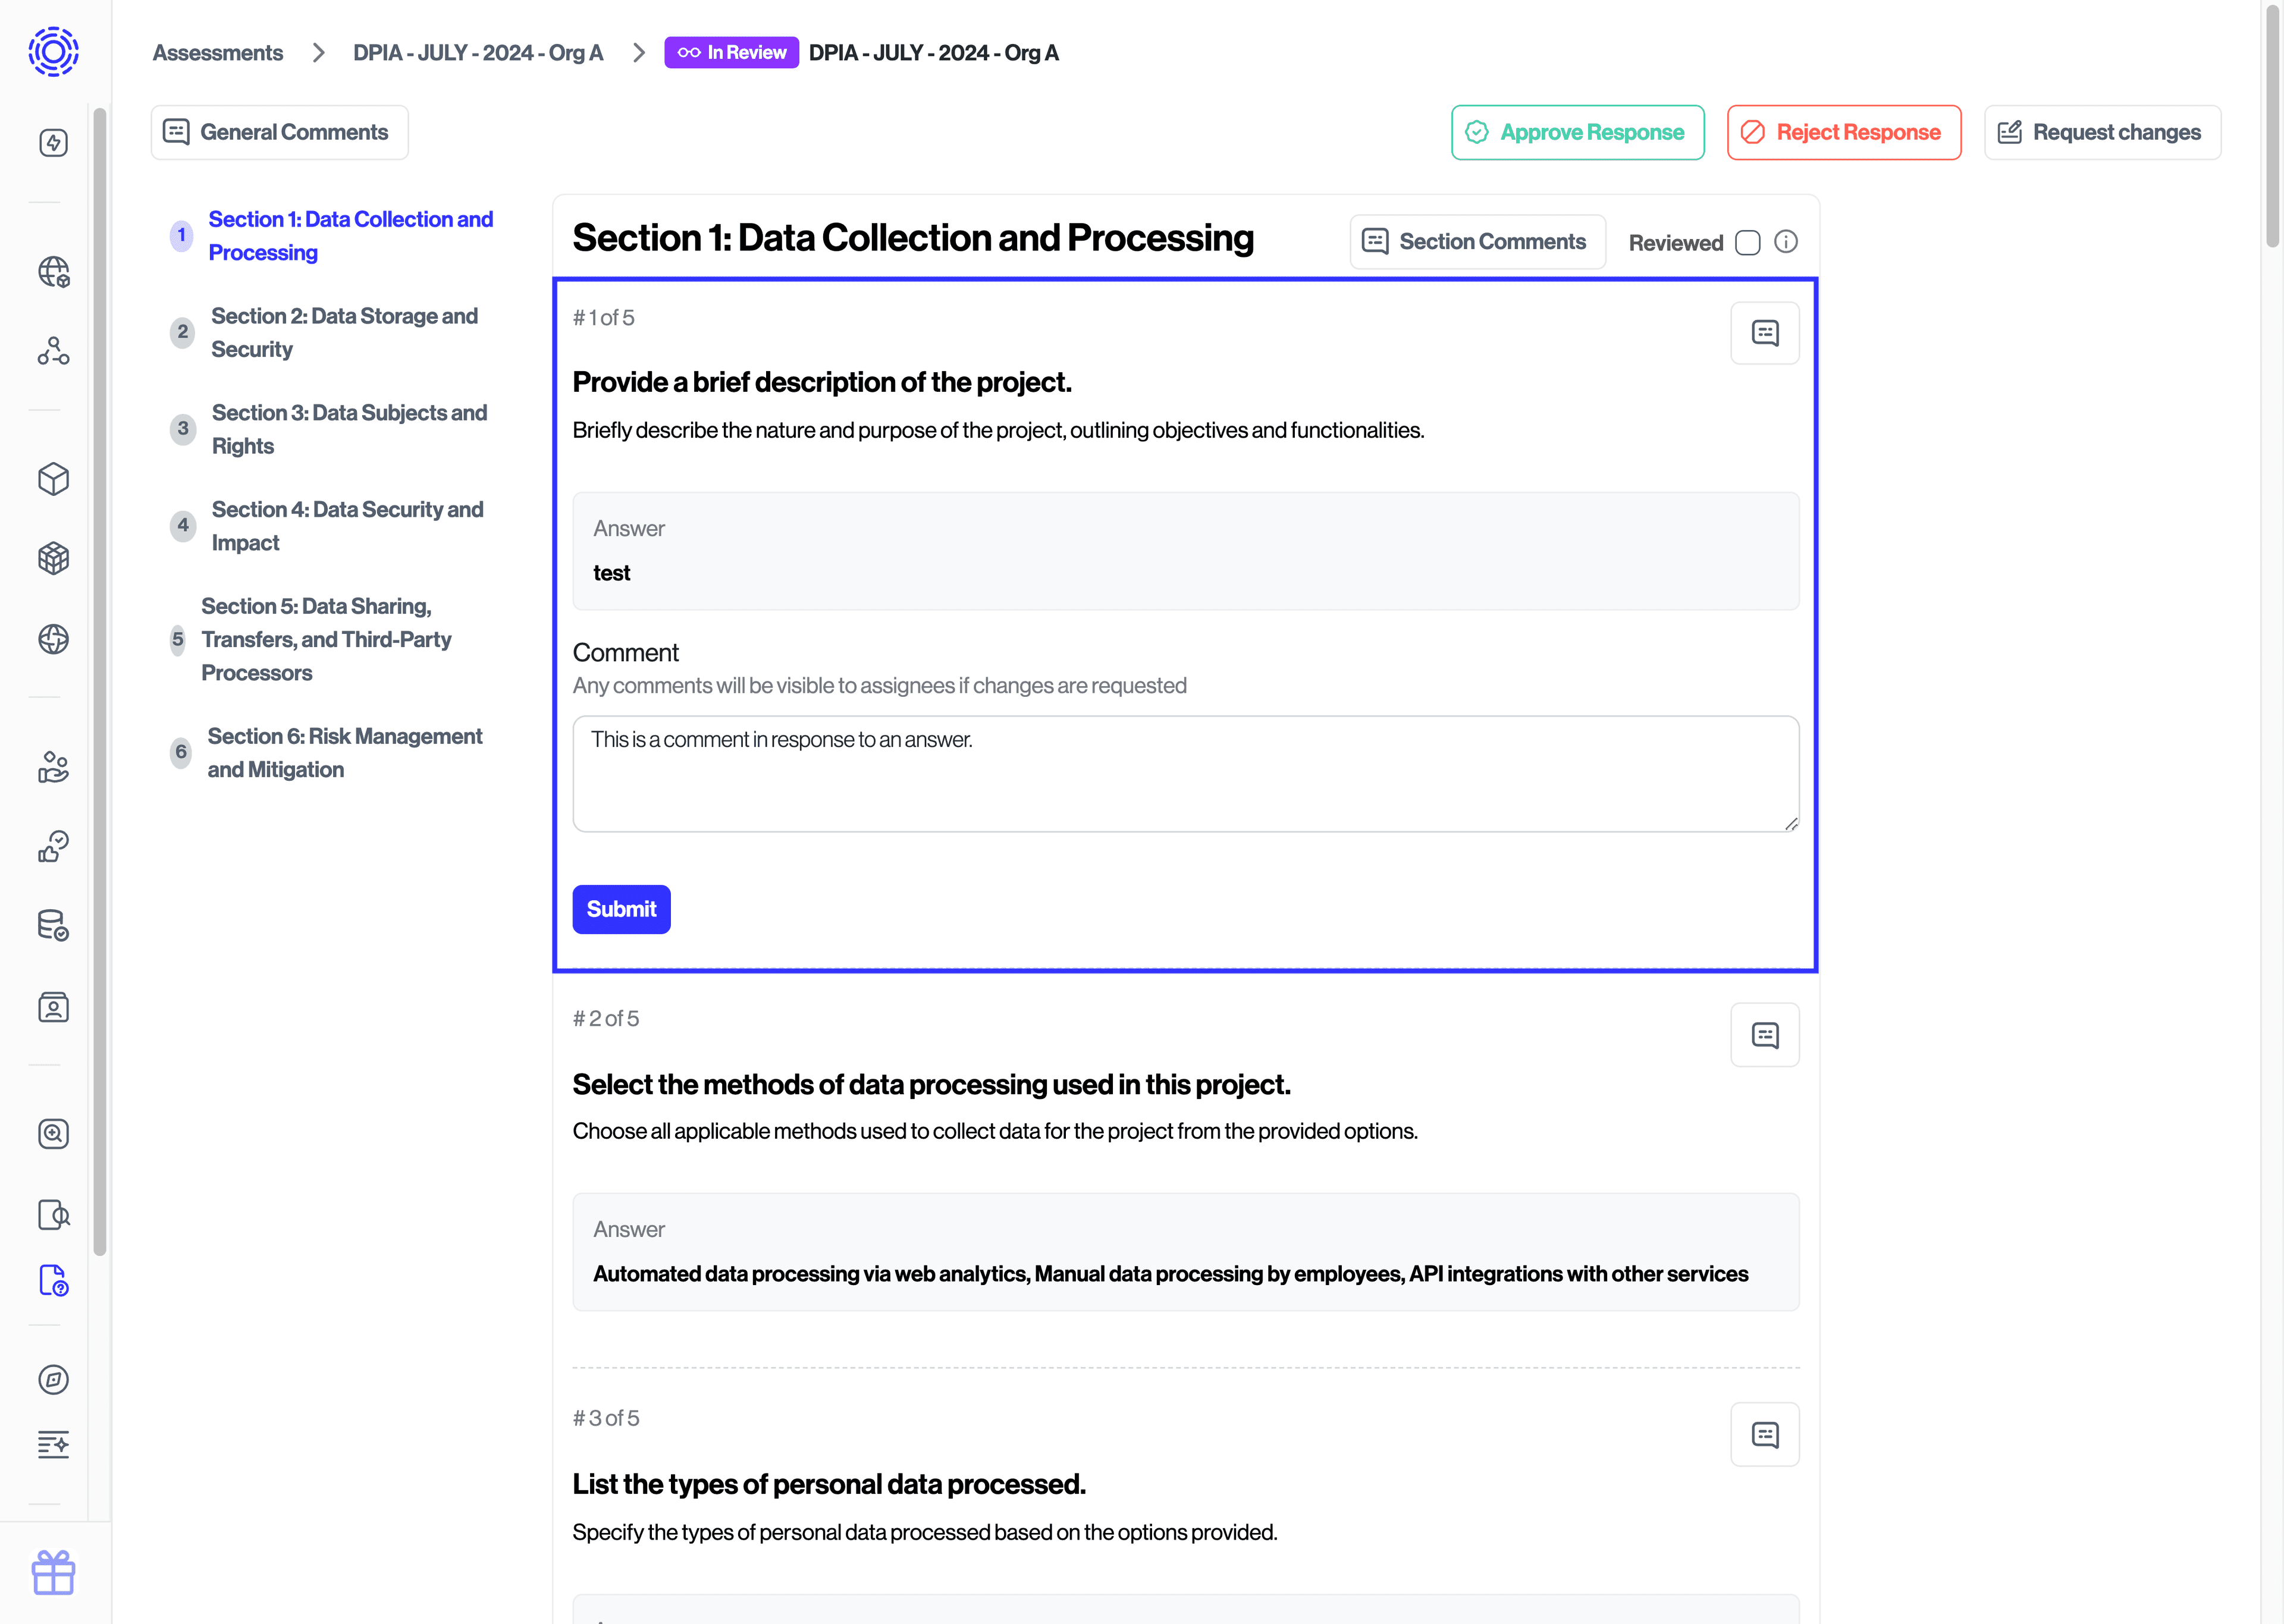
Once an assessment is ready to be reviewed, you can hover over that row and click on the "View Responses" button that appears on the right side of the assessment row.

Once you click on the "View Responses" button, a new page will open that allows you to review all the questions and their respective answers. You can do several things at this point:
- Comment on individual questions.
- Comment on entire sections.
- Comment on the entire assessment response.
- Sync supported responses to fields of the Data Inventory.
- Request changes.
- Approve the assessment responses.
- Reject the assessment responses.
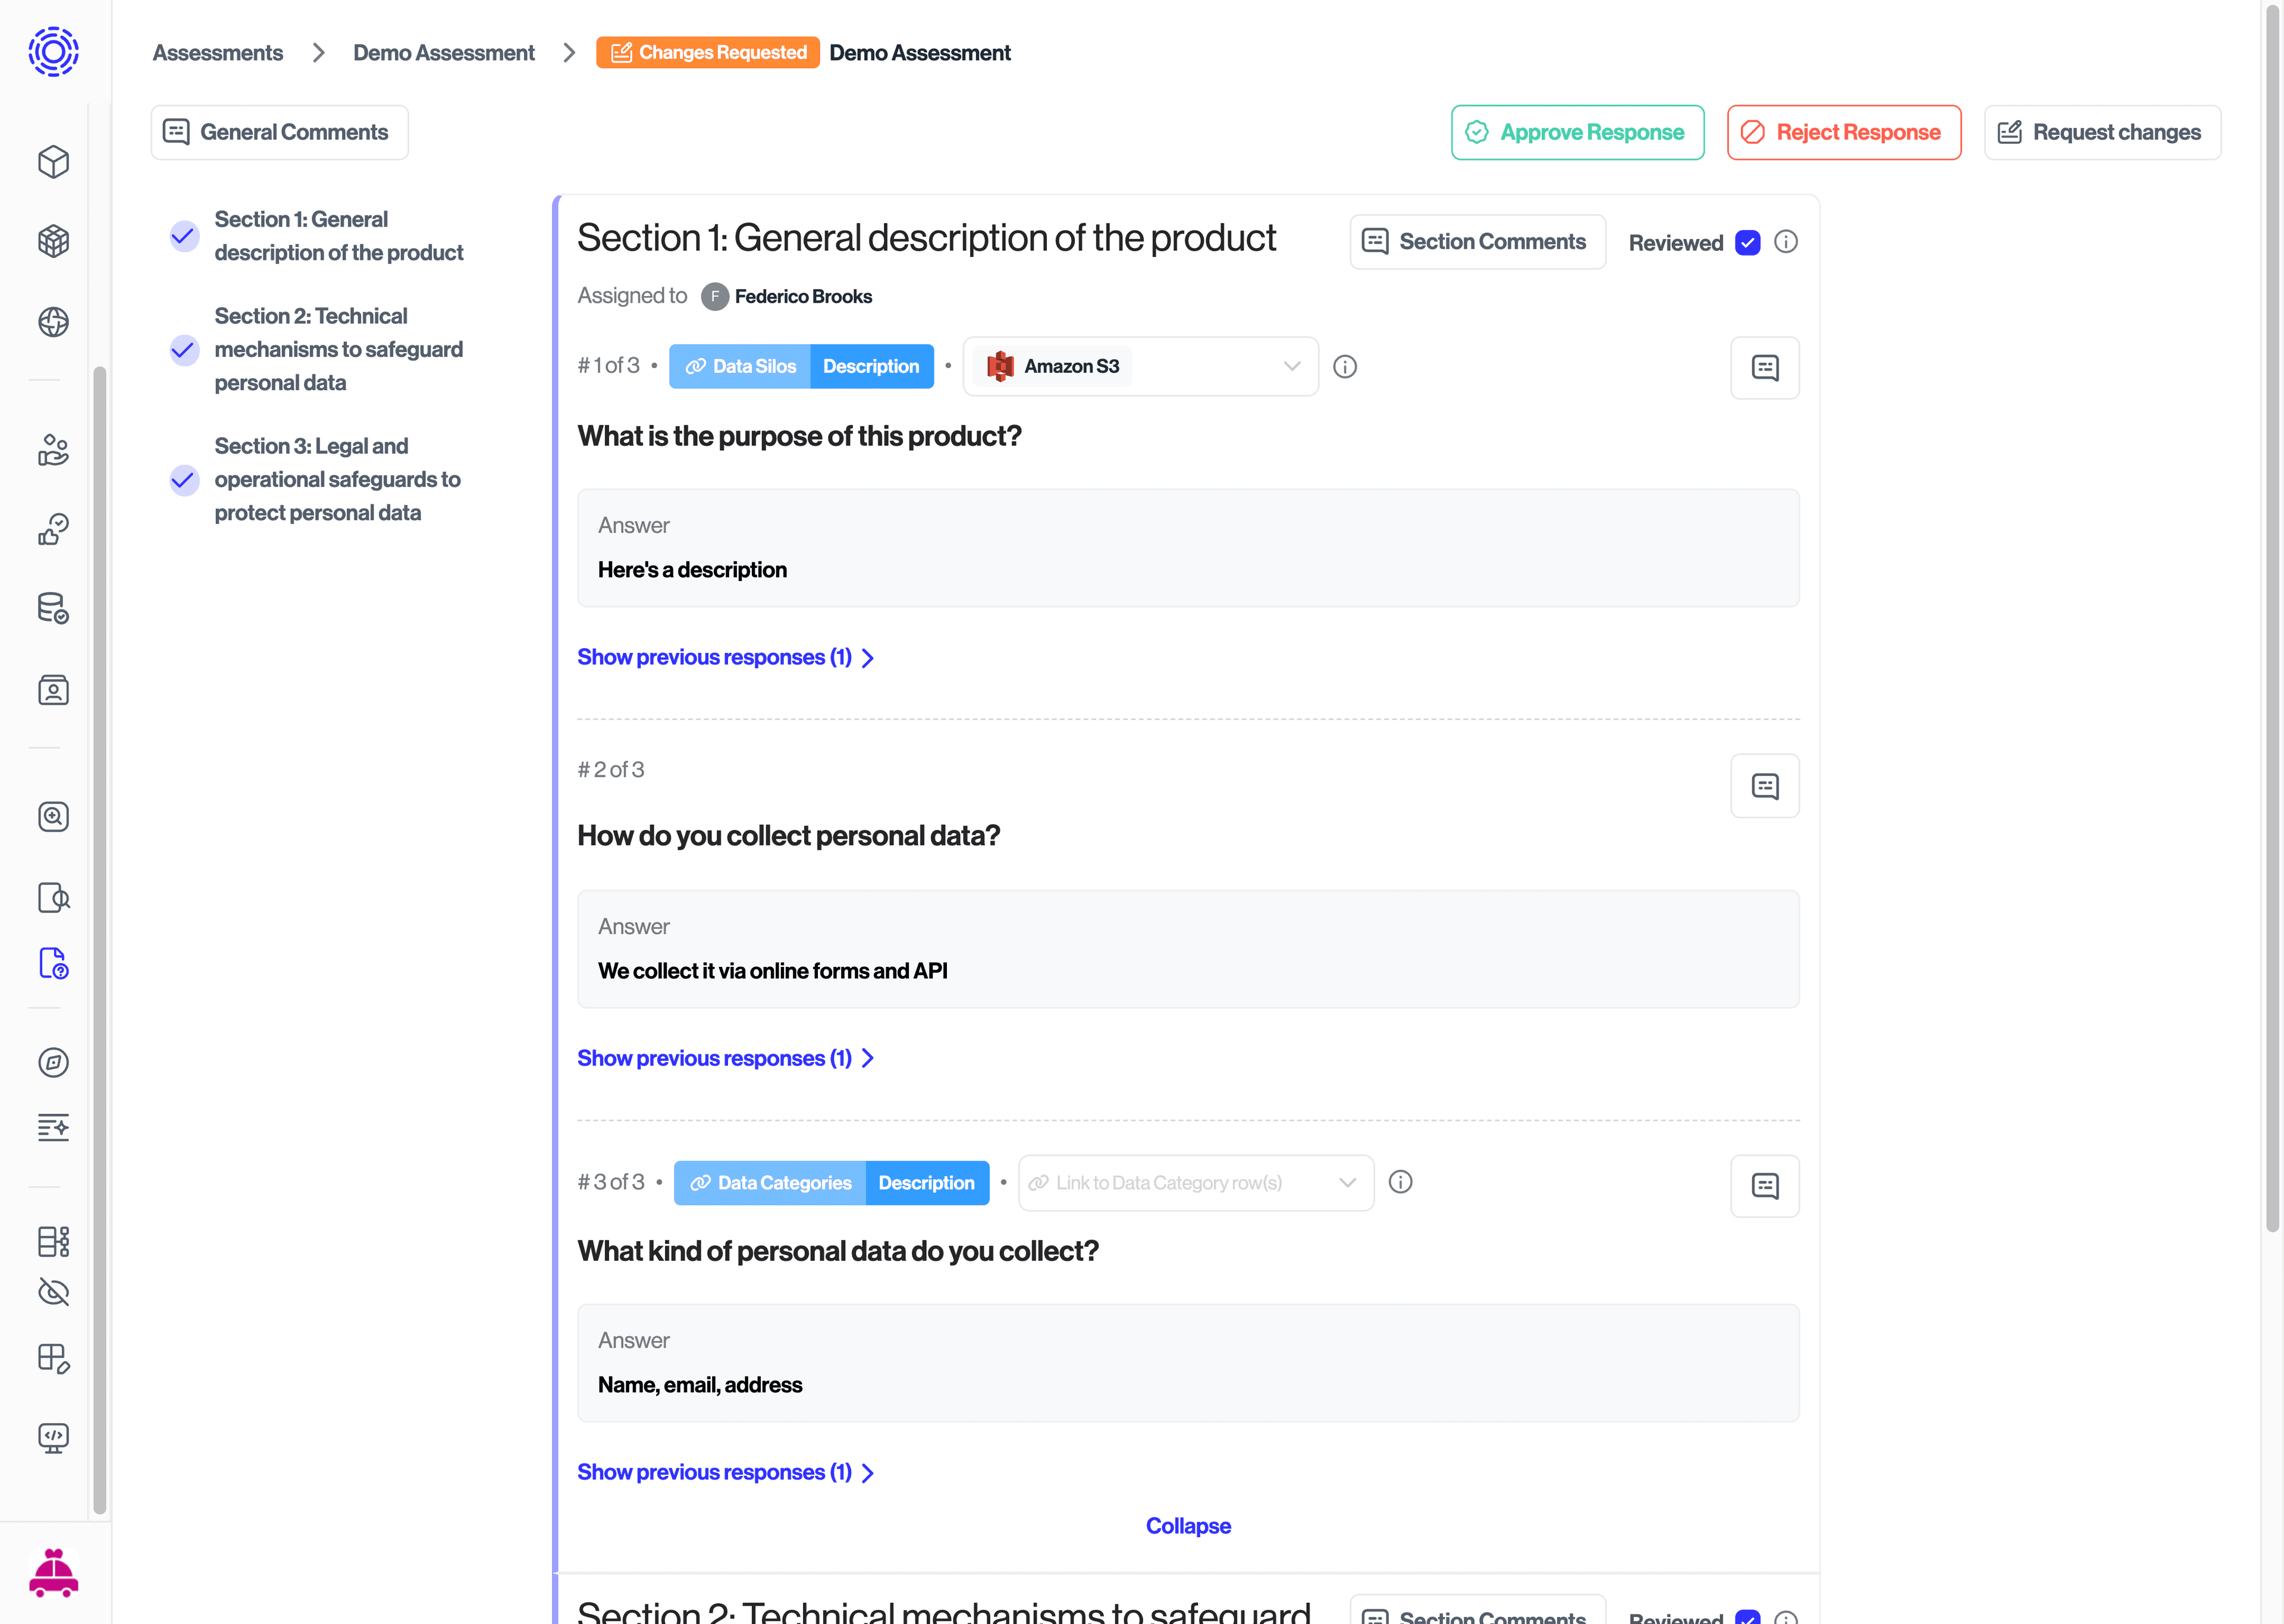
You can leave comments for the entire assessment by clicking on the "General Comments" button on the top left of the "View Responses" page. You can leave section comments by clicking on "Section Comments" on the right of each section, and to leave question level comments, you can do so by clicking on the "Comment" icon next to each question.
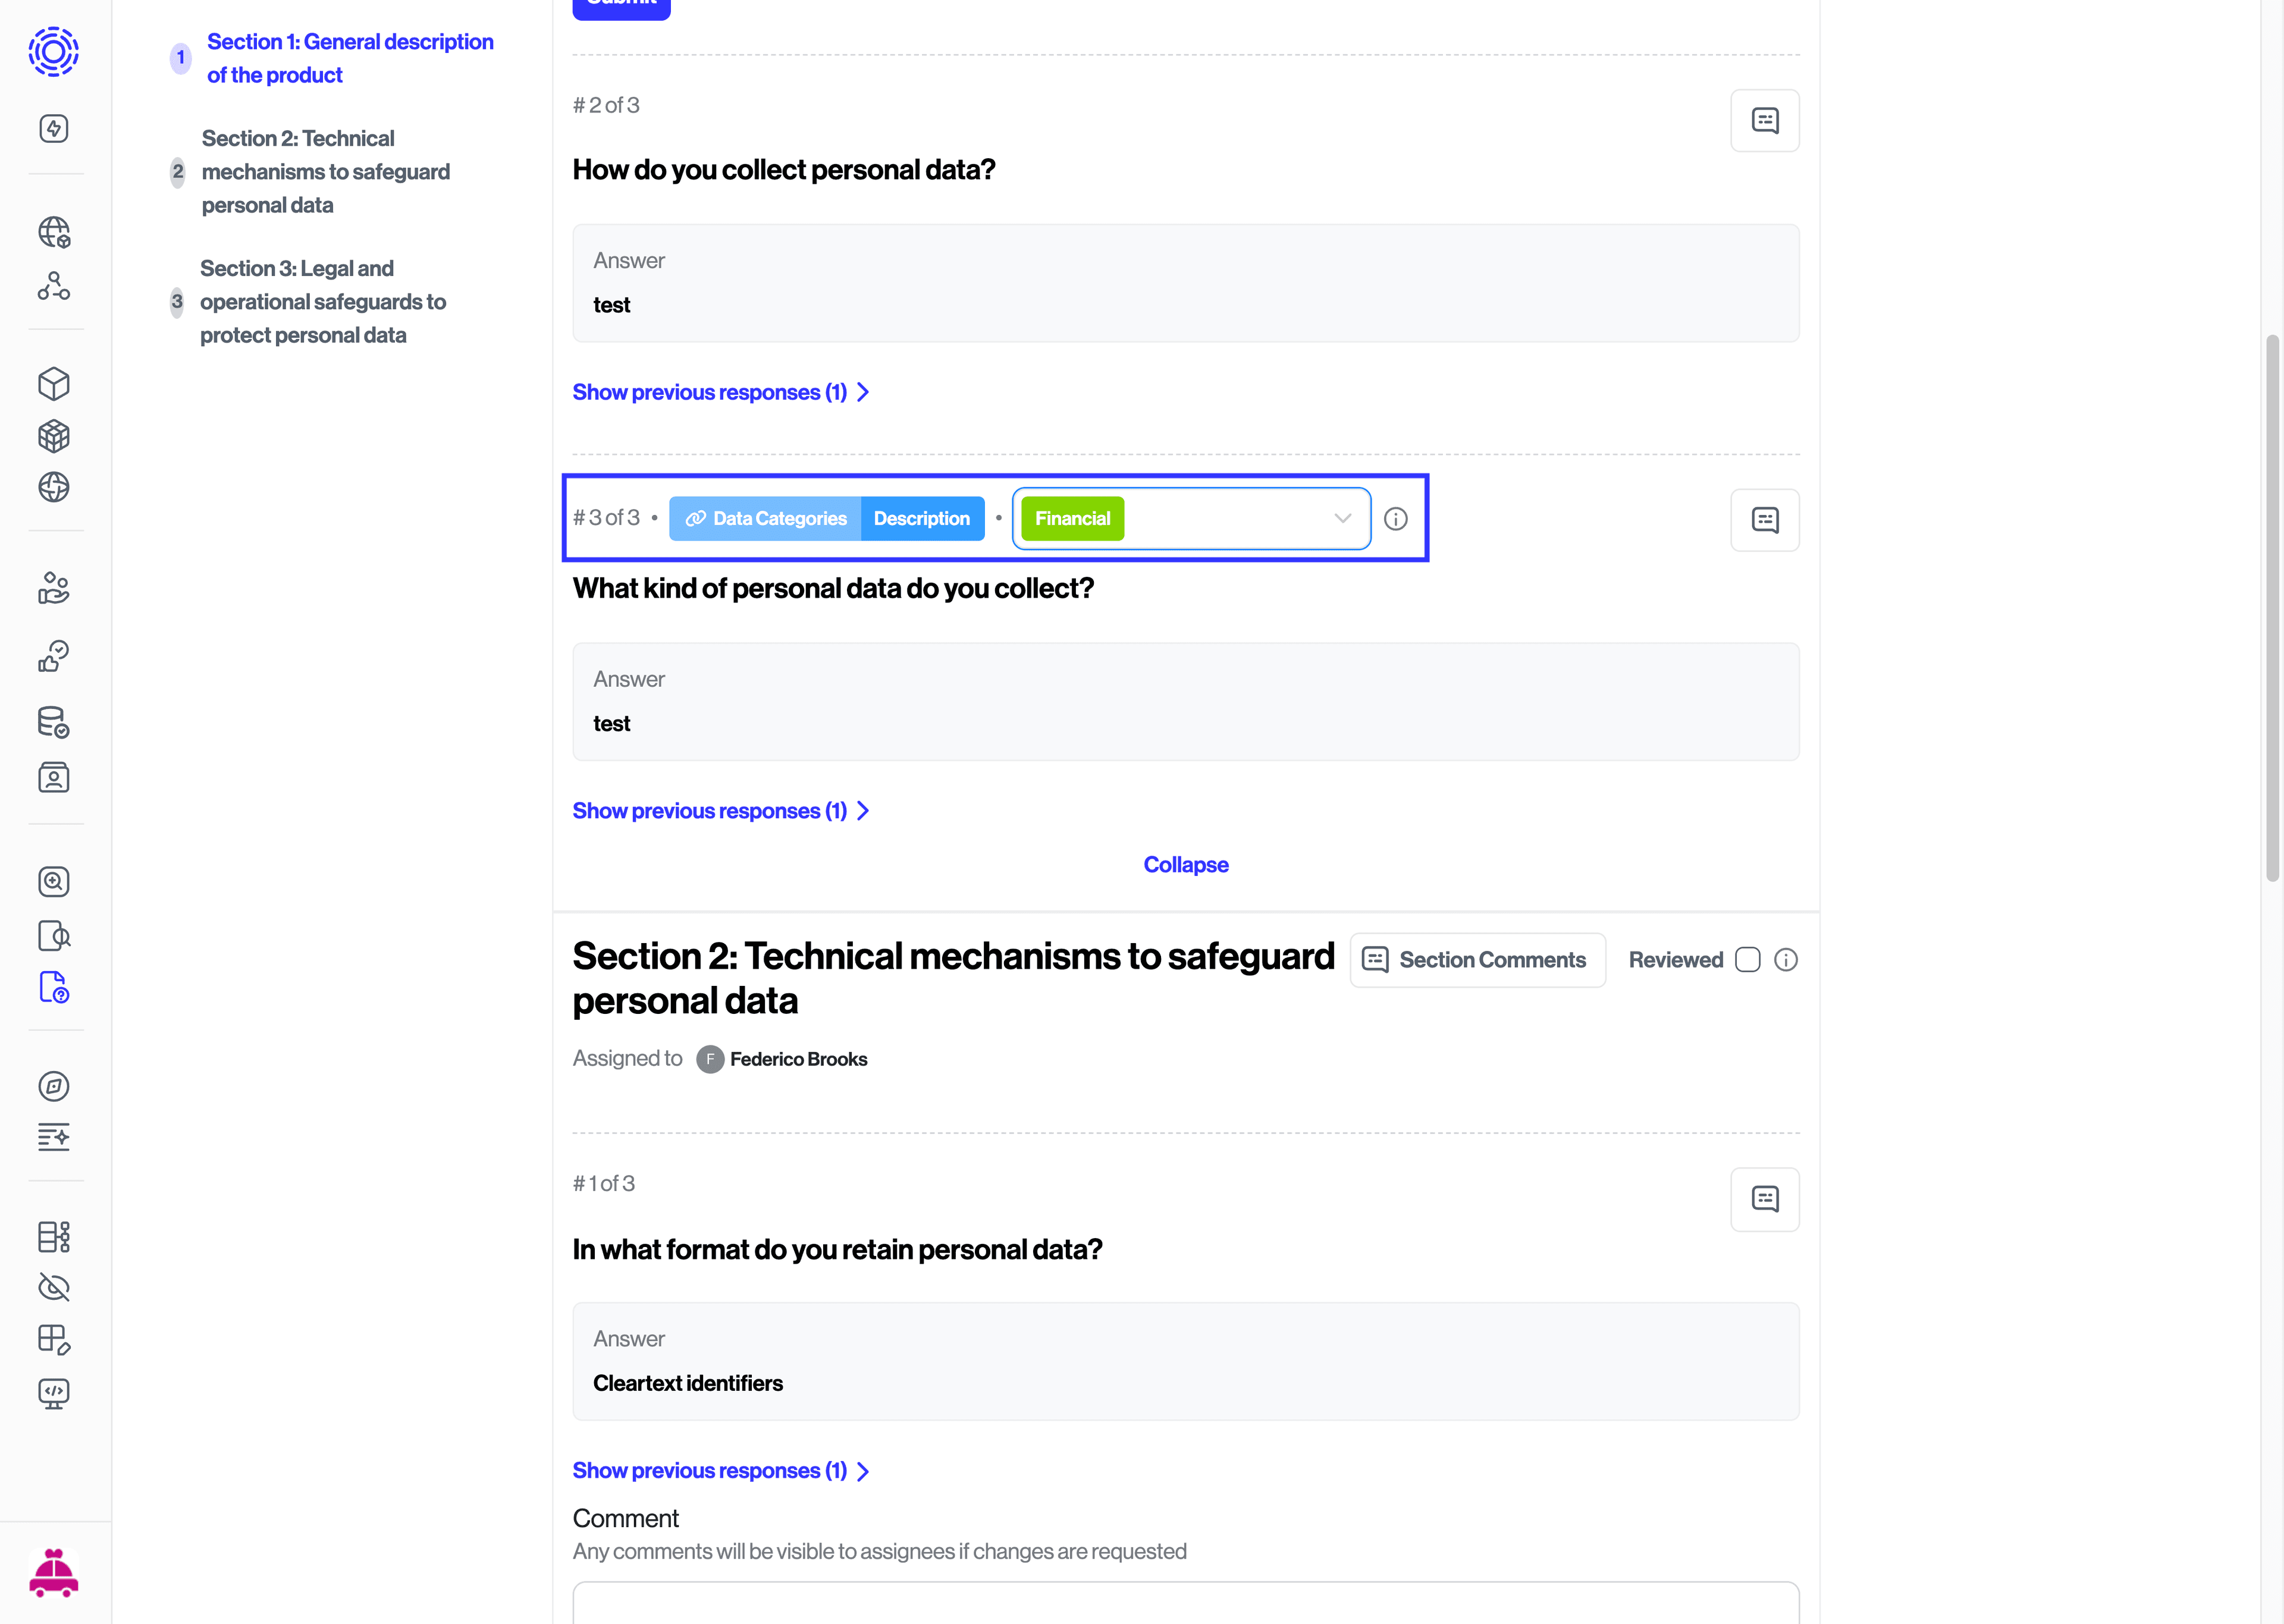
Additionally, you will be able to sync answers to certain supported question types to specific cells within the Data Inventory. You will see an element on the left of the "question level" comment button, with a table and field value, as well as an empty drop-down next to it. The table refers to the table within the Data Inventory where you'd like that answer to sync to, the field maps to the column within the Data Inventory, and the drop-down will let you define the row where the update should be applied. Please note that the update will not take effect until the entire assessment is approved.
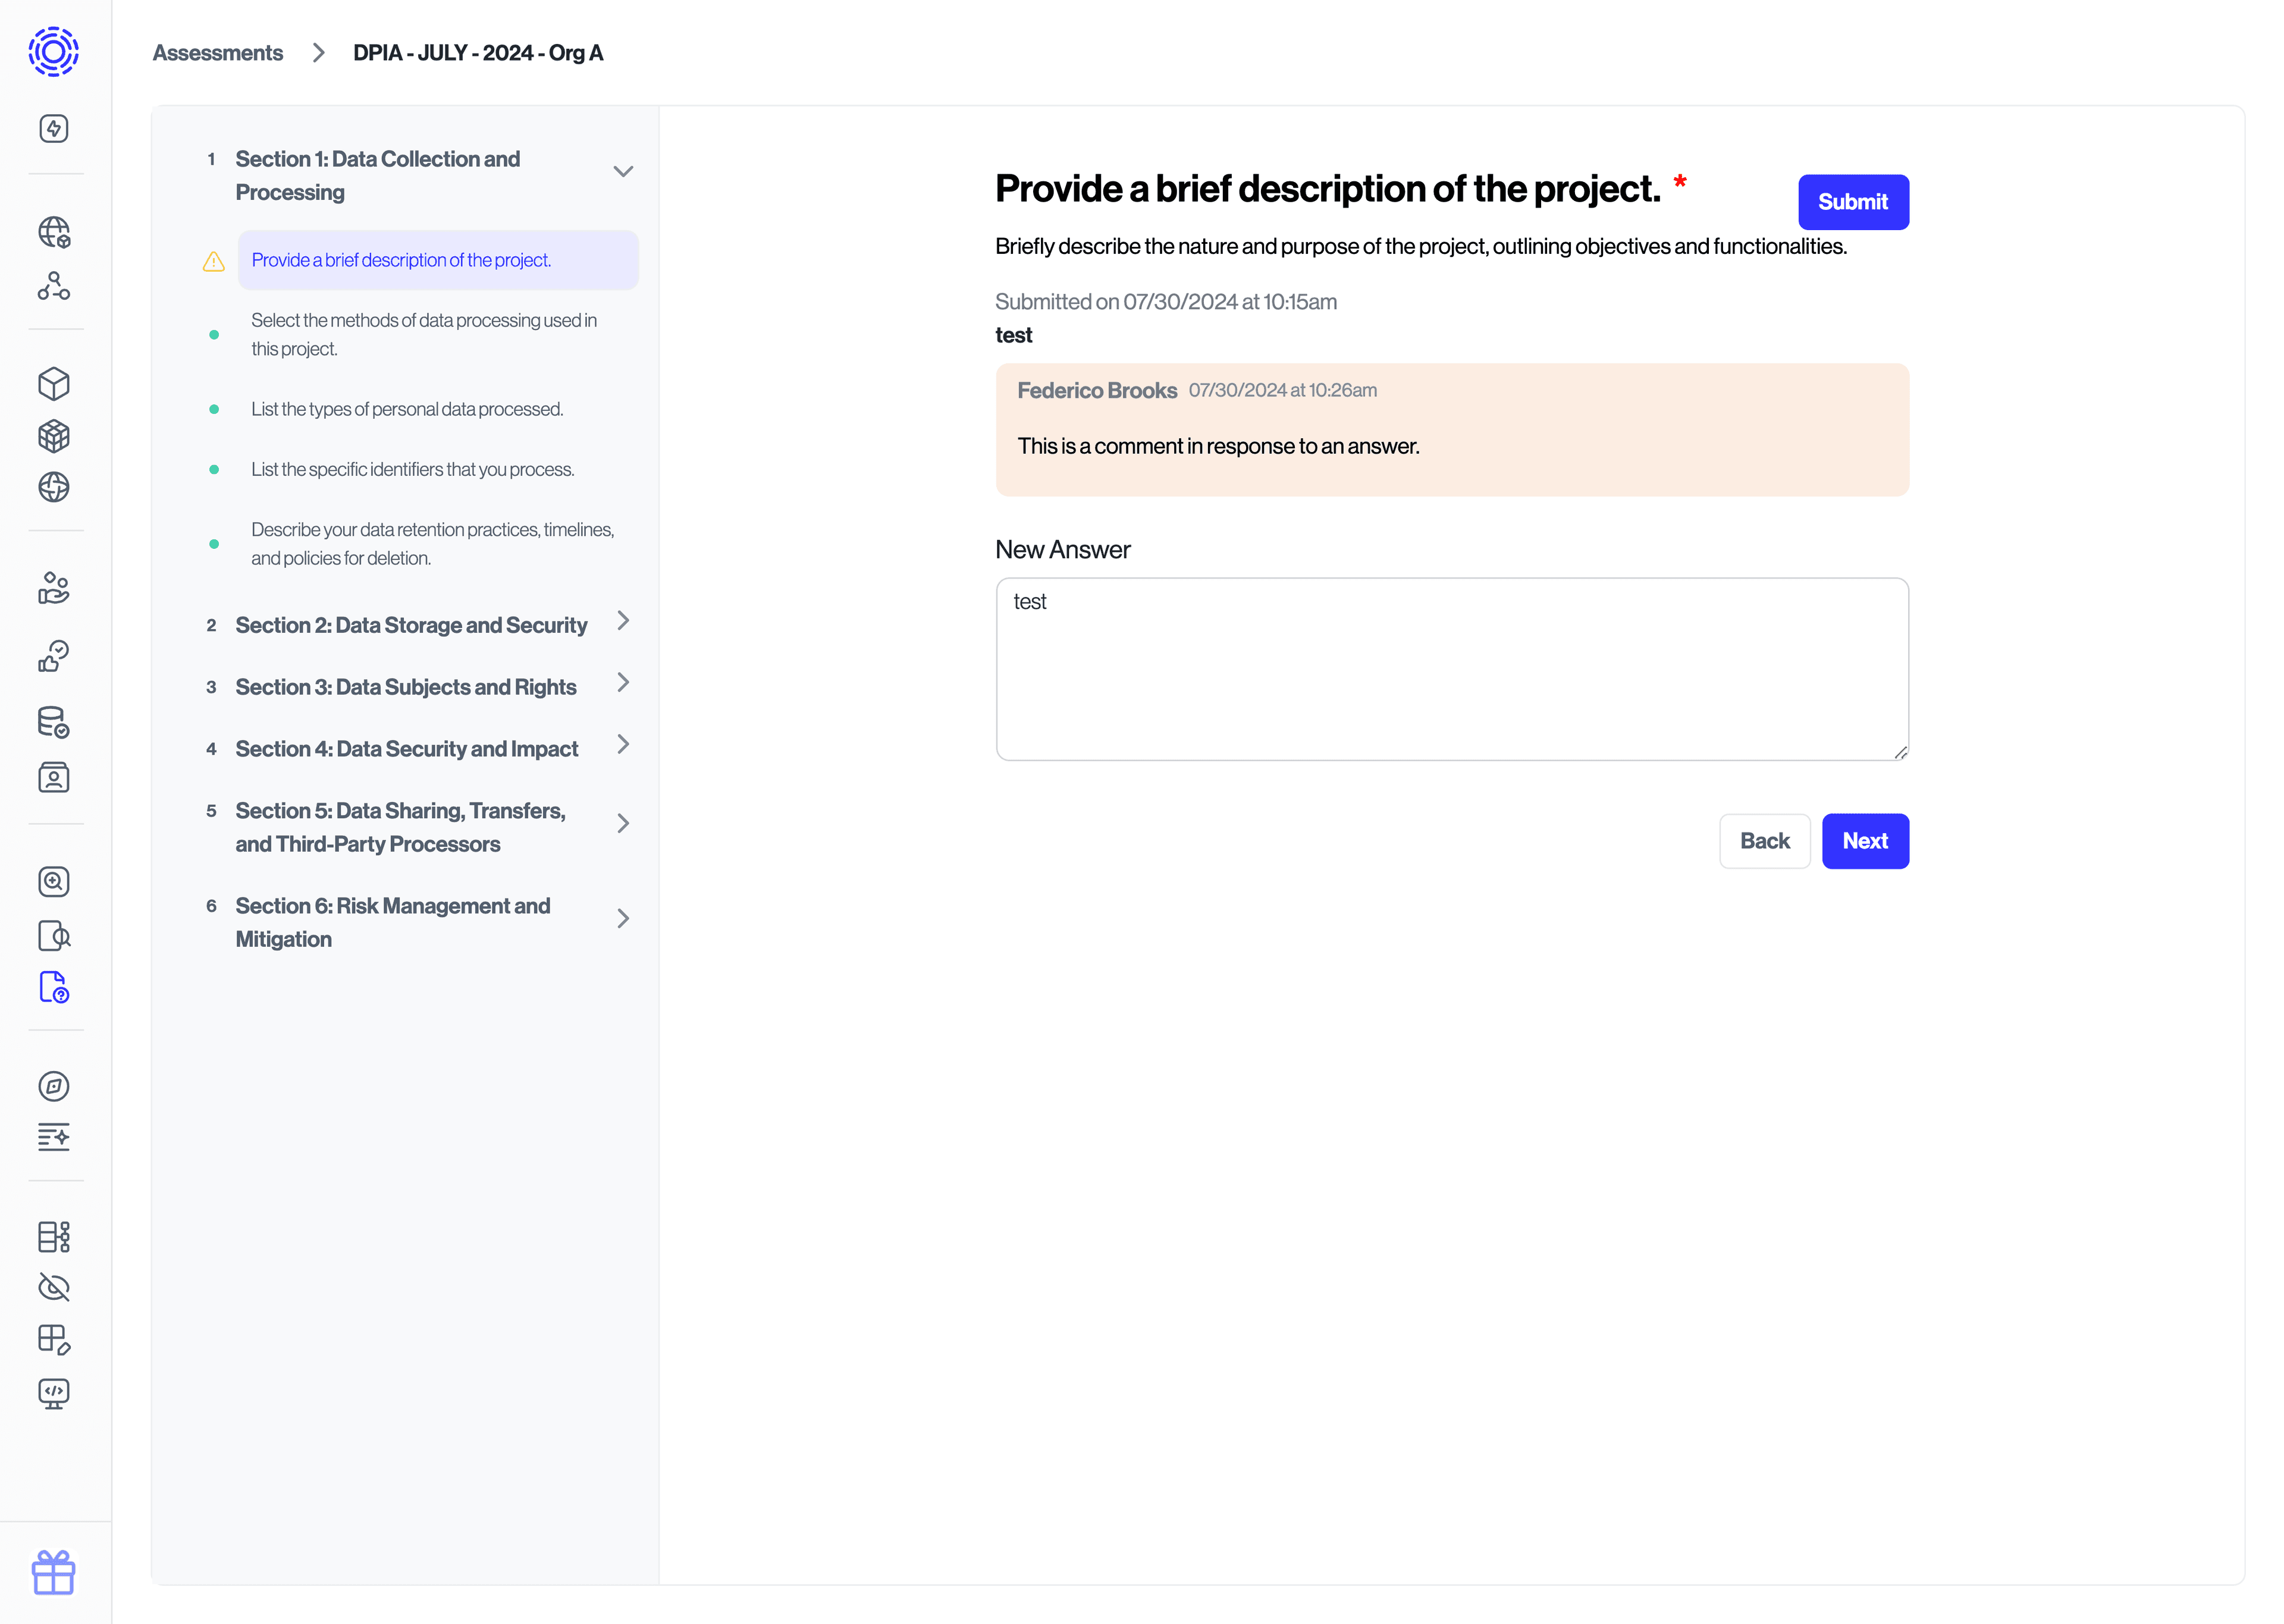
Requesting changes on a response will change the status of the assessment to "Changes Requested", and reopen the form to the assignees to address the feedback. They will be able to see the comments on each question and section, as well as their previous answers, and be able to make any changes necessary before re-submitting the assessment for review.
Finally, once the assessment response is in good standing, you are able to "Approve" or "Reject" the assessment by clicking on the corresponding button on the top right.
Any action you take will update the status of the assessment to reflect the changes. Some of these changes will send a notification. For example, if you elect to "Request Changes", an email will be sent out to the assignee to allow them to address the feedback.