Assessment Templates
Data Privacy organizations rely on assessments to keep an eye on their compliance, assess data privacy risk, and to properly govern their data practices.
To get started using assessments within Transcend, you’ll want to set up some templates to be used within your organization. To do so, navigate to the Assessments page, and click on the Templates tab.
Here, you'll have the option to import your existing templates, or to create your templates from scratch.

To import your own template, click on Import from CSV. You will see a modal appear with the option to import your CSV or to download the template CSV with the expected header row.
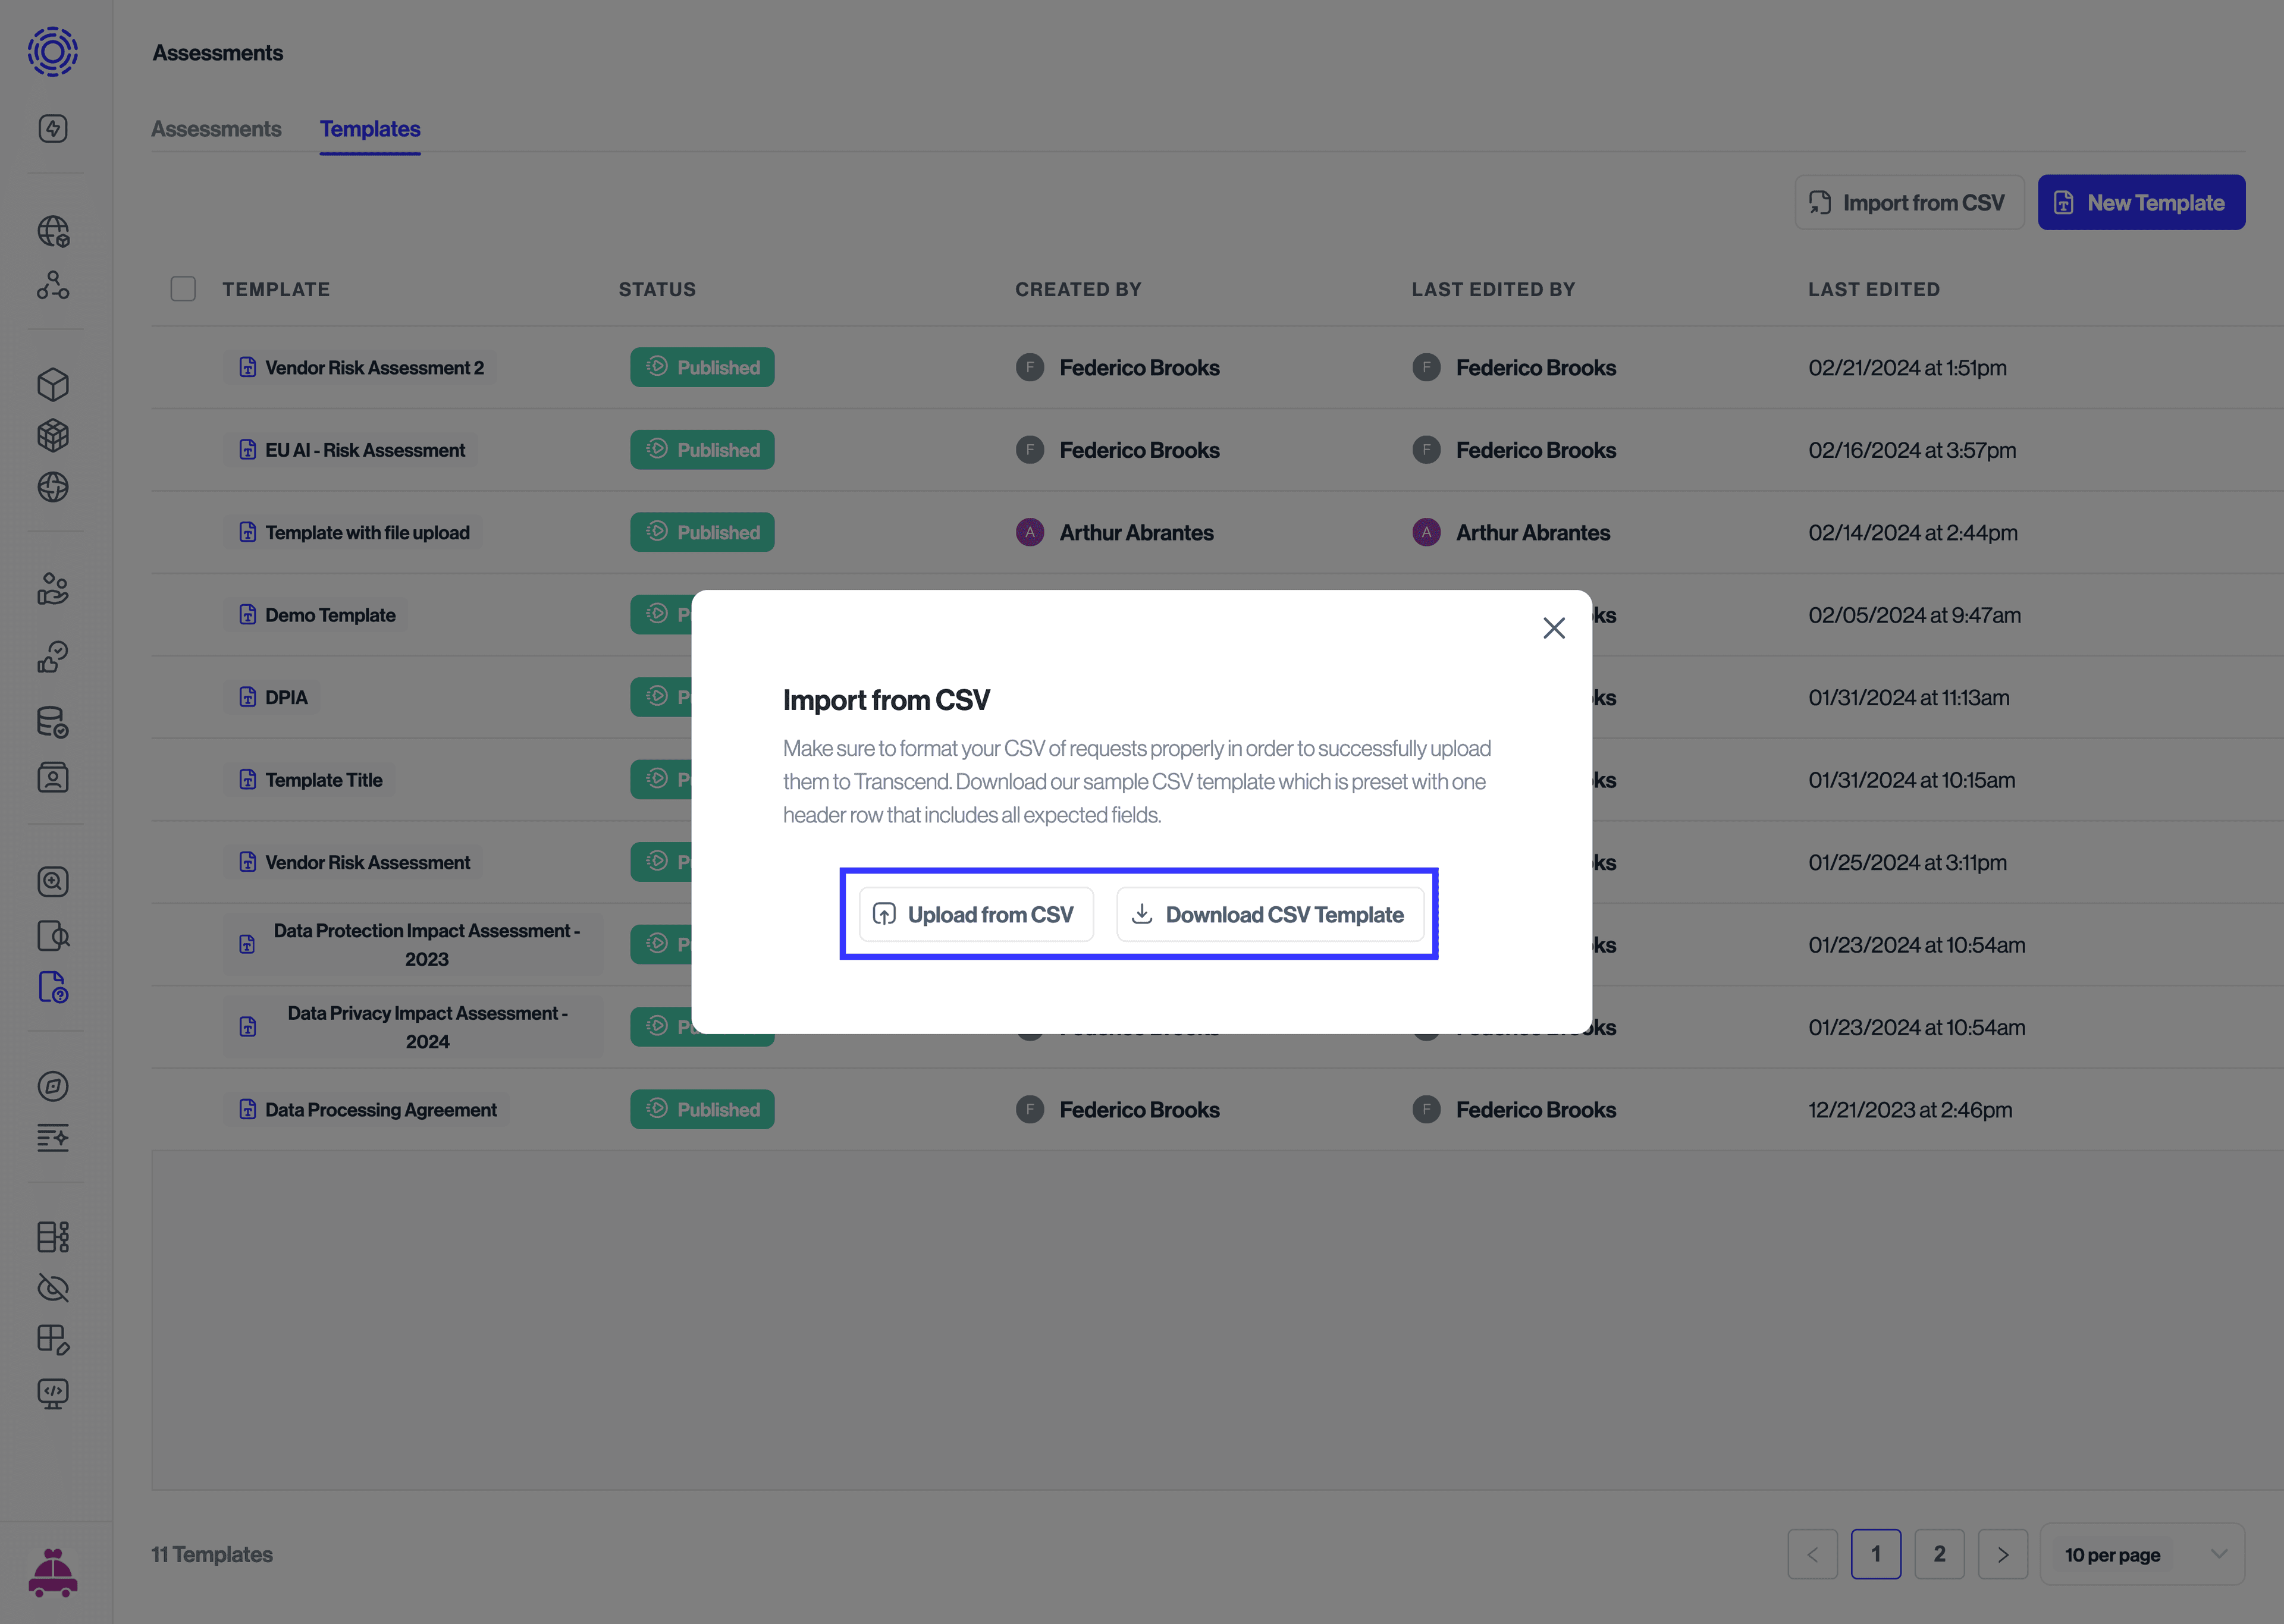
We recommend downloading our template file to easily format your assessment template with the required fields. The imported CSV must have a header row that matches the header in our template CSV exactly.
Note that within the CSV, each new line represents a question. To list several questions within the same section, those lines should have an identical Section Title value. Empty Section Titles are not allowed.
Here are the supported fields:
- Section title: The title of the section containing the request.
- Question title: The question itself.
- Question helper text: Description of the question.
- Question type:
a. LONG_ANSWER_TEXT
b. SHORT_ANSWER_TEXT
c. SINGLE_SELECT
d. MULTI_SELECT
e. FILE - Is Required?
YES
NO - Answer options (select questions only, comma-separated)
- Allow Select Other (select questions only)
YES
NO
Here's an example of how the table representation of the CSV should look like:
| Section Title | Question Title | Question helper text | Question type (eg: LONG_ANSWER_TEXT | SHORT_ANSWER_TEXT | SINGLE_SELECT | MULTI_SELECT | FILE) | Is Required? (YES | NO) | Answer Options | Allow Select Other (select questions only)? (YES | NO) |
|---|---|---|---|---|---|---|---|---|---|---|---|---|
| Section 1 | How do you ingest data? | Explain your data ingestion methods | MULTI_SELECT | YES | Web Form, User Profile, E-mail, SFTP, API | YES | ||||||
| Section 1 | What types of personal information do you collect? | Explain the types of PI collected | SINGLE_SELECT | YES | DOB, Full Name, SSN, Address, E-mail address | YES | ||||||
| Section 2 | Upload an image file to show your data pipeline | Upload a diagram or flowchart showing your pipeline | FILE | NO |
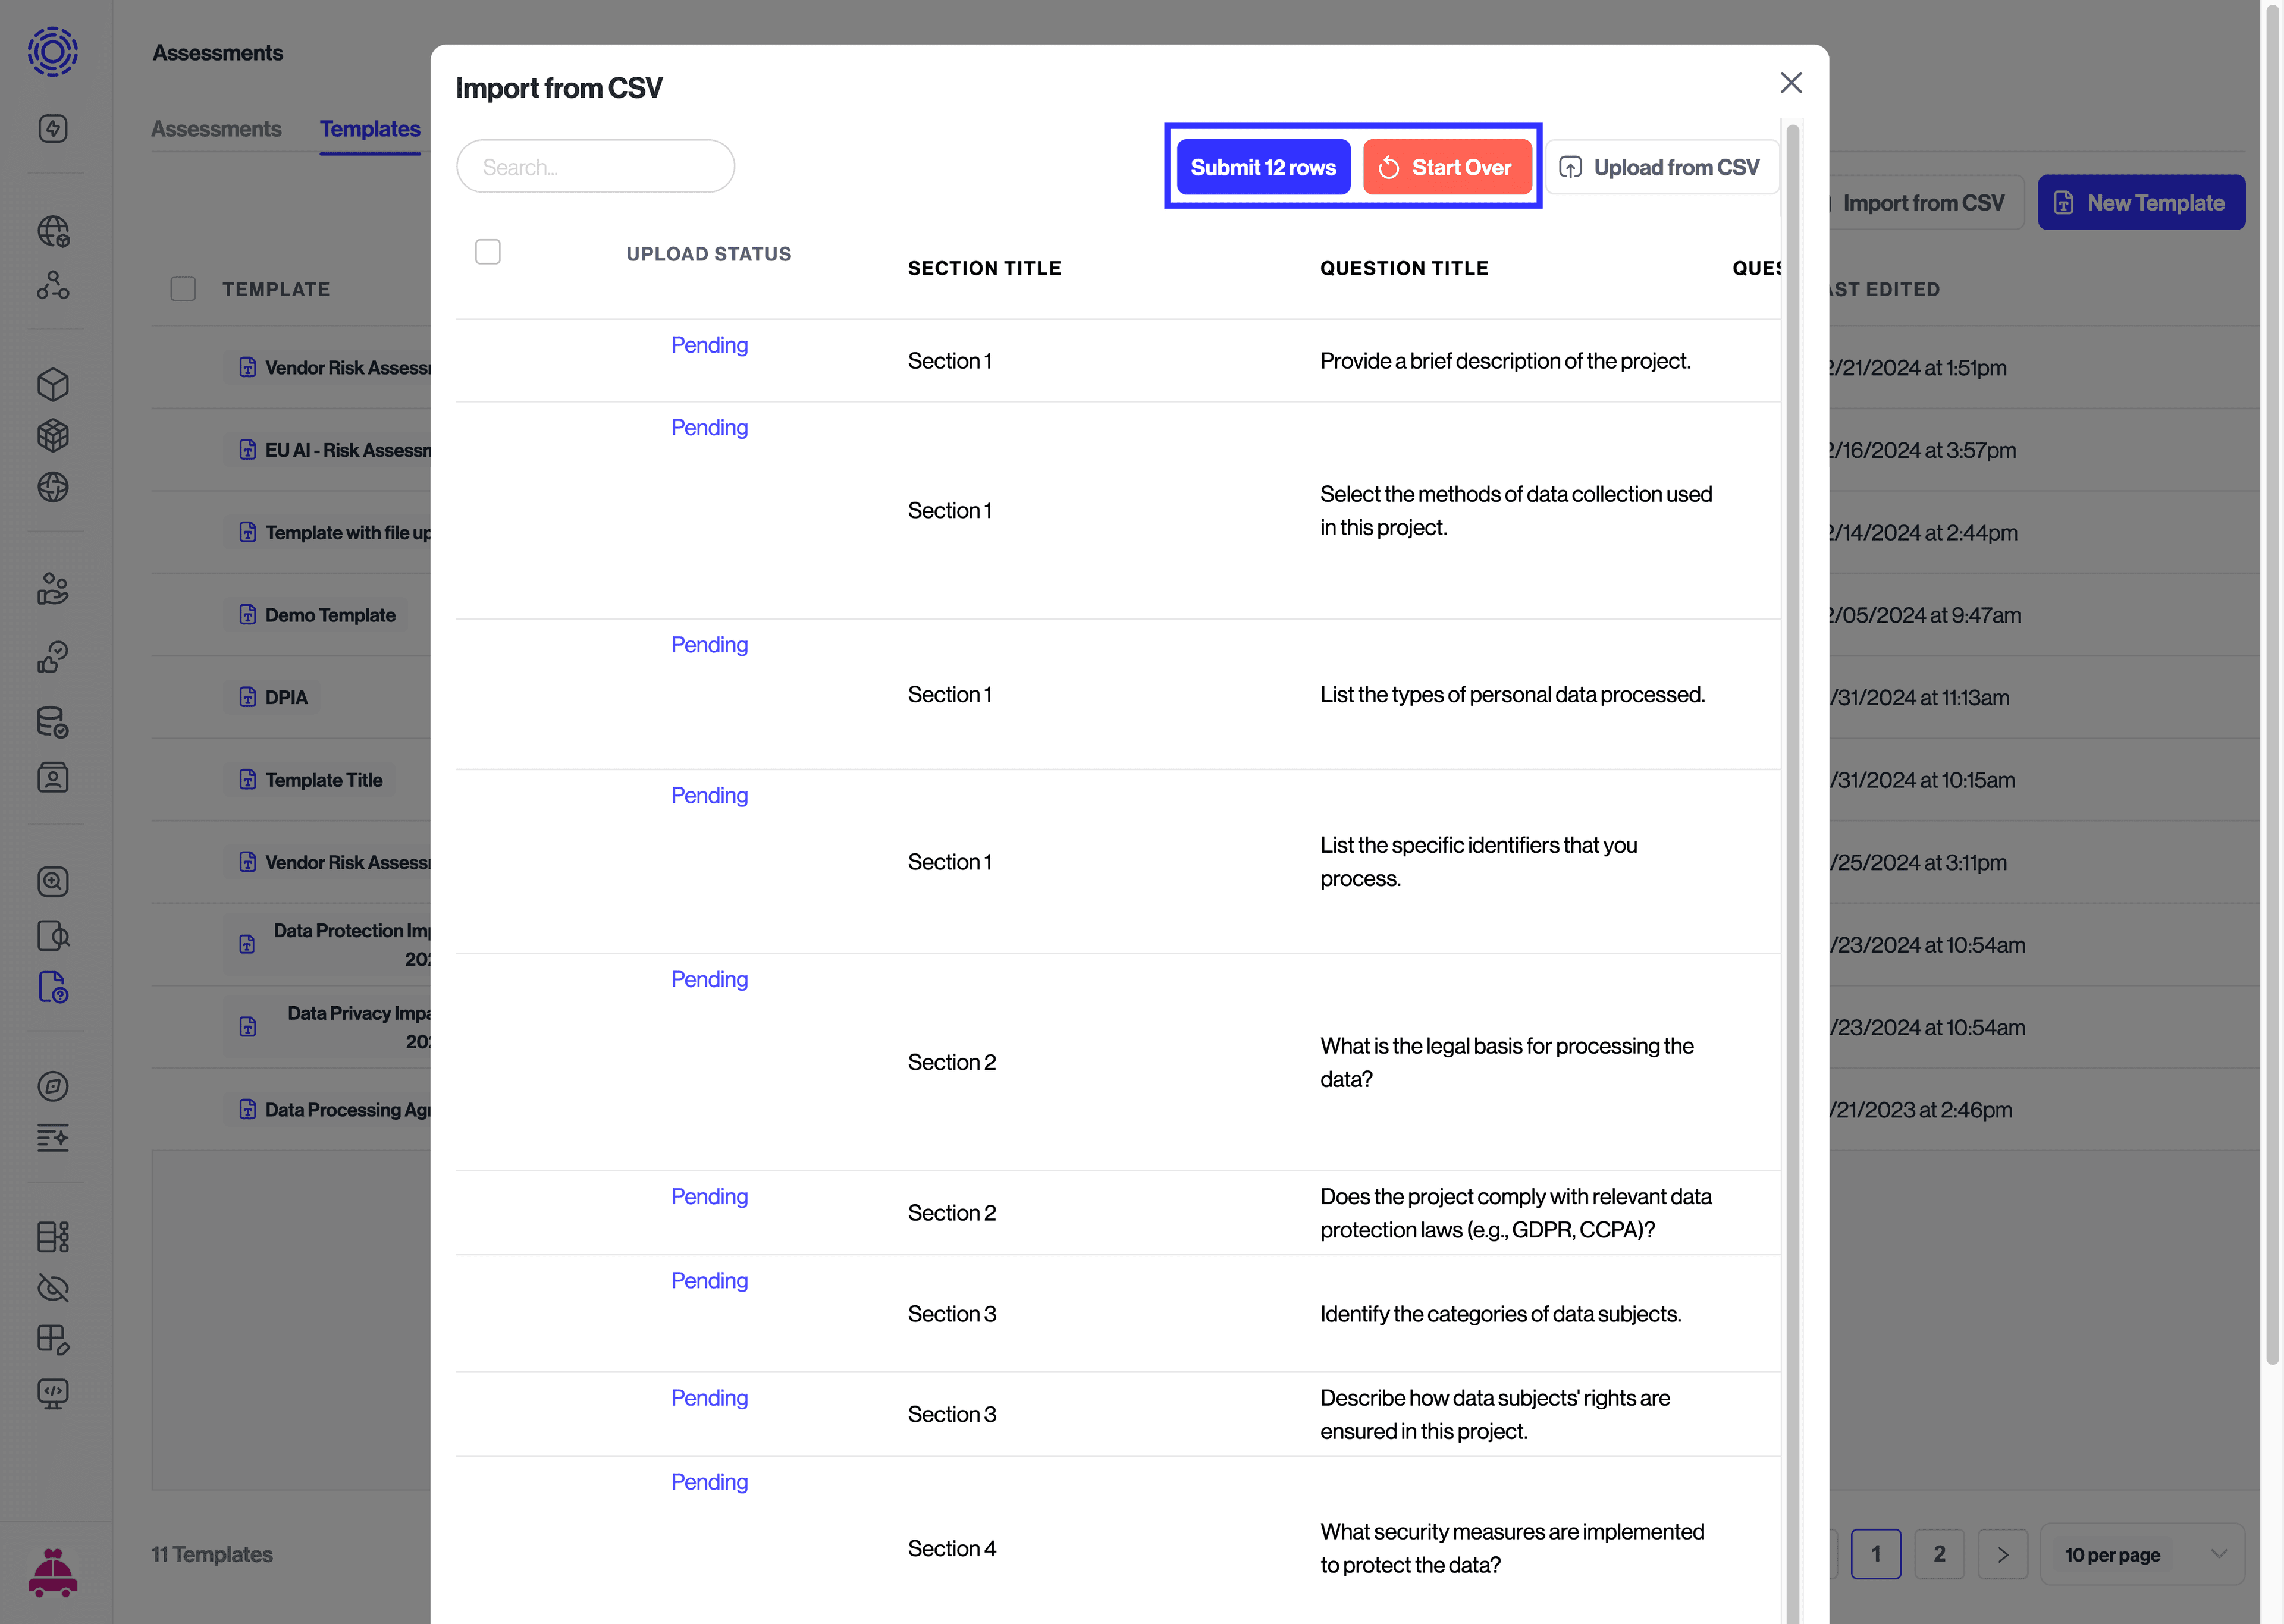
Once your CSV template is formatted properly, click on Upload from CSV from the modal and select the file you'd like to upload. You will then be able to review the table and click Submit x rows if everything looks good.
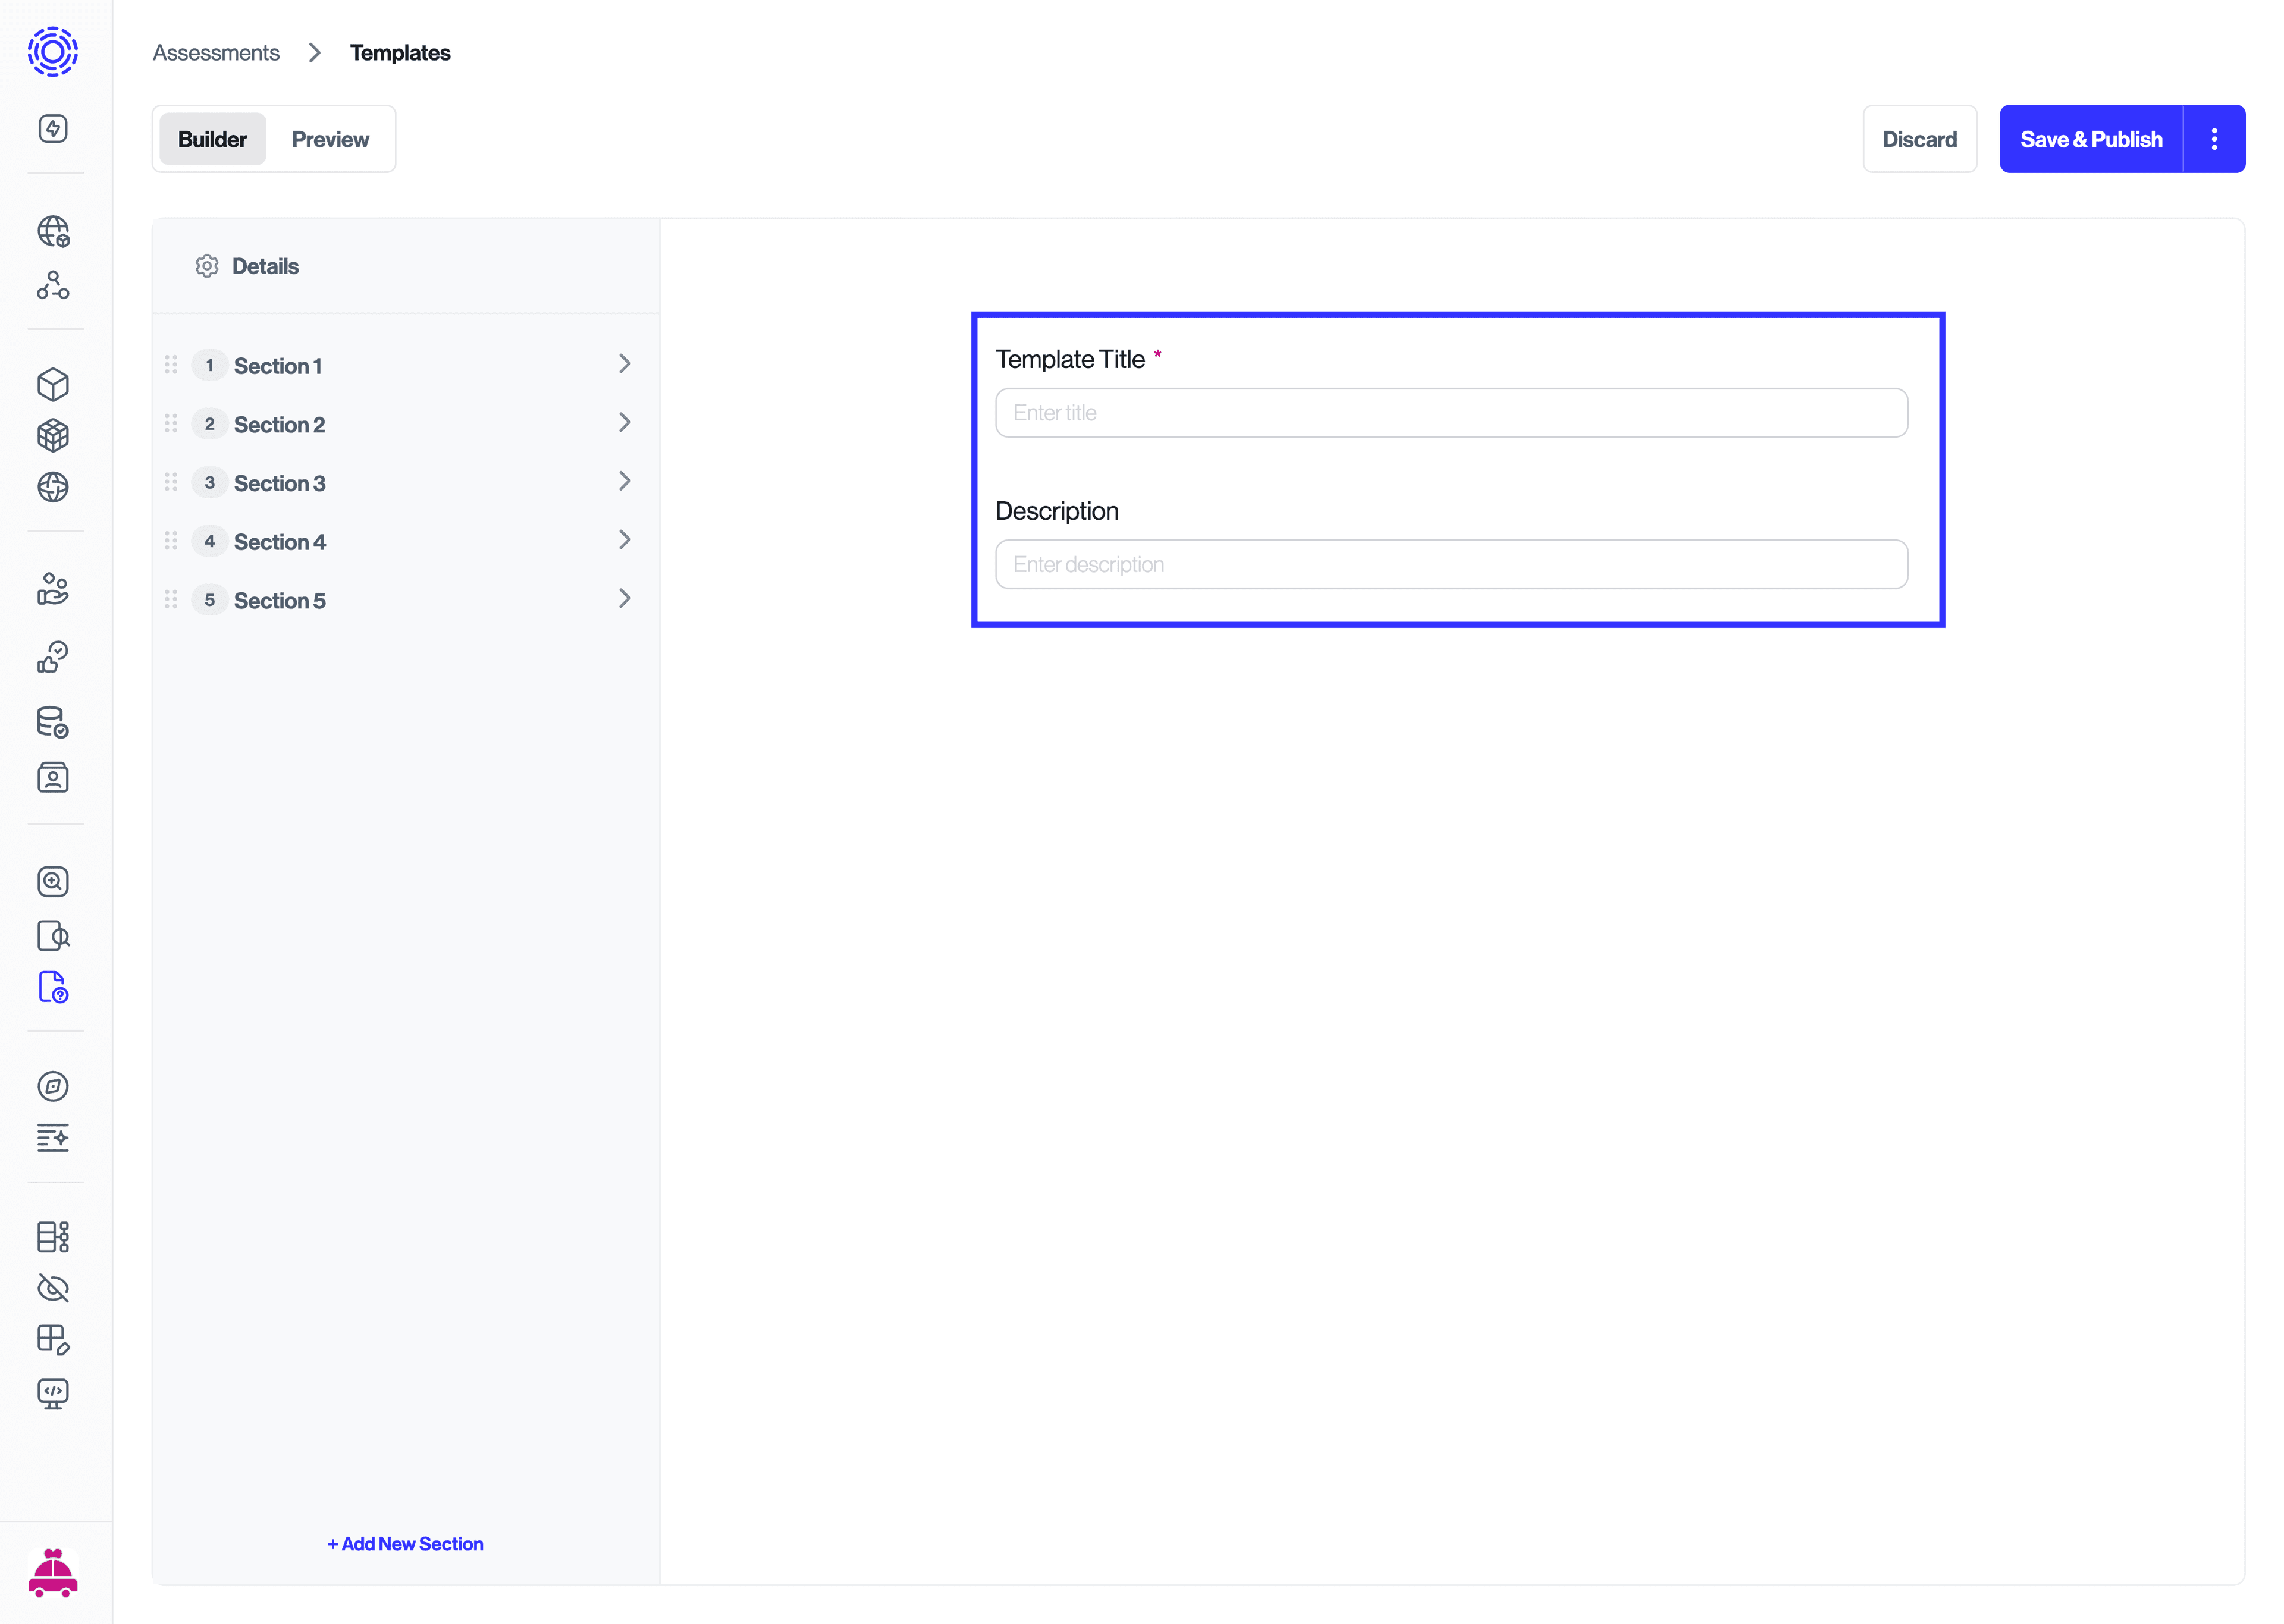
You will then be routed to the template editor to finish customizing your imported template. Write a Template Title and Description, and finish configuring the template questions. Things like special formatting for the answer options, or any advanced configurations, should be configured in Transcend directly.
Once the template is imported, you can make any additional changes to it according to your needs. Review the rest of this document to see how to add additional sections and questions. Once you are ready to save it, click on Save & Publish or on the kebab menu icon to select different save options.
Give your template a name that is easily recognizable, as it will be referenced throughout Transcend when creating assessments based on this template. In the screenshot below, we have pre-populated a few sections and questions to show you how it will look.
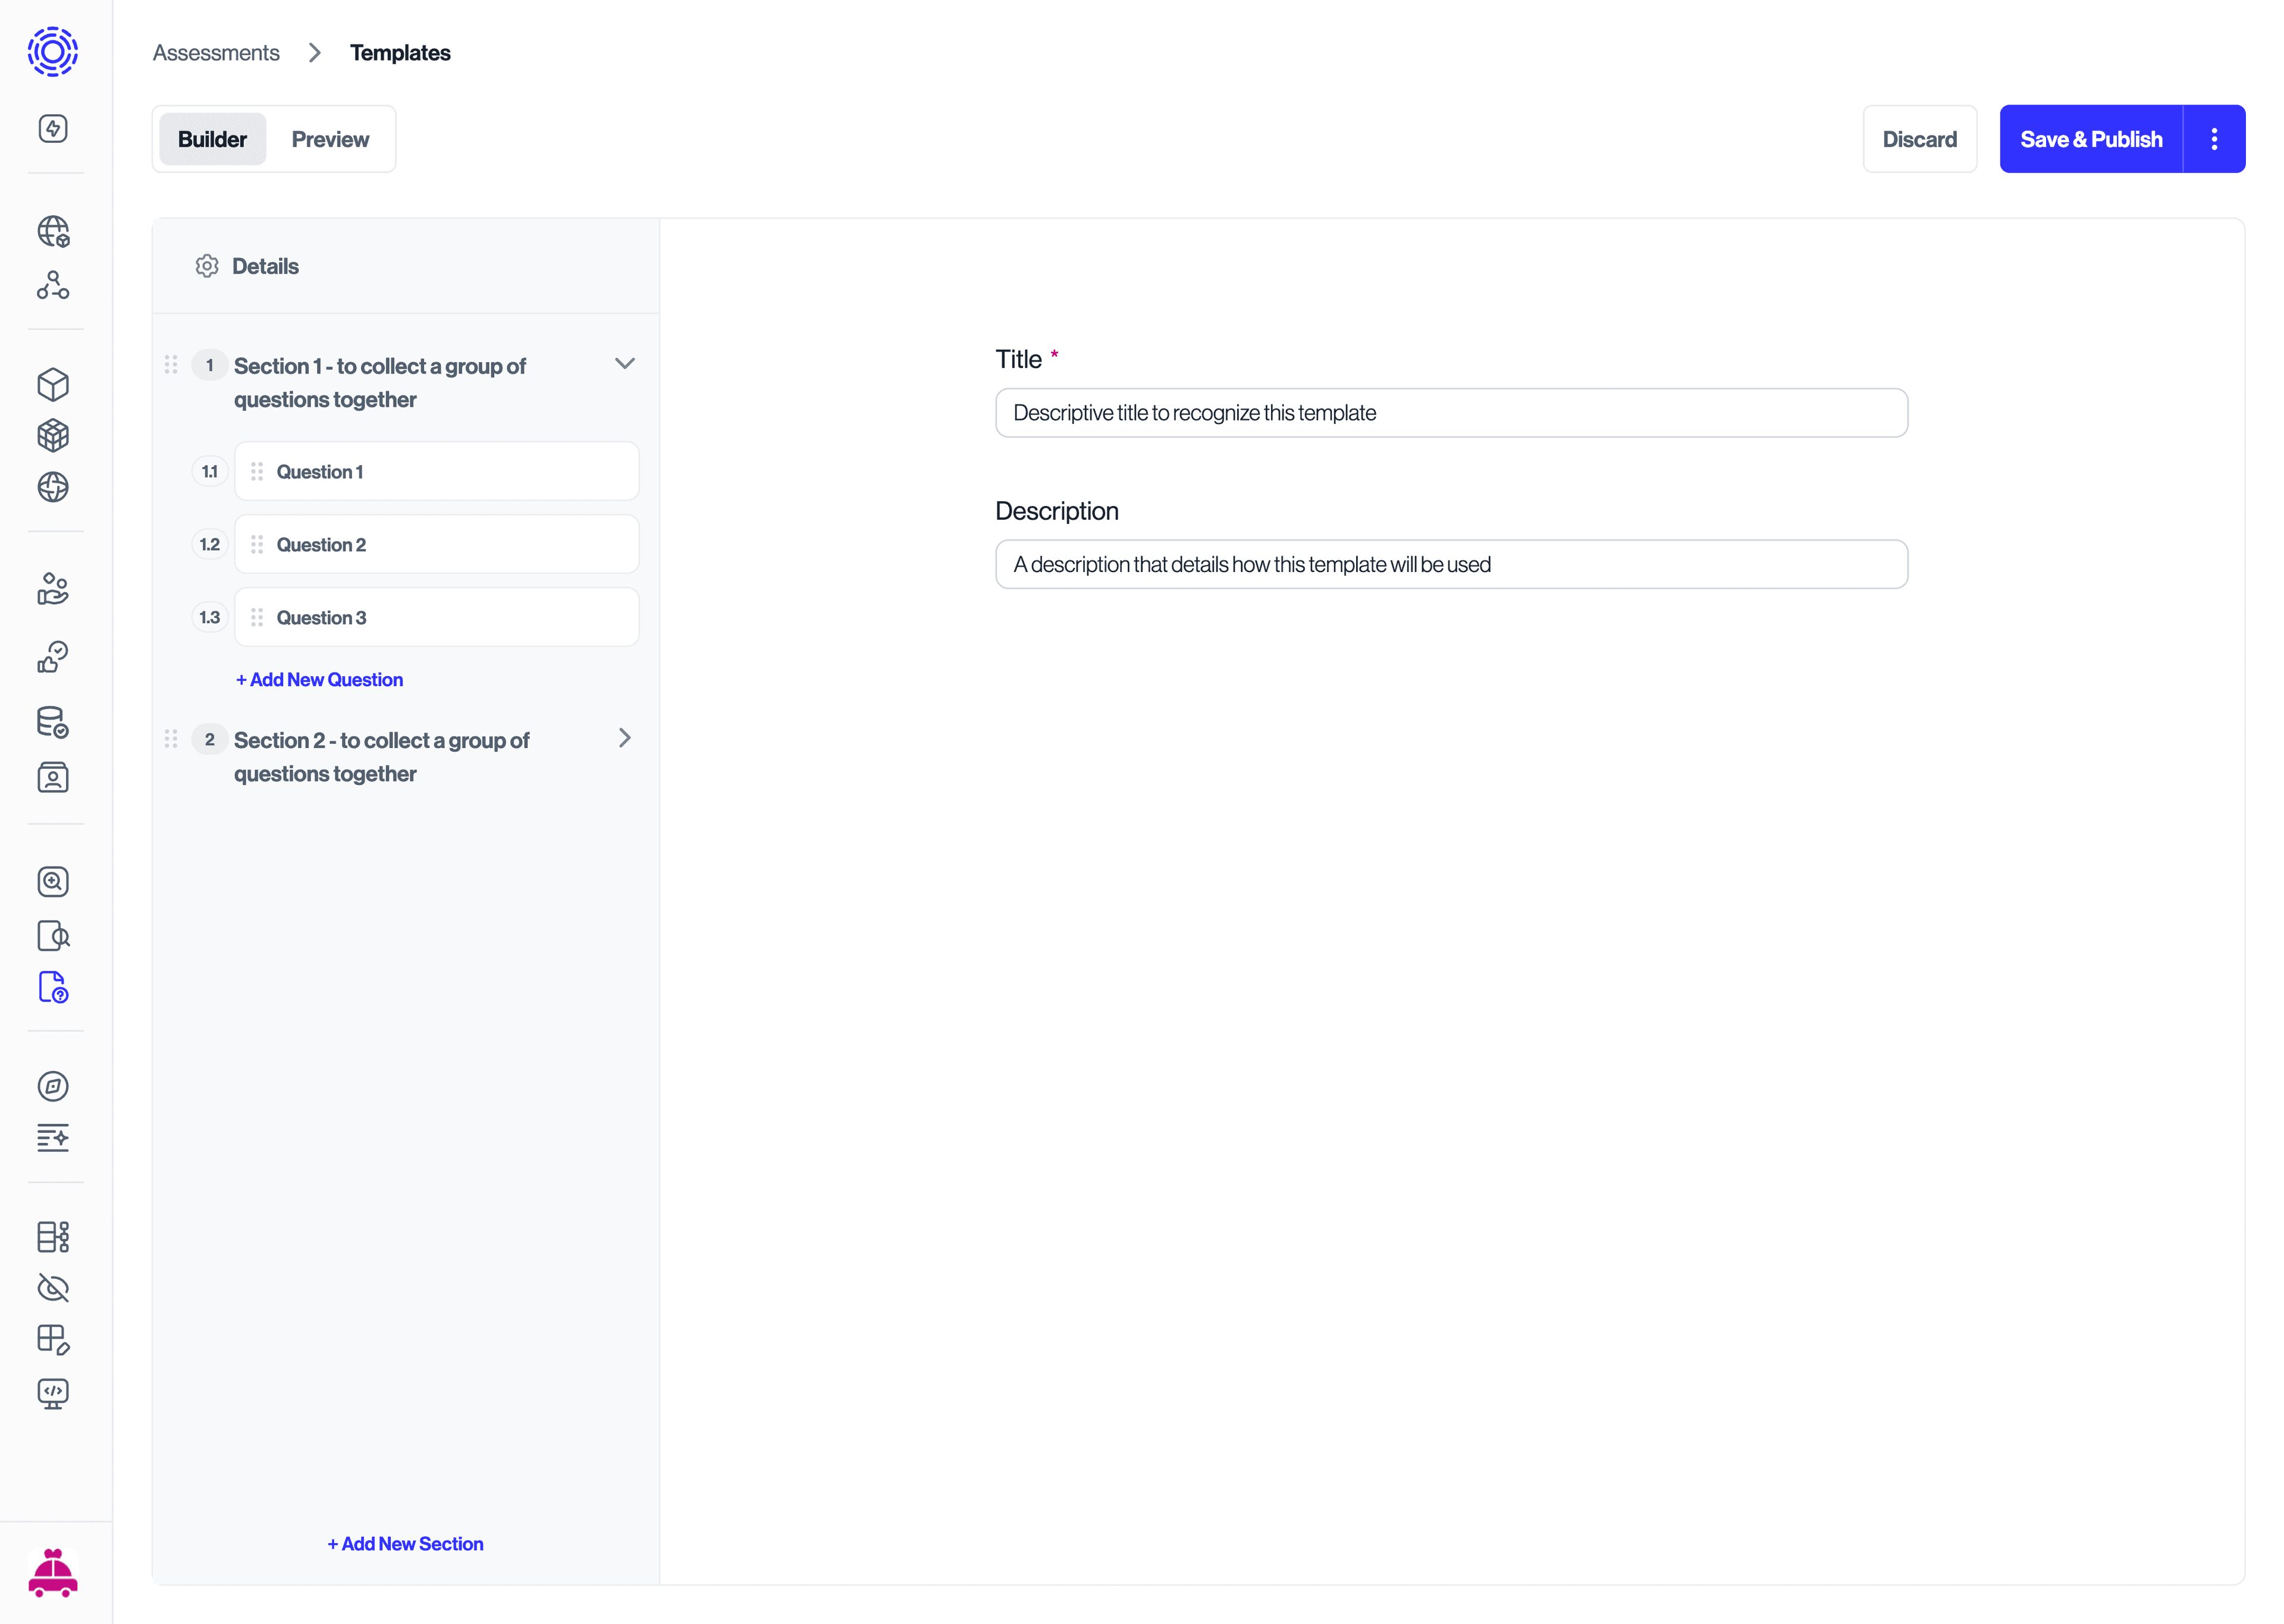
From the template editor, you are able to do several things:
- Create new sections
- Create new questions
- Preview the template
- Save or discard the template
Sections are used to organize questions thematically. For example, a section within a DPIA template could focus on identifying possible risks. Within that section, there could be specific questions to assess the sources, likelihood, and impact of risks.
To create a new section, click on + Add New Section at the bottom of the left sidebar. This will add a new section to the list within that sidebar. You will then be prompted to add a section title.

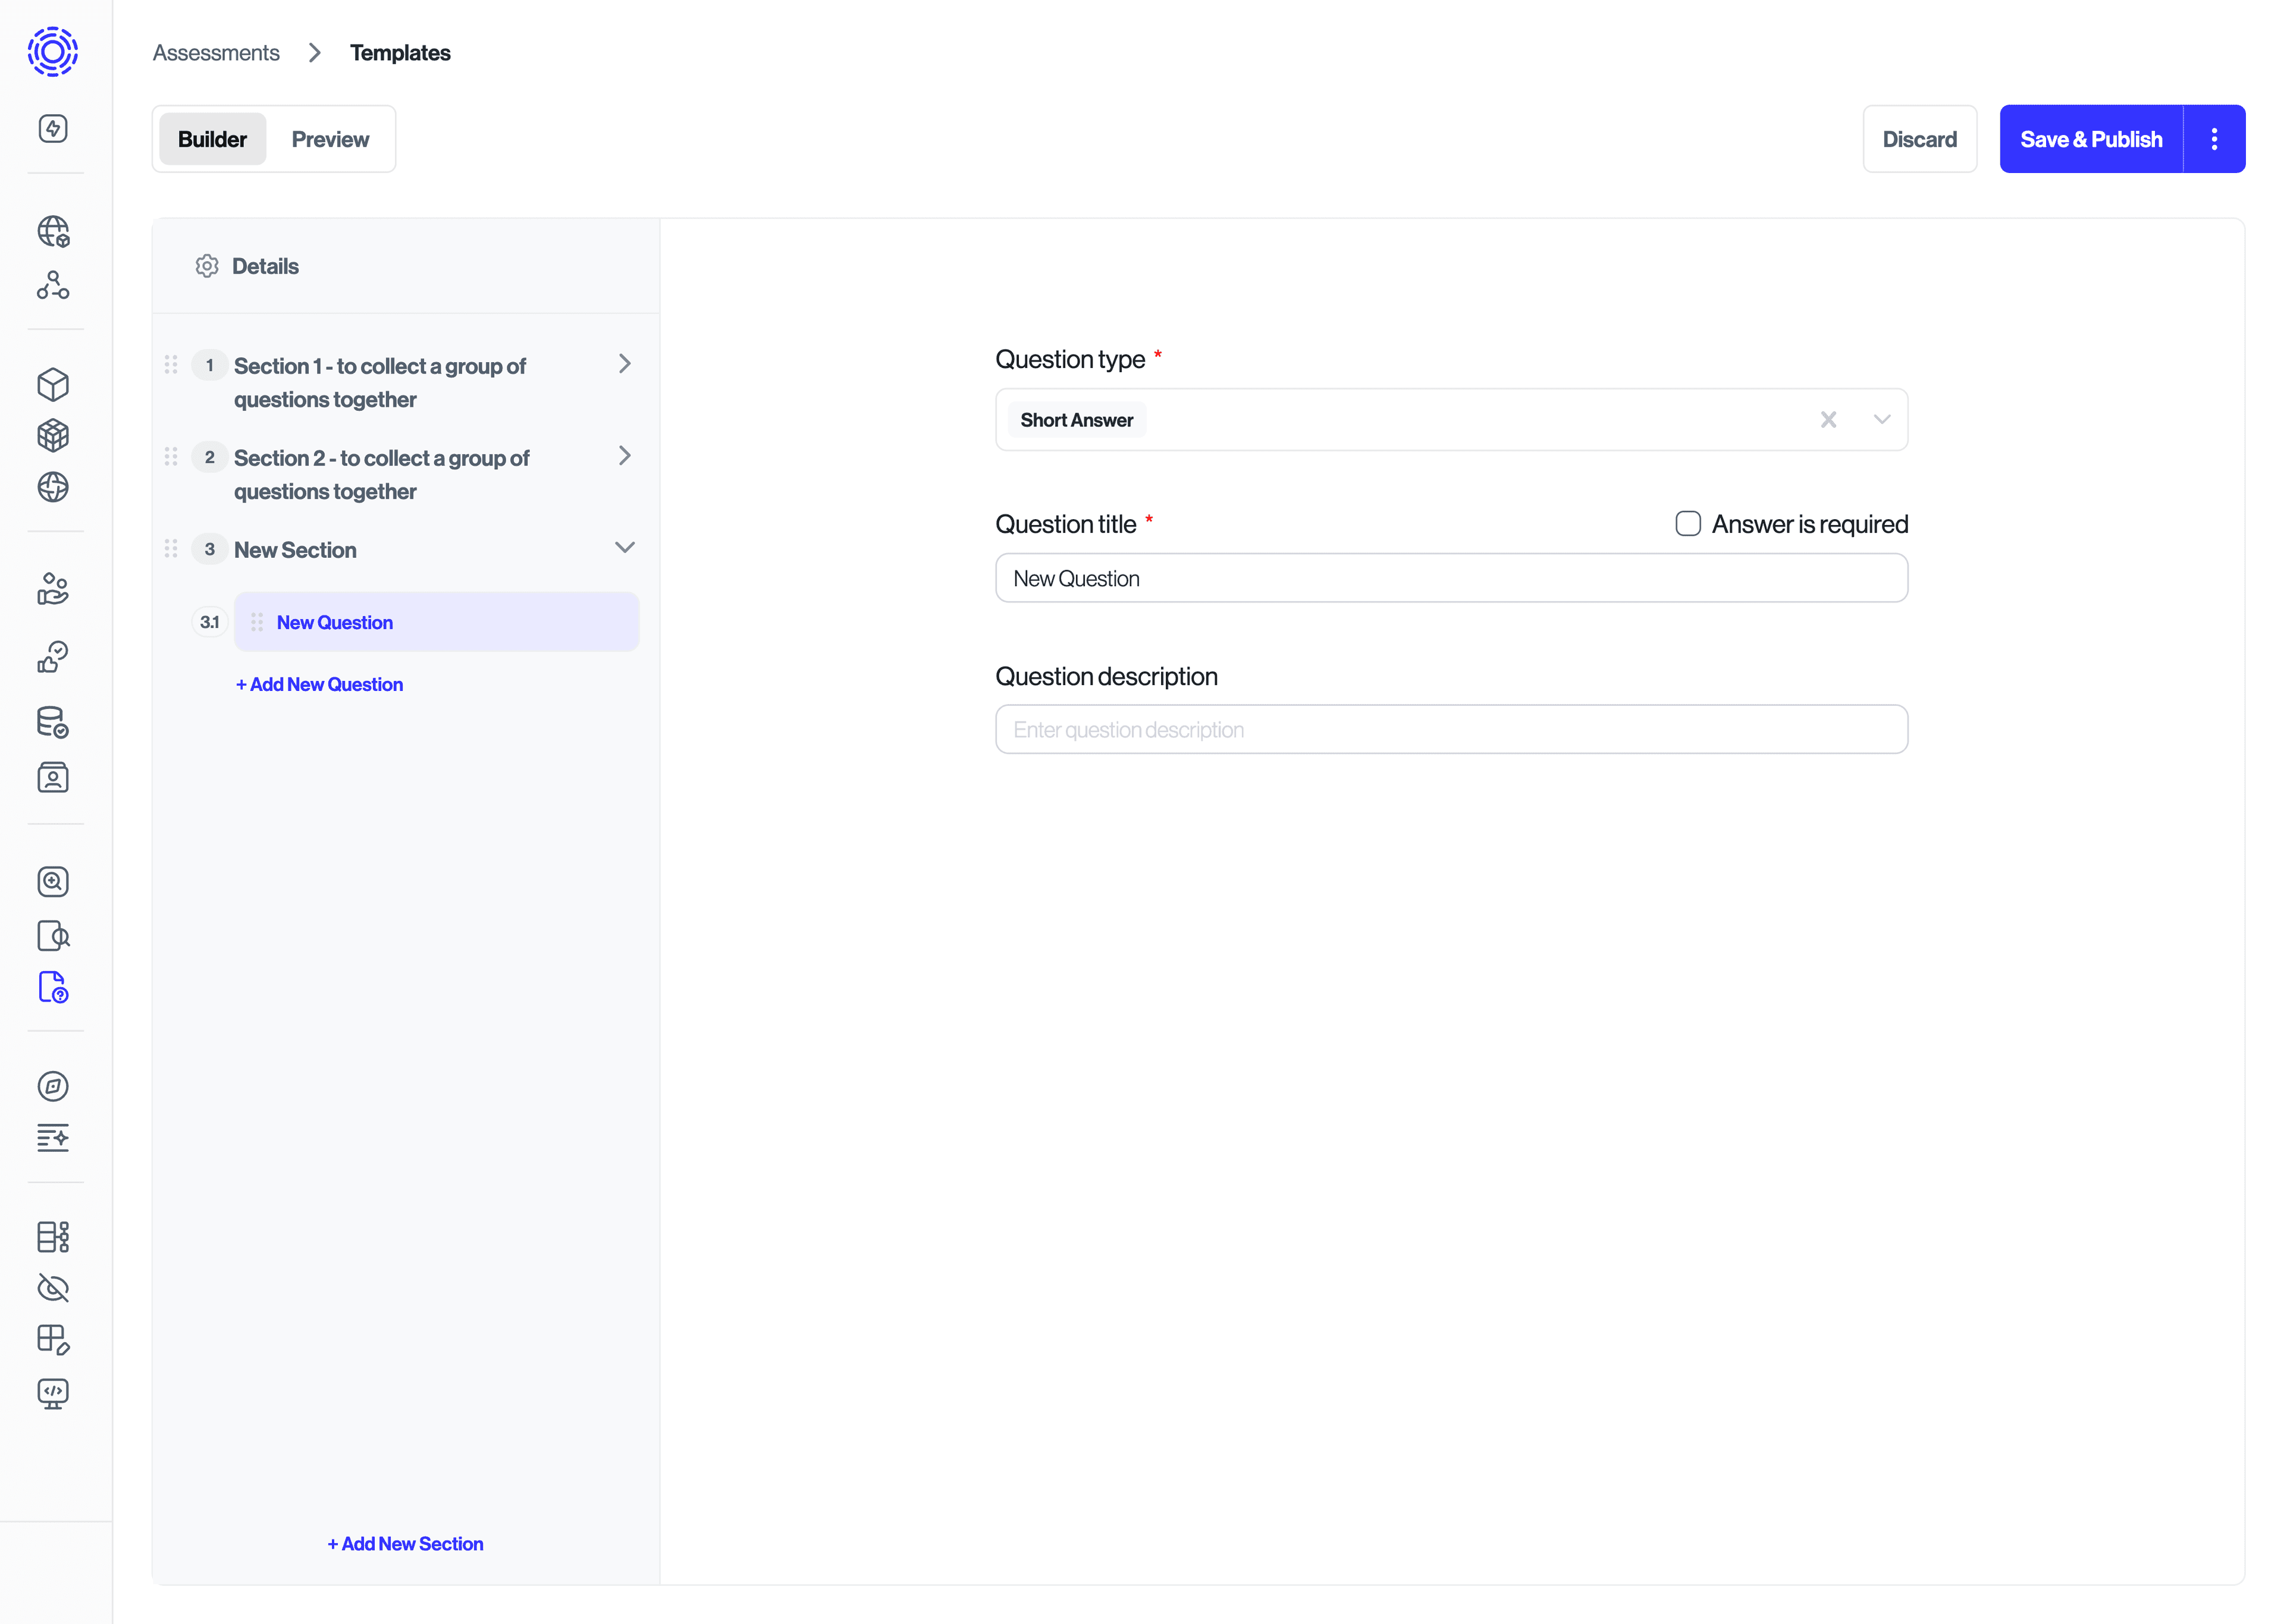
Each section can include several questions. These questions can be customized in a few ways: you can choose the question type, decide whether the question requires an answer, and add a description. There will be additional customization in the near future.
To create a new question, expand the section where you'd like your question to be, and click on + Add New Question below that section. This will add a new question within that section, and you will then be prompted to customize the question to your liking.
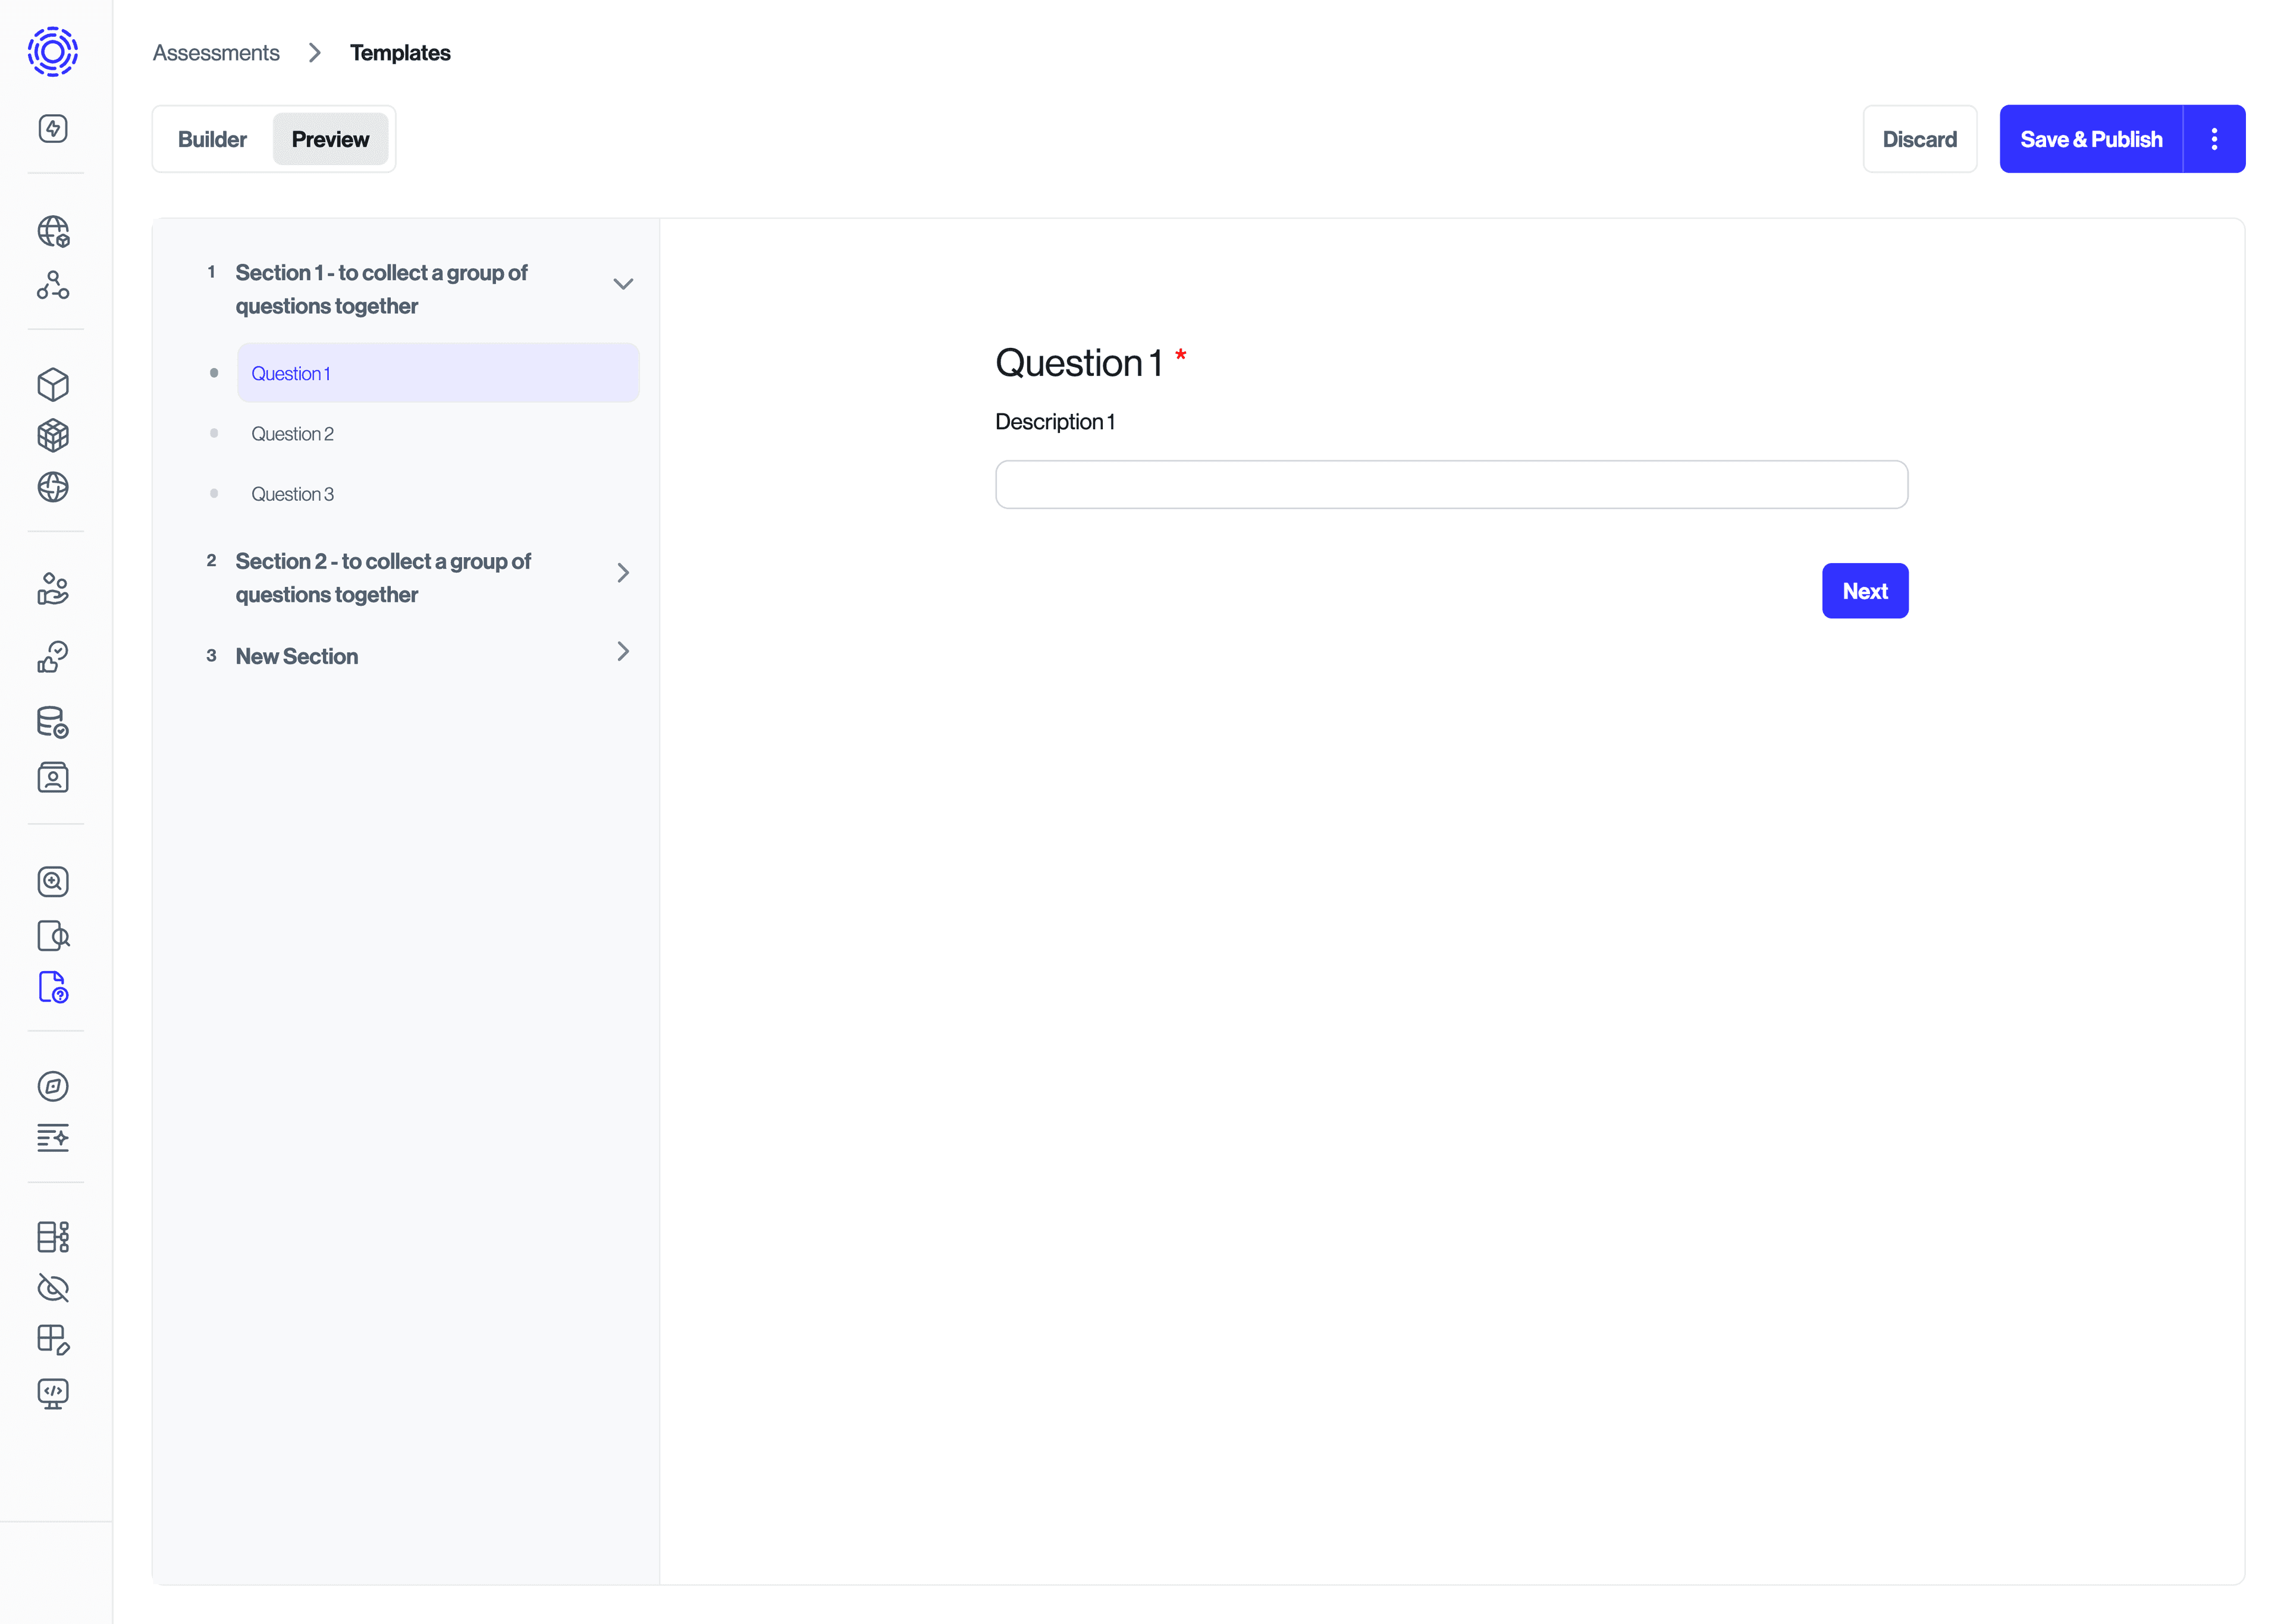
Being able to preview a template allows you to adjust the template more granularly by seeing what the assignee will see.
Once your template is complete, you can preview how it looks by clicking on the Preview button above the left sidebar. This will show you how the template will look to assignees.
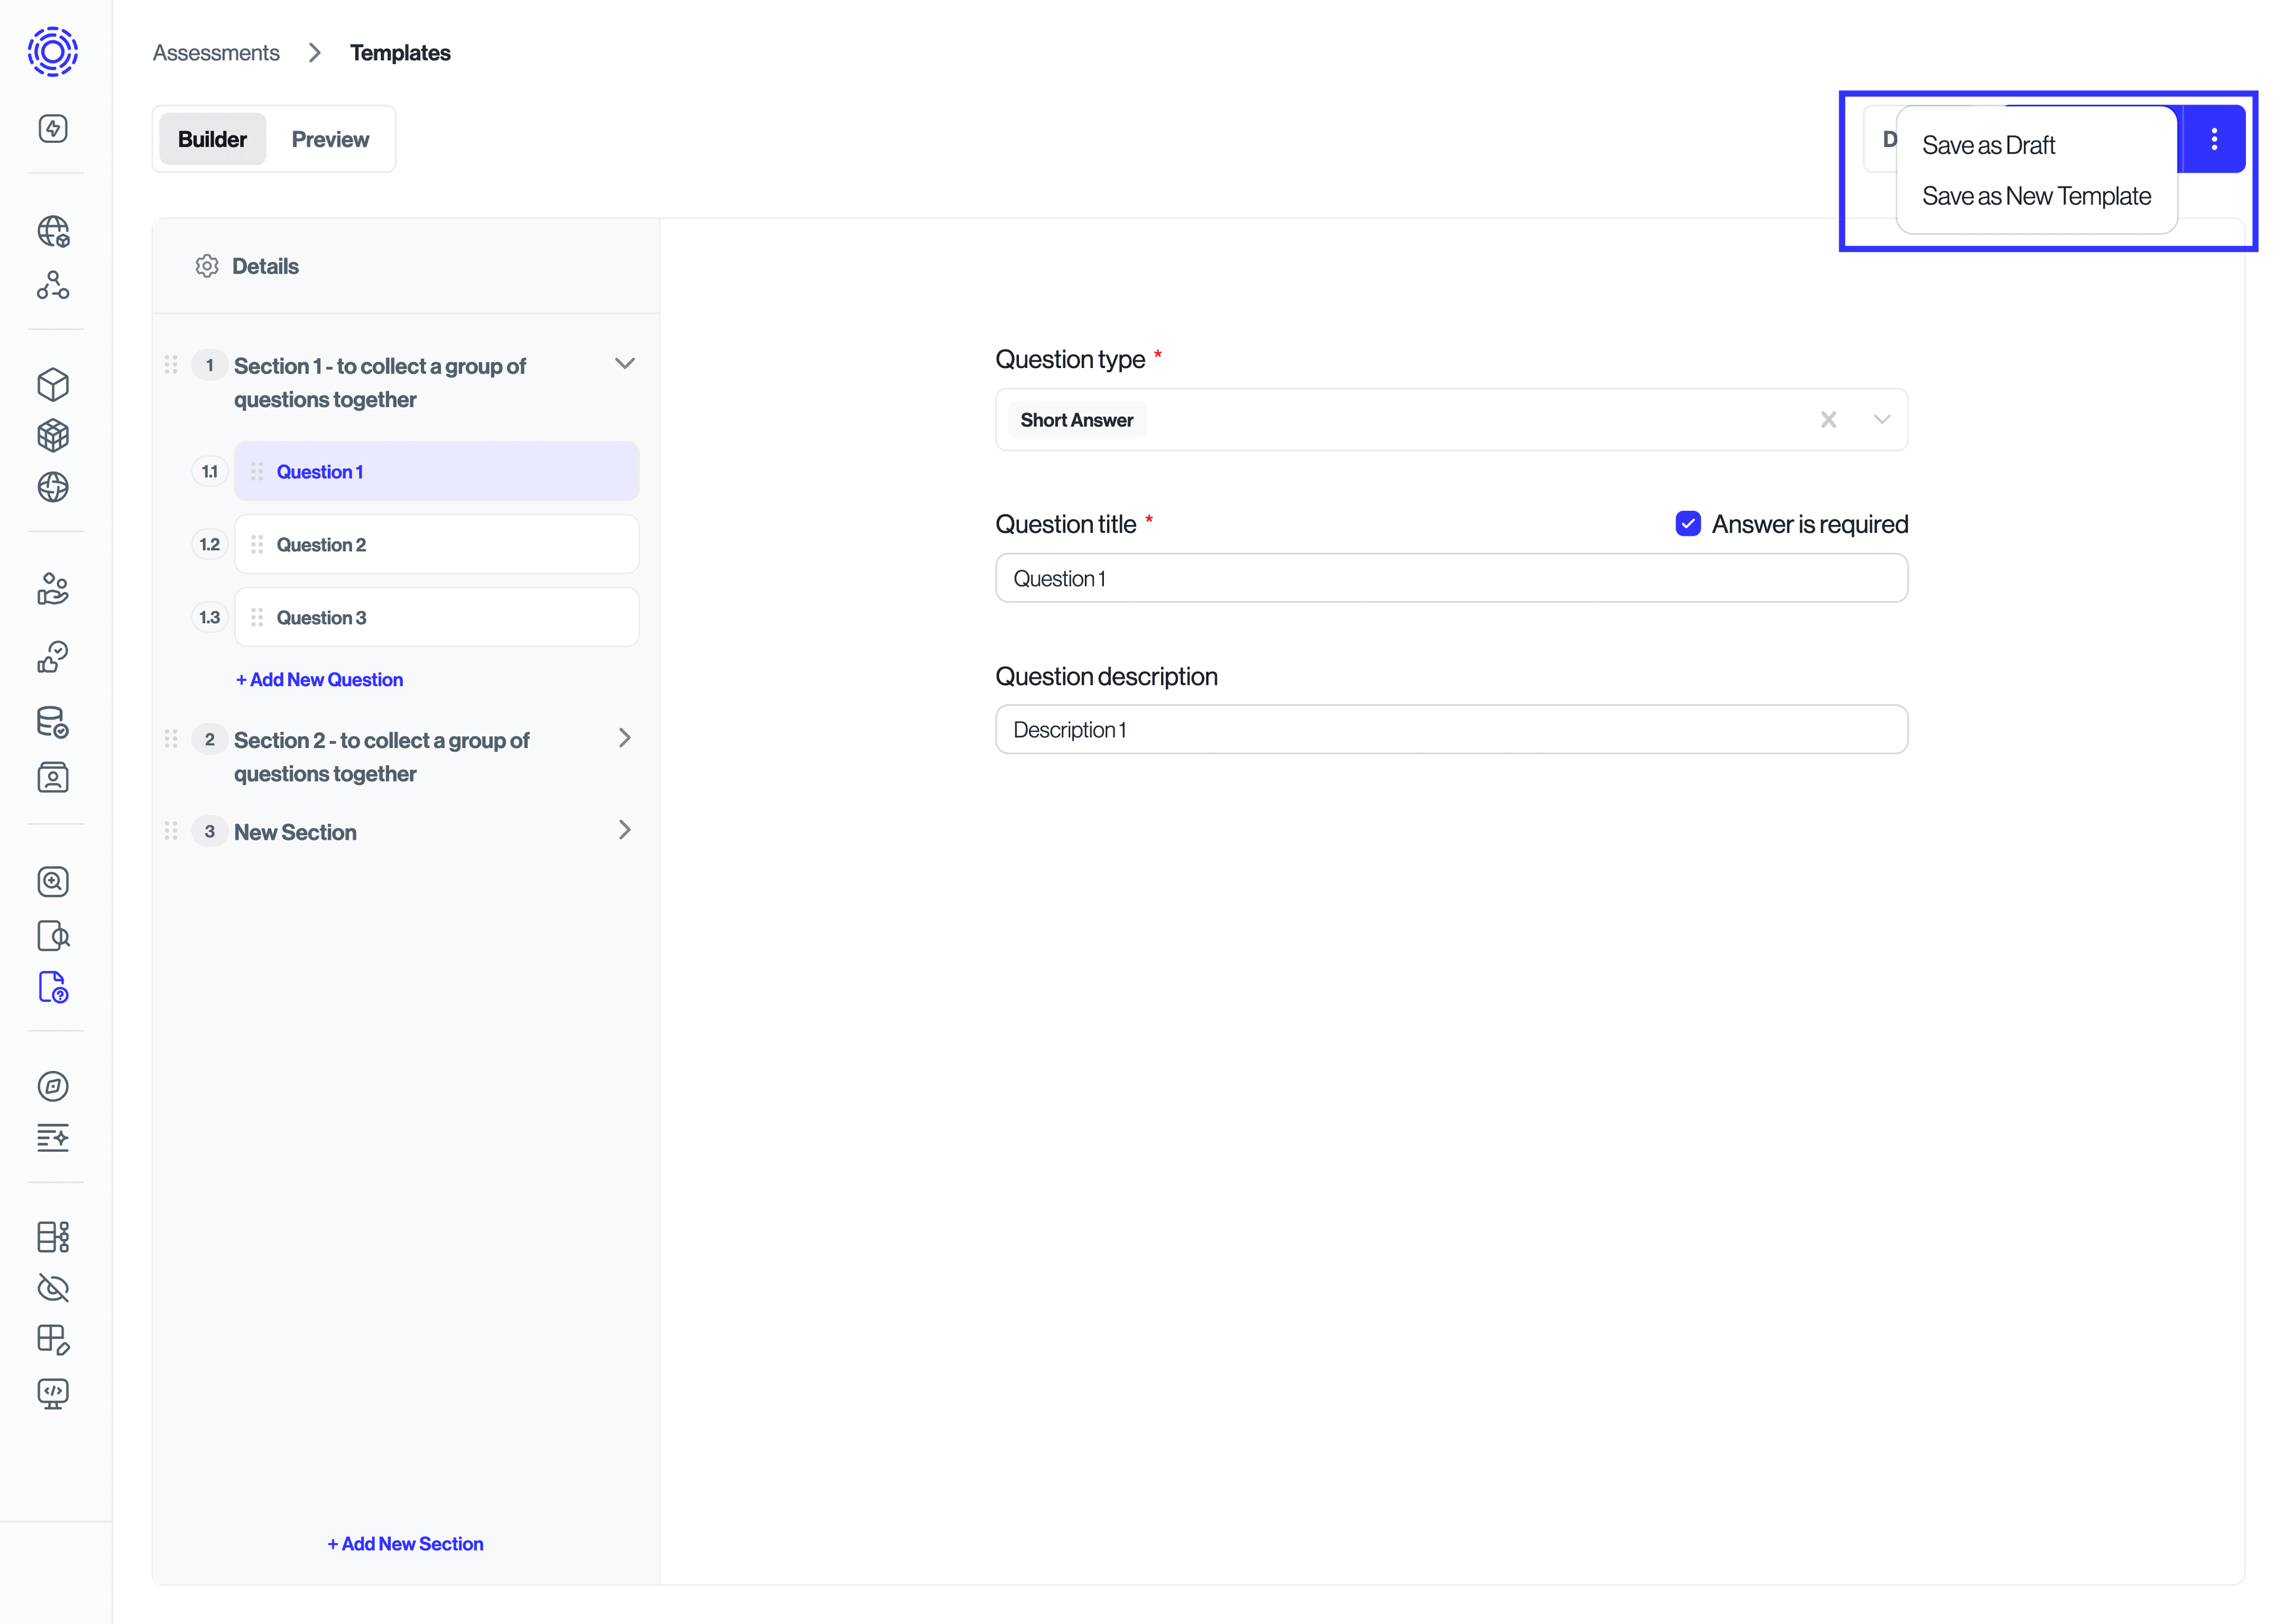
Once you have completed your template, you have several options to save it. You can decide to Save & Publish the template, or you can click on the menu button next to it to see additional options such as Save as Draft or Save as New Template. If you would like to discard the changes you made to the template, you can click on Discard next to Save & Publish.
Save & Publish will save the template and make it available to be used to generate assessments. If you'd like to save your changes but not make it available for assessments, you can choose Save as Draft, whereas if you would like to save your changes as a separate template, you can click on Save as New Template.
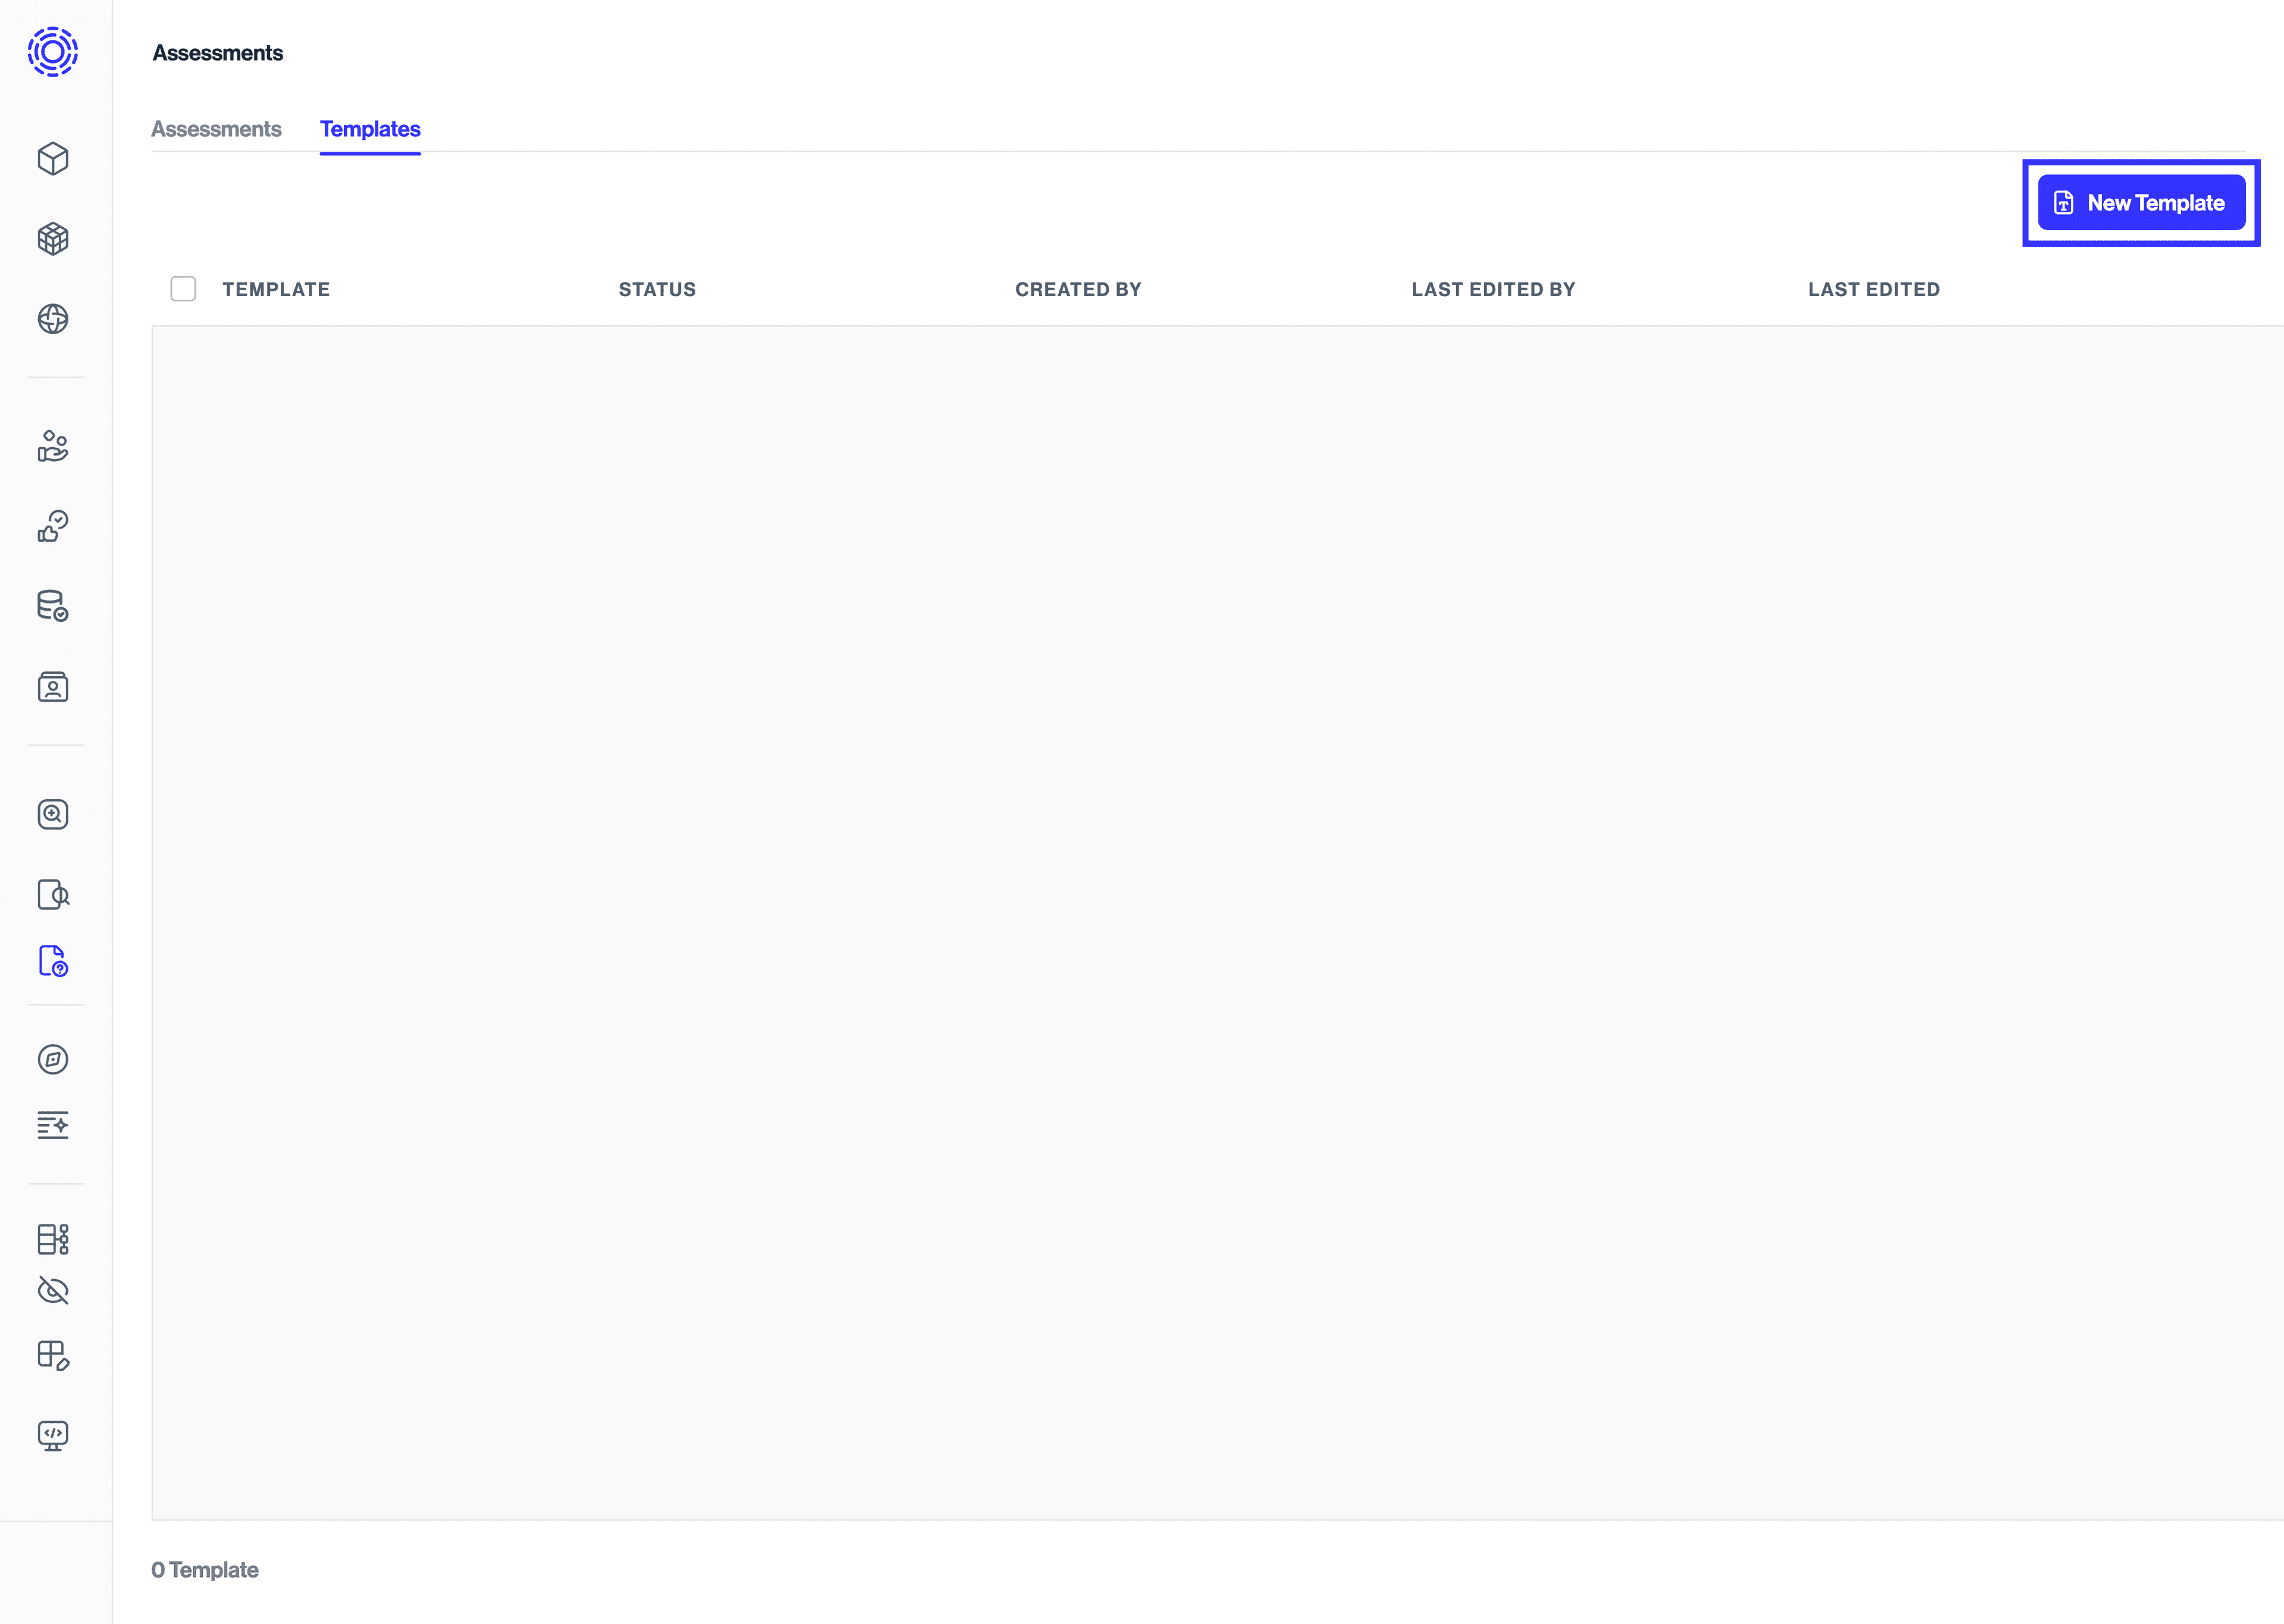
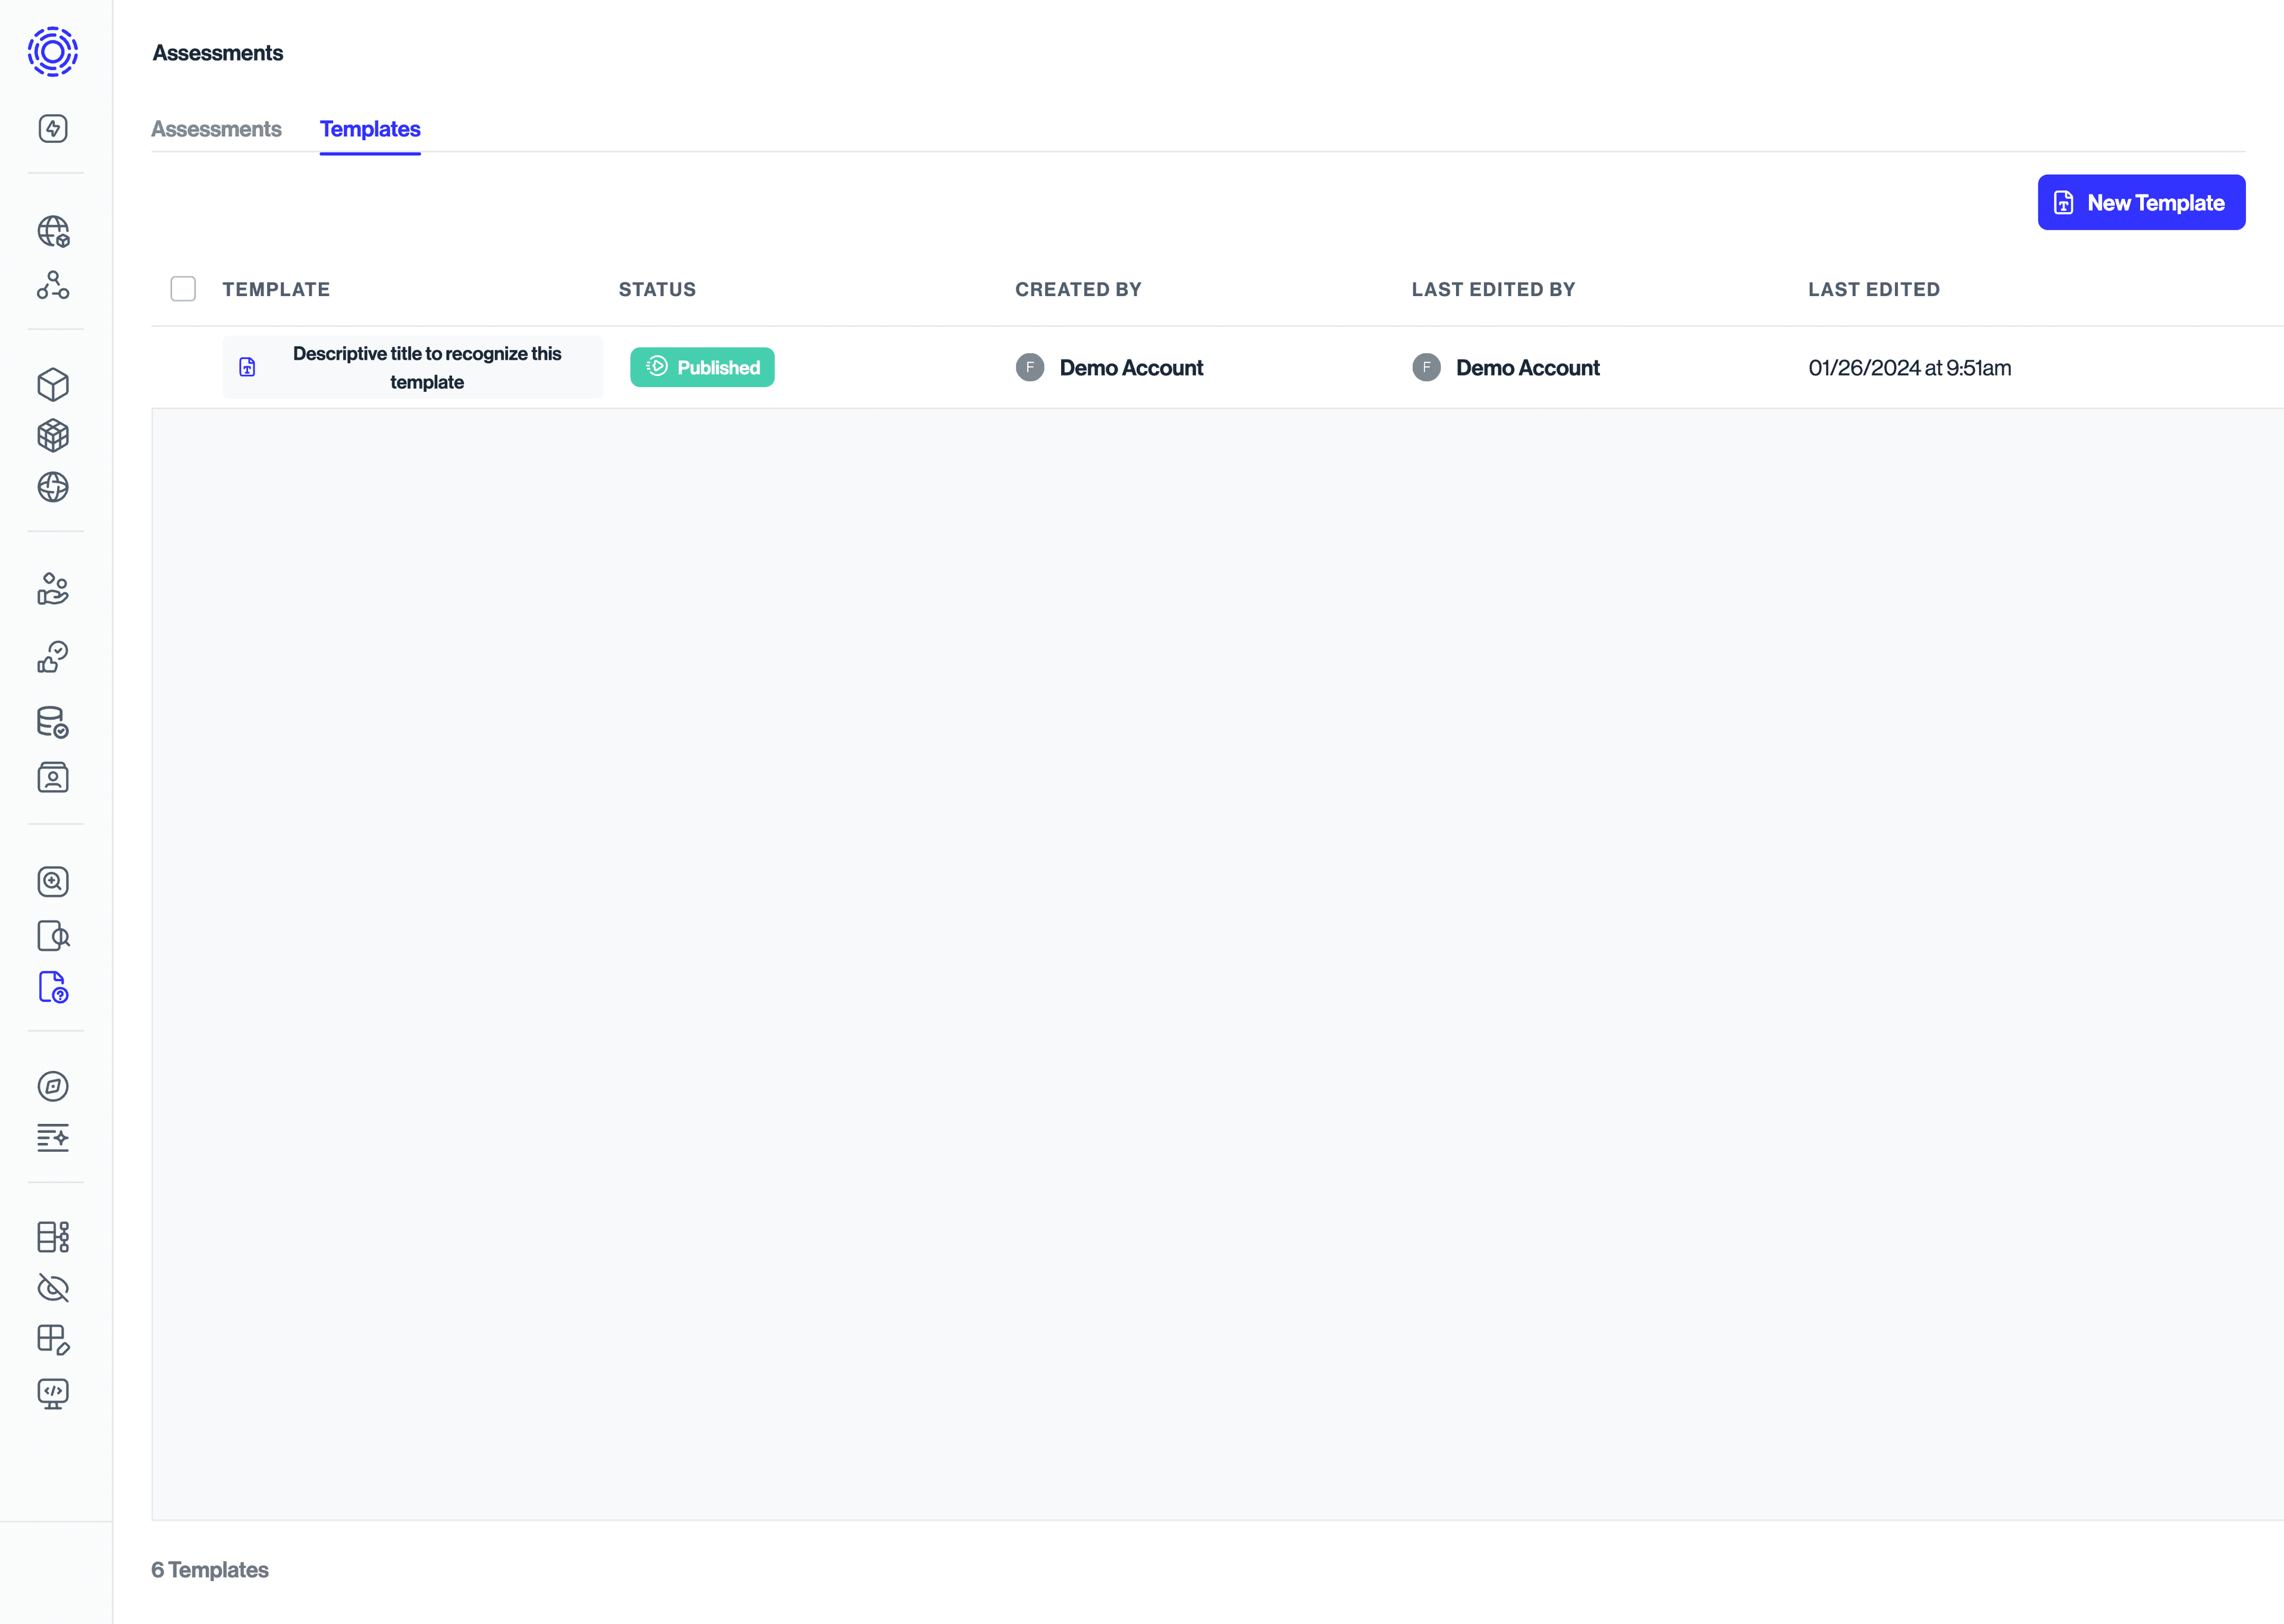
Once you have saved your new template, it will appear in the Template tab as shown below. Congratulations on creating your first template!
You can delete a template from the Templates tab on the Assessments page.
Deleting a template has the following effects:
- Existing assessments are preserved. Assessments already created from the template are not deleted.
- Linked assessment groups lose their template. If an assessment group was created with the deleted template, the group keeps its existing assessments but no longer has a template association.
When an assessment group loses its template, you cannot request or assign new assessments from that group. Template association is set when the group is created and cannot be changed later.
To resume issuing assessments of that type:
- Create a new assessment template (or use an existing published template).
- Create a new assessment group and select the desired template during setup.
- Share or assign assessments from the new group as needed.
Existing assessments in the original group are preserved, and the full assessment lifecycle (reviewing, approving, changing respondents, etc.) remains available for these assessments.
To use your new templates, the next thing you will do is navigate to the Assessments tab and start creating and assigning your first assessments. For more information, see Creating an Assessment.