Configure a Classification Scan
This guide describes how to configure discovery and classification scans, so you can create a living data sensitivity profile for your organization.
There are three types of scans available for Classification customers: Discovery Scans, Discovery + Classification Scans, and Classification Scans.
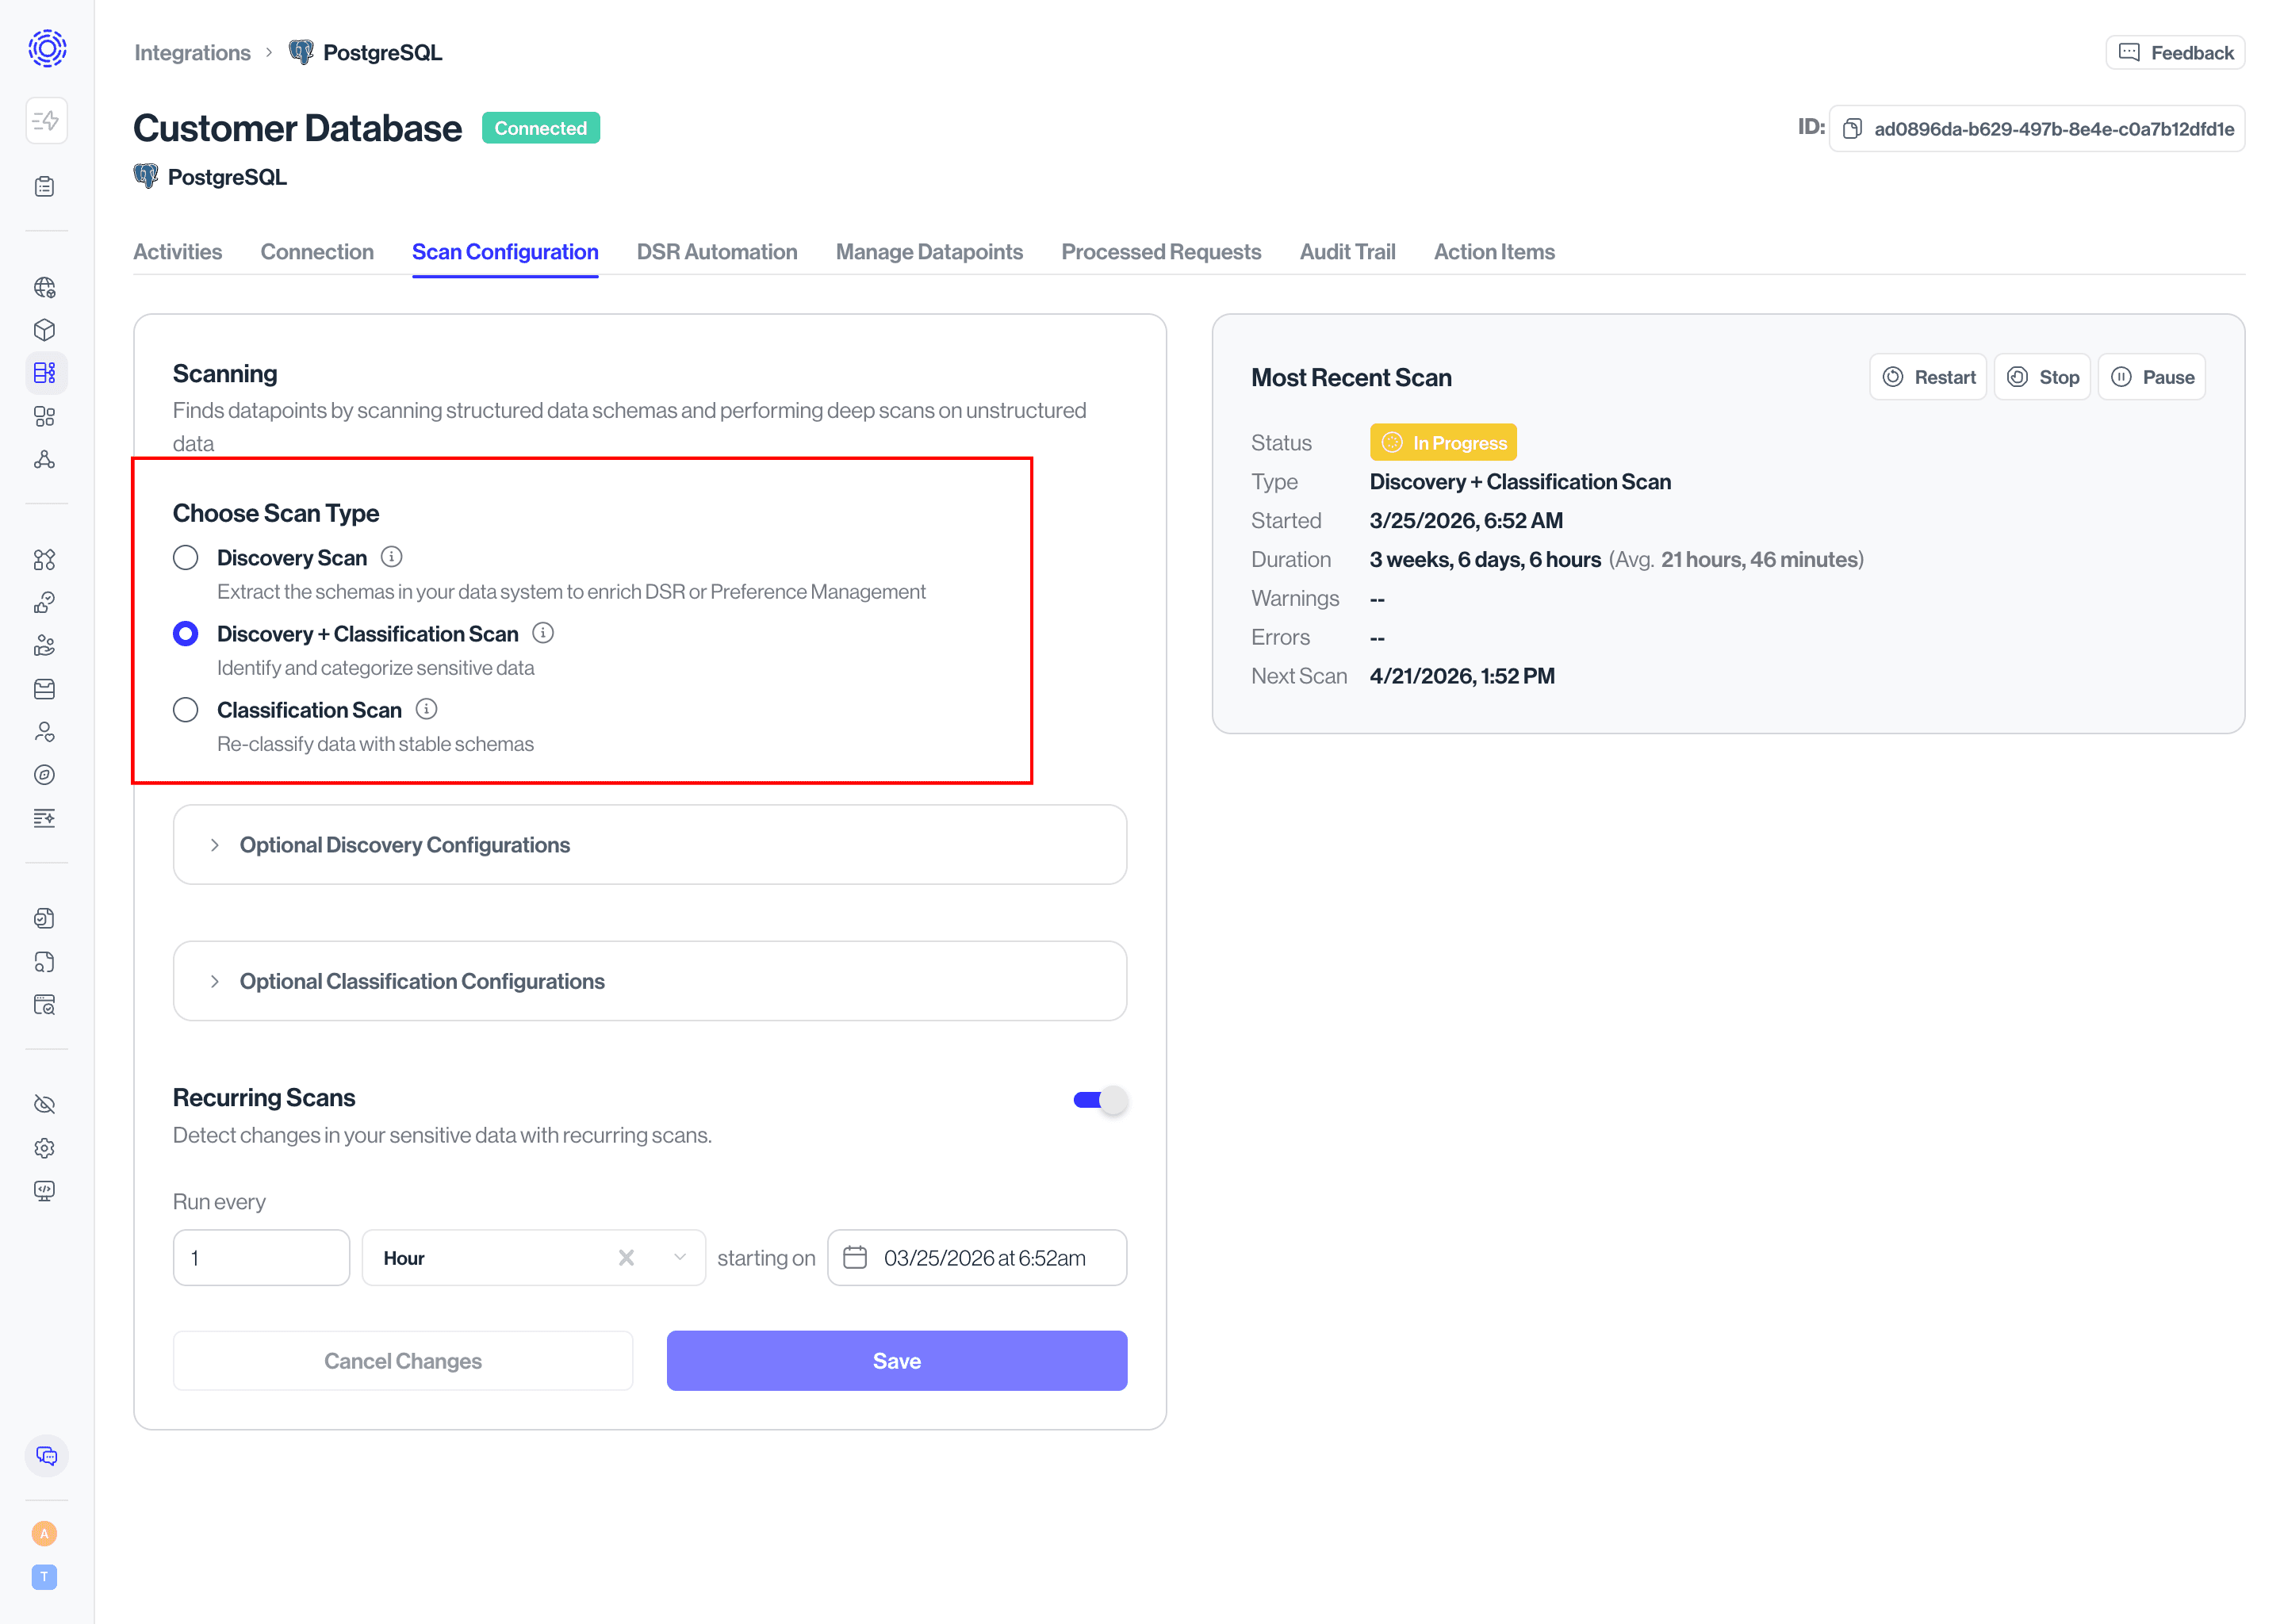
- Discovery Scan: scans only the schema of a data system without classifiying its contents as sensitive or not. Best for supporting DSRs without requiring classification of data.
- Discovery + Classification Scan: both scans the schema of a data system and classifies its sensitive contents. Recommended for any system that may contain sensitive data.
- Classification Scan: classifies sensitive contents of data system without updating information on a schema. Only recommended for one of re-classifications where schema and data content is stable.
Note: Classification-only scans cannot be performed until at least one Discovery or Discovery + Classification Scan has been performed.
For Classification customers, we recommend setting the scan type to Discovery + Classification, to give you the best view into your sensitive data.
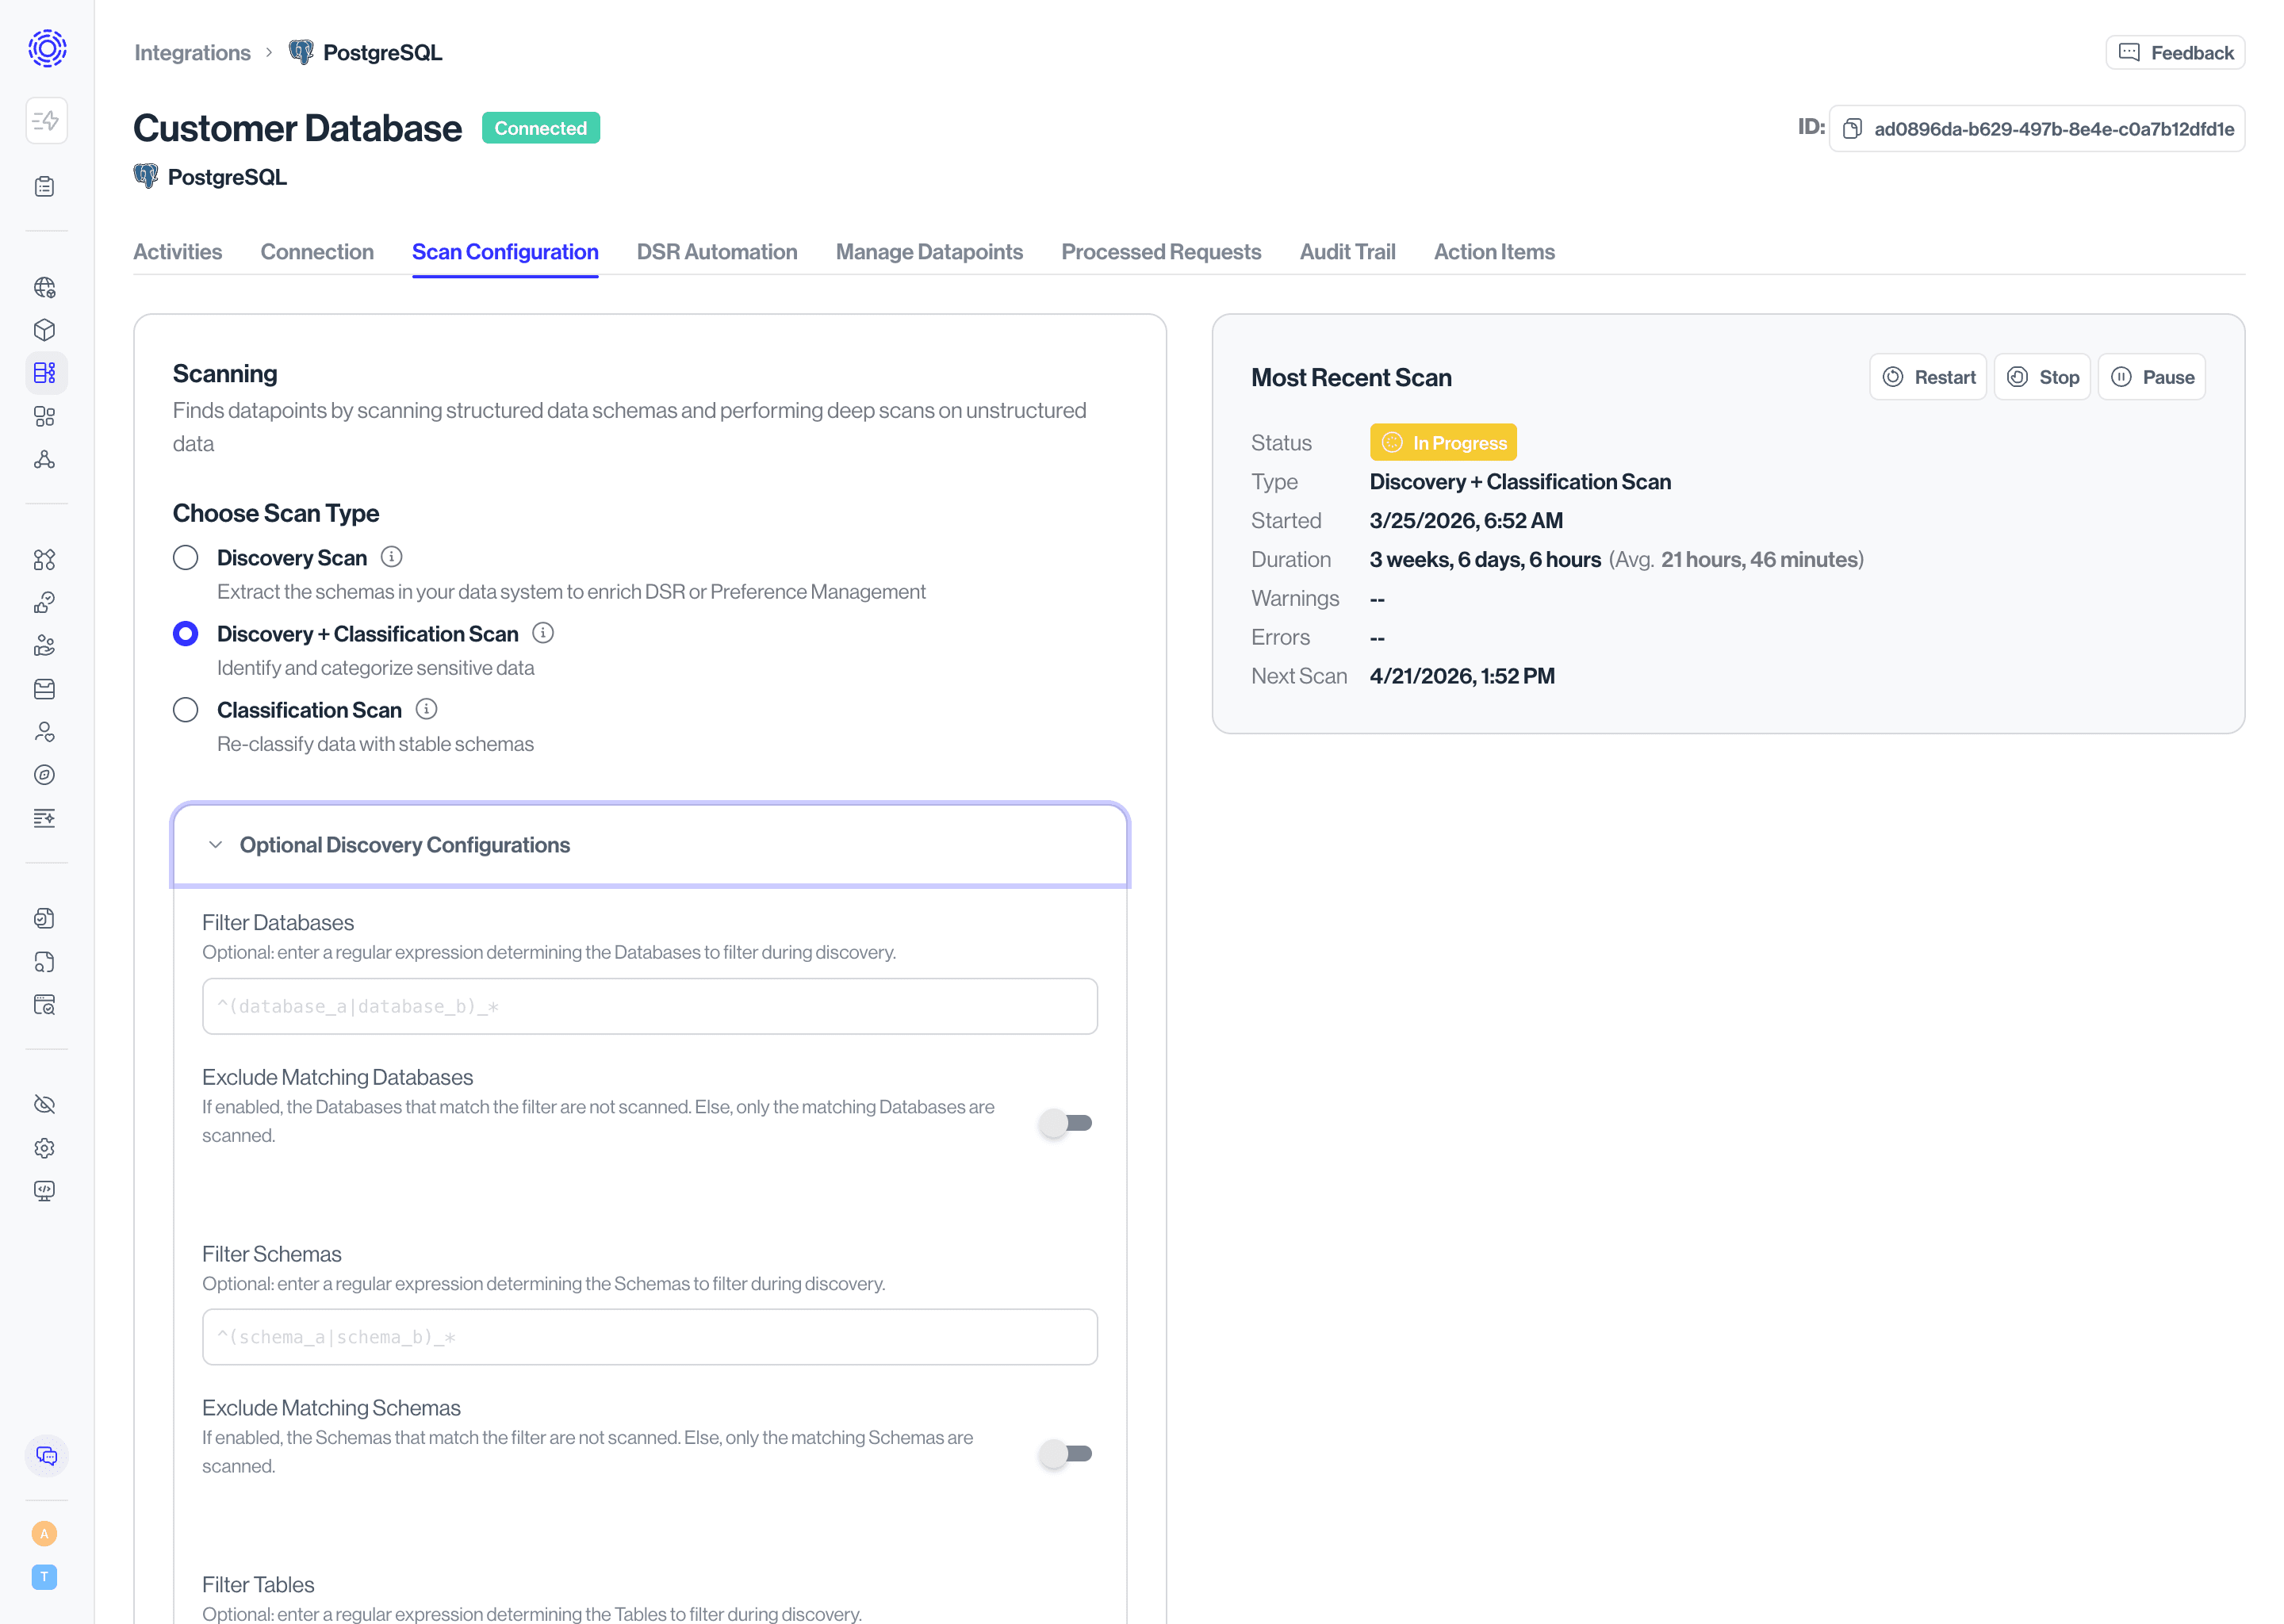
The optional configurations available will depend on the scan type and the integration with the third party.
Common options include:
- Narrow scan scope: exclude (or only scan) certain databases, tables, files, or schemas to reduce time and cost of scans.
- Configure sampling: enable non-null sampling, to ensure quality samples for classification. (Note: this generally has higher costs - reach out to your Customer Experience representative to learn more.)
Note on Updating Scan Configuration
If a scan is currently In Progress or Paused, updates to the scan configuration will not take effect until a new scan starts. If you wish the updates to take effect immediately, you can Restart the scan from the beginning.
Before setting up recurring scans, you may wish to run a test scan.
- Click Run Ad-Hoc Scan in the Most Recent Scan widget in the upper right corner of the Scan Configurations tab
- The status should change from Never Run to In Progress
Note: if there is already a scan in progress, this option will not appear. Instead you may elect to "Restart" the current scan.
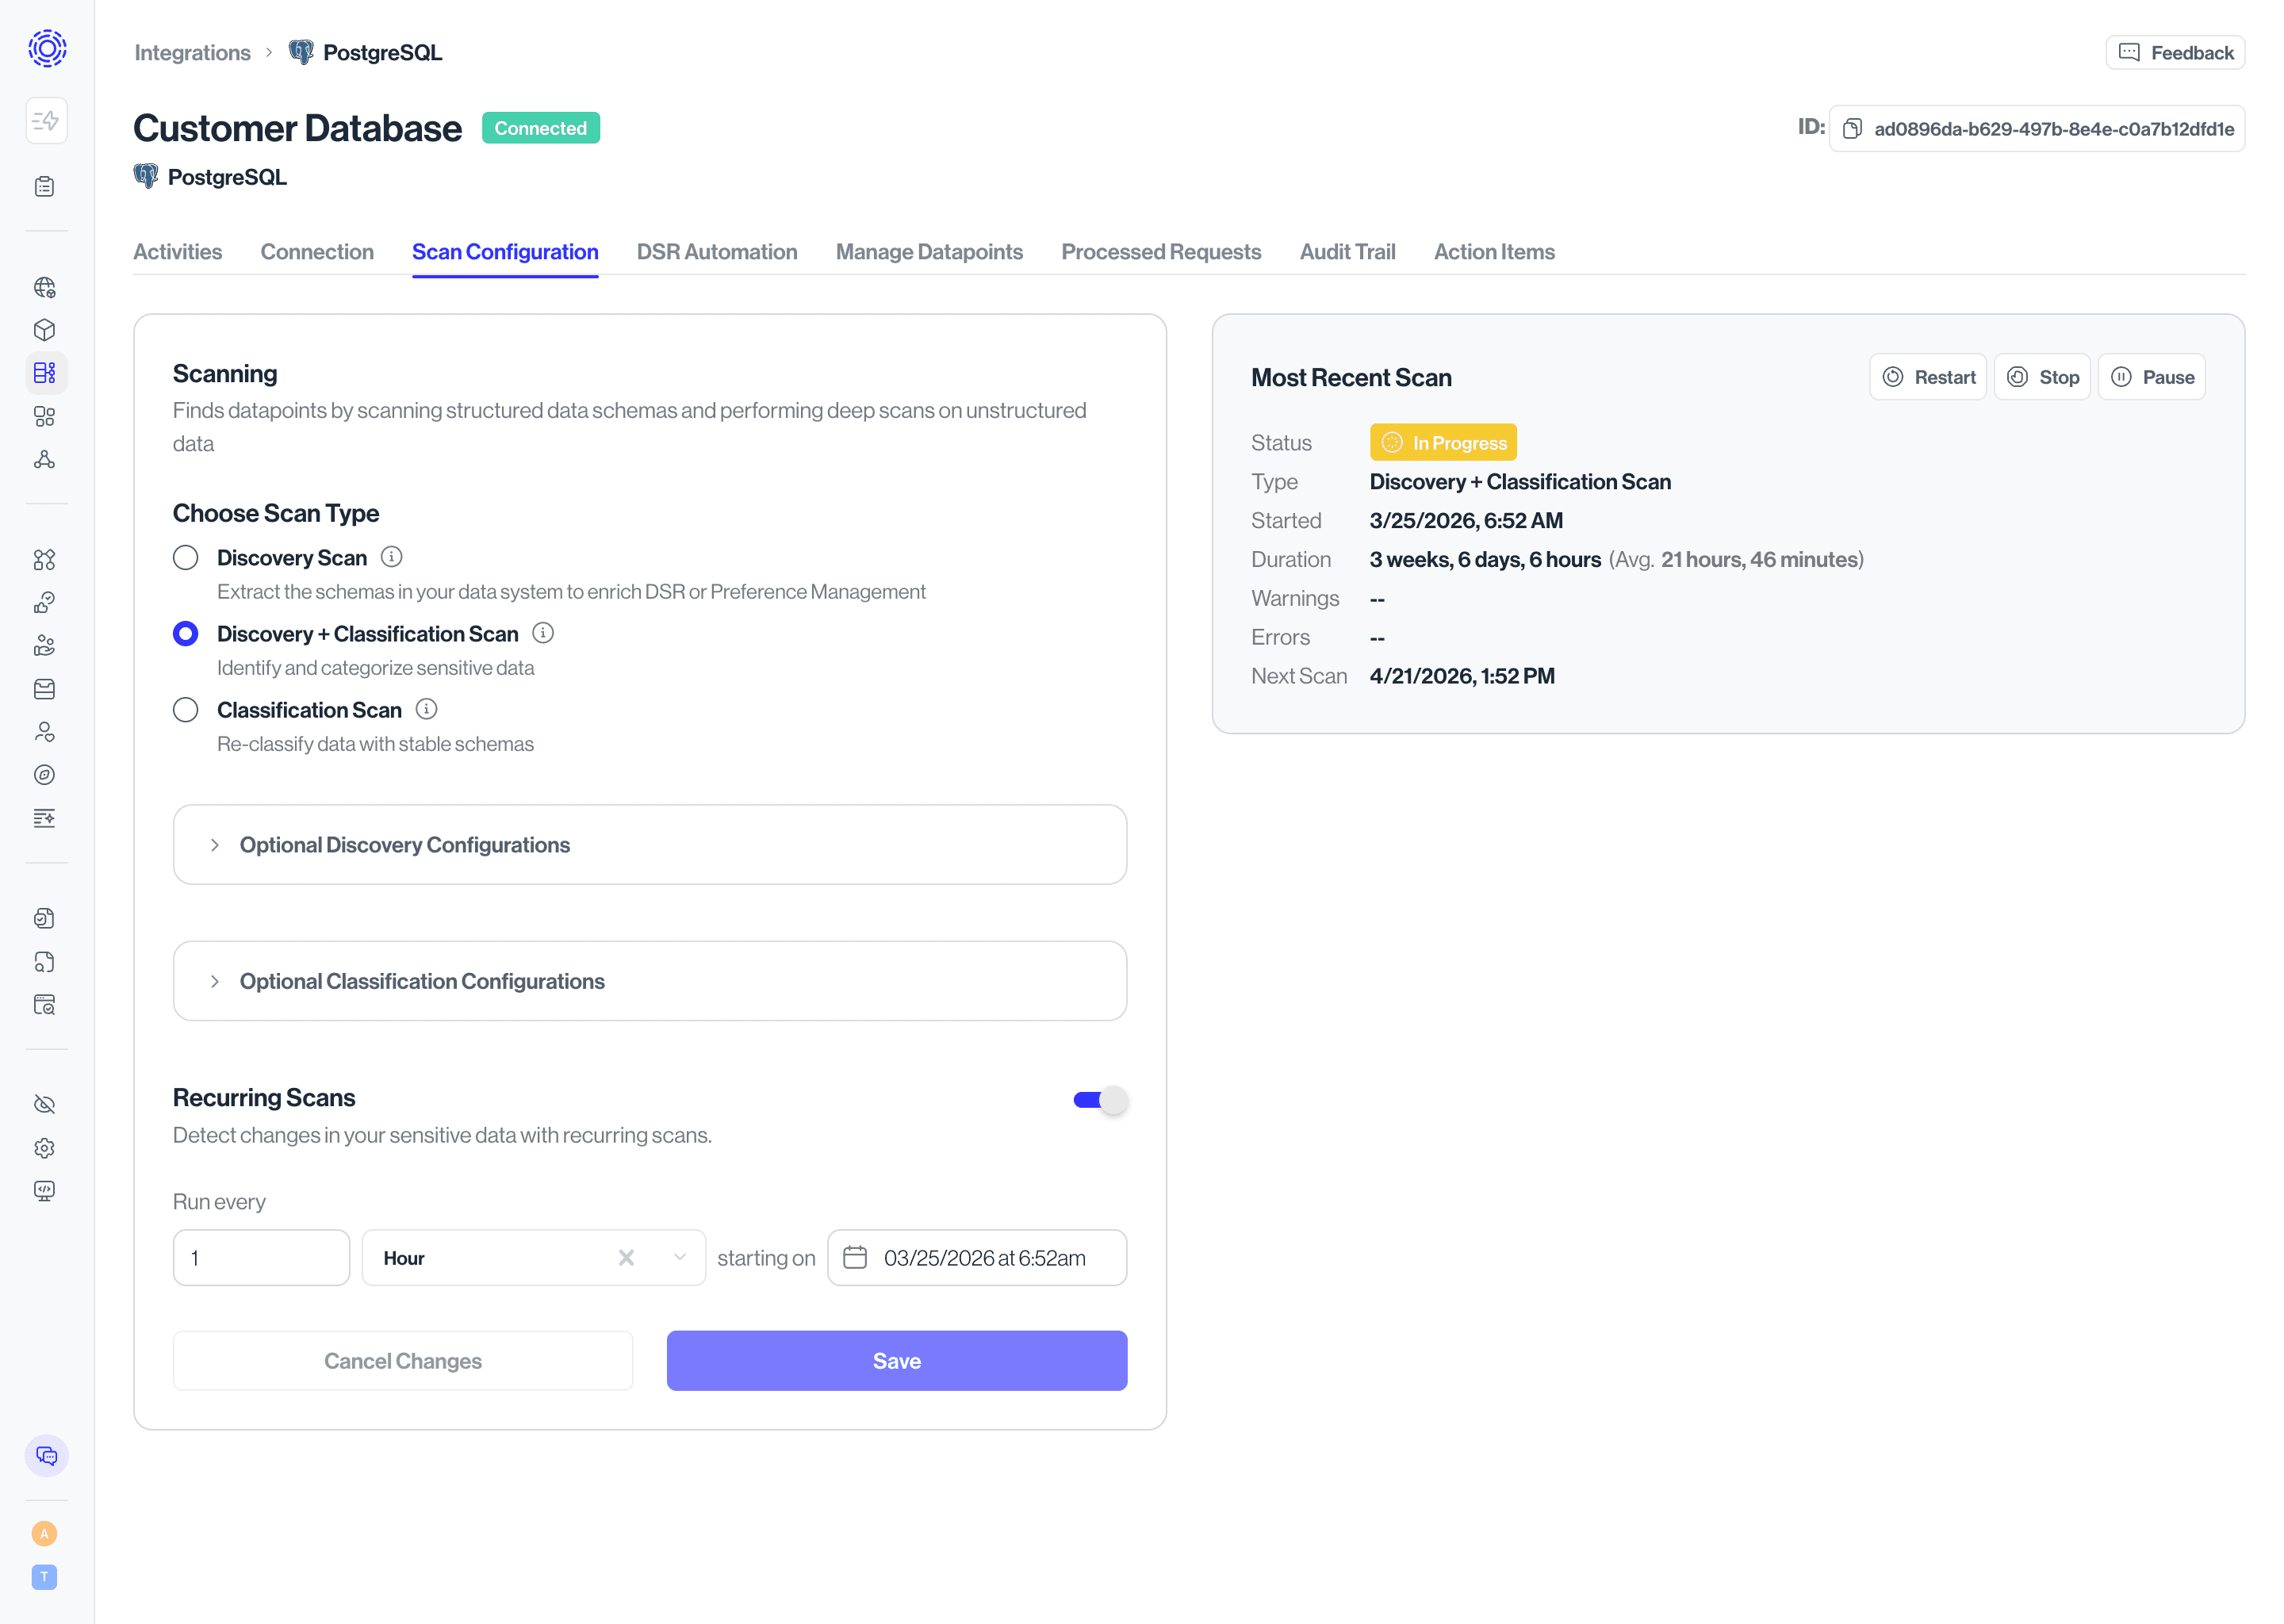
Once you are satisfied with the results of your test scan, you can enable recurring scans to run automatically, enabling you to monitor data for sensitive content continually.
- On Integration > Scan Configuration enable the Recurring Scans toggle
- Set a scanning schedule - most customers select daily for frequently updated systems, or weekly for more static systems
- Click Save