Connect Data Systems for Classification
Classification helps you identify and classify personal data within your data systems. Before you can use this feature, you'll need to connect your data systems to Transcend. This guide explains how to connect different types of data systems.
Note: Not all data system integrations support automated Classification. If you have a request for a Classification integration, please reach out to your Customer Experience representative.
In order to use Classification, you will need administrator access to Transcend and to the data systems that you wish to scan.
Choose a data system to connect.
- Navigate to Infrastructure > Integrations in the left sidebar
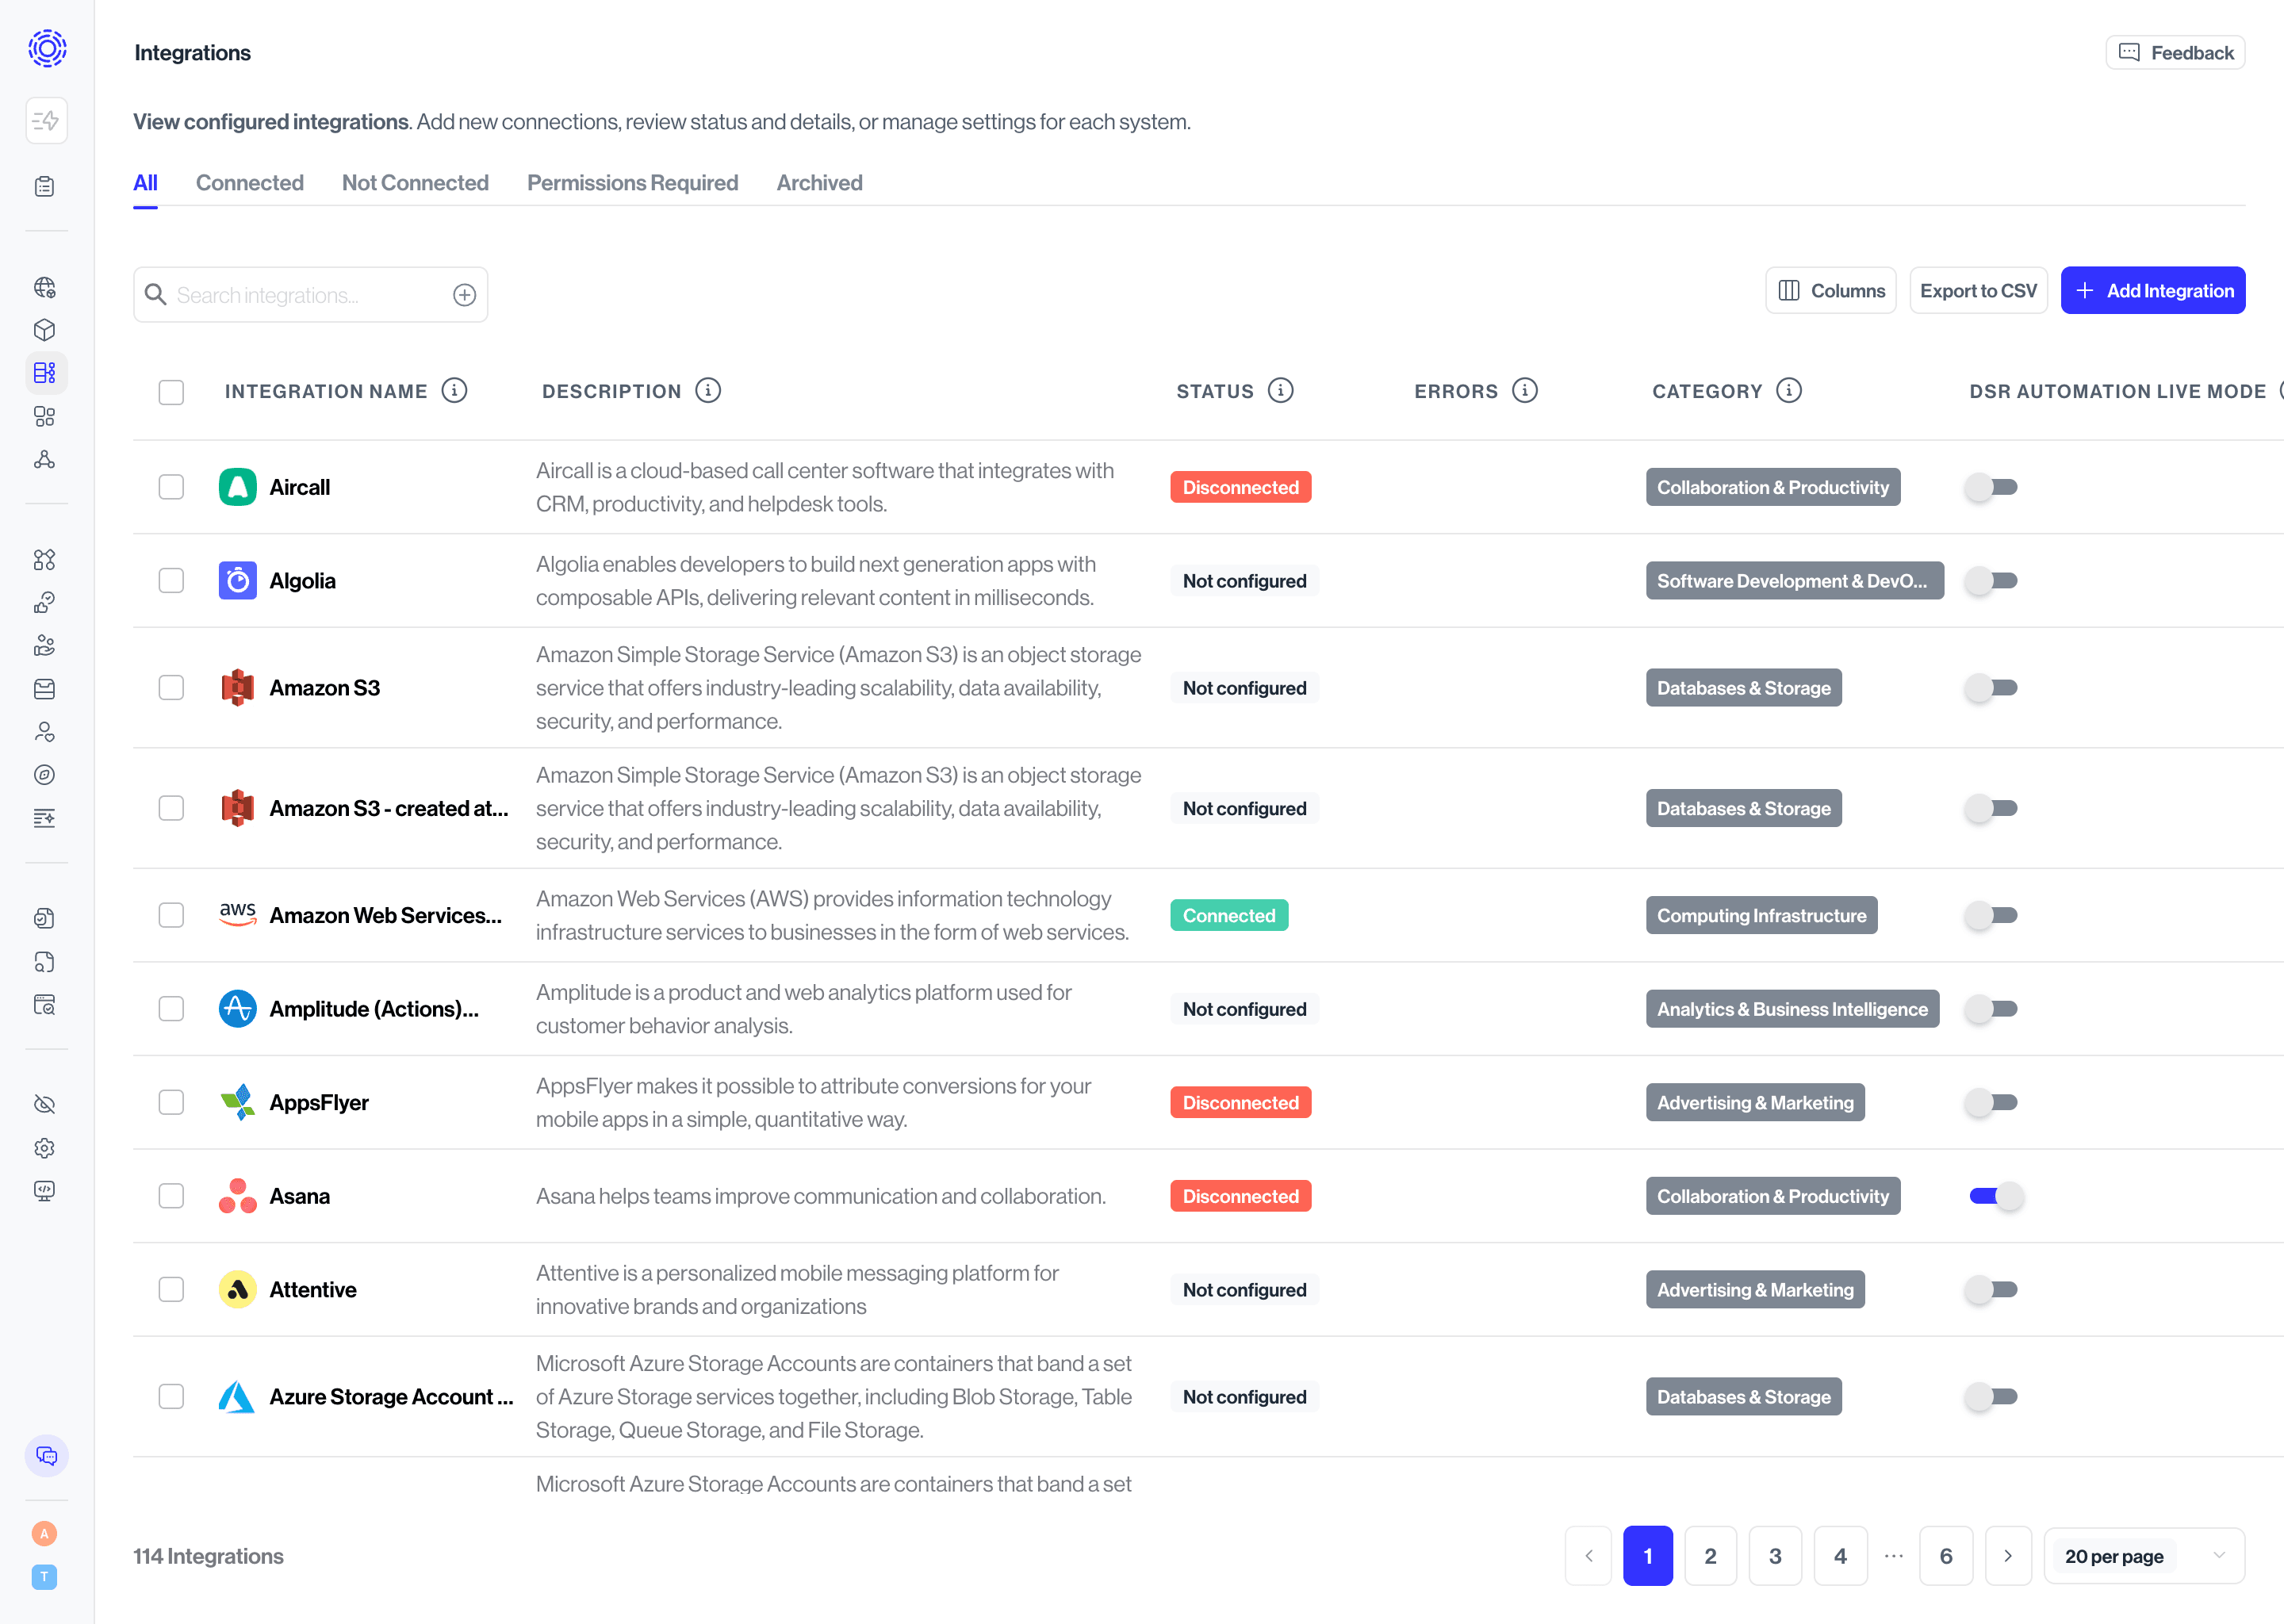
- Click Add Integration
- Search for and select your data system (e.g.,)
- On the modal overview step, click Add
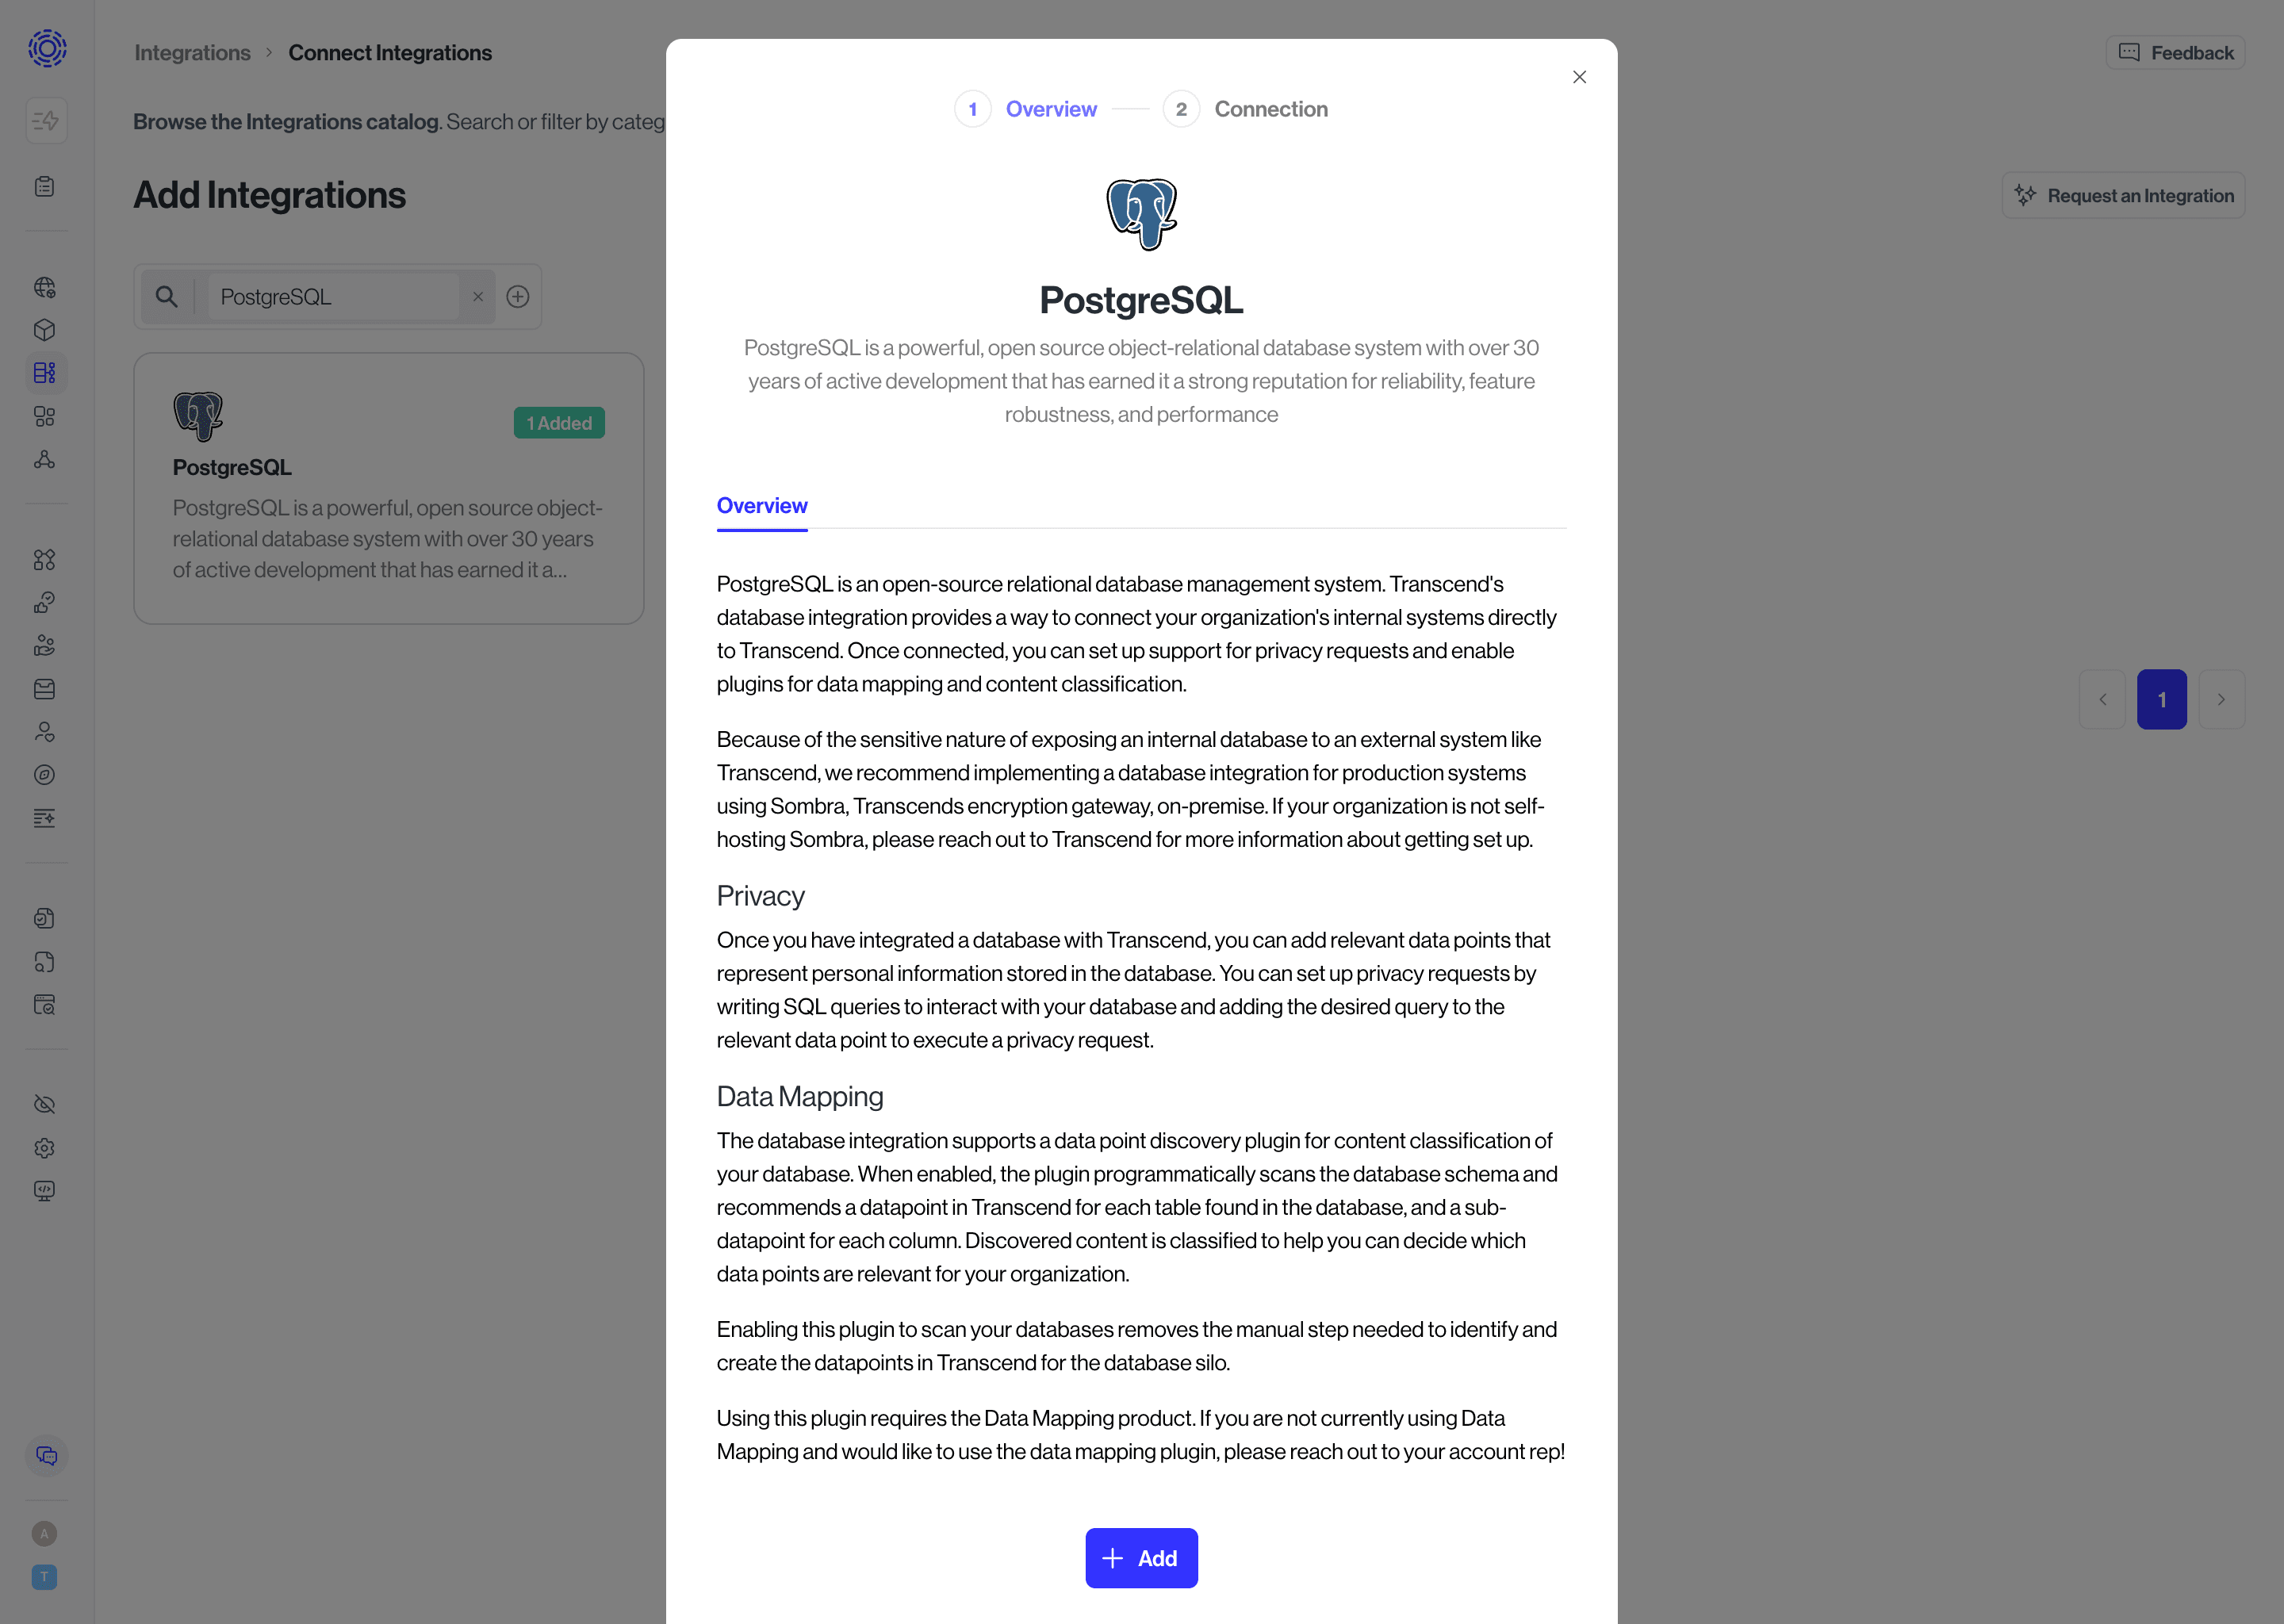
- On the modal connection step, add a system owner (optional), and click Continue to Connection Details, which will take you to the Connection tab in Integrations, where you will see an orange Not Configured badge next to the system name.

In the Connection tab, there will be detailed instructions on what to do next.
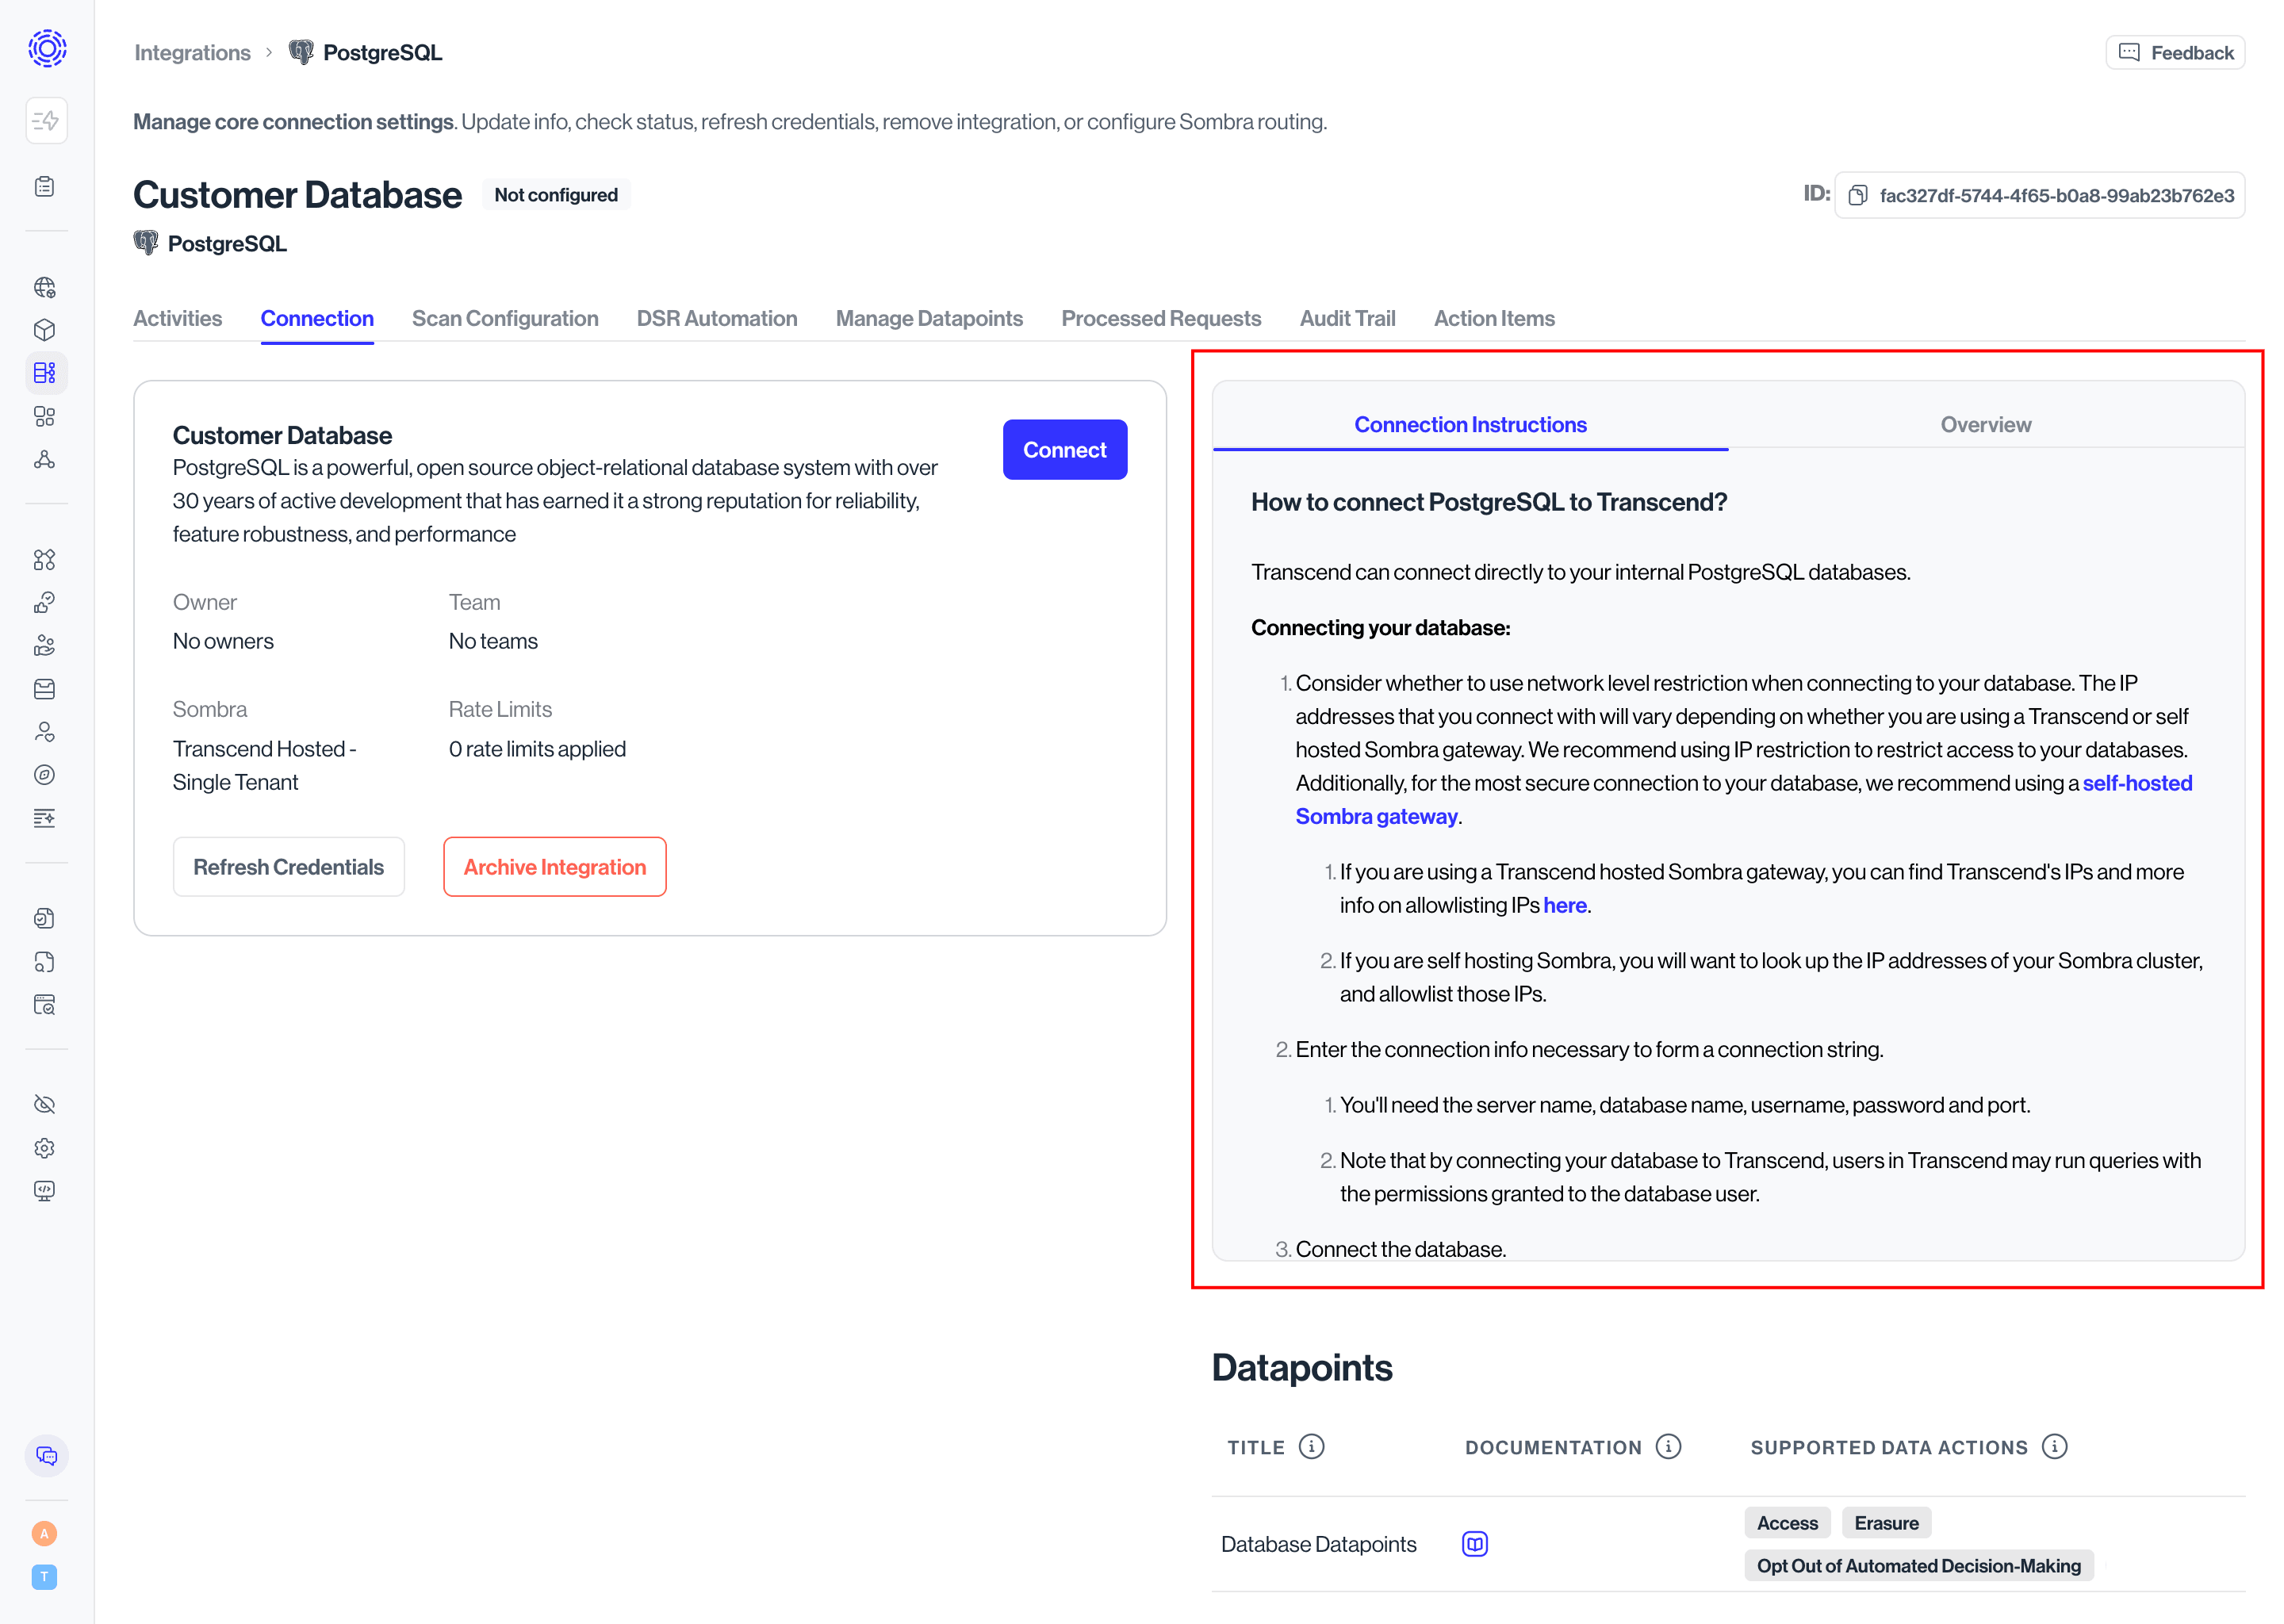
- If you are connecting an internal database, required information usually includes:
- Server address and port
- Database name
- Username and password (or other authentication details)
- Connection options (SSL, etc.)
- If you are connecting a SaaS tool or storage provider, required information typically includes:
- Authorizing via OAuth
- Entering API credentials
- Granting necessary permissions
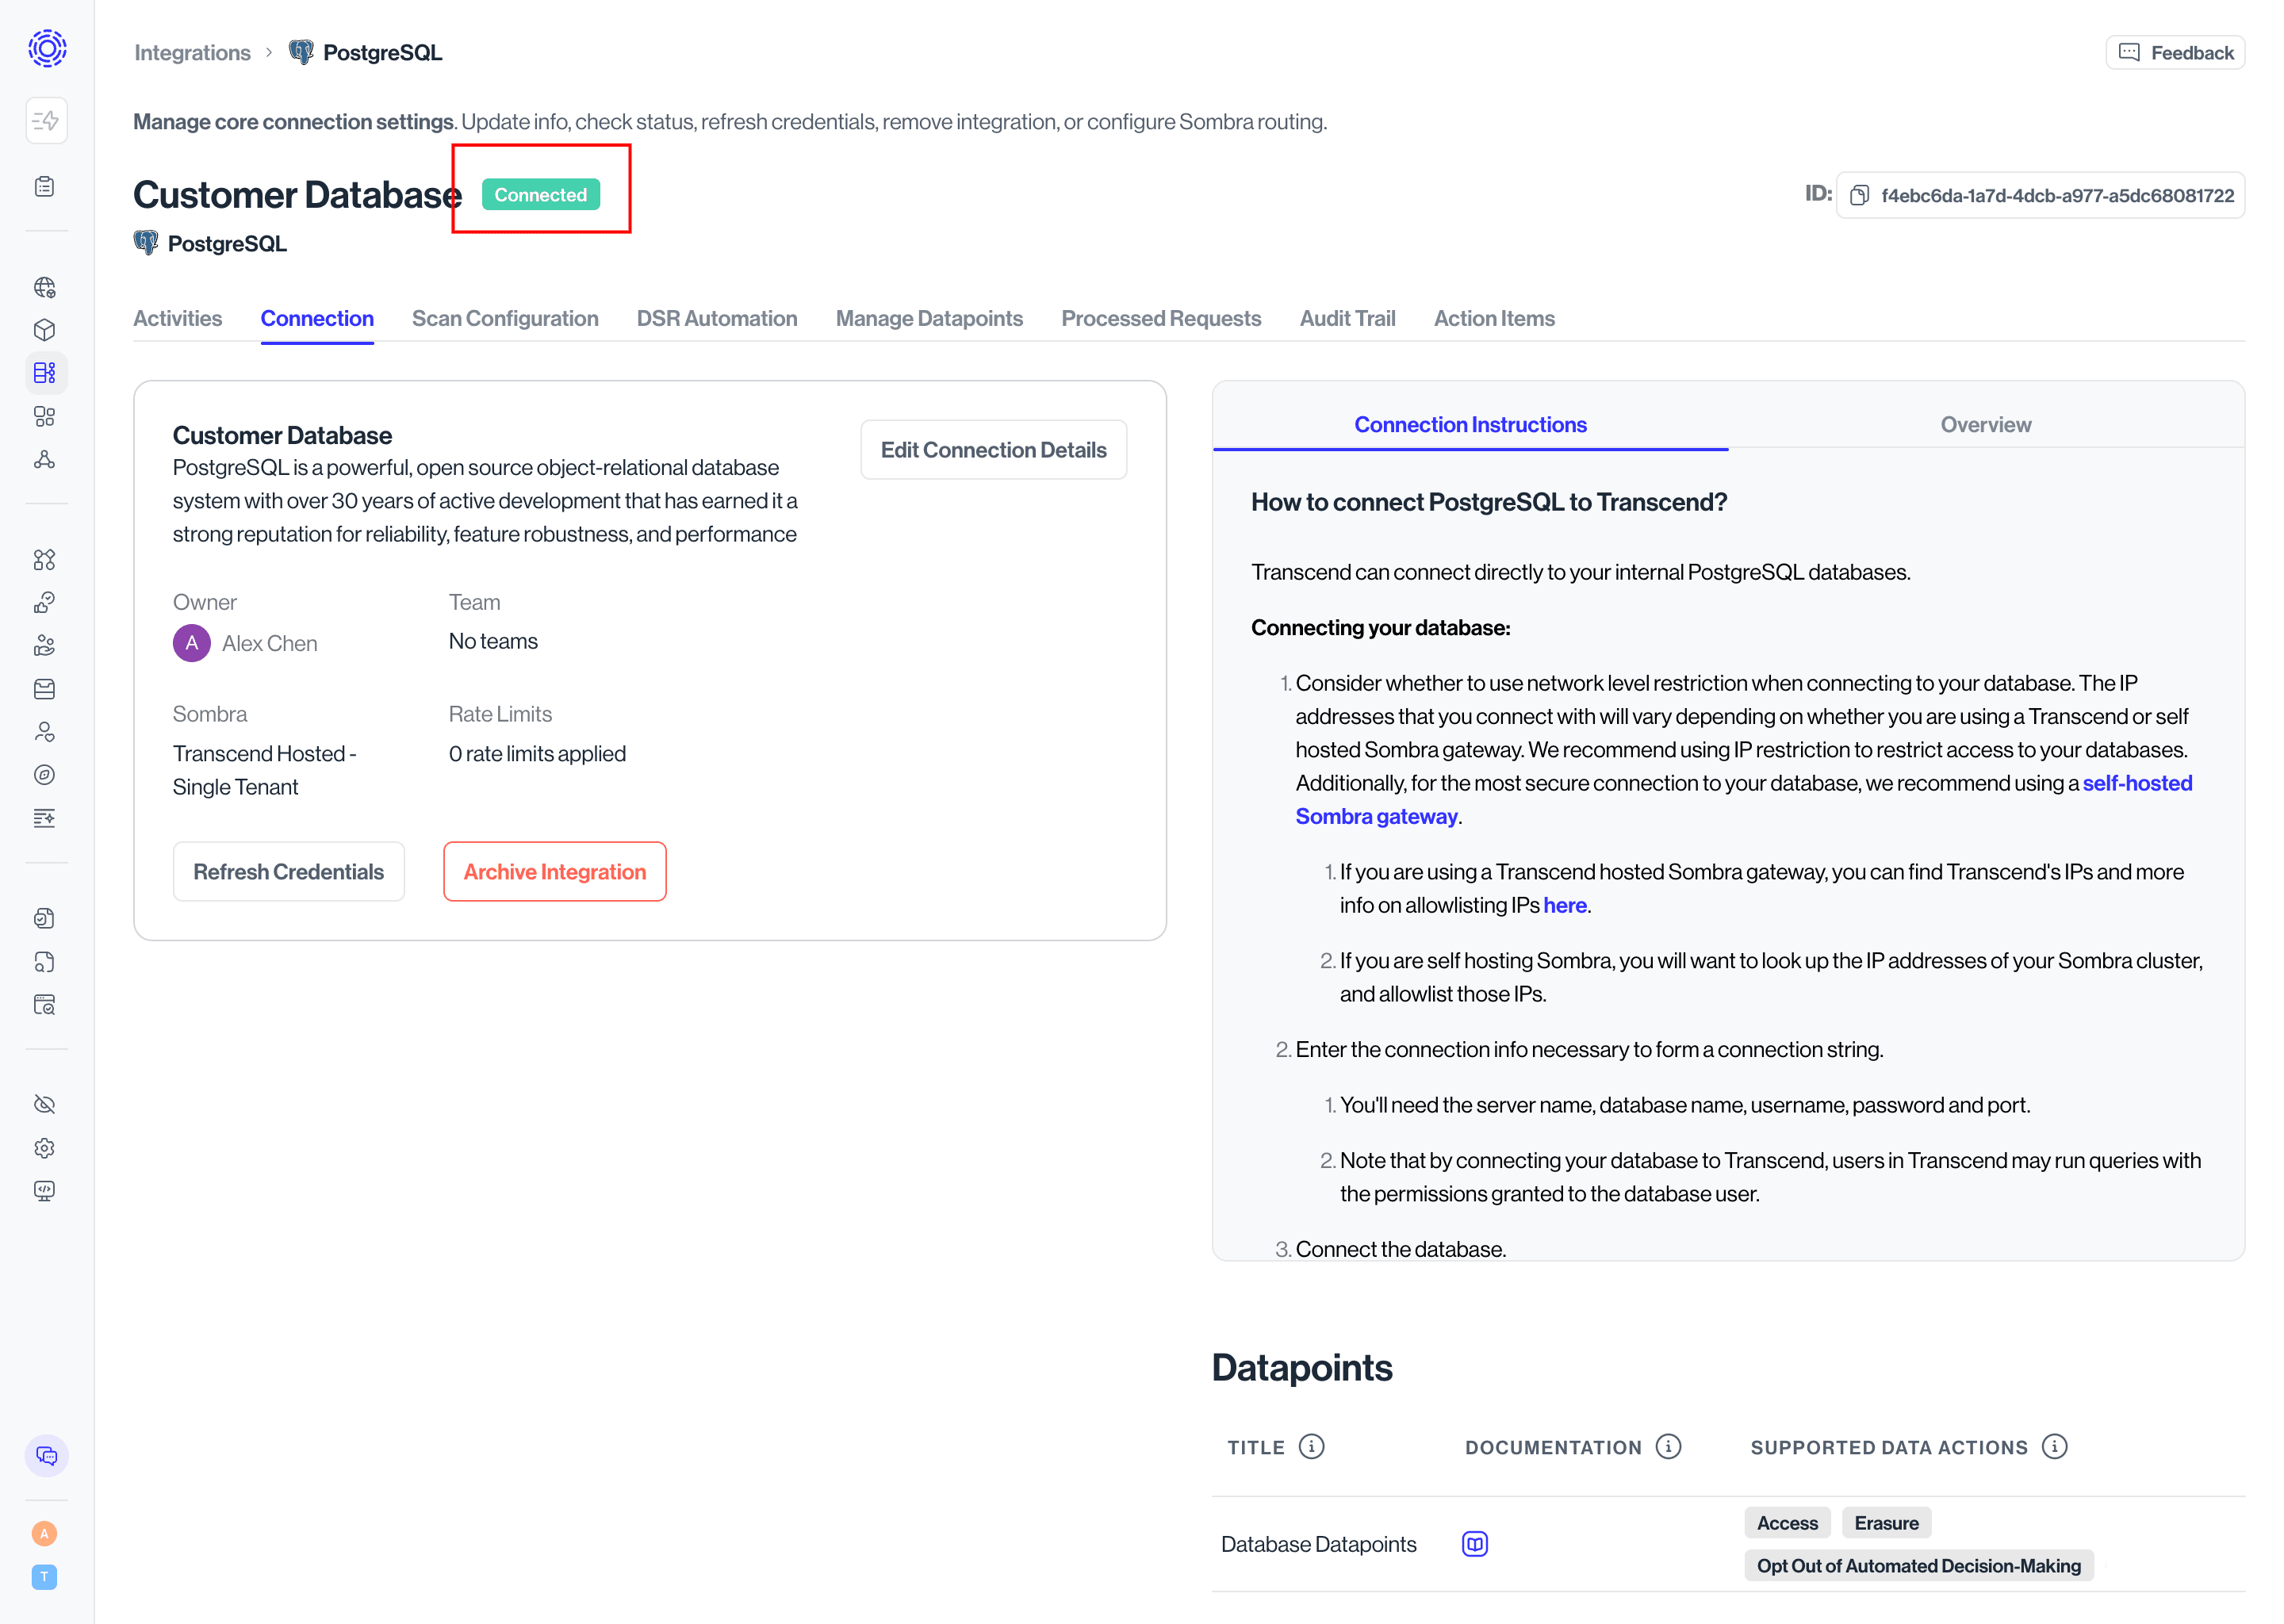
- If connection is successful, the badge by the data system name will update to Connected.
- Run an Ad Hoc Scan or set up recurring scans following this guide:
You can also add data systems directly from the Browse Data Systems page:
- Navigate to Classfication > Browse Data Systems
- Click Add a Database
- Select your database type and click Add
- Click View Database to open the integration details
- Follow the connection steps as described above