Okta SSO Configuration Guide
Configure Single Sign On with Okta as the Identity Provider
Prerequisites
Ensure you have read the SSO Setup article to ensure you have configured the baseline and prepared for your IDP SSO connection.
Configuration Steps
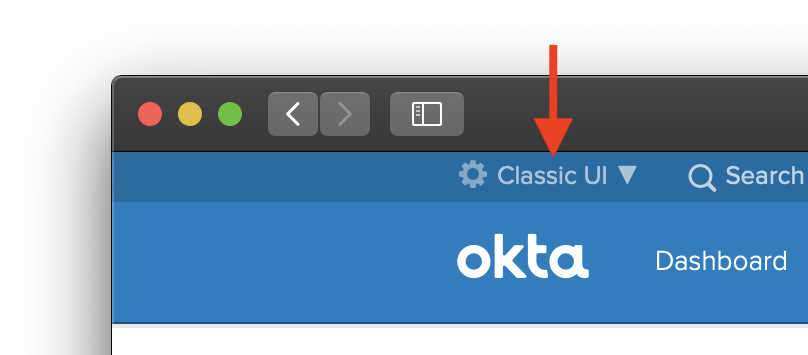
Note: this guide uses the Classic UI, which can be selected on the top-left dropdown in Okta
-
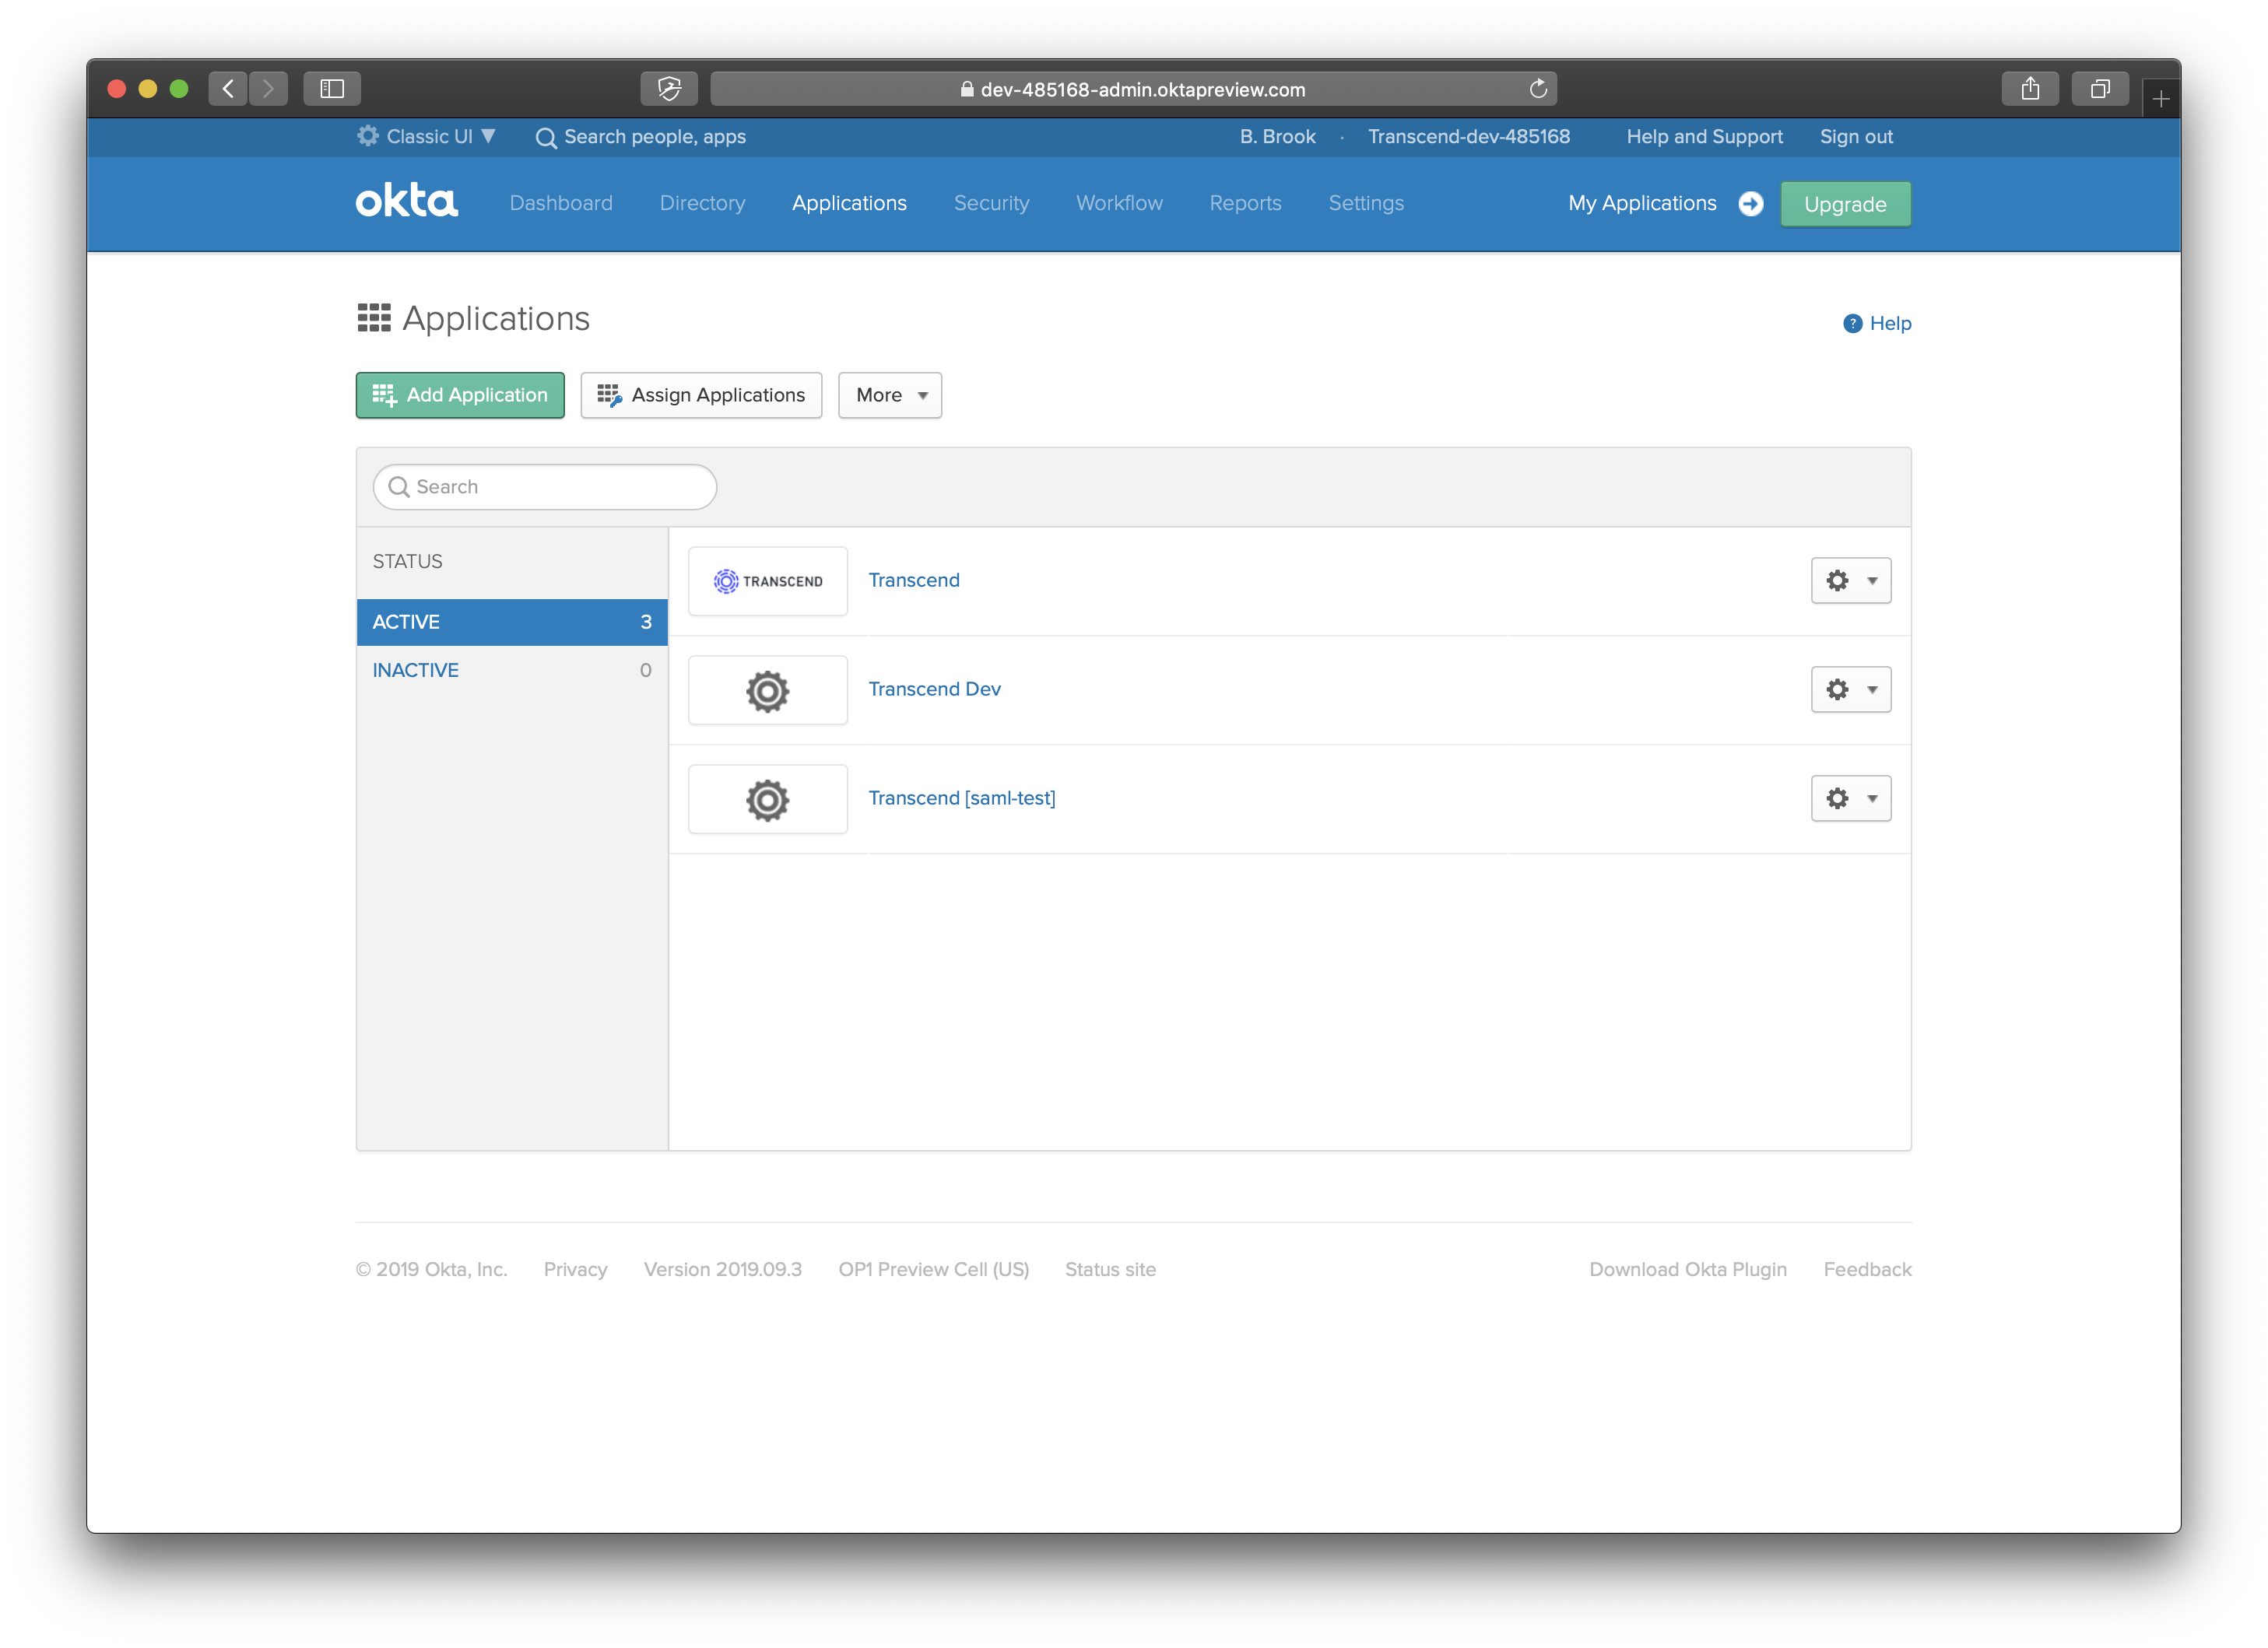
Go to the Applications page
-
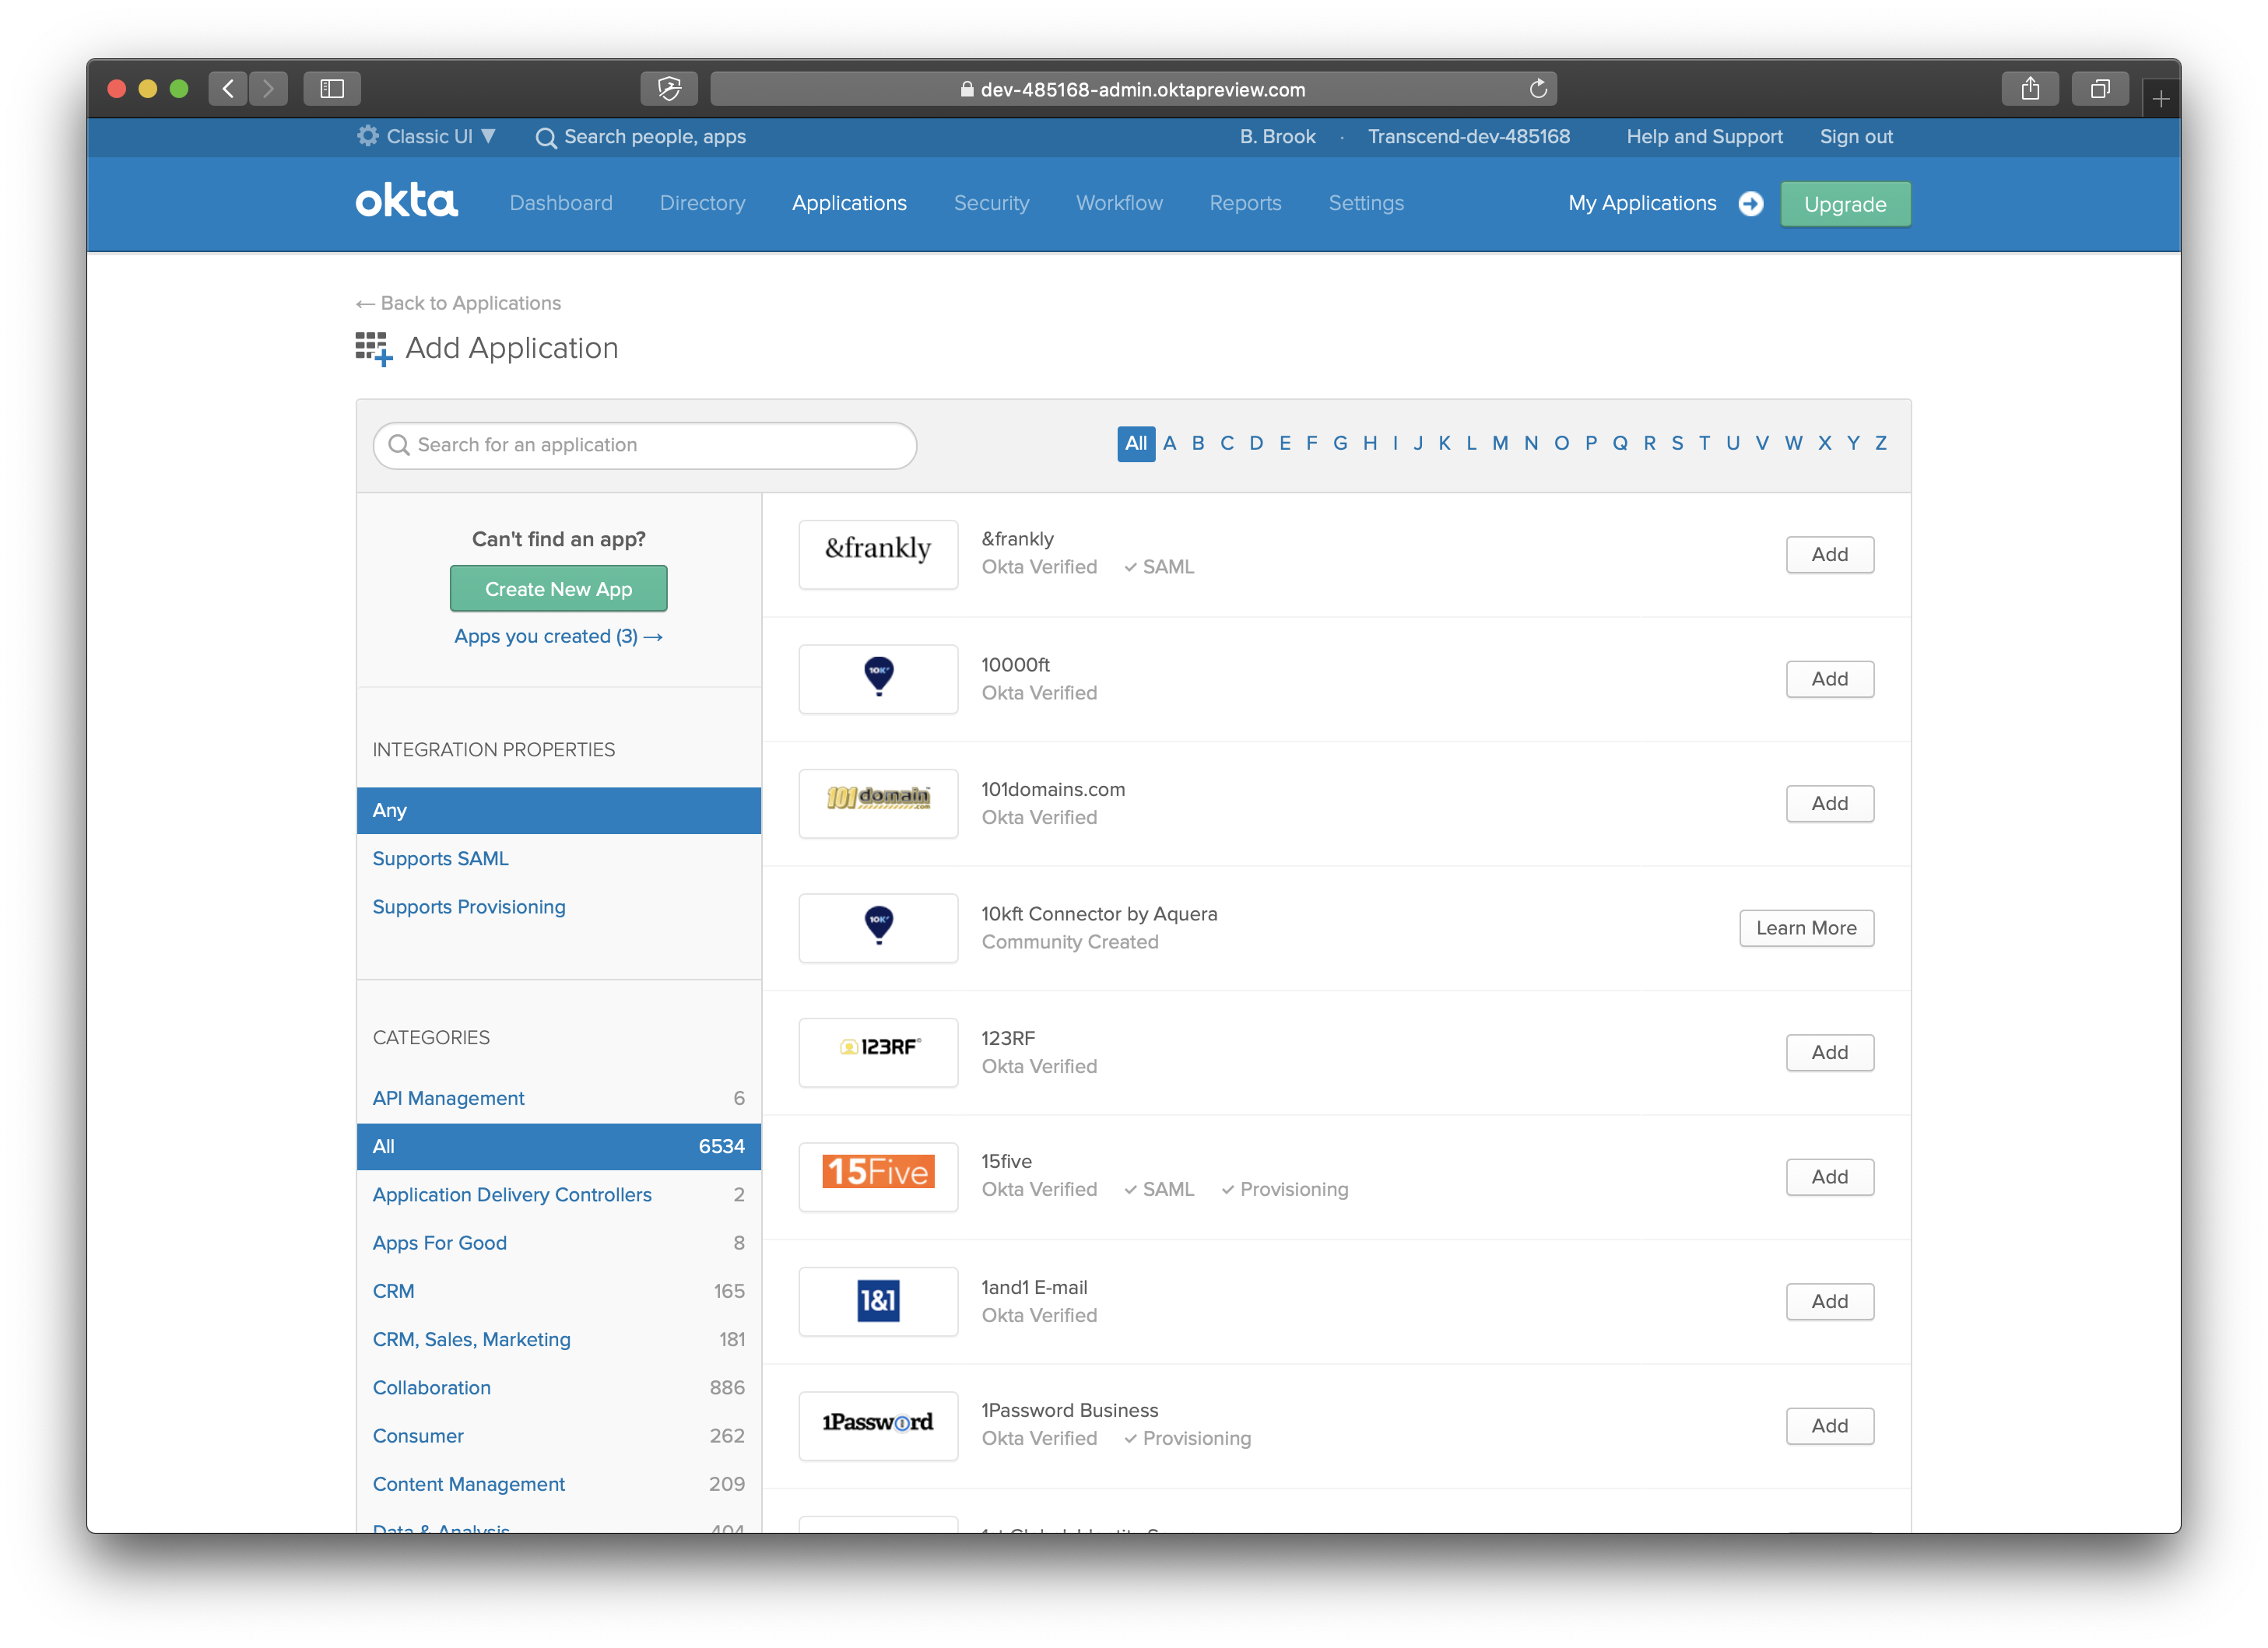
Click Add Application
-
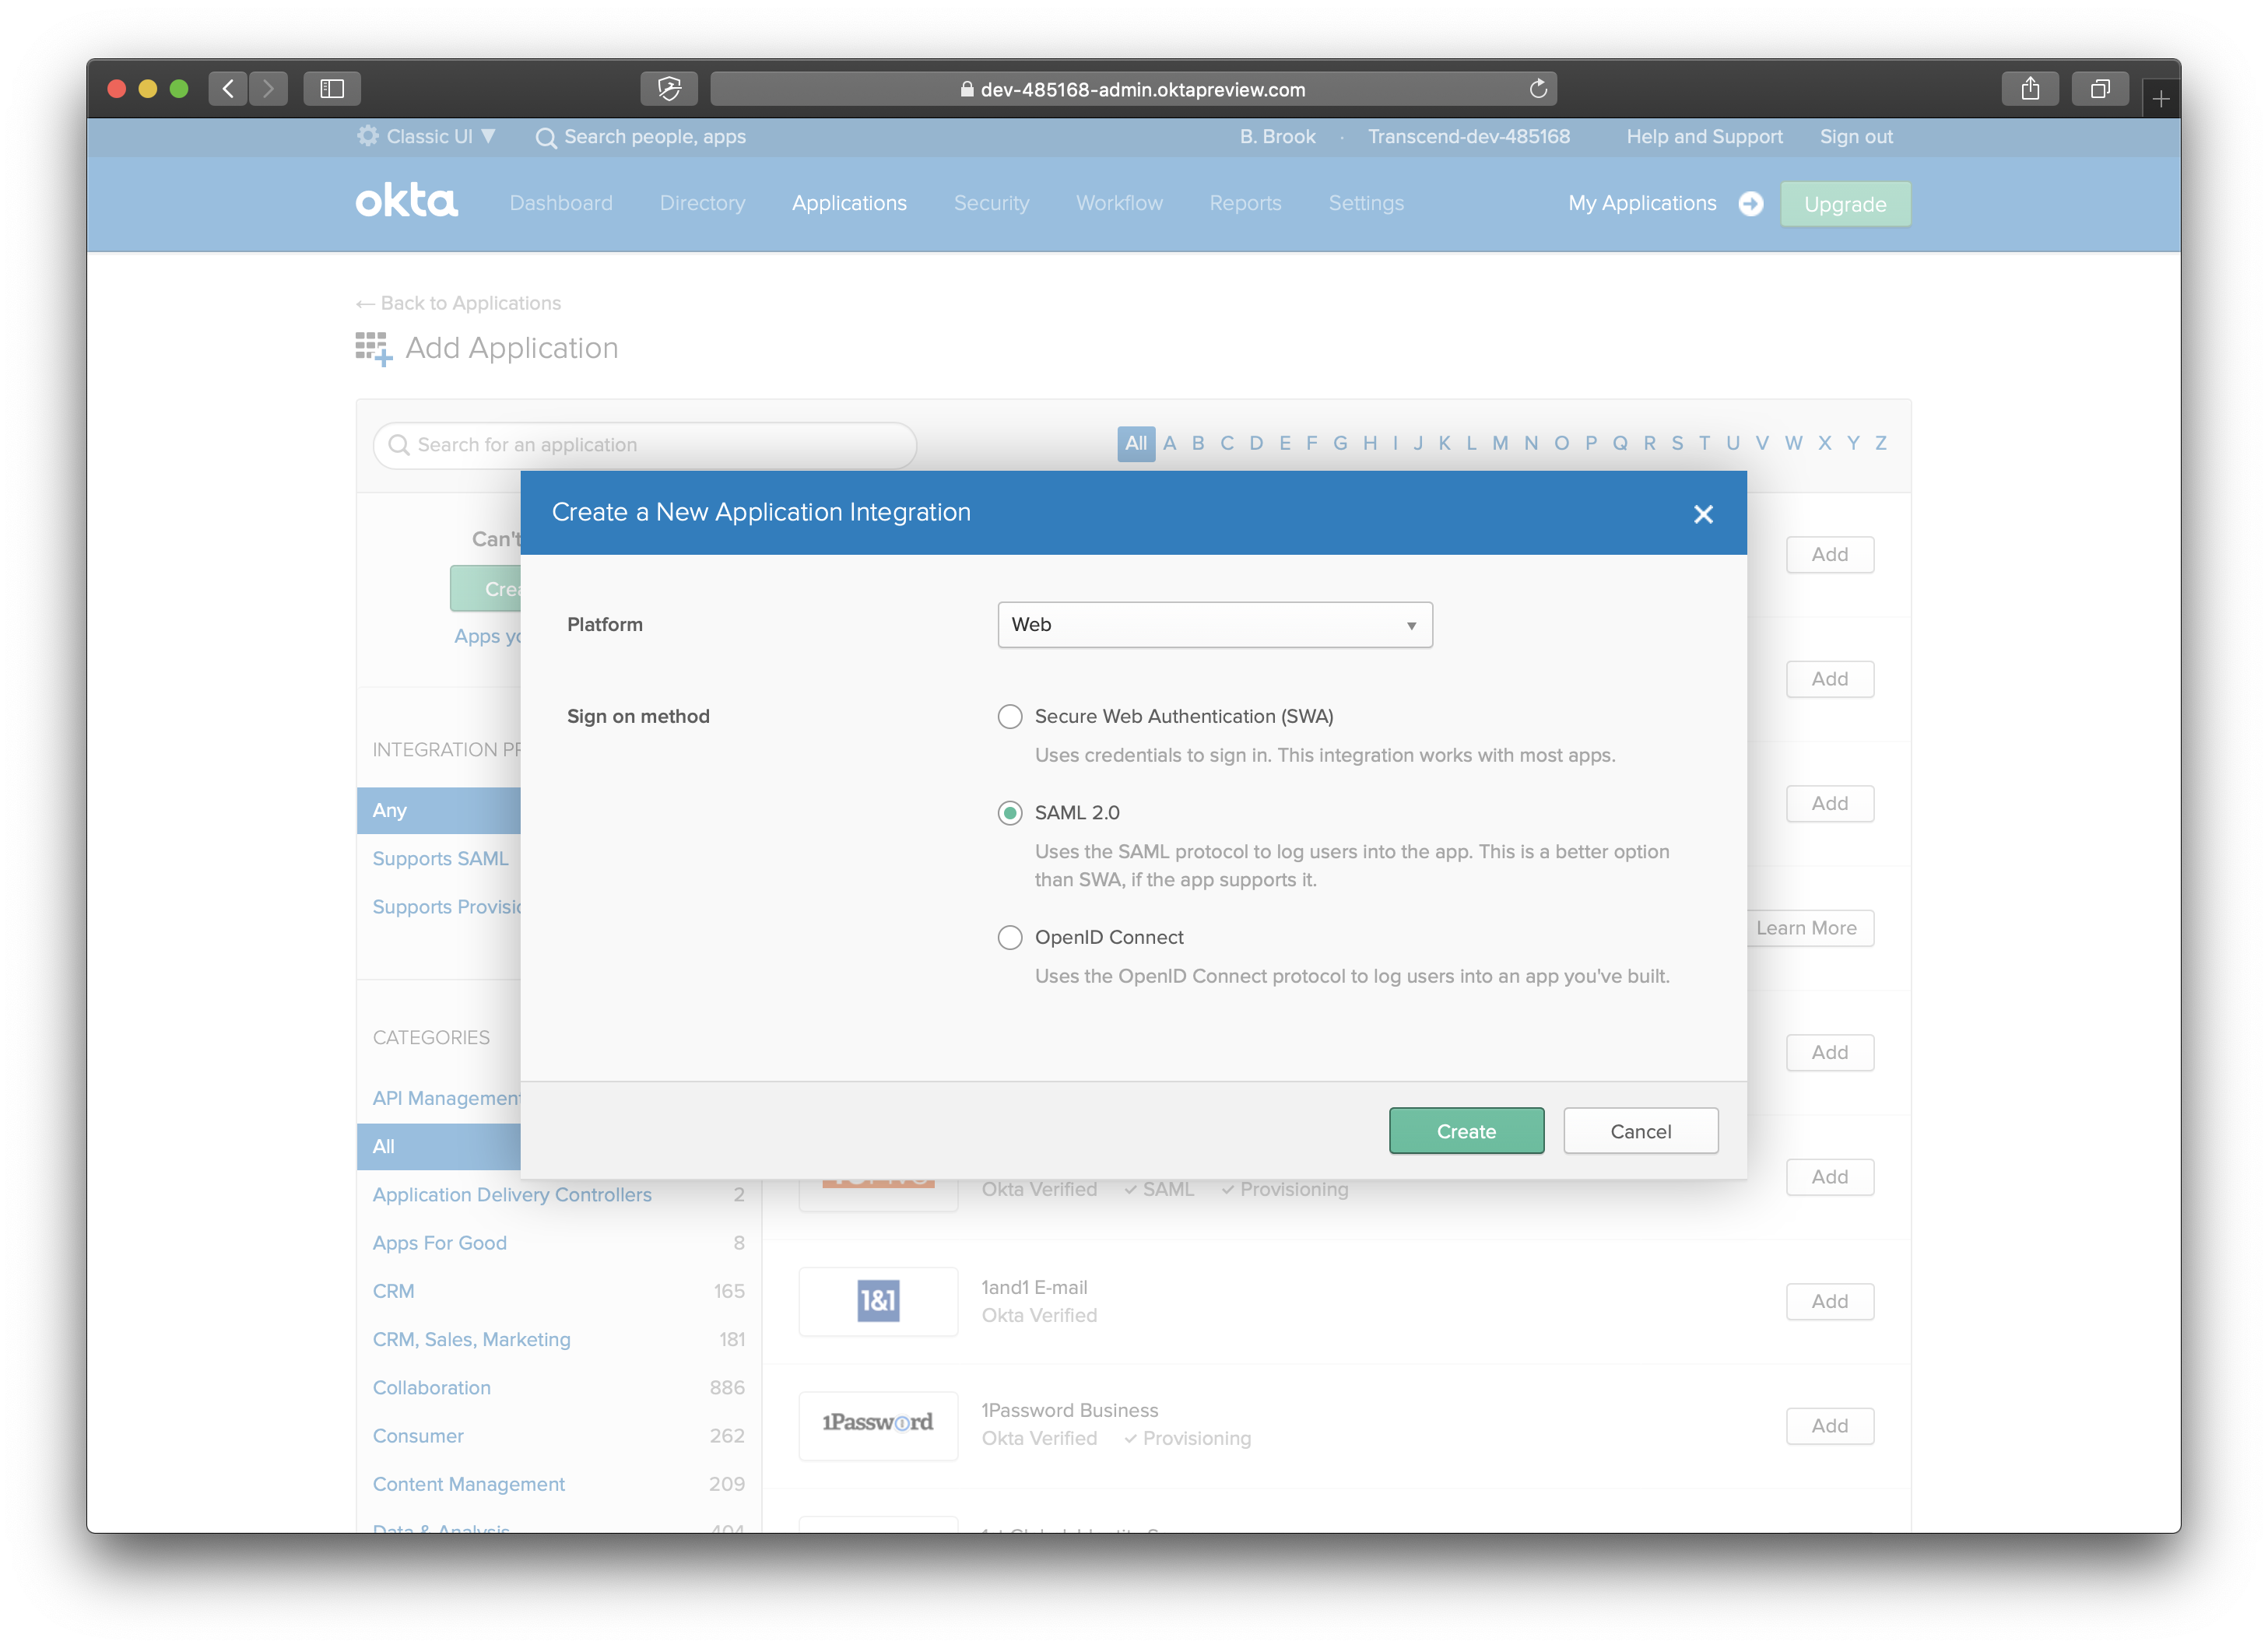
Click Create New App. Under platform, select Web, and choose SAML 2.0. Click Create.
-
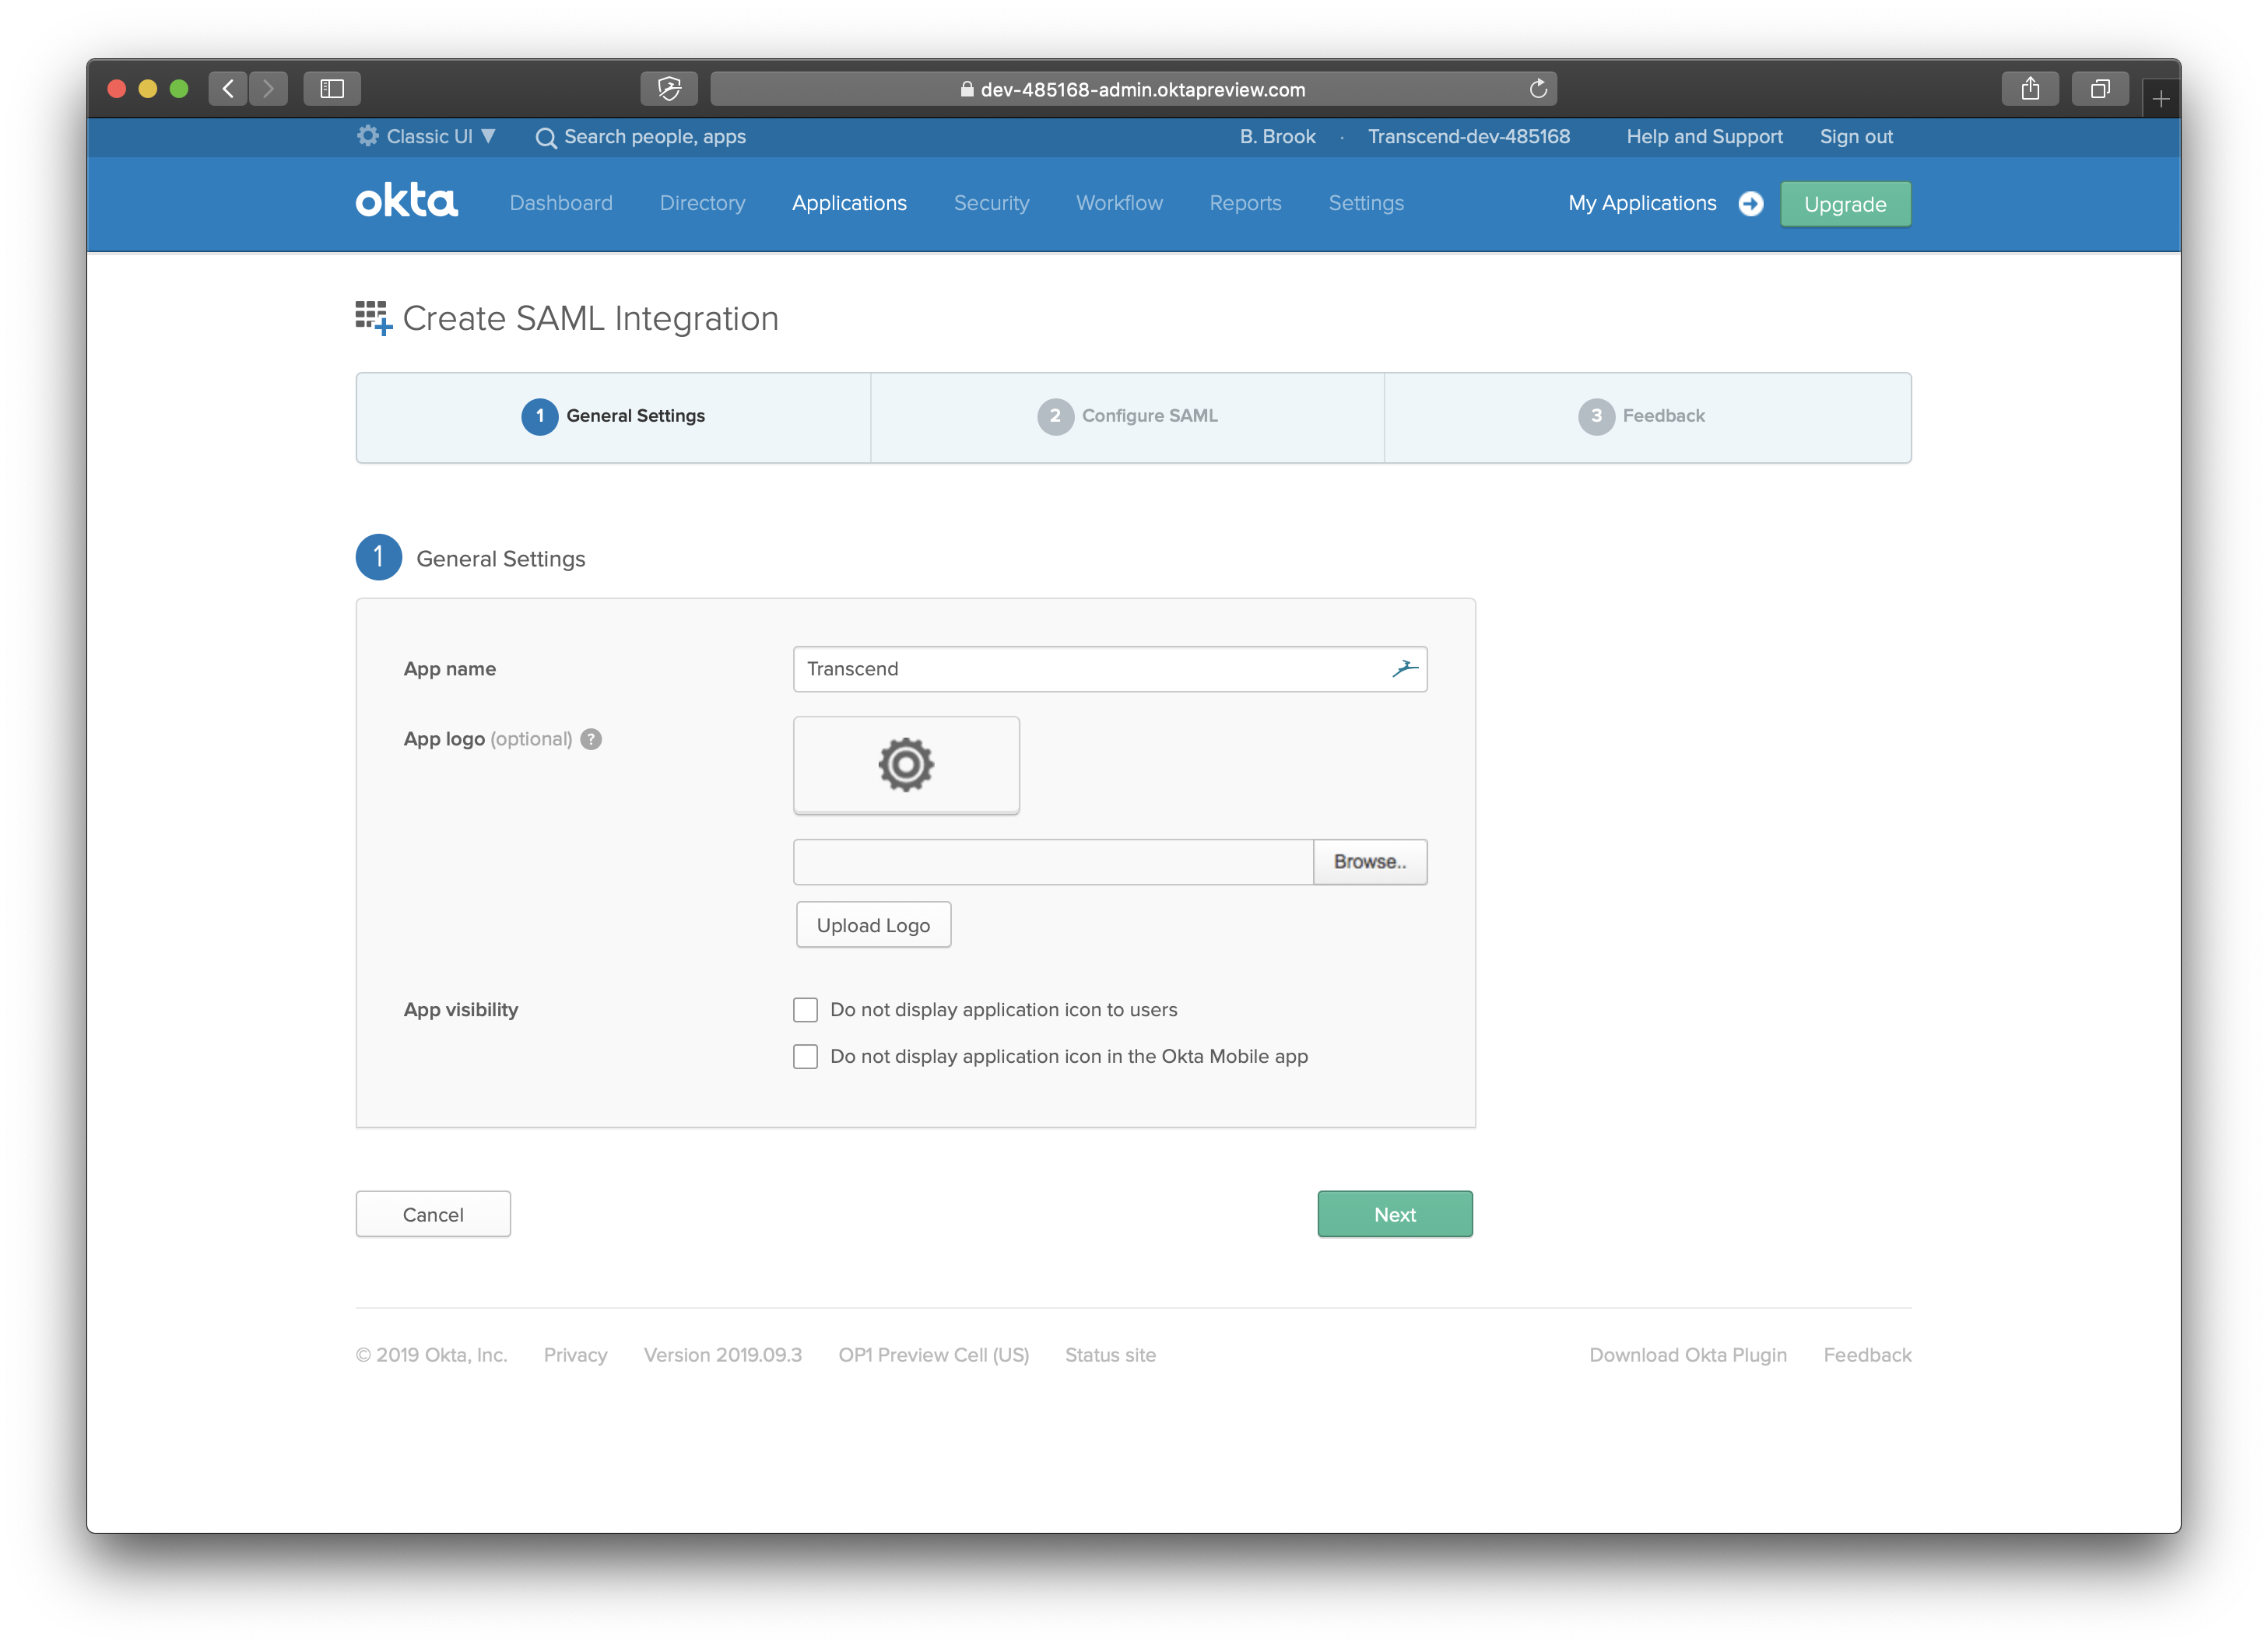
Name your application Transcend. You may download our App Icon here and click Upload Logo. Click Next.
-
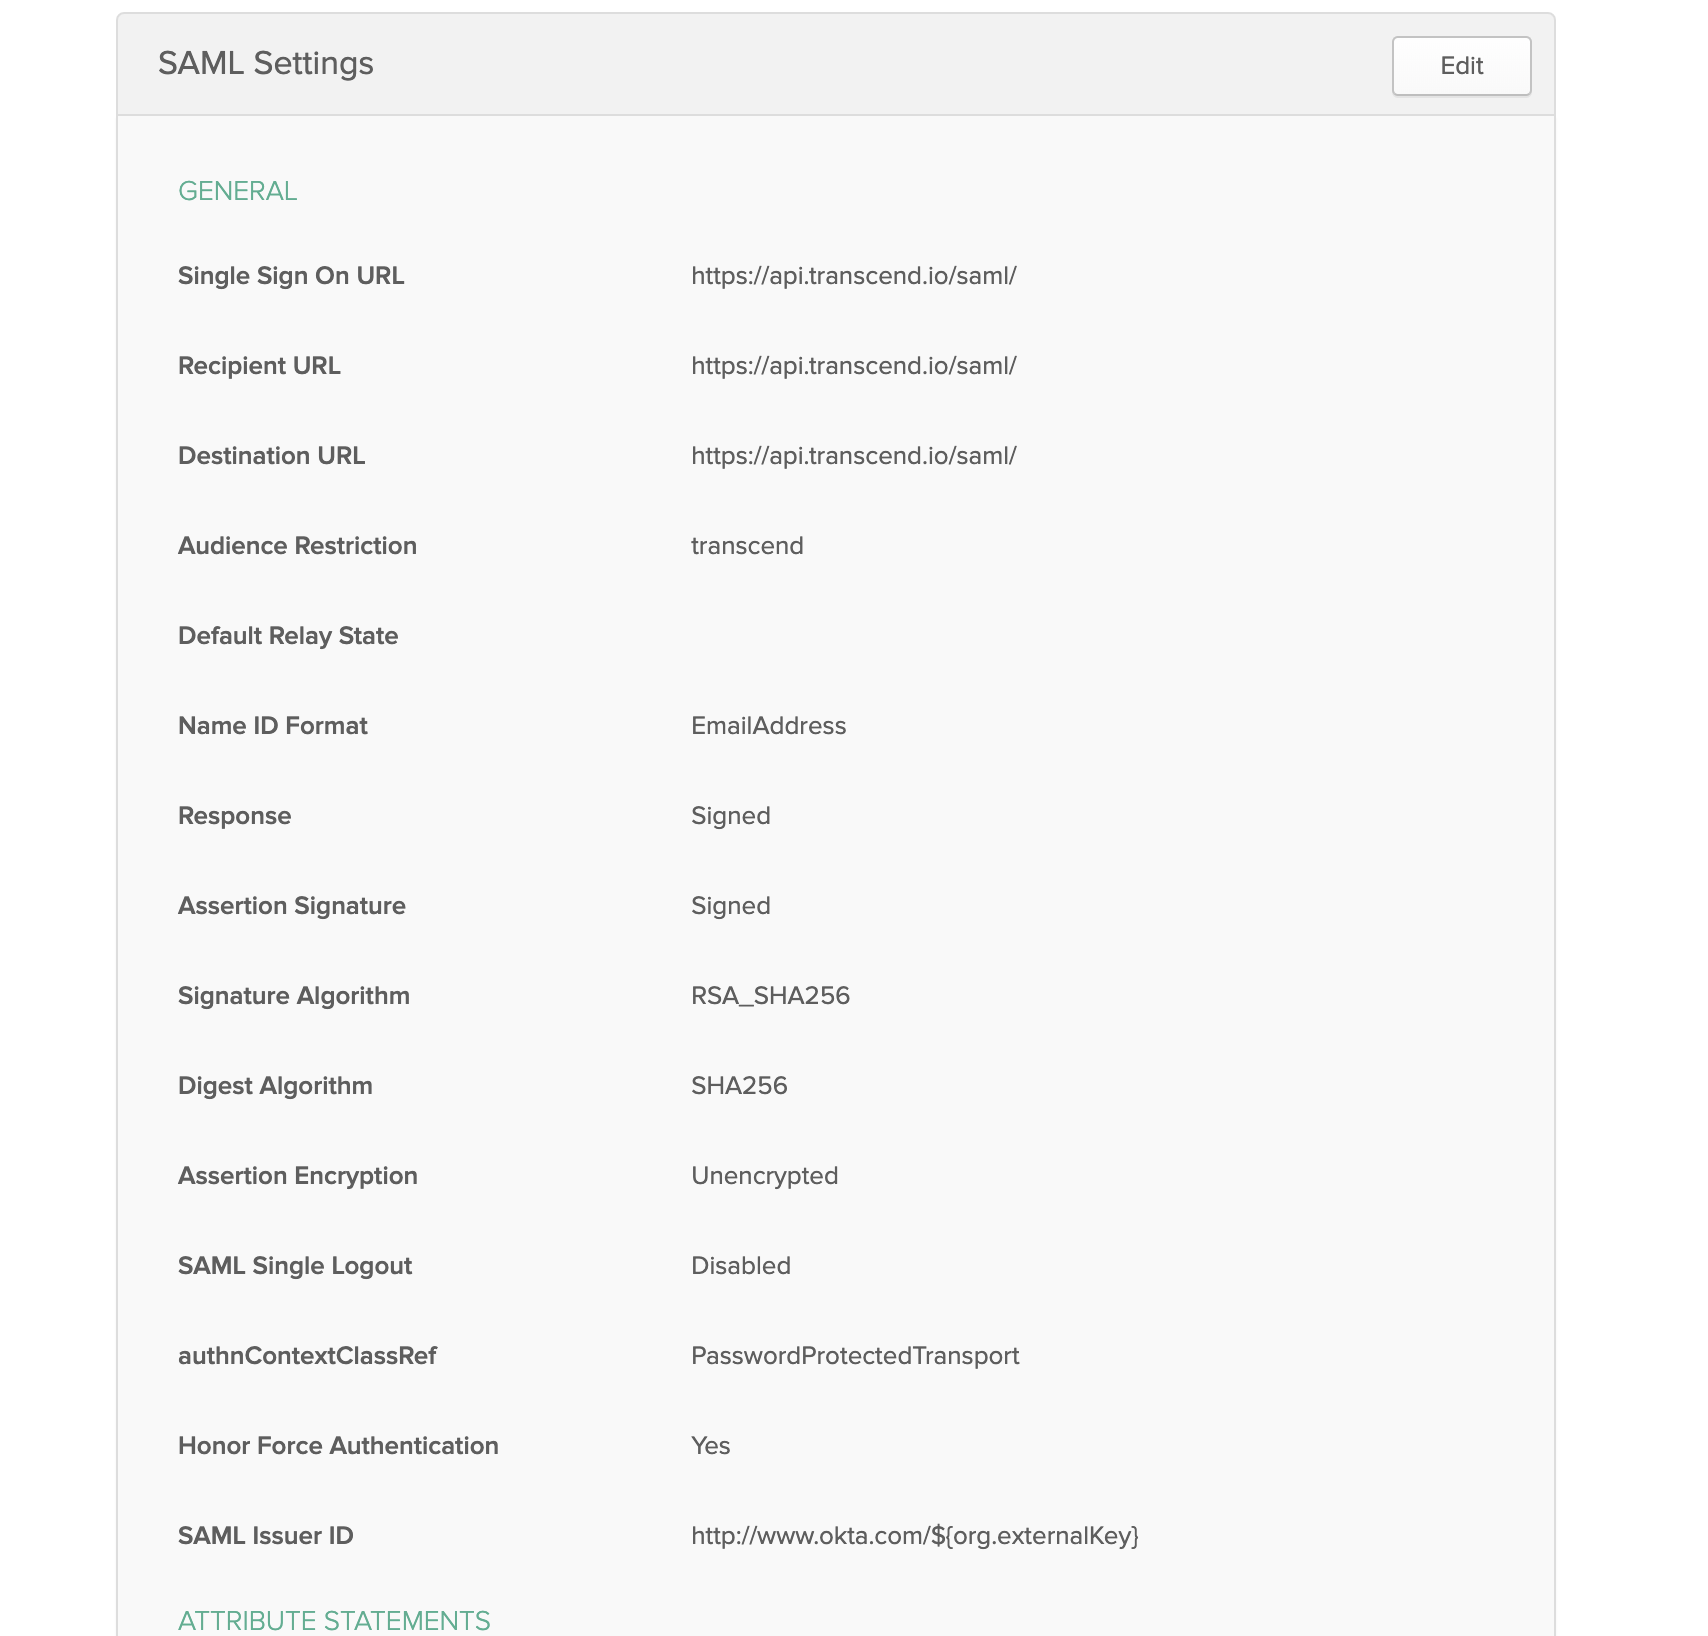
Set your Single sign on URL to
https://api.transcend.io/samlfor the EU backend, orhttps://api.us.transcend.io/samlfor the US backend Set Audience URI totranscendSet Name ID format toEmailAddressSet Application username toEmail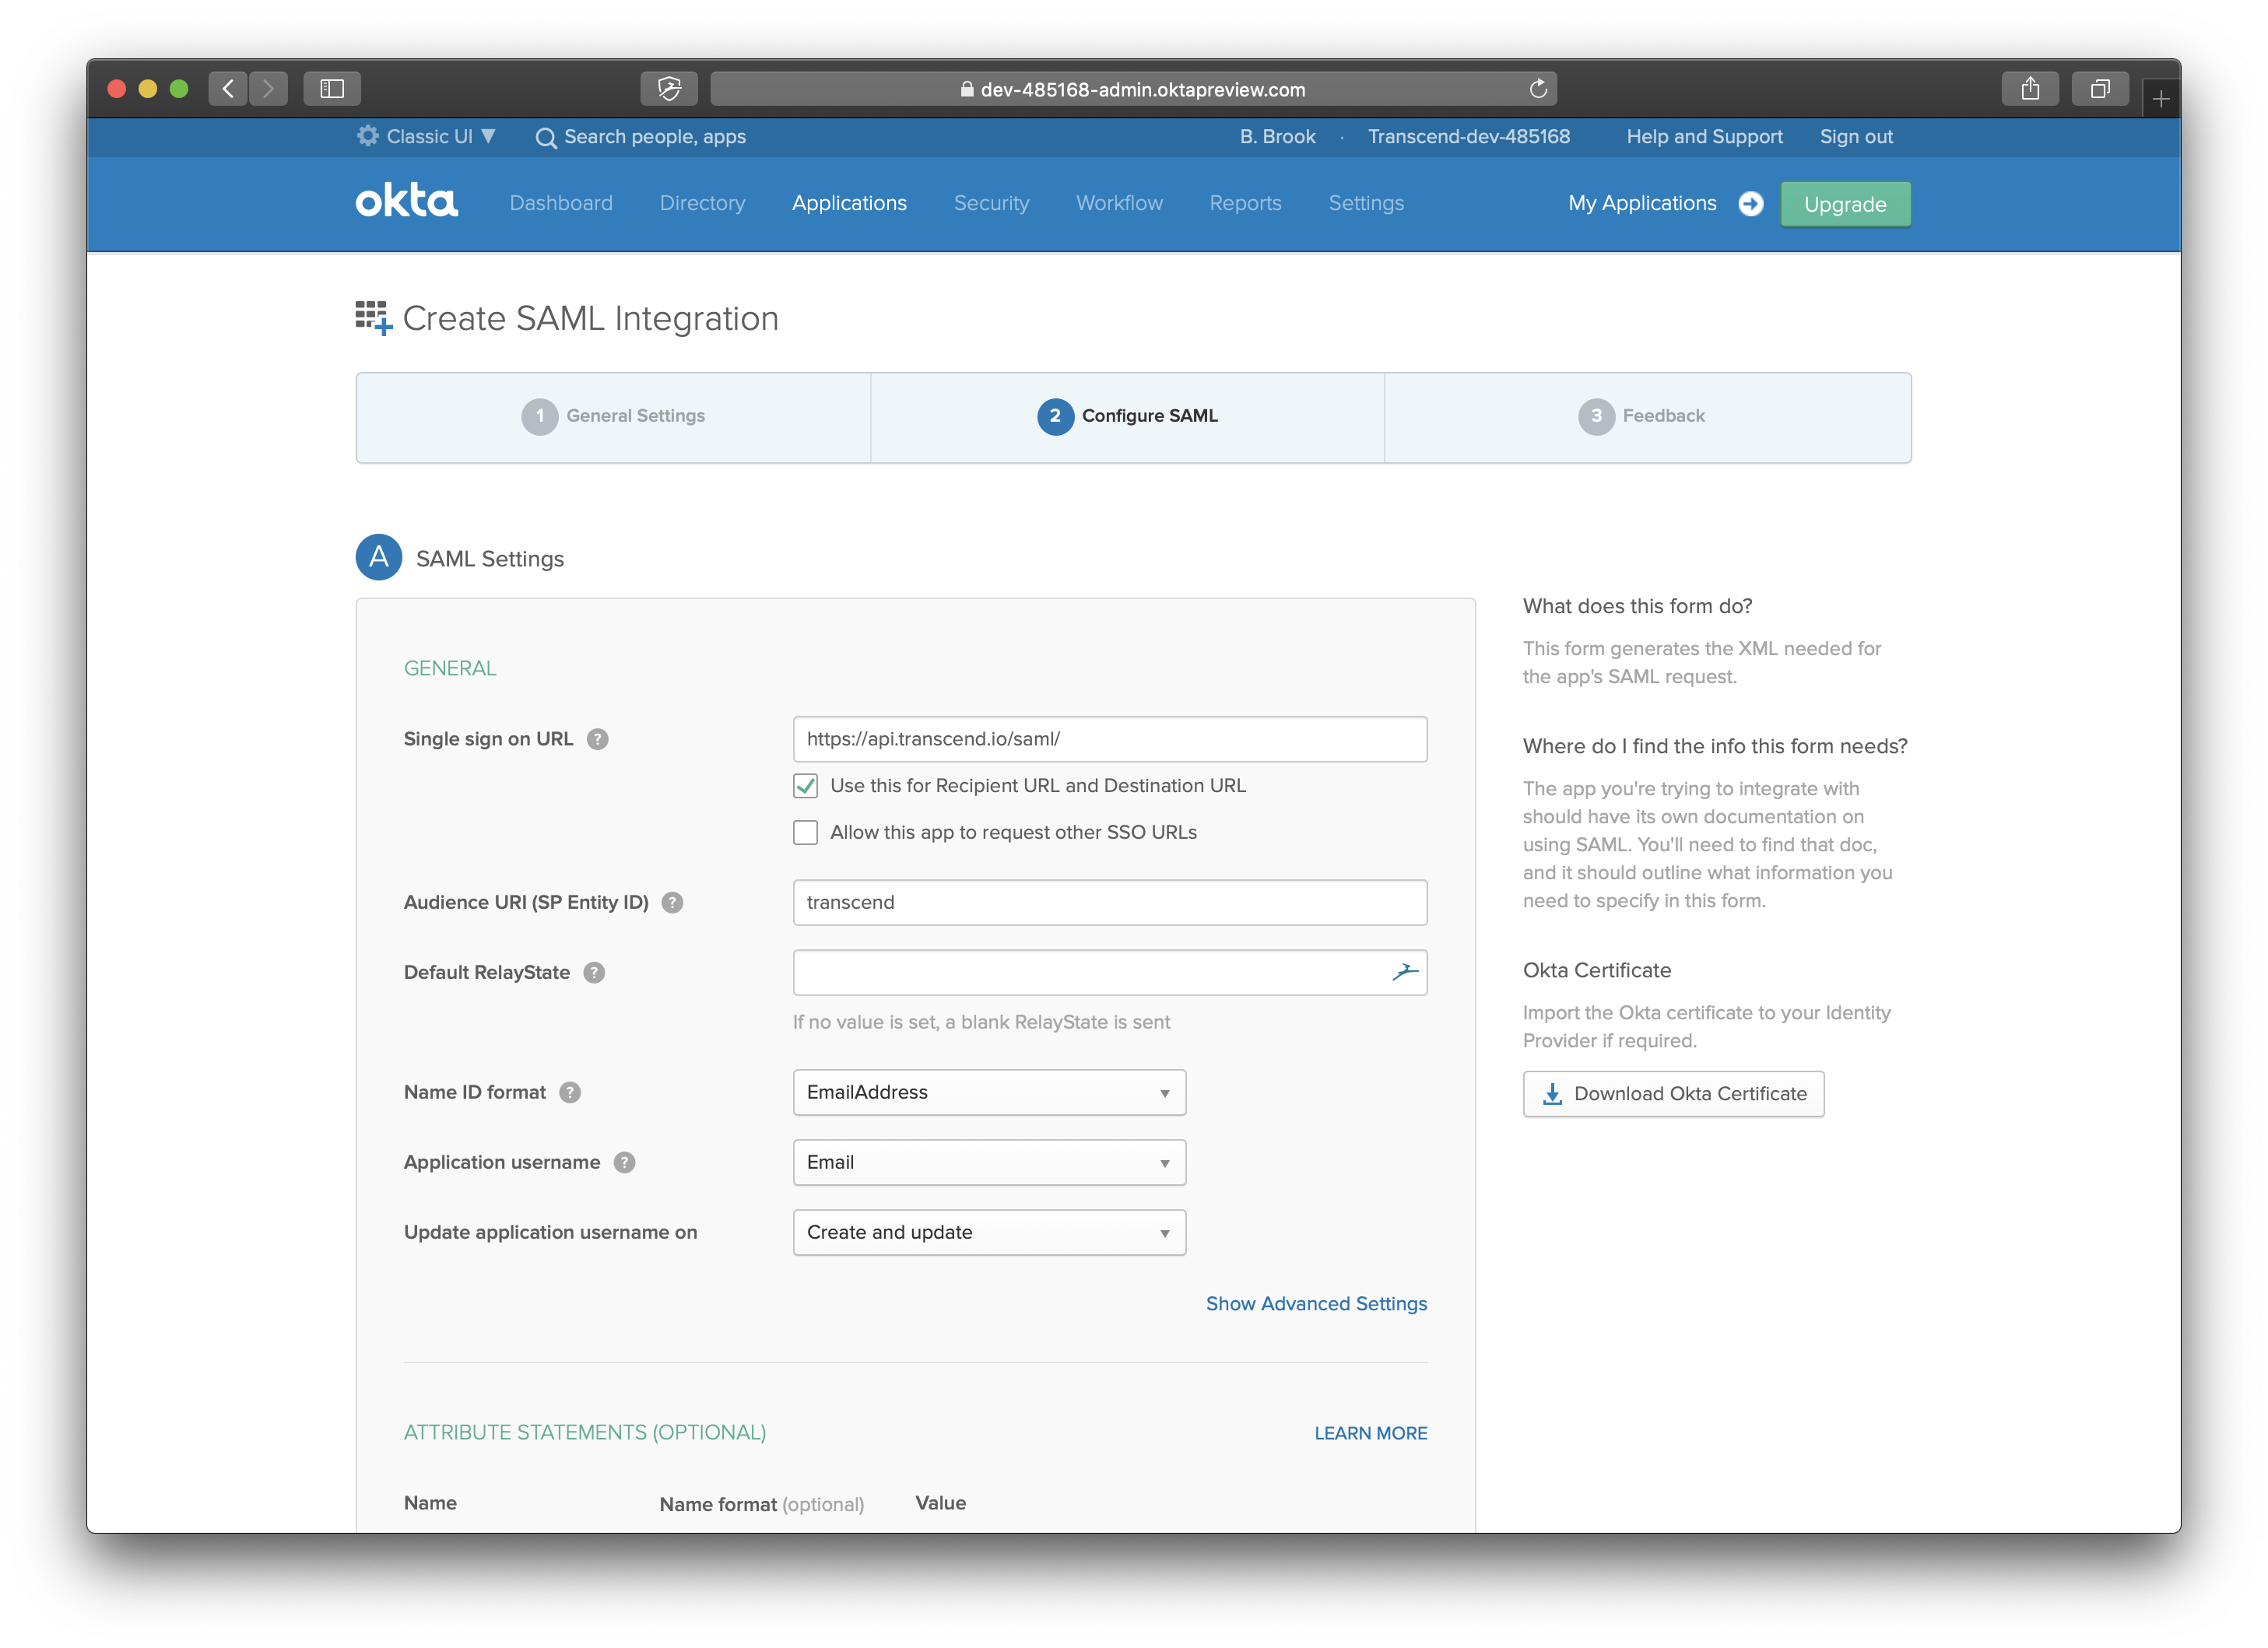
-
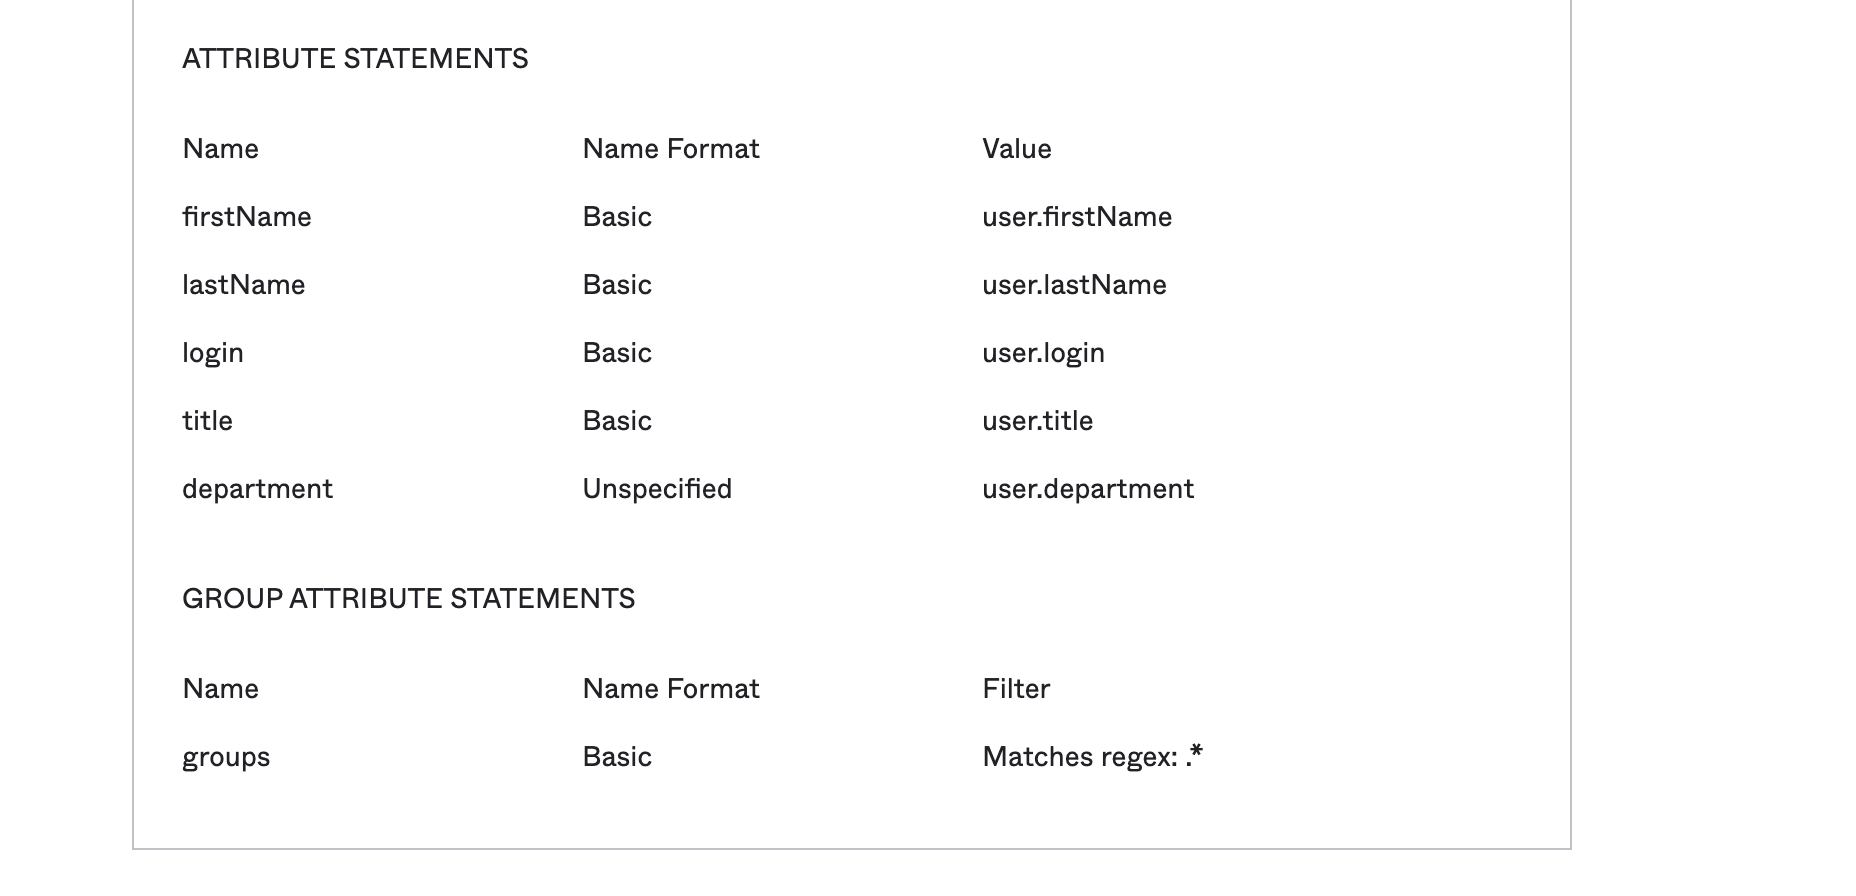
Scroll down to Attribute Statements and set 3-5 attributes:
- Set Name to
firstName, Name format toBasic, Value touser.firstName - Set Name to
lastName, Name format toBasic, Value touser.lastName - Set Name to
login, Name format toBasic, Value touser.login - Set Title to
title, Name format toBasic, Value touser.title - Set Department to
department, Name format toBasic, Value touser.department - If you use Push Groups, you can also:
Set groups, Name format to
Basic, Filter to.*(or another filter to only expose certain groups) - Click Next.
- Set Name to
-
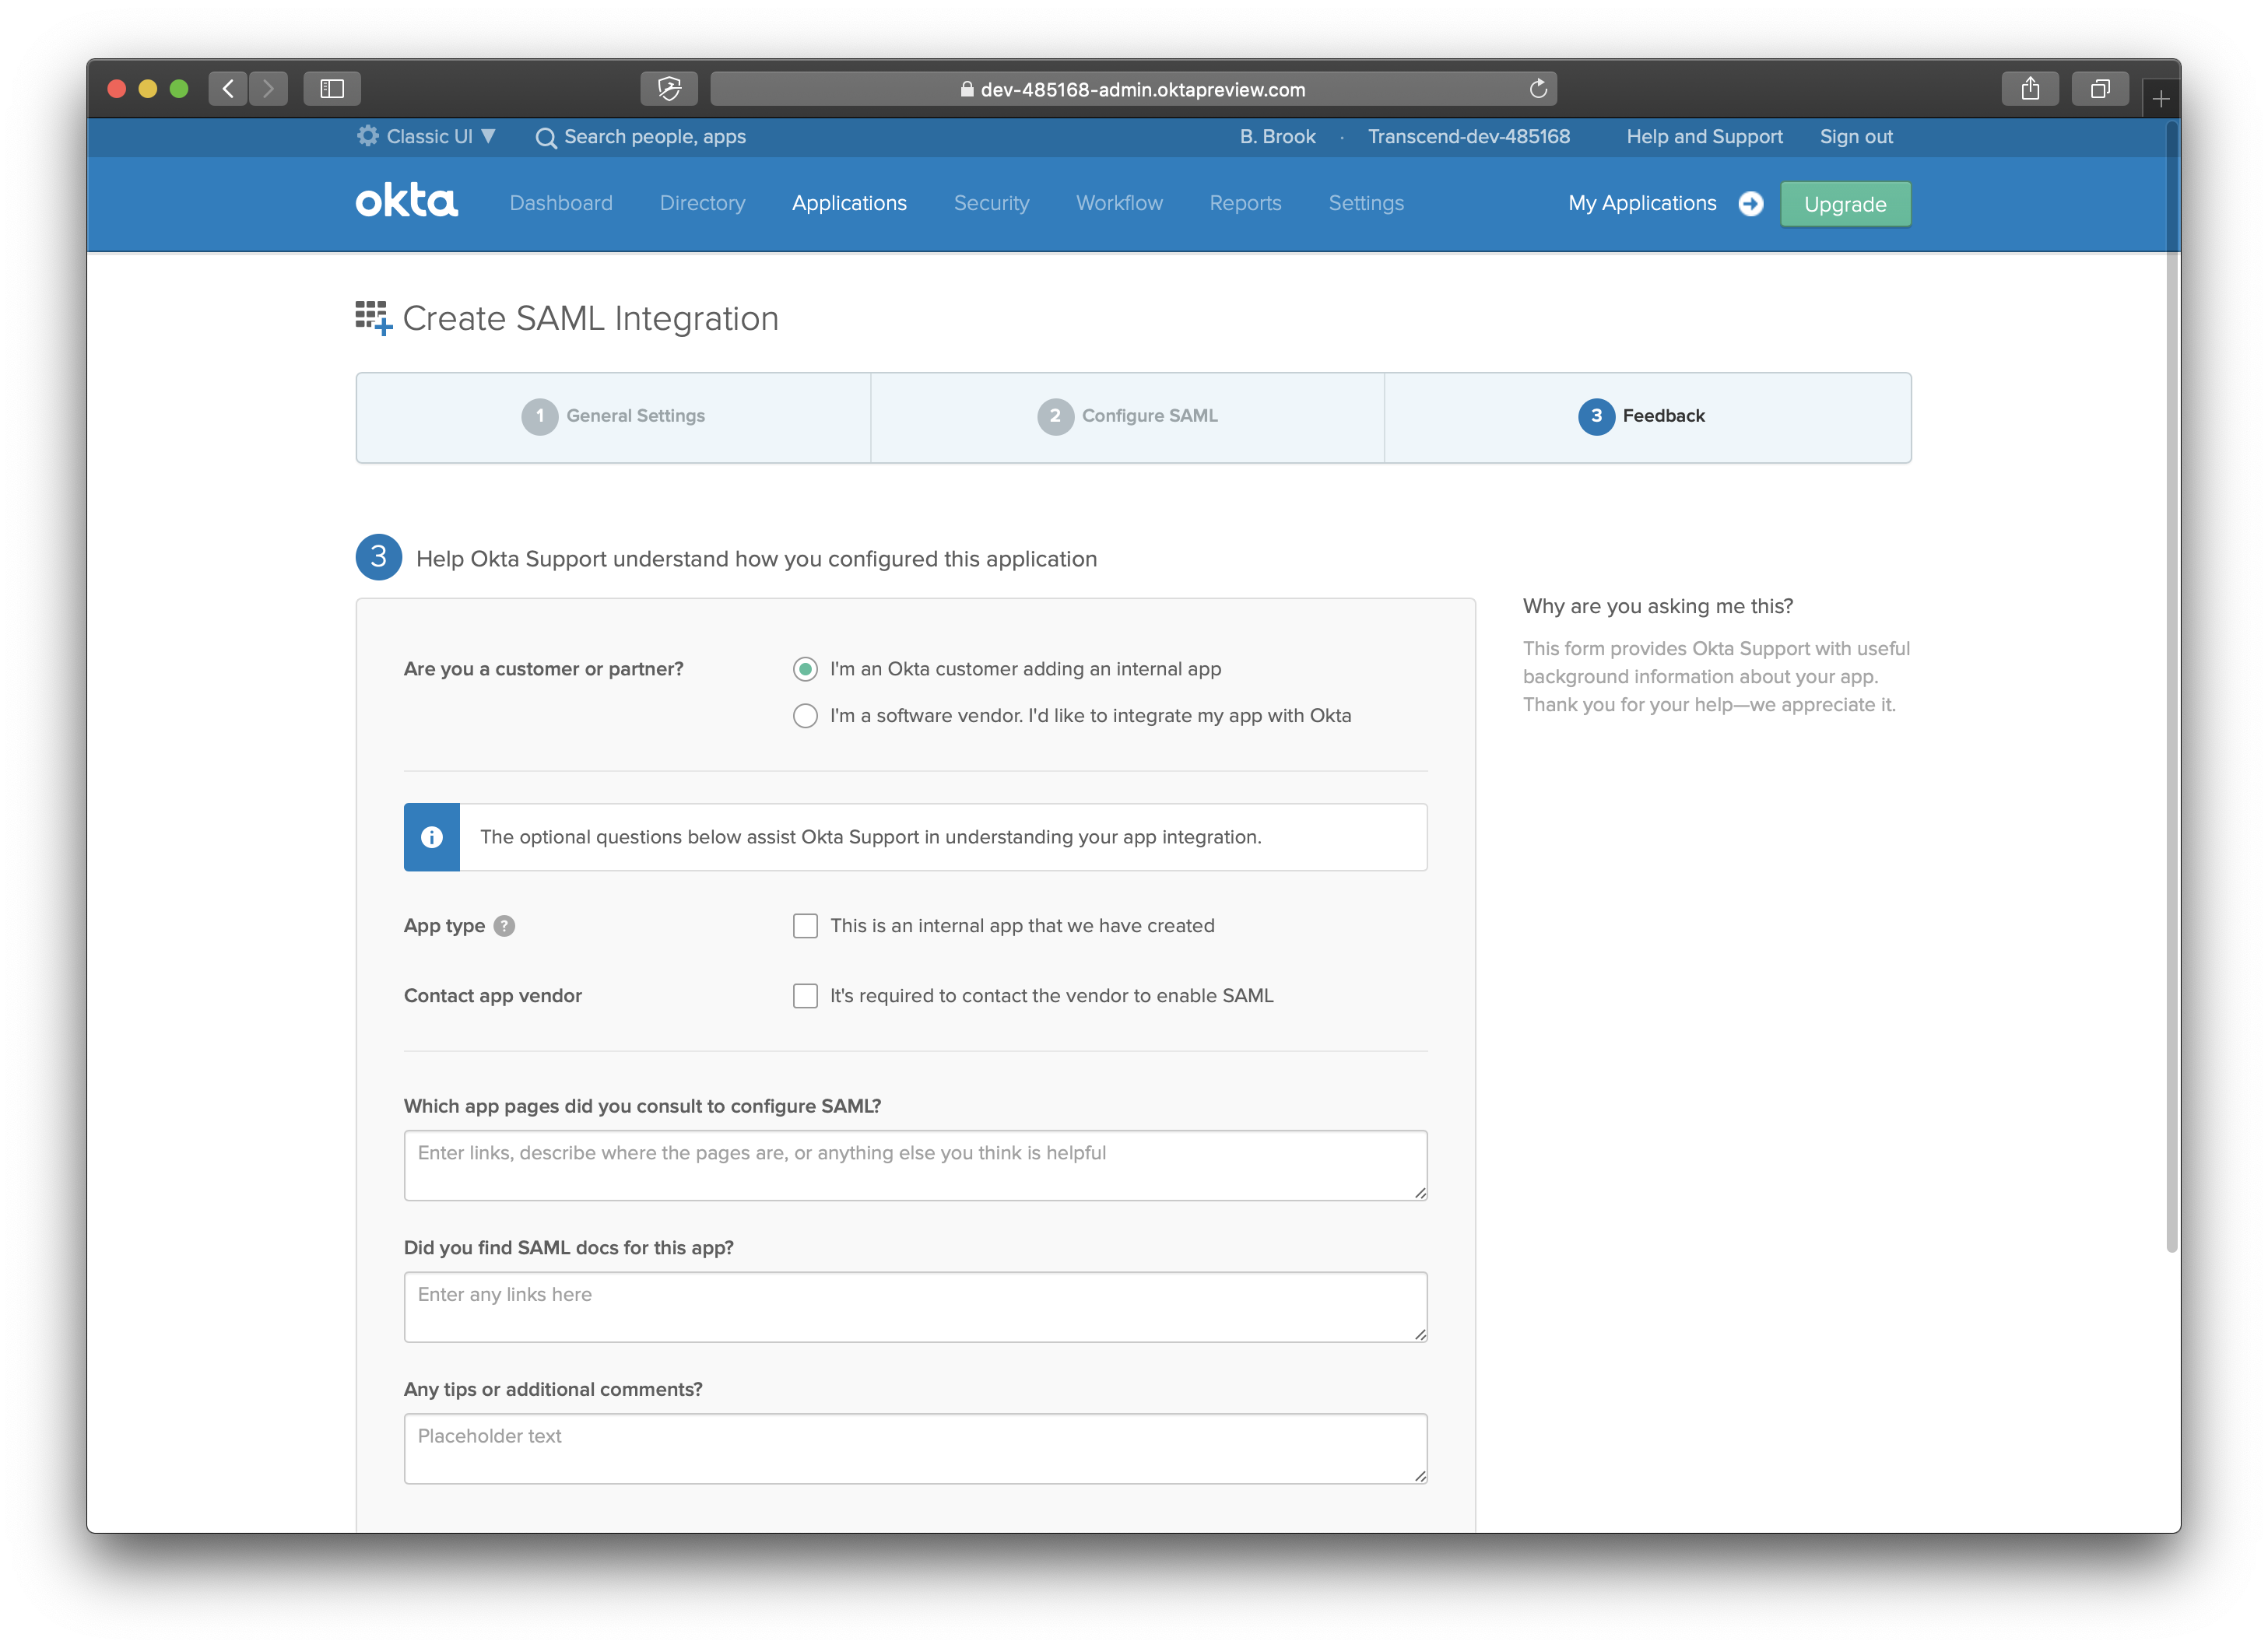
Select "I'm an Okta customer adding an internal app" and click Finish.
-
You should be redirected to the Sign On tab. Click View Setup Instructions. Copy this information into Transcend on the Settings / SSO tab on the Admin Dashboard. This info is your:
- Identity Provider Single Sign-On URL
- Identity Provider Issuer
- X.509 Certificate