Configuring Custom Purposes for Preference Management
This guide and associated functionalities are dependent on airgap.js being installed and configured on your website(s).
If you have not integrated with airgap.js yet, you can do so by following Transcend Consent Management documentation.
Check out the Full Stack Consent Management to see backend integration options. The recommended solution is to use Transcend Preference Management to store consent preferences.
Your backend server would generate the token that identifies the user:
// When a user has authenticated
const consentToken = createConsentToken(
  userId,
  base64EncryptionKey,
  base64SigningKey,
);
Then the that token would be passed to airgap on the client side:
// Authenticate the user to airgap, and sync their consent with Transcend Preference Management
airgap.sync({ auth: consentToken });
If you decide to use your own backend, you can listen to consent changes events using the following:
// Listen for consent change events
airgap.addEventListener(
  'consent-change',
  ({ detail: { consent, oldConsent, changes } }) => {
    // Read consent data and act accordingly
  },
);
and you can set consent preferences using:
airgap.setConsent(auth, { SaleOfInfo: true, CustomPurpose: false });Depending on your case, you may need to create a new custom purpose, such as PushNotifications AlwaysBlock or SNAPCollection, etc.
You can do so by heading towards the Consent Management -> Regional Experiences -> Purposes.
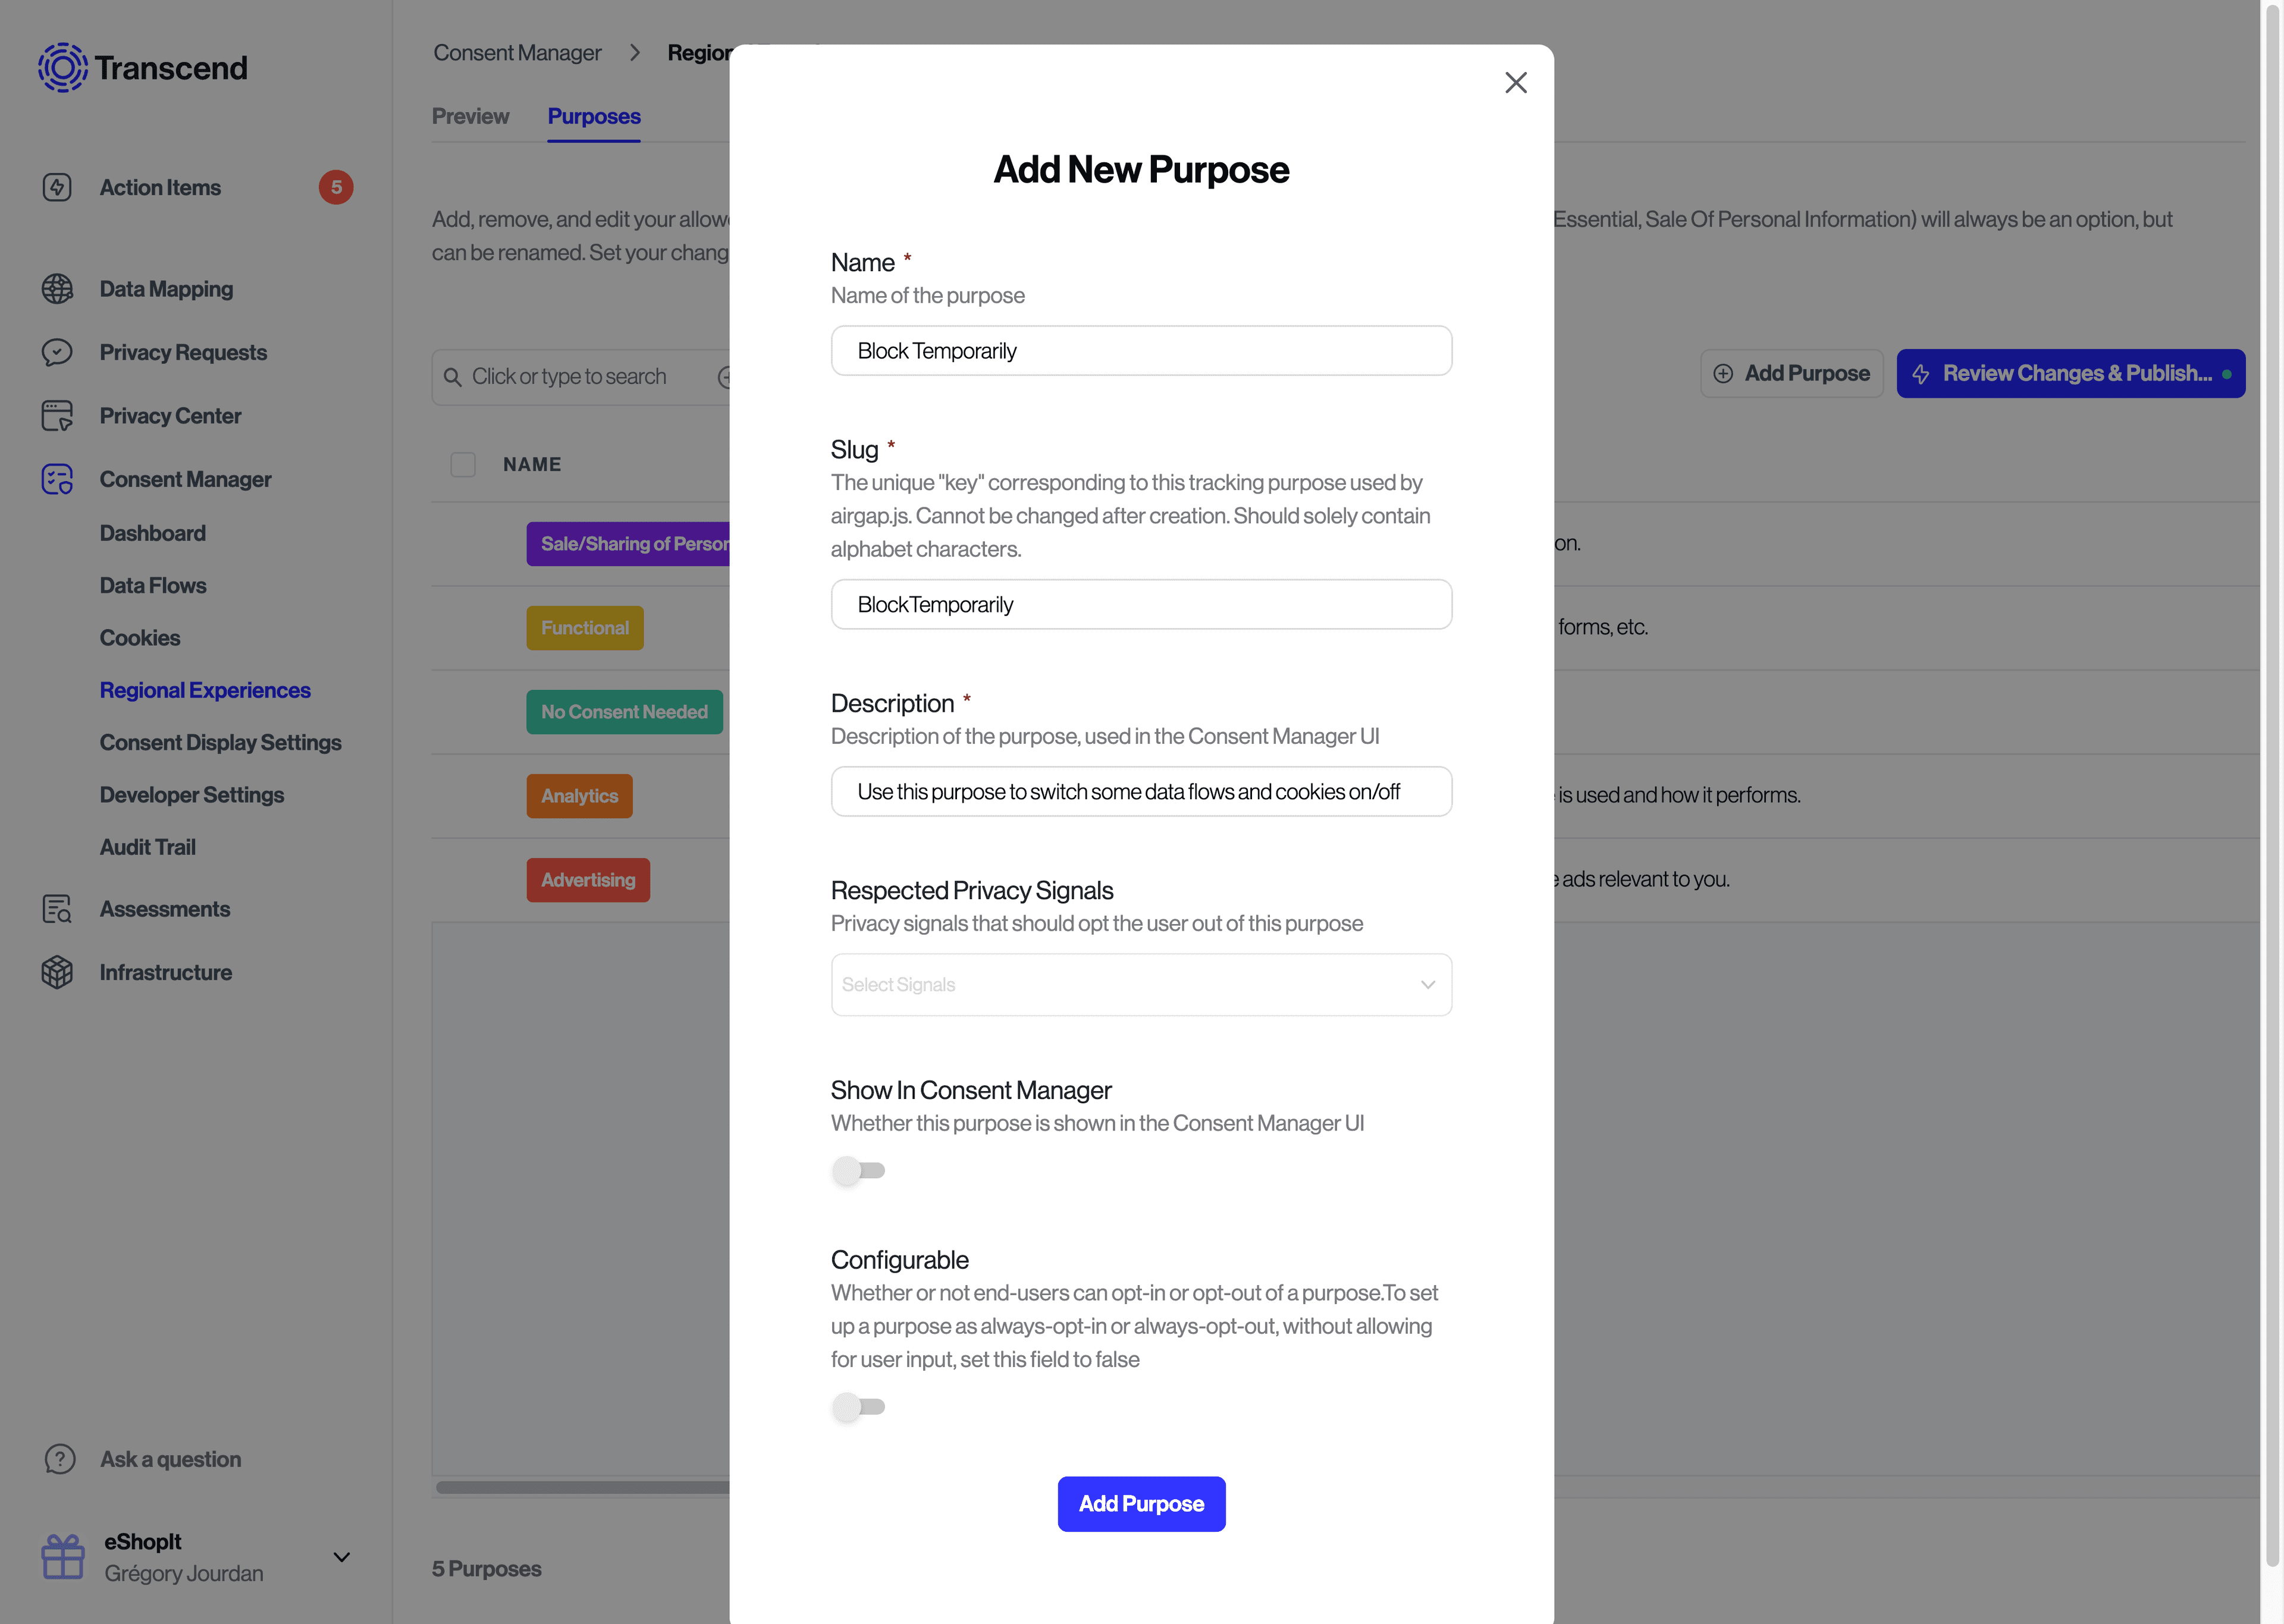
When creating a custom purpose, configure the following parameters:
Name: full name for your new purpose.Slug: internal name for the purpose. Should only contain letters and cannot be changed after creation. This is what will be used inairgap.getConsent()andairgap.setConsent()Description: explicit definition for your purpose, which will be used in the Consent UI if applicable.Respected Privacy Signals: if known privacy signals (GPC, DNT) should cause this purpose to be opted out for the corresponding user.Show in consent manager: if you would like users to be asked to opt in or out of this purpose. Some custom purposes might be for internal use only and don't need to be exposed to end users. This cannot be set toTrueif Configurable isFalseas a non-configurable purpose should not show in consent UI.Configurable: similarly to the parameter below, if your purpose is for internal use only (or for any other reason), you may decide for its value to be set once and never modified. Note that a purpose that does not show in UI can still be modified with code, if Configurable isTrue.
Once your custom purpose is created, update corresponding Regional Experiences in your Consent dashboard to put in restrictions on where these preferences can be customized. For example, you may want to add a SensitiveInformation purpose that is only available in Virginia.
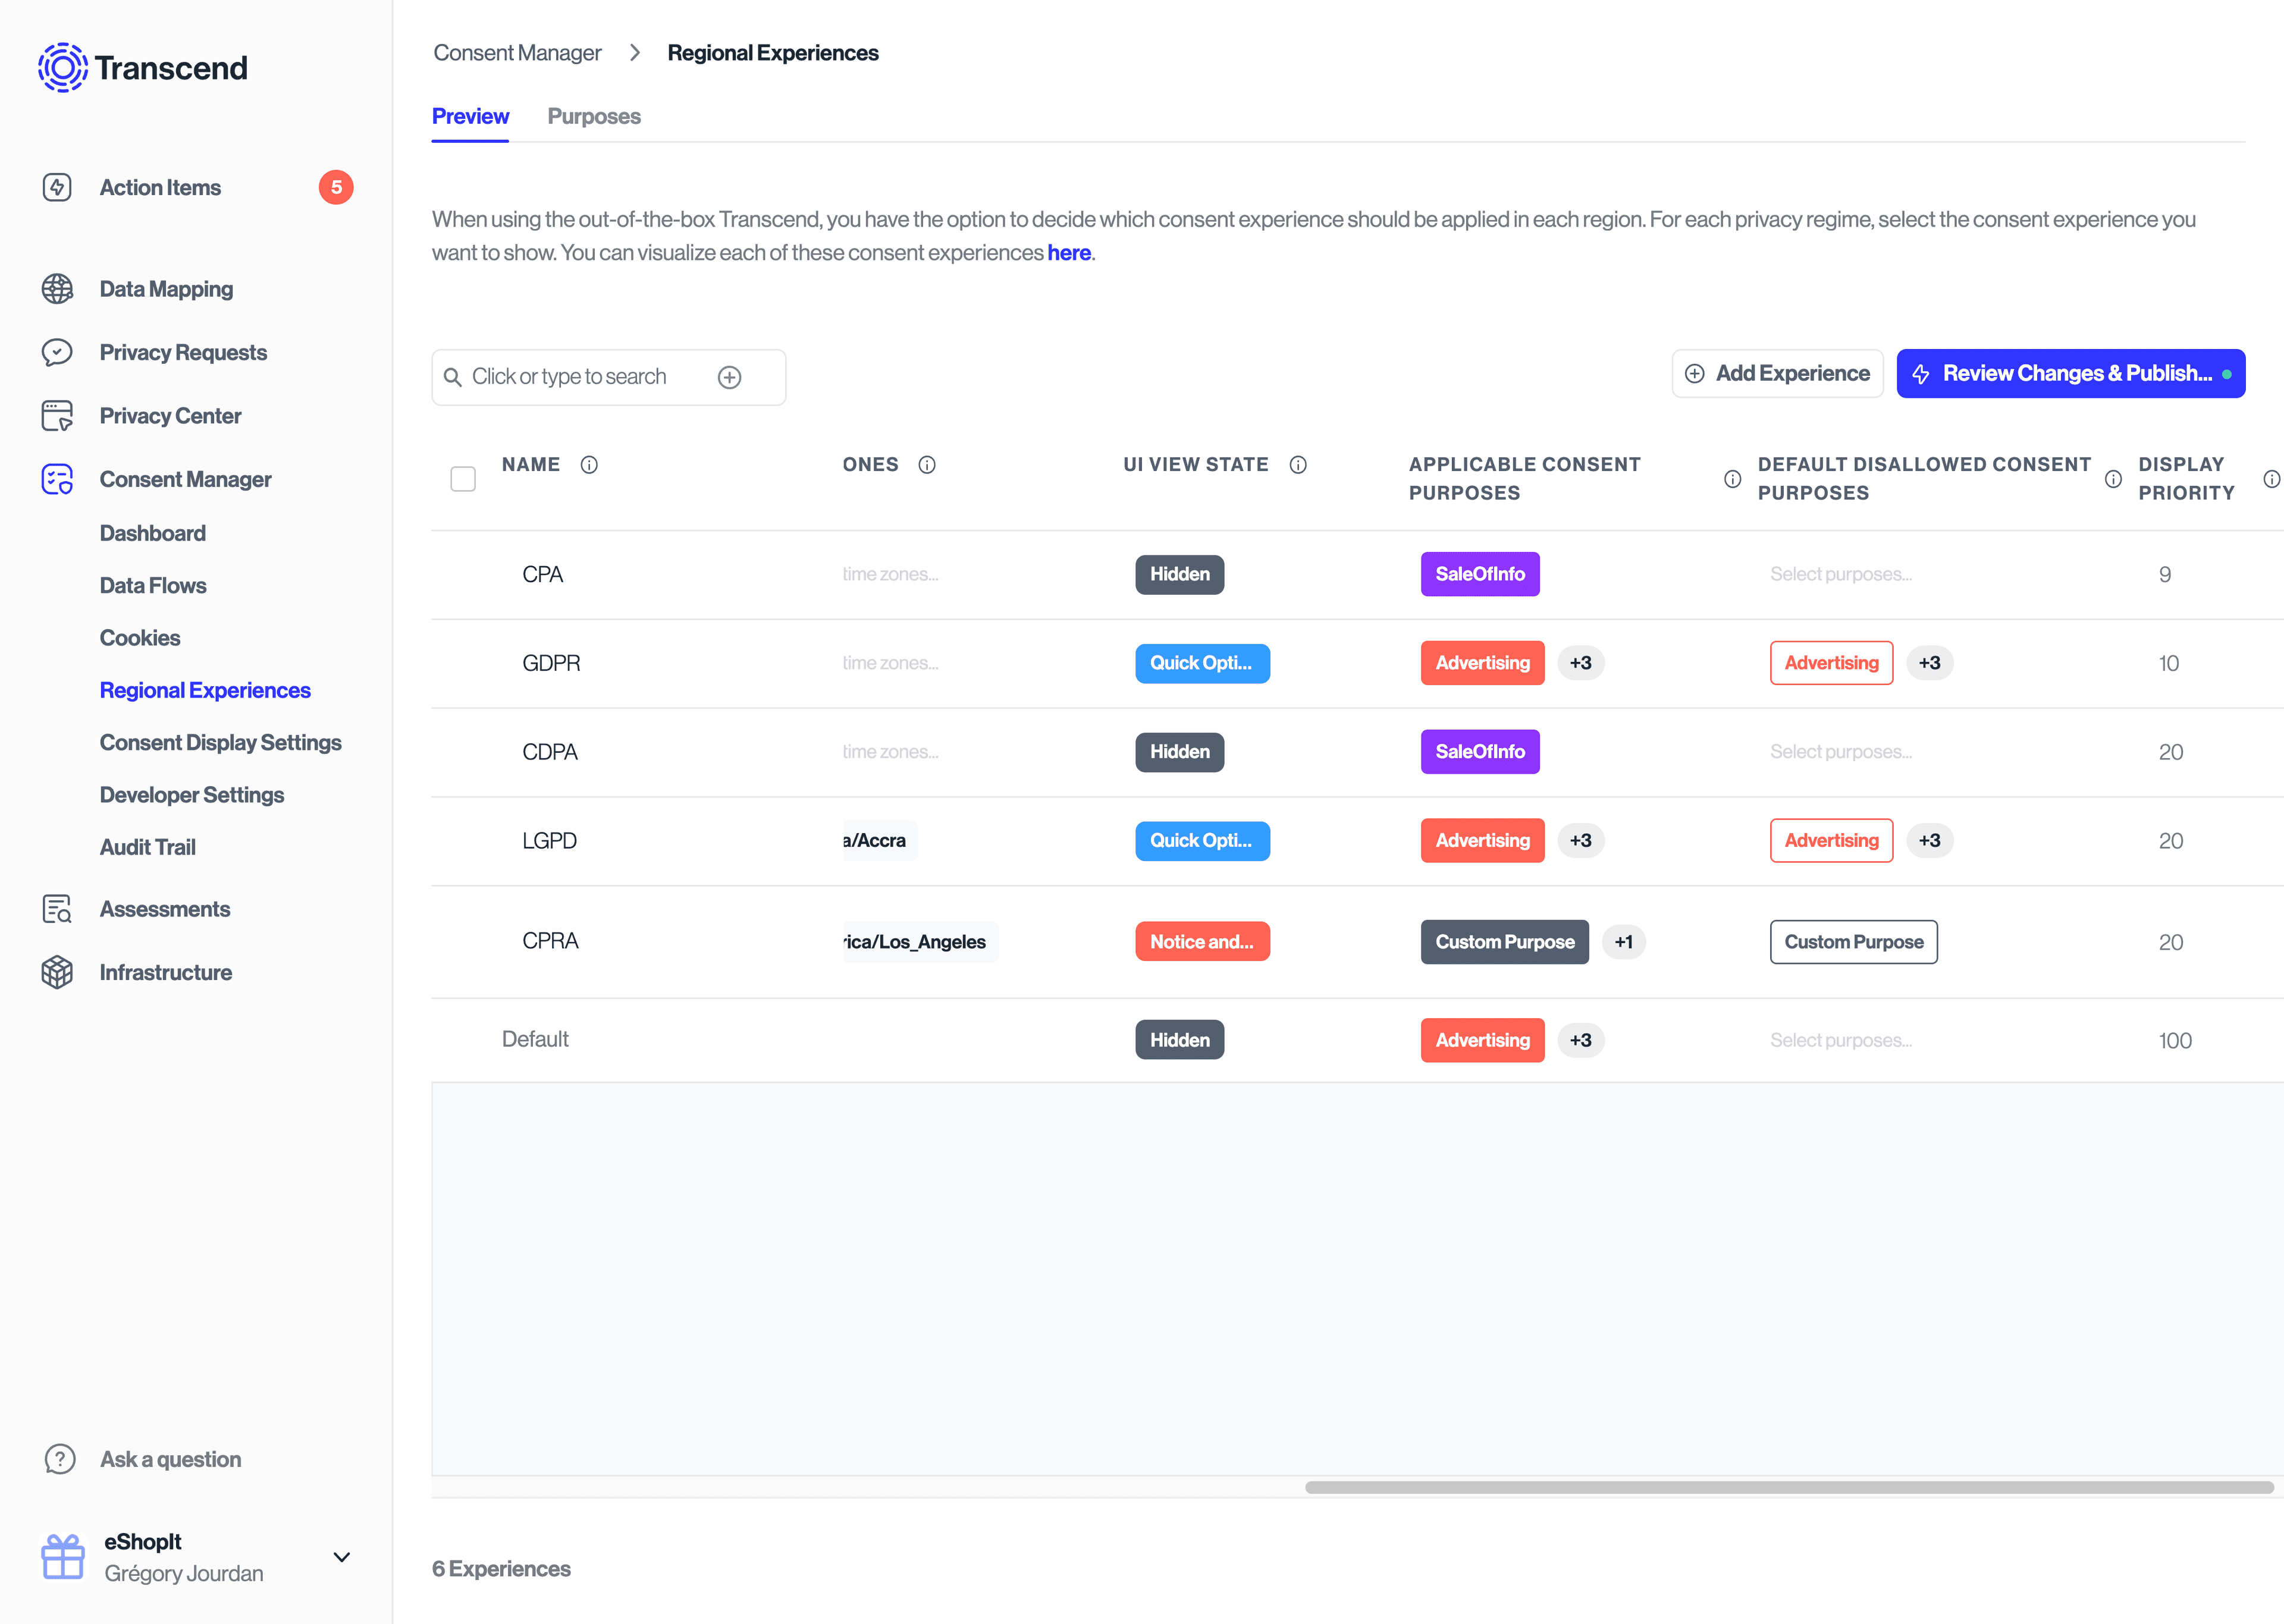
If you want the purpose to be available globally, you'll want to add the purpose to every experience. If you want the purpose to be opted out by default, you'll want to make sure you add the purpose to both the APPLICABLE CONSENT PURPOSES and DEFAULT DISALLOWED CONSENT PURPOSES columns.
If your custom purpose was set as Configurable in the previous steps, user consent can be collected a few different ways.
- Use the
CompleteOptionsview state. This view state shows all consent purposes available in the current experience whereShow in consent manager=true
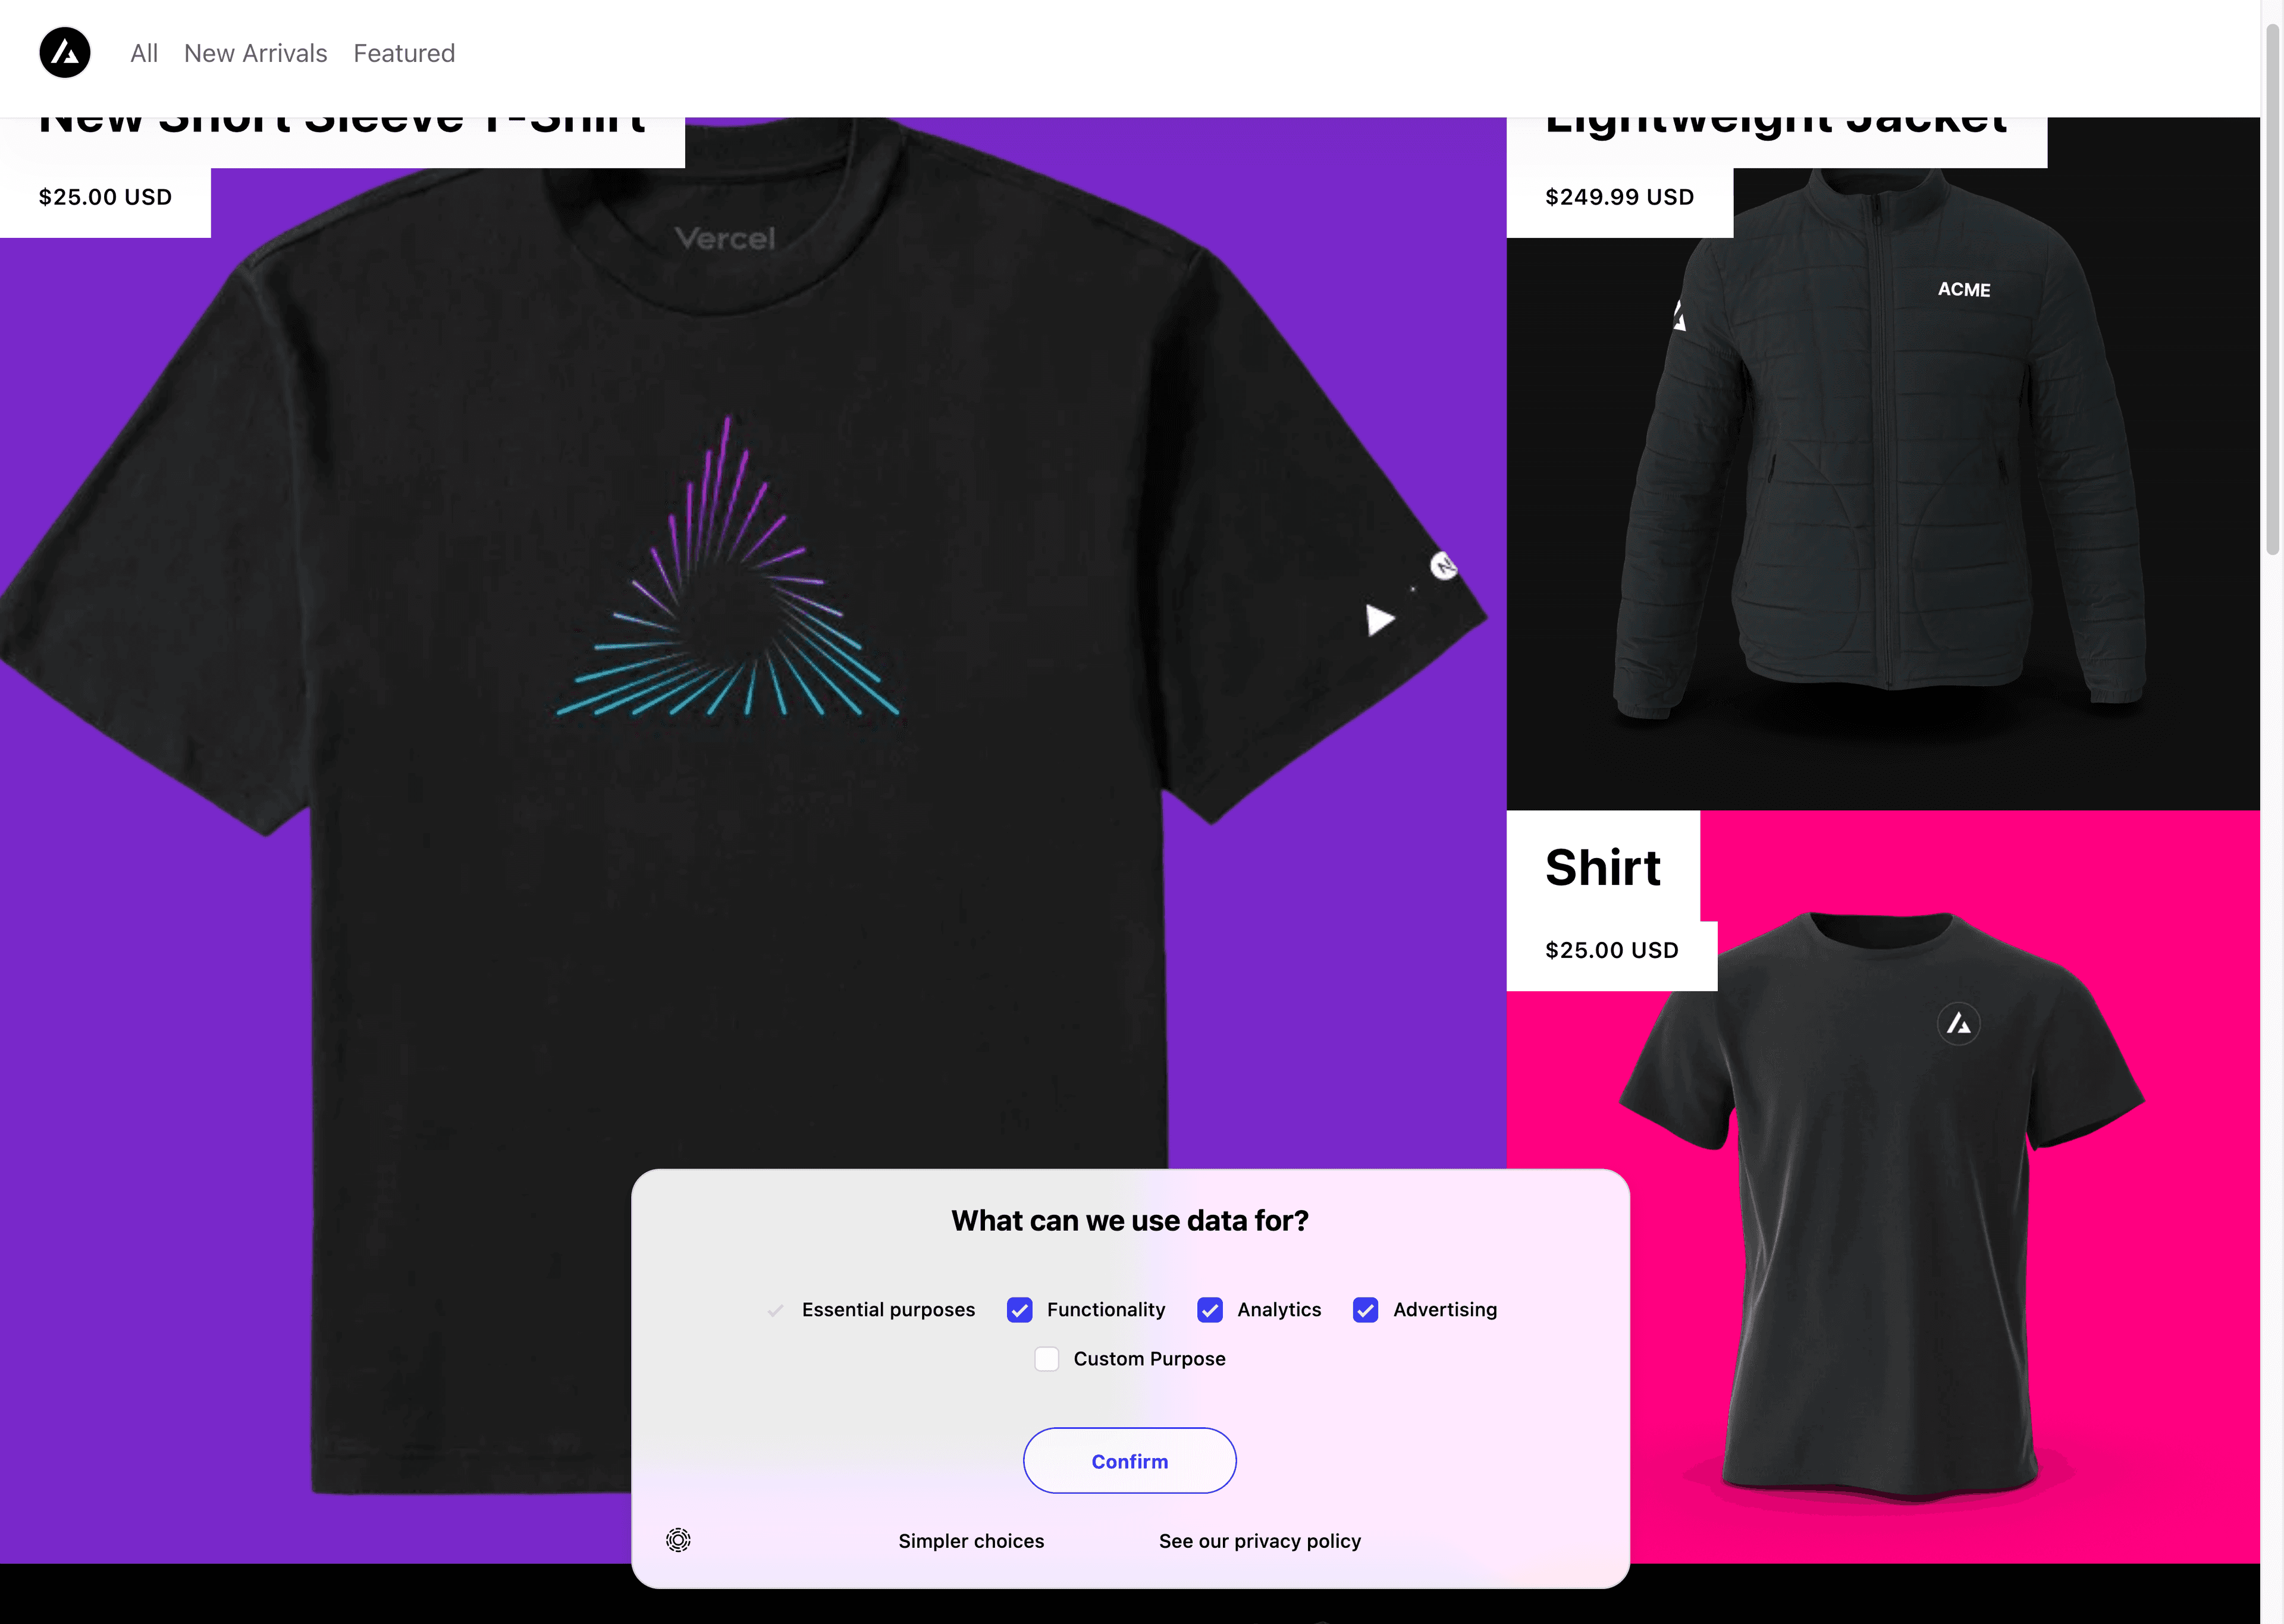
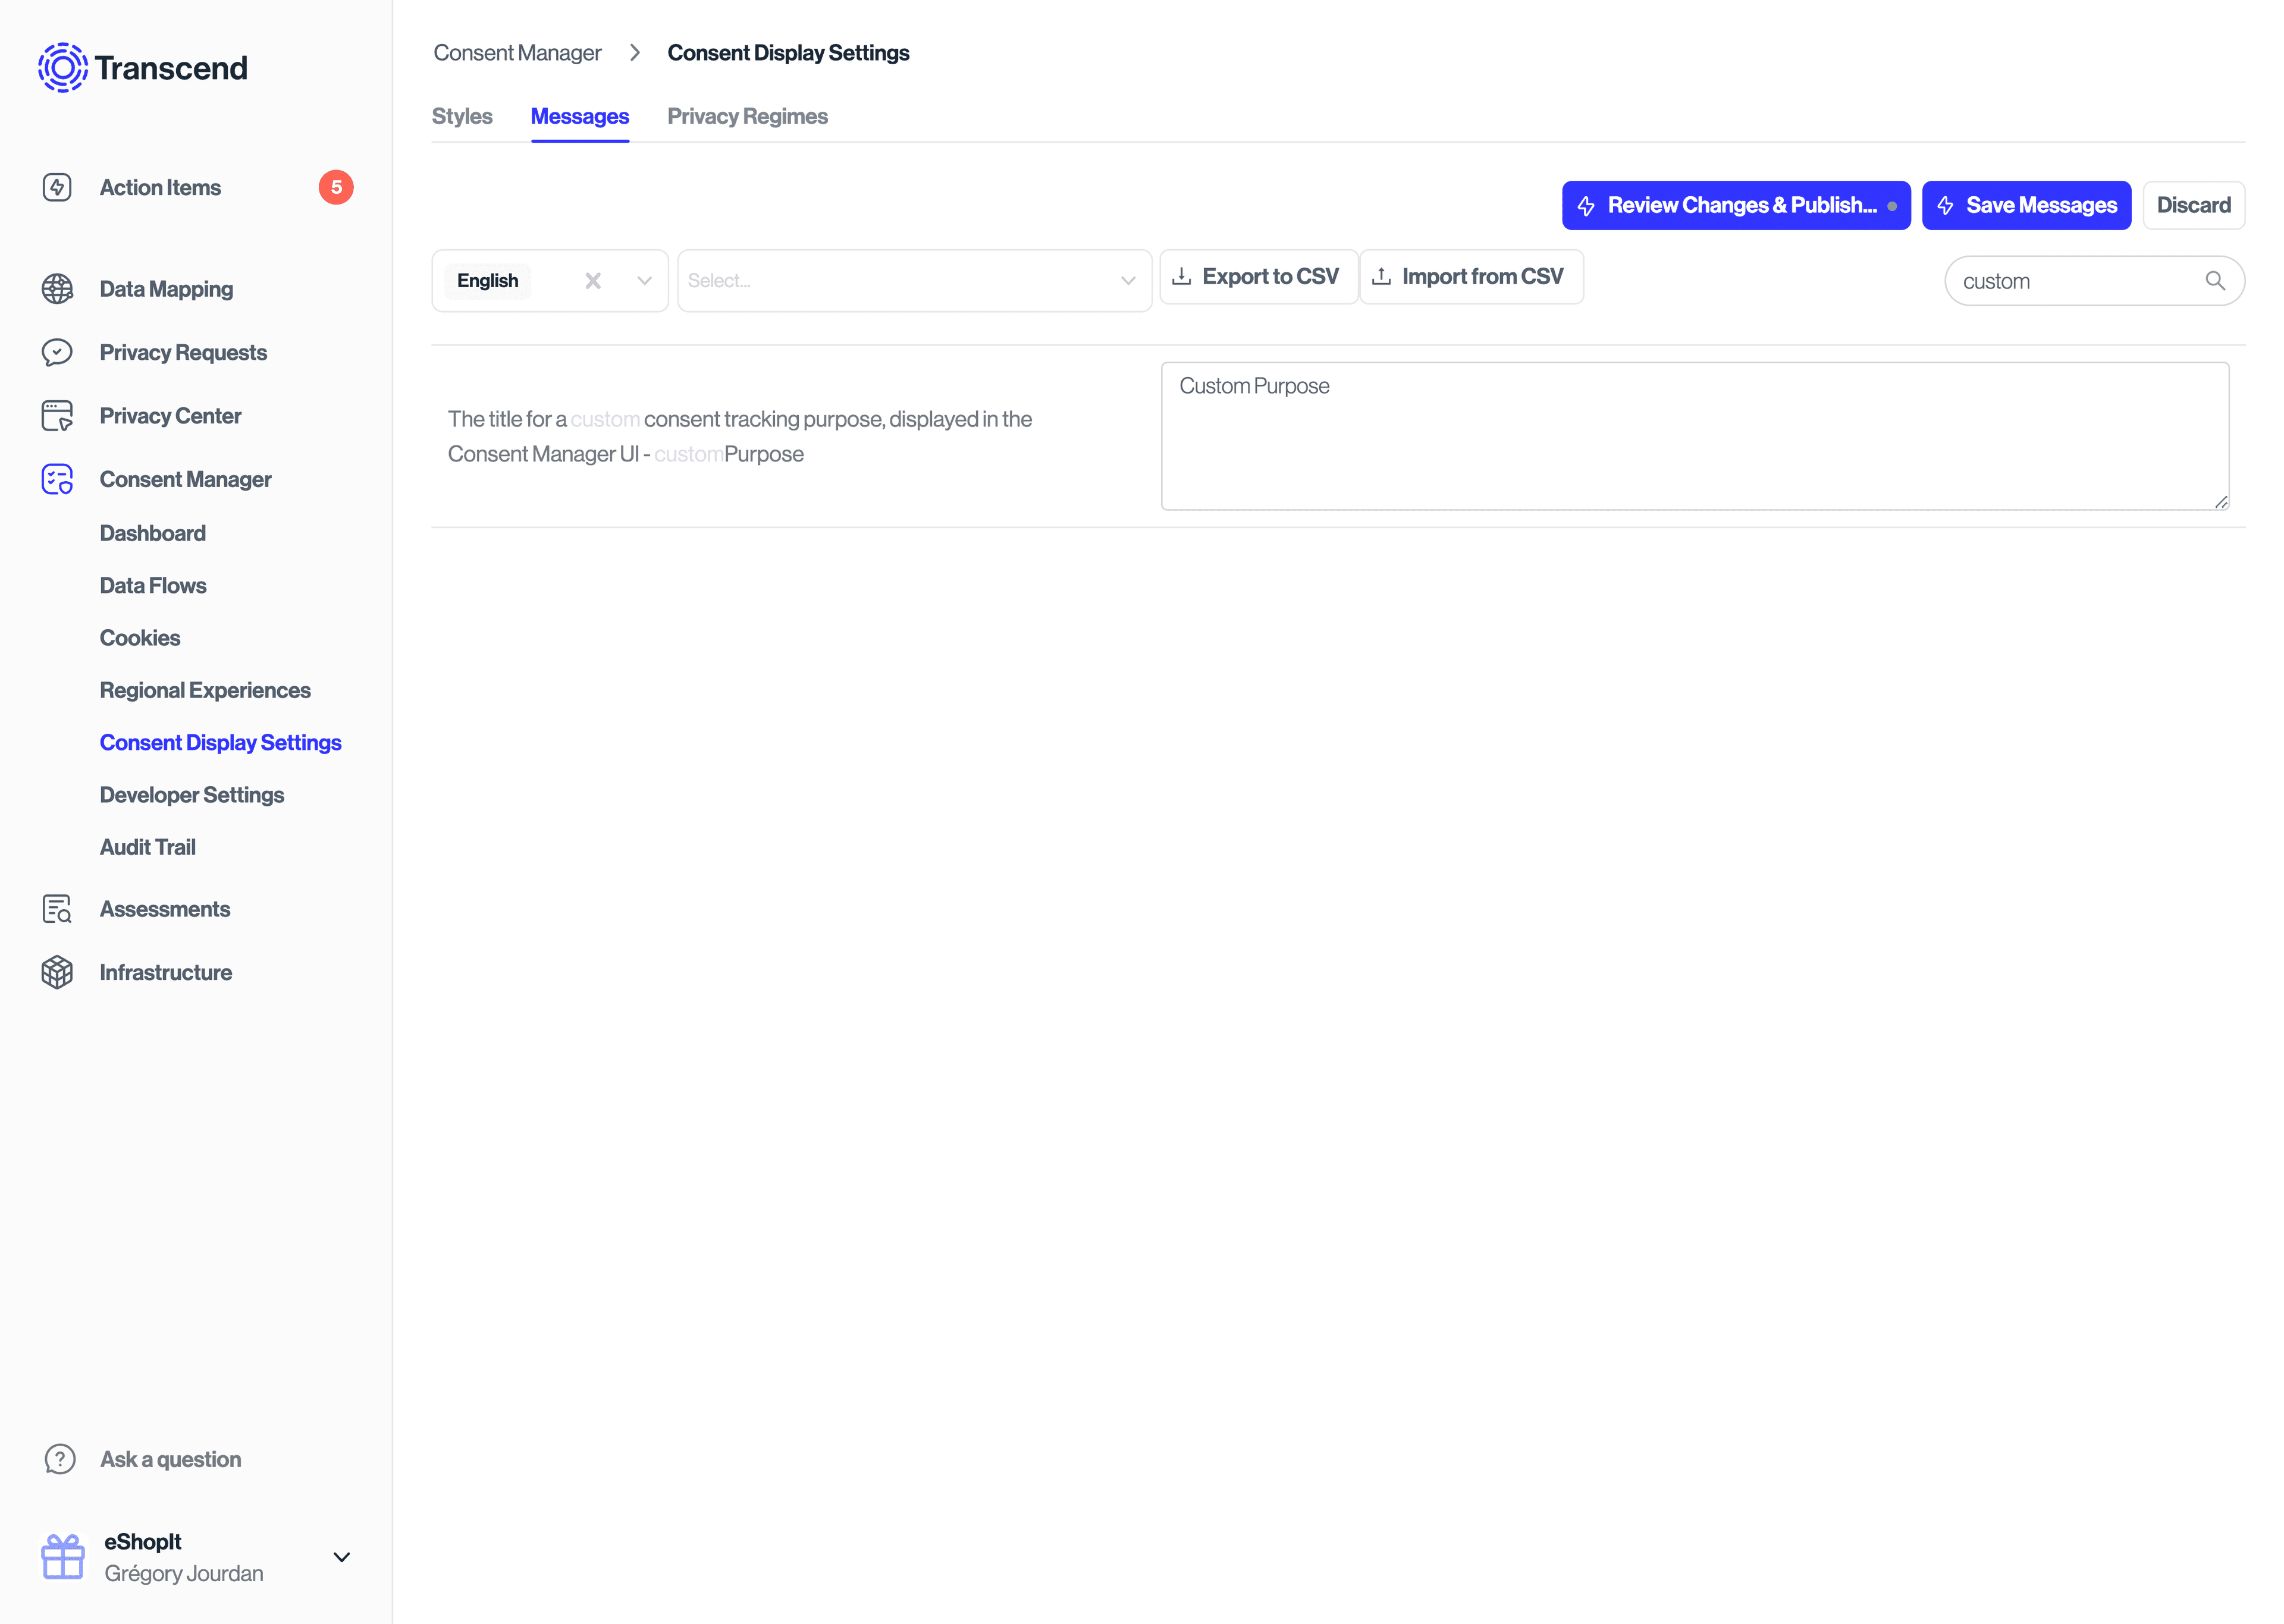
Remember that messages and button labels are customizable from the Consent Management -> Consent Display Settings -> Messages tab.
- Use the
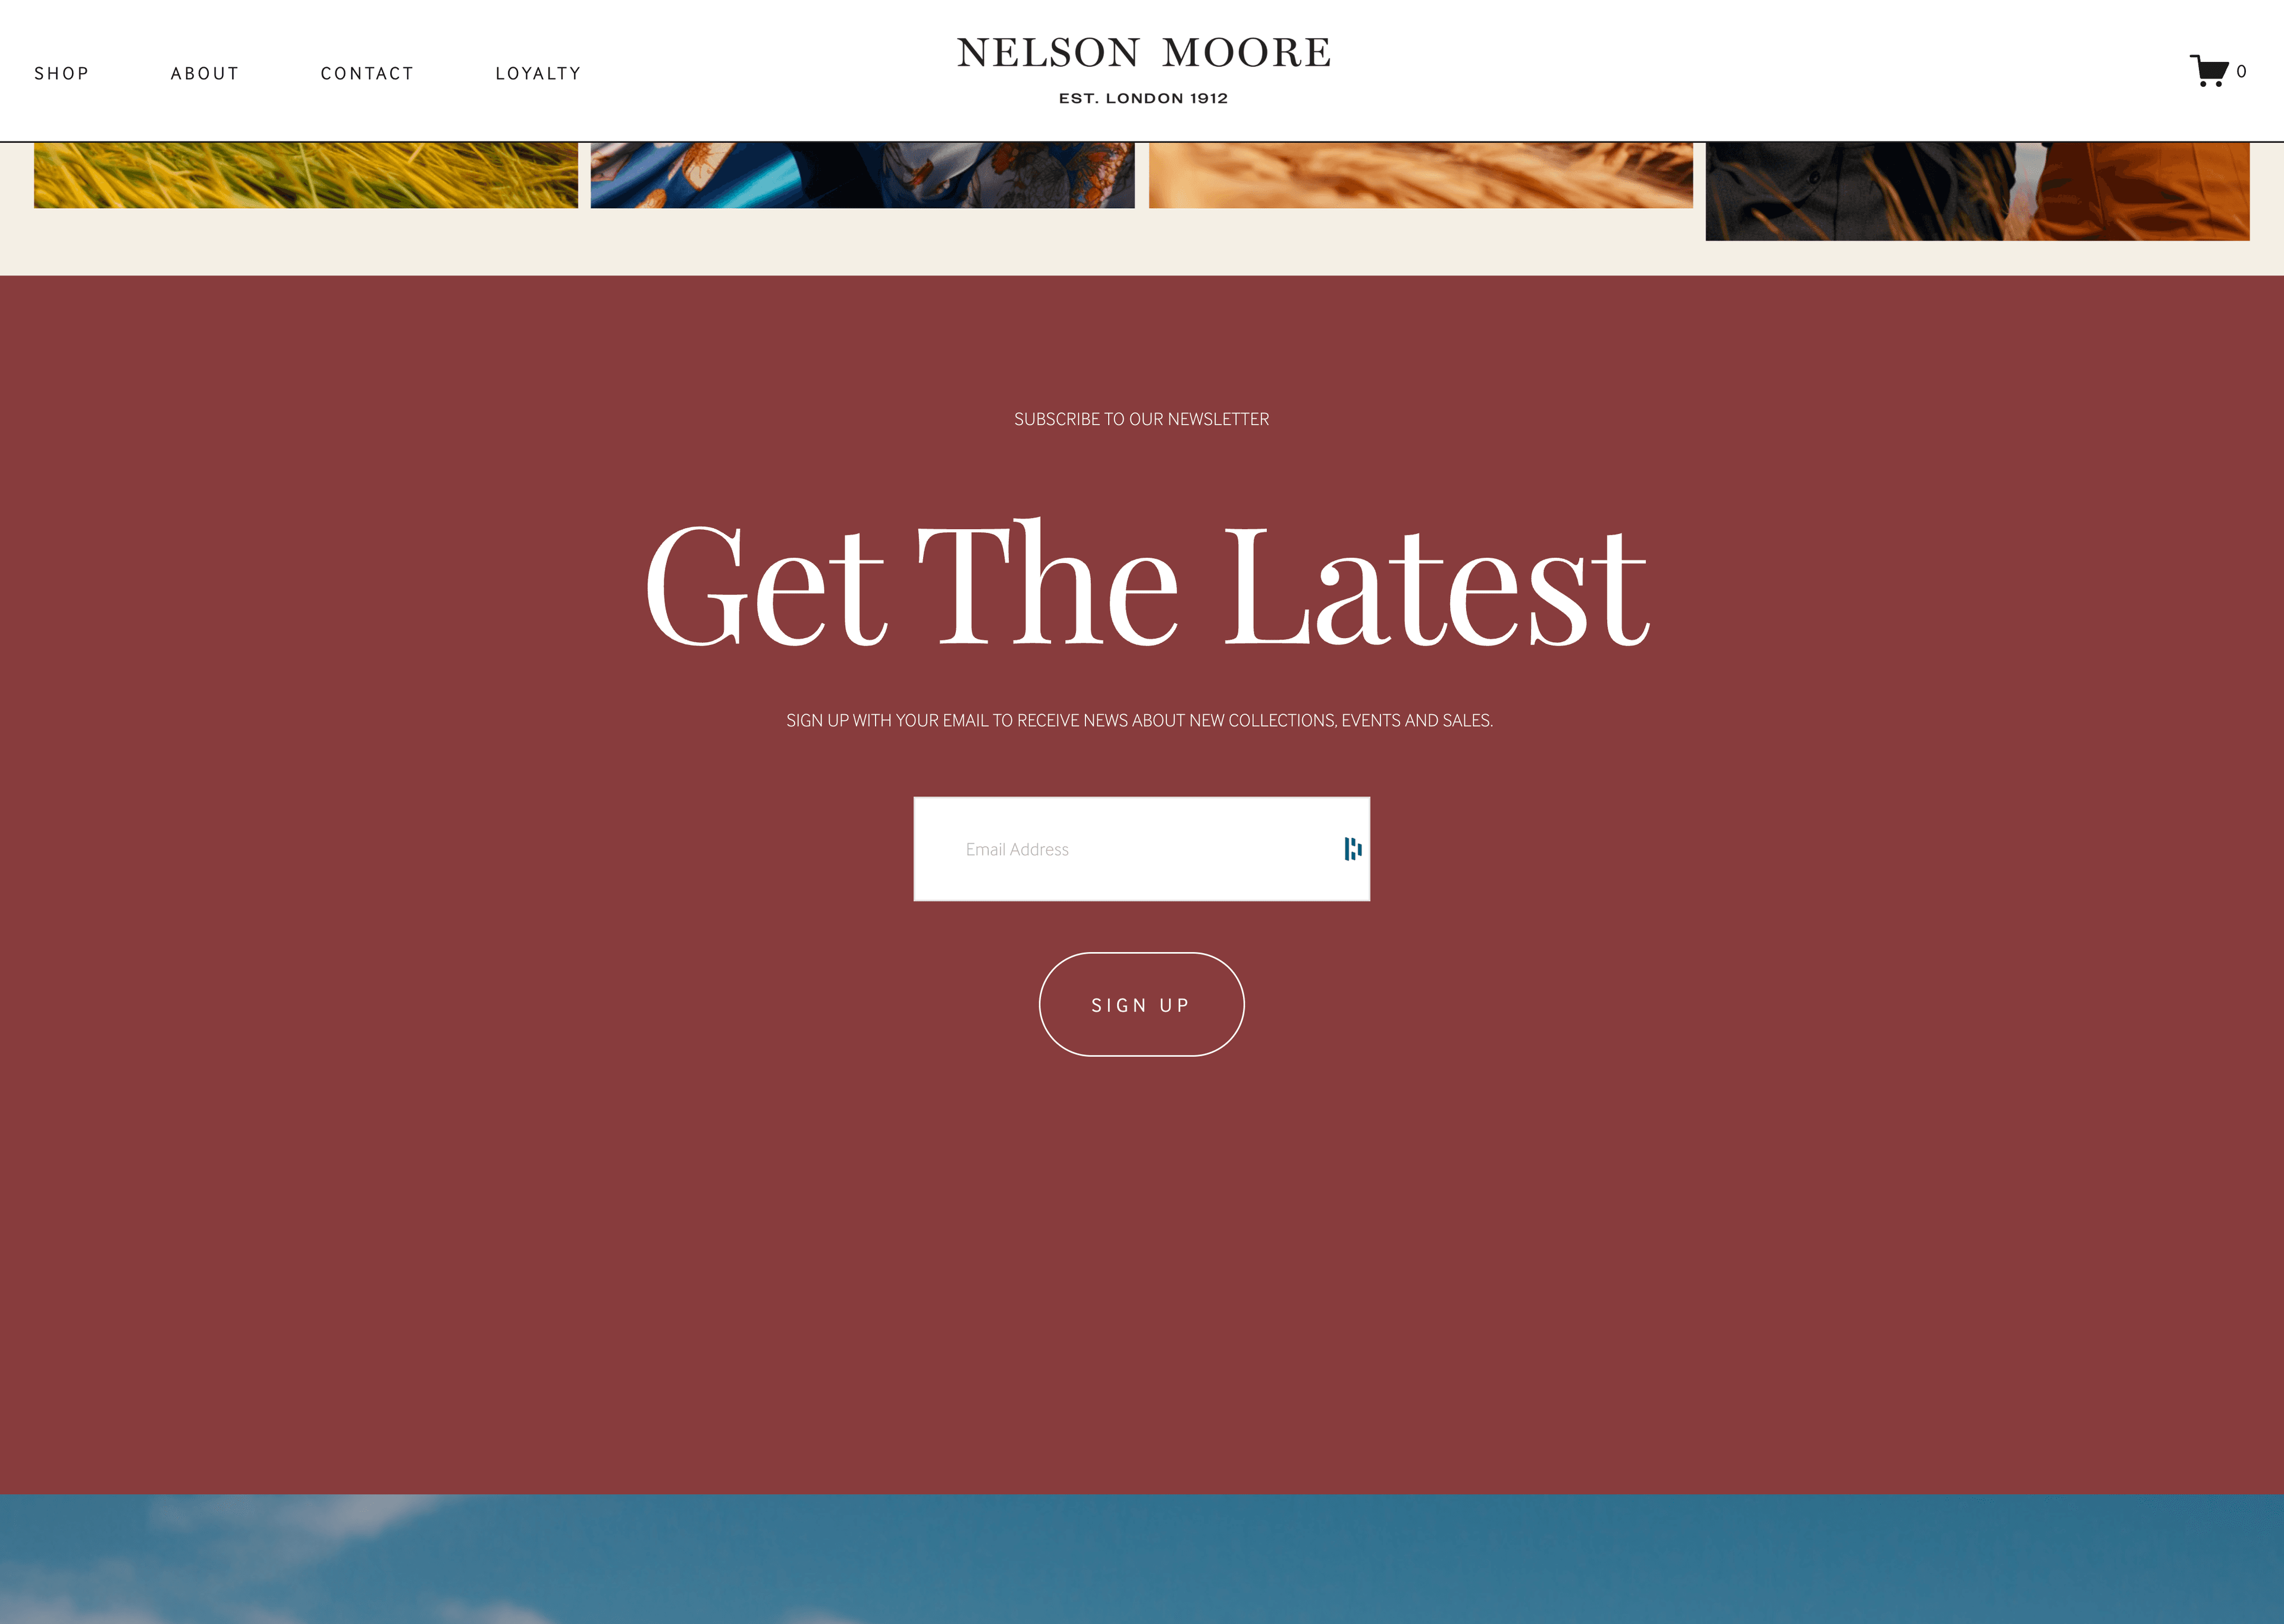
CompleteOptionsTogglesview state. This view state shows all consent purposes available in the current experience whereShow in consent manager=true - Custom form or alternate UI on your website. If you want to control the flow of collecting user consent for your new purpose, you can integrate with airgap.js using the
airgap.getConsent()andairgap.setConsent()APIs.
If you need to persist the consent preference to other systems (e.g. unsubscribe a user in a Database or SaaS tool like Salesforce, Marketo, Segment), you may want to trigger a DSR on consent change event.
This can be done in a two ways:
- Make an explicit server-side API call to the DSR API:
- If you are using Transcend Preference Management, you can work with your dedicated solutions engineer to describe which workflows should be triggered when consent purposes change. As long as you call
airgap.sync({ auth: consentToken });, then any DSR workflow can be triggered on consent change.
