Partition Keys
Partitions allow you to divide your preference data into separate containers, creating multiple isolated preference datasets within a single Transcend instance. Think of partitions as separate preference databases, each serving a specific purpose but managed through the same interface.
Organizations typically use partitions for:
- Environment Separation: Keeping development, staging, and production environments separate
- Multi-Brand Management: Maintaining separate preference datasets for different brands under your organization
- Regional Compliance: Managing preferences differently across geographic regions with distinct regulatory requirements
- Business Unit Isolation: Separating preference data across different business units or product lines
Each partition has a unique partition key that identifies it within your Transcend instance. When you first set up Preference Management, you'll have one default partition with a key matching your Consent Manager bundle ID.
When users update preferences, the changes are stored in the specific partition they're interacting with. This means a user could have different preference settings across your different partitions (for example, different marketing preferences for each of your brands).
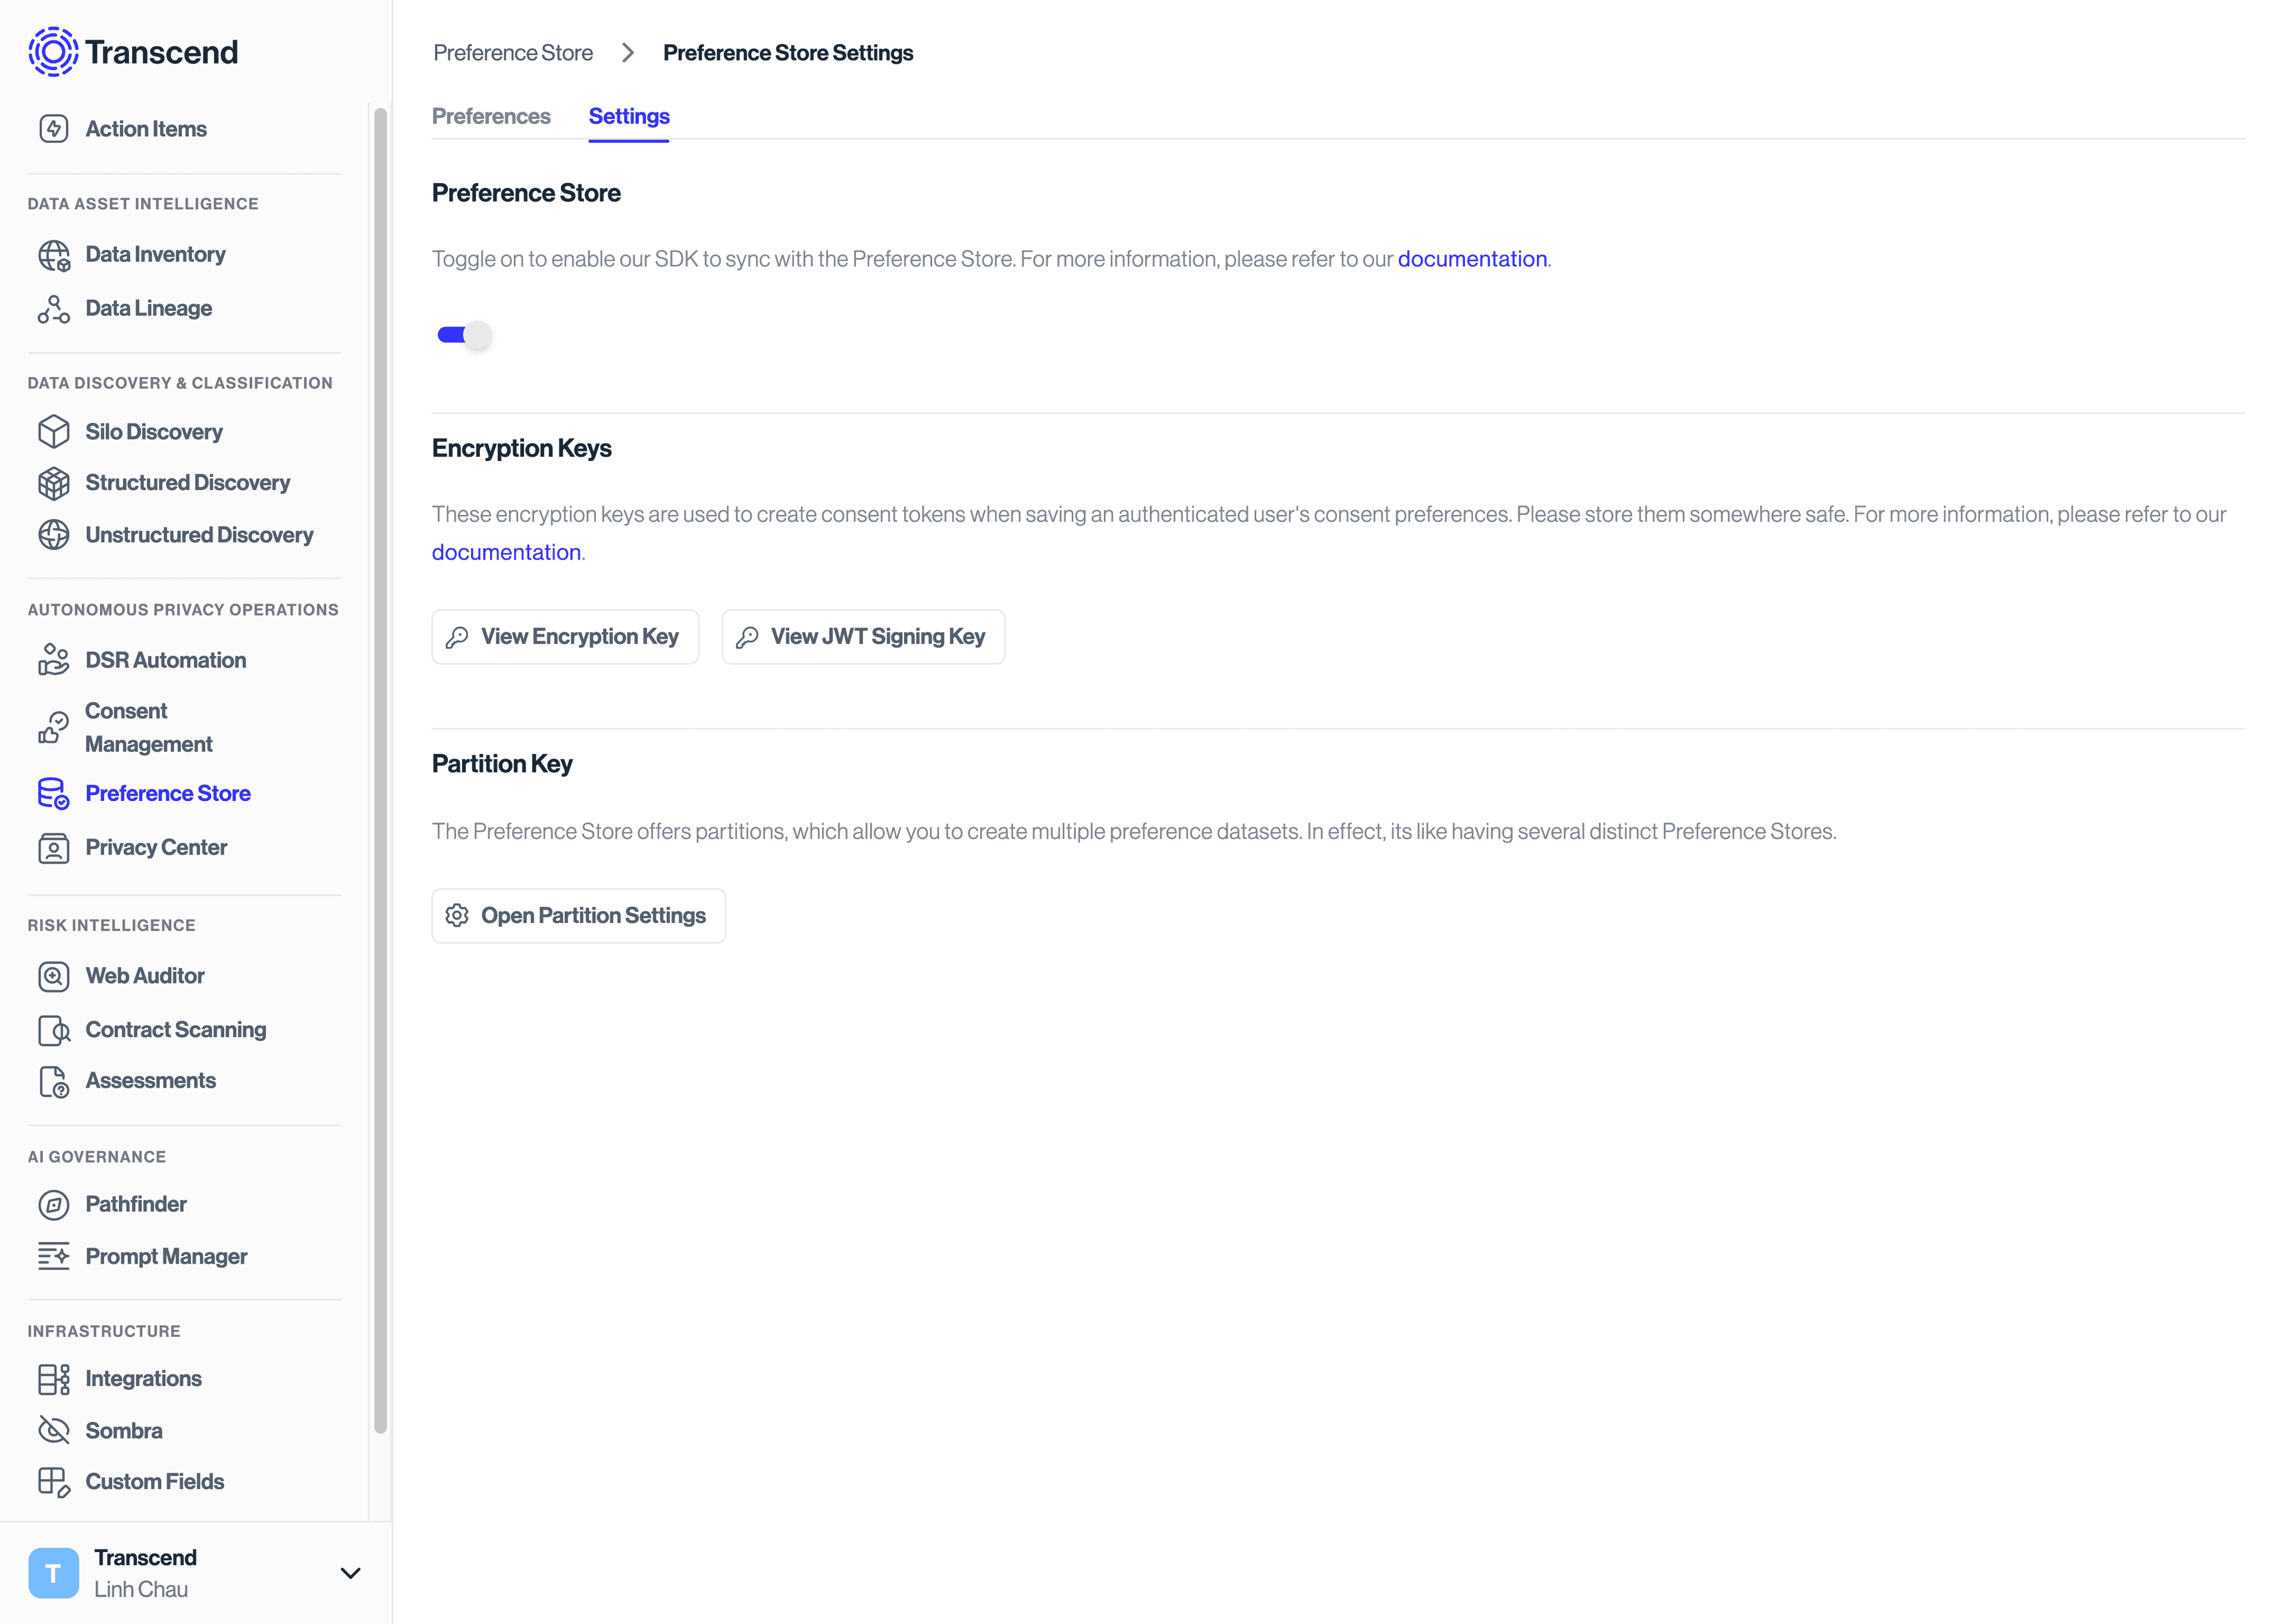
To view and manage your partitions:
- Go to the Preferences > Developer Settings page in the Admin Dashboard
- Click the Open Partition Settings button
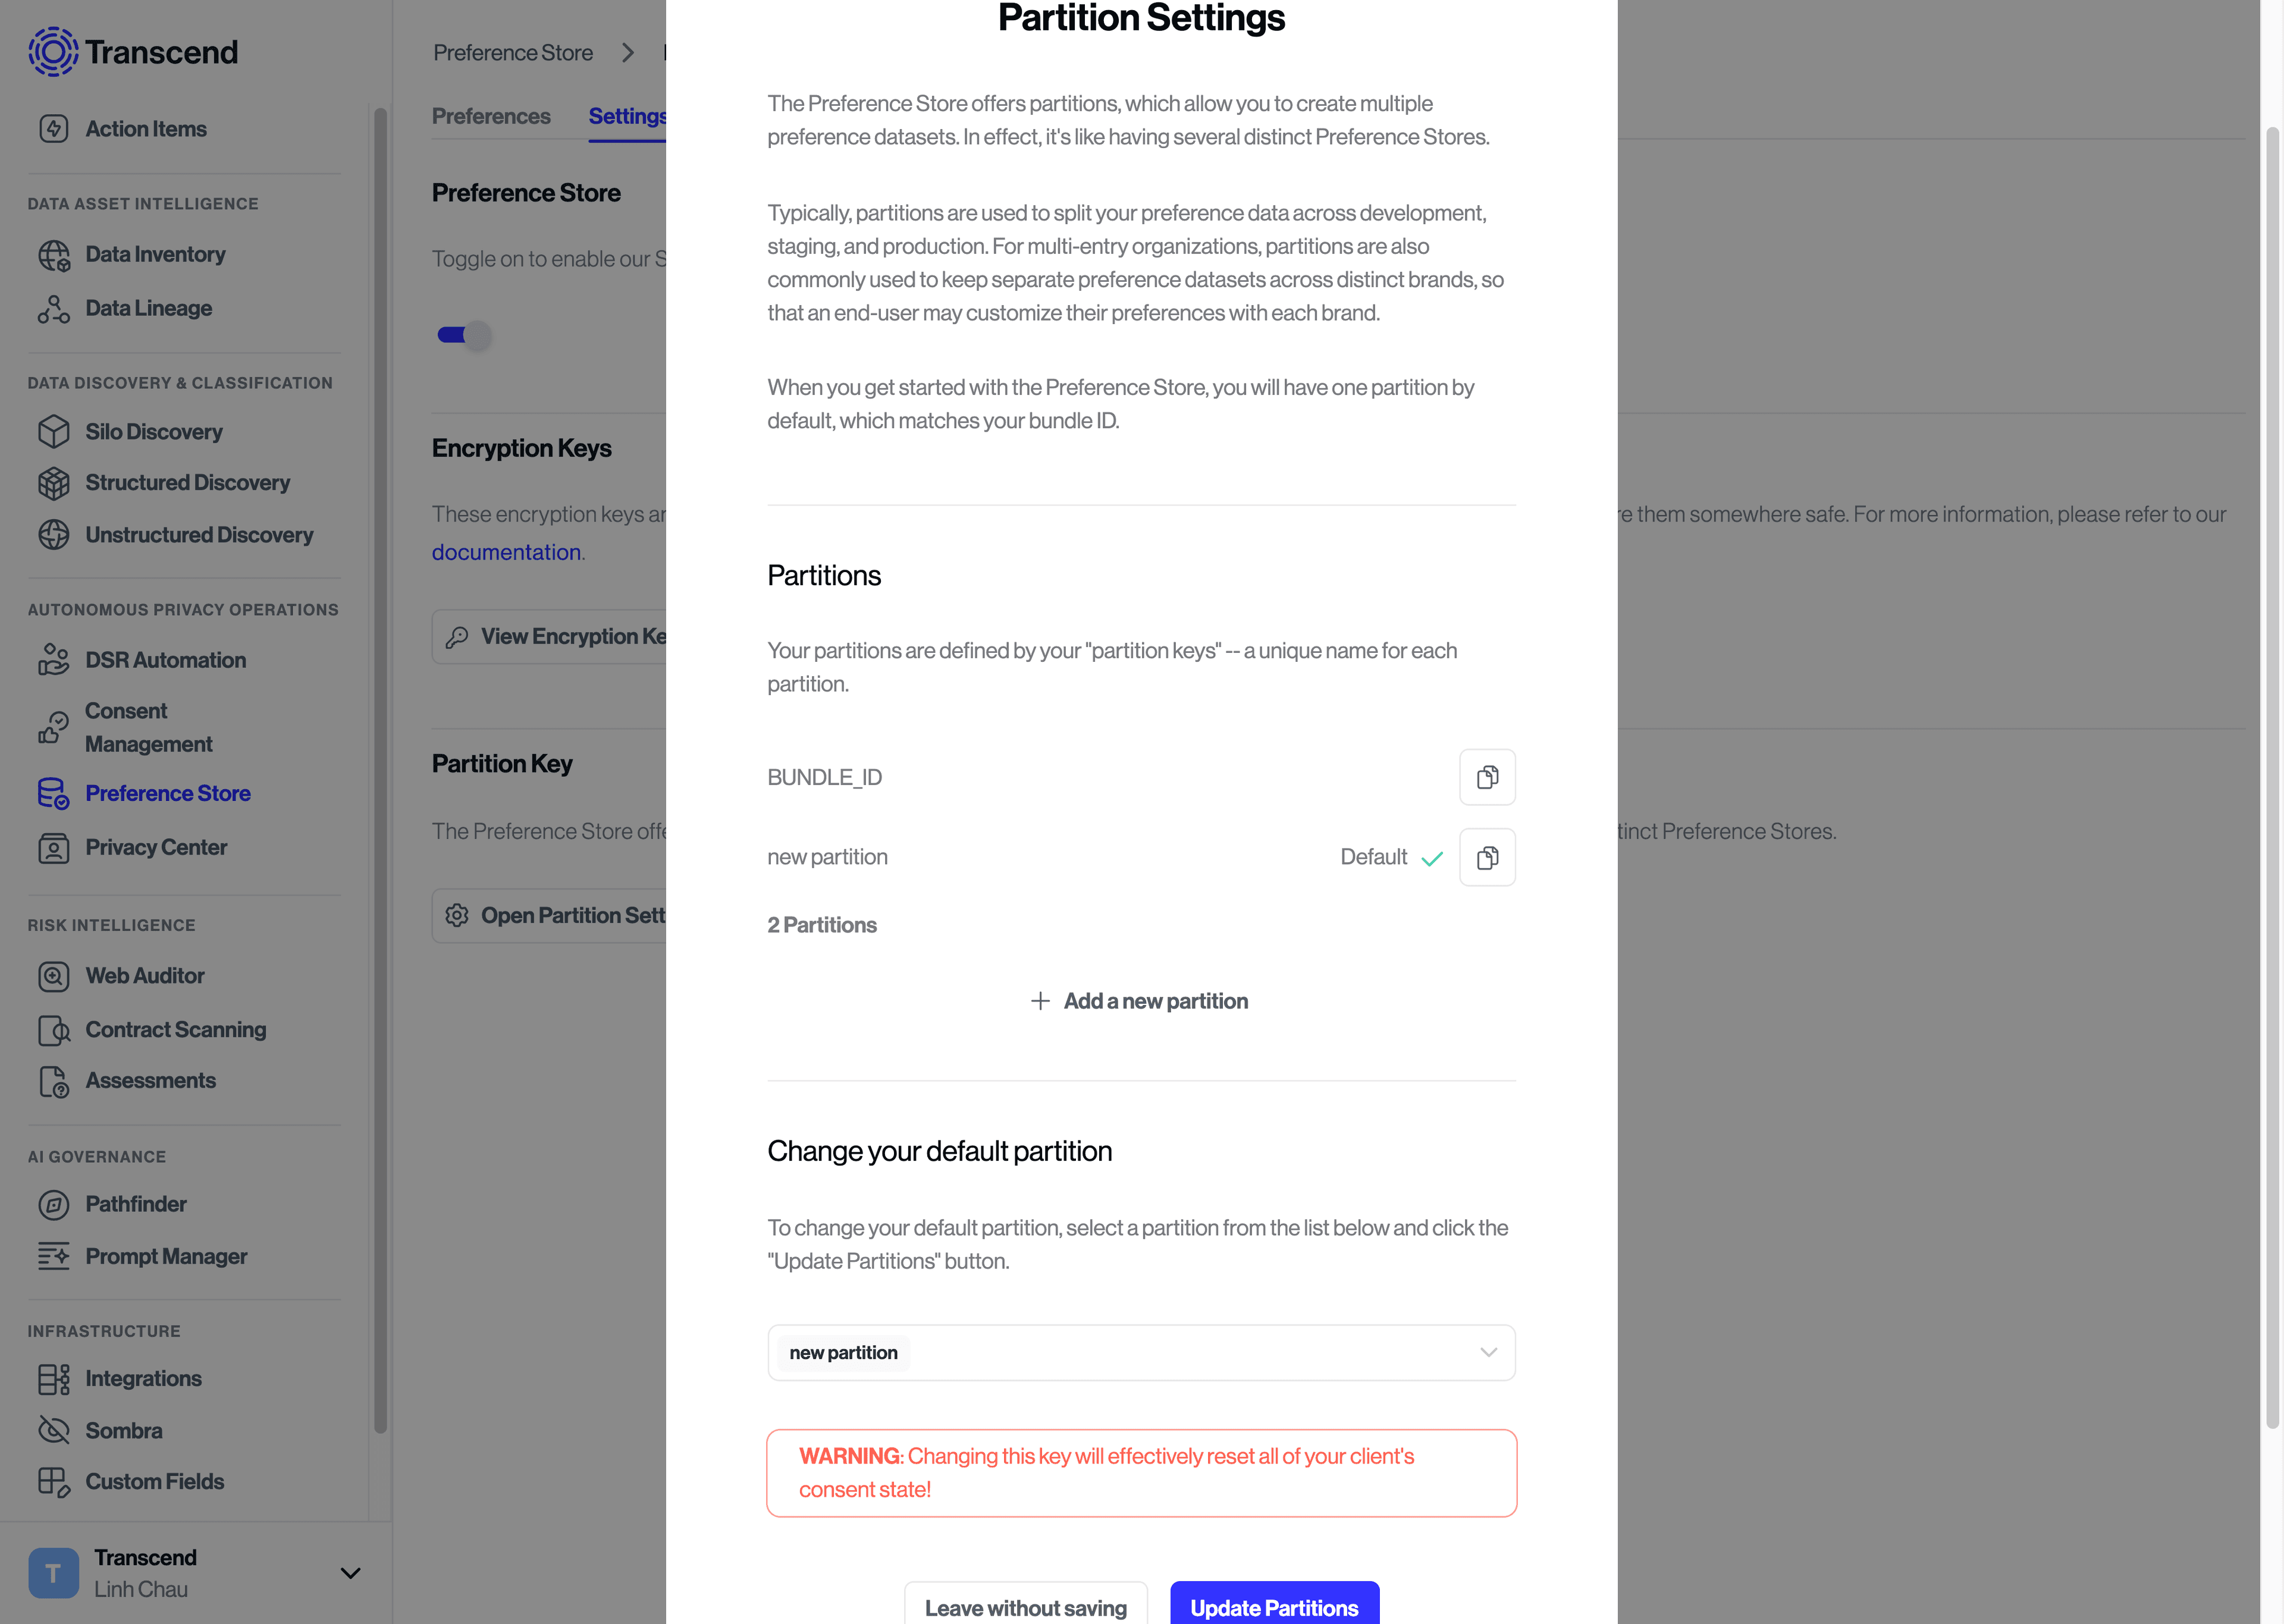
To create a new partition:
- In the Partition Settings modal, locate the Partitions section
- Click Add a new partition
- Enter a unique preference key for your new partition
- Click Save
You can also copy an existing partition key by clicking the Copy button next to it.
To change which partition is used by default:
- Go to the Change your default partition section
- Select the partition you want to set as default
- Click Update Partitions
Note: Only users with access to the parent organization in Transcend can create new partition keys.