Configuring the Pre-Built Consent Experience UI
There are two ways to integrate Consent into the user interface of your site and auto-display a consent banner to your users: use Transcend’s pre-built UI and consent experiences, or use/build a custom frontend solution.
This guide provides documentation on how to set up and customize the out-of-the-box UI solution.
Using Transcend’s out-of-the-box consent UI is not required. You can leverage the full power of Transcend Consent Management using a custom frontend solution. If a fully custom user interface is desired, or the website already has a consent interface built out, you can directly call the appropriate functions of airgap.js from the custom front-end code. For information on how to implement a custom UI with Transcend Consent, see Creating Your Own UI.
Our design and development processes prioritize accessibility, including the use of semantic HTML, keyboard accessibility, and ARIA attributes to provide a comprehensive user experience for people with disabilities. We conduct regular accessibility audits and testing against WCAG 2.1 guidelines and strive to make our consent manager usable for all users, regardless of their abilities.
When customizing styles, you should be aware of impacts on accessibility. For example, changing font colors may impact the contrast ratio of the consent manager UI.
Setting up the user facing interface of Transcend Consent Management involves defining the regional consent experiences, configuring the UI load & display options, and customizing the style & branding of the consent.
Note that configuring Consent Experiences is part of setting up the consent manager. Check out the Consent Experiences guide for more information on customizing the experience for users in different regions and legal privacy regimes.
The pre-built UI provides several consent banner options that can be mapped to different regional consent experiences (ex: GDPR, CPRA, etc.) and consent purposes (ex: “advertising” or “sale of personal info”). When a user is on the site, the UI adapts to their location to determine which regional experience to show, automatically displaying the correct consent banner with the correct consent options. For example, if a user is found to be in California, they will be shown the consent banner that was mapped to the California region. For more information about Regional Consent Experiences, check out the Consent Experiences guide.
The rest of this section focuses on Consent UI options for display configurations, browser privacy signal integration, setting default regional experience and more. While Regional Consent Experiences map the consent banner, consent purposes and default opt-outs to a region, the UI options discussed below provide additional configuration options related to the user interface and how the user will be presented with Consent.
The consent manager does not show any banner by default. This default behavior can be changed using the data-prompt attribute on the airgap.js script tag.
To auto-display the banner as needed on a user's first pageview, set data-prompt="auto".
To auto-display the banner after a user reaches a certain number of pageviews, set data-prompt="{number of visits to trigger banner display}". For example, data-prompt="3" will make the banner auto-display on and after a user's third pageview.
Once dismissed, the banner will stay dismissed for that user.
The default privacy regime is the regime that is reported whenever no applicable regimes are otherwise detected. For example, a website visitor in Florida would not have legal rights under a privacy regime like CPRA, and therefore would be assigned the “default” regional consent experience.
This setting can be configured with the data-default-regime attribute on the airgap.js script tag, which allows for defining a specific privacy regime to users who otherwise don’t have one. For example, if you wanted all website visitors with no applicable experience to be treated like a CPRA user, you could add a data-default-regime="CPRA" (or "GDPR", etc.) attribute on your airgap.js script tag.
Our prebuilt UI can be configured by visiting the “Regional Experiences” page. Here, you can edit regime-to-interface mappings, font color, theme color, as well as the link to your company's Privacy Policy.
In addition to changing the default for users with no applicable consent experience, you can directly set the privacy regime by adding a data-regime="CPRA" (or "GDPR", etc.) attribute on the airgap.js script tag. Using this setting is a good option for those that use a native first-party tool to aid in regime detection.
Transcend Consent Management suppresses automatic consent prompts for users who have active privacy signals that opt out every configurable tracking purpose. This means that users with Do-Not-Track enabled will never be auto-prompted for consent via transcend.autoShowConsentManager(). Likewise, users with Global Privacy Control enabled in CPRA-like privacy legal regimes will also not be auto-prompted for consent. It’s worth noting that users with GPC in GDPR-like privacy regimes may be auto-prompted for consent for purposes including advertising, analytics and functional, as GPC is primarily concerned with sale of personal data. See the guide on Global Privacy Controls for more information.
Note: transcend.showConsentManager({ viewState: 'CompleteOptions' }) always shows the consent manager, and is the recommended API for displaying a consent prompt as the result of a button click. transcend.autoShowConsentManager() is used by our data-prompt="[# of pageviews to trigger prompt]" auto-prompting feature.
You can customize the privacy regime detection to force specific regimes or set a default regime. For more information, see privacy regimes.
By default, airgap.js will display a persistent floating widget after the consent banner is dismissed to provide users an easy way to get back to the banner. This floating widget can be disabled by setting data-dismissed-view-state="Closed" on your airgap.js script tag.
Transcend’s Consent UI includes options to customize the styles and branding of the consent banners to match the look & feel of the website. This includes quick options to set theme and text colors as well as advanced options for customizing the CSS in the Consent UI stylesheet.
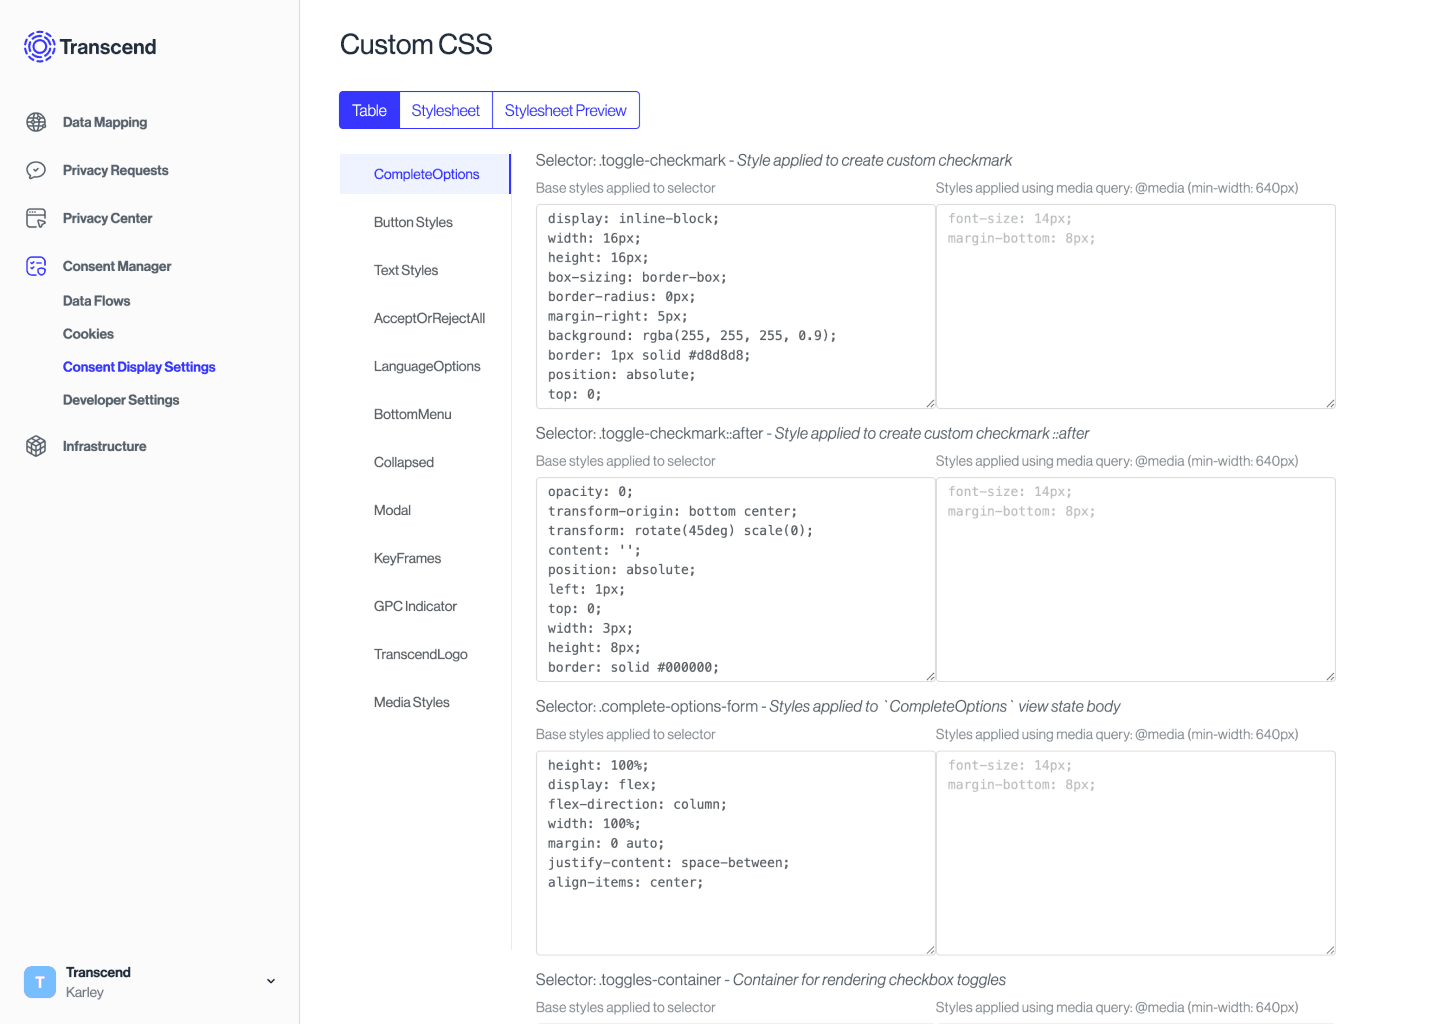
If you want to use an external stylesheet rather than customize the default stylesheet, you can replace the default via data-css=”/path/to/your/stylesheet.css” attribute on the script tag. As an option, the default stylesheet is available as part of Transcend’s open source reference UI to clone, modify and host as well.
Auto-displaying a consent banner can potentially result in multiple banners being displayed on websites that use embedded views (e.g. iframes). In order to suppress the UI from displaying inside embeds, you can add data-ui-allow-in-embeds="off" to your airgap.js script tag.