Consent Management Debugging and Testing
Here are some console commands that may be helpful as you are configuring and testing Transcend Consent.
| Command | Description |
|---|---|
airgap.version | Get the current version of airgap |
airgap.getRegimes() | Get the current set of regional experiences that are enabled for your active session. |
airgap.getRegimePurposes() | Get the current set of purposes that are active for the current regime. |
airgap.loadOptions.reportOnly | Check whether report only is enabled or disabled |
airgap.getConsent().purposes | Get the consent stored locally in your browser |
transcend.showConsentManager({ viewState: 'CompleteOptions' }) | Open the CompleteOptions UI view state to change consent preferences. See more view states |
transcend.getViewState() | Get the current consent banner view state ('Closed' or the name of the view state curretly displayed). See more view states |
transcend.setPrivacyPolicy(string) | Sets the privacy policy link for consent banners to a URL provided as the string argument. The privacy policy link can also be specified in Consent Display Settings or the data-privacy-policy data attribute. |
transcend.setSecondaryPolicy(string) | Sets the secondary policy link for consent banners to a URL provided as the string argument. The secondary policy link can be specified using the data-secondary-policy data attribute and is shown in the CompleteOptionsInverted view state. |
airgap.export().requests | Get the requests that airgap.js is quarantining |
airgap.export().mutations | Get the potential requests that airgap.js is quarantining |
airgap.export().cookies | Get the cookies that airgap.js is quarantining |
airgap.export().sentRequests* | Get the requests that airgap.js has detected being sent |
airgap.export().setCookies* | Get the cookies that airgap.js has detected being set |
* API only available when extended monitoring is enabled via data-monitoring="export" on the airgap.js script tag.
This is helpful to see if airgap.js is holding a request in quarantine, causing something to not load on your site.
Using the console is helpful to understand issues that arise when first setting up the consent manager. The Troubleshooting and Common Questions guide features common console errors and troubleshooting steps if airgap.js does not seem to behave as expected.
Before going live with the consent manager in production, it's a good idea to thoroughly test the implementation. It's recommend to test the consent experience for each privacy regime (including the default when there is no privacy regime detected for a user) to confirm the experience with the consent banner is as expected. It's also helpful to view as many pages on the site as possible to ensure that essential functionality needed for the site is being allowed through by the consent manager.
We support a couple of different ways of testing:
- Simulate Consent via userscript. Pros: Quick, no code deploys, no risk of breaking your website. Cons: Only runs local to the user's browser, hard to catch all edge cases.
- Install "Test" Consent bundle to a staging/test environment. Pros: Exact mirror of the set-up that you will have in production. Cons: Requires code change and deploy.
It is recommended that you try simulating Consent via userscript first to get a feel for the API and how it interacts with your website, then proceed to adding the test snippet itself to your staging/test environment.
We support 2 bundle types: Test and Production. The Test bundle is hosted at cm-test/BUNDLE_ID/airgap.js while the Production bundle is hosted at cm/BUNDLE_ID/airgap.js. Changes made in the Admin Dashboard can be applied to either bundle without modifying the other. The Test bundle can be thought of as a test branch of your Production bundle.
We recommend that you add the Test bundle to your staging environment, and keep the Production bundle on your production environment. In Consent Developer Settings, under "HTML Snippet", you can find the appropriate HTML snippet for either bundle by selecting the bundle type. Copy this snippet and add it to your testing/staging site header, as you would for the production site.
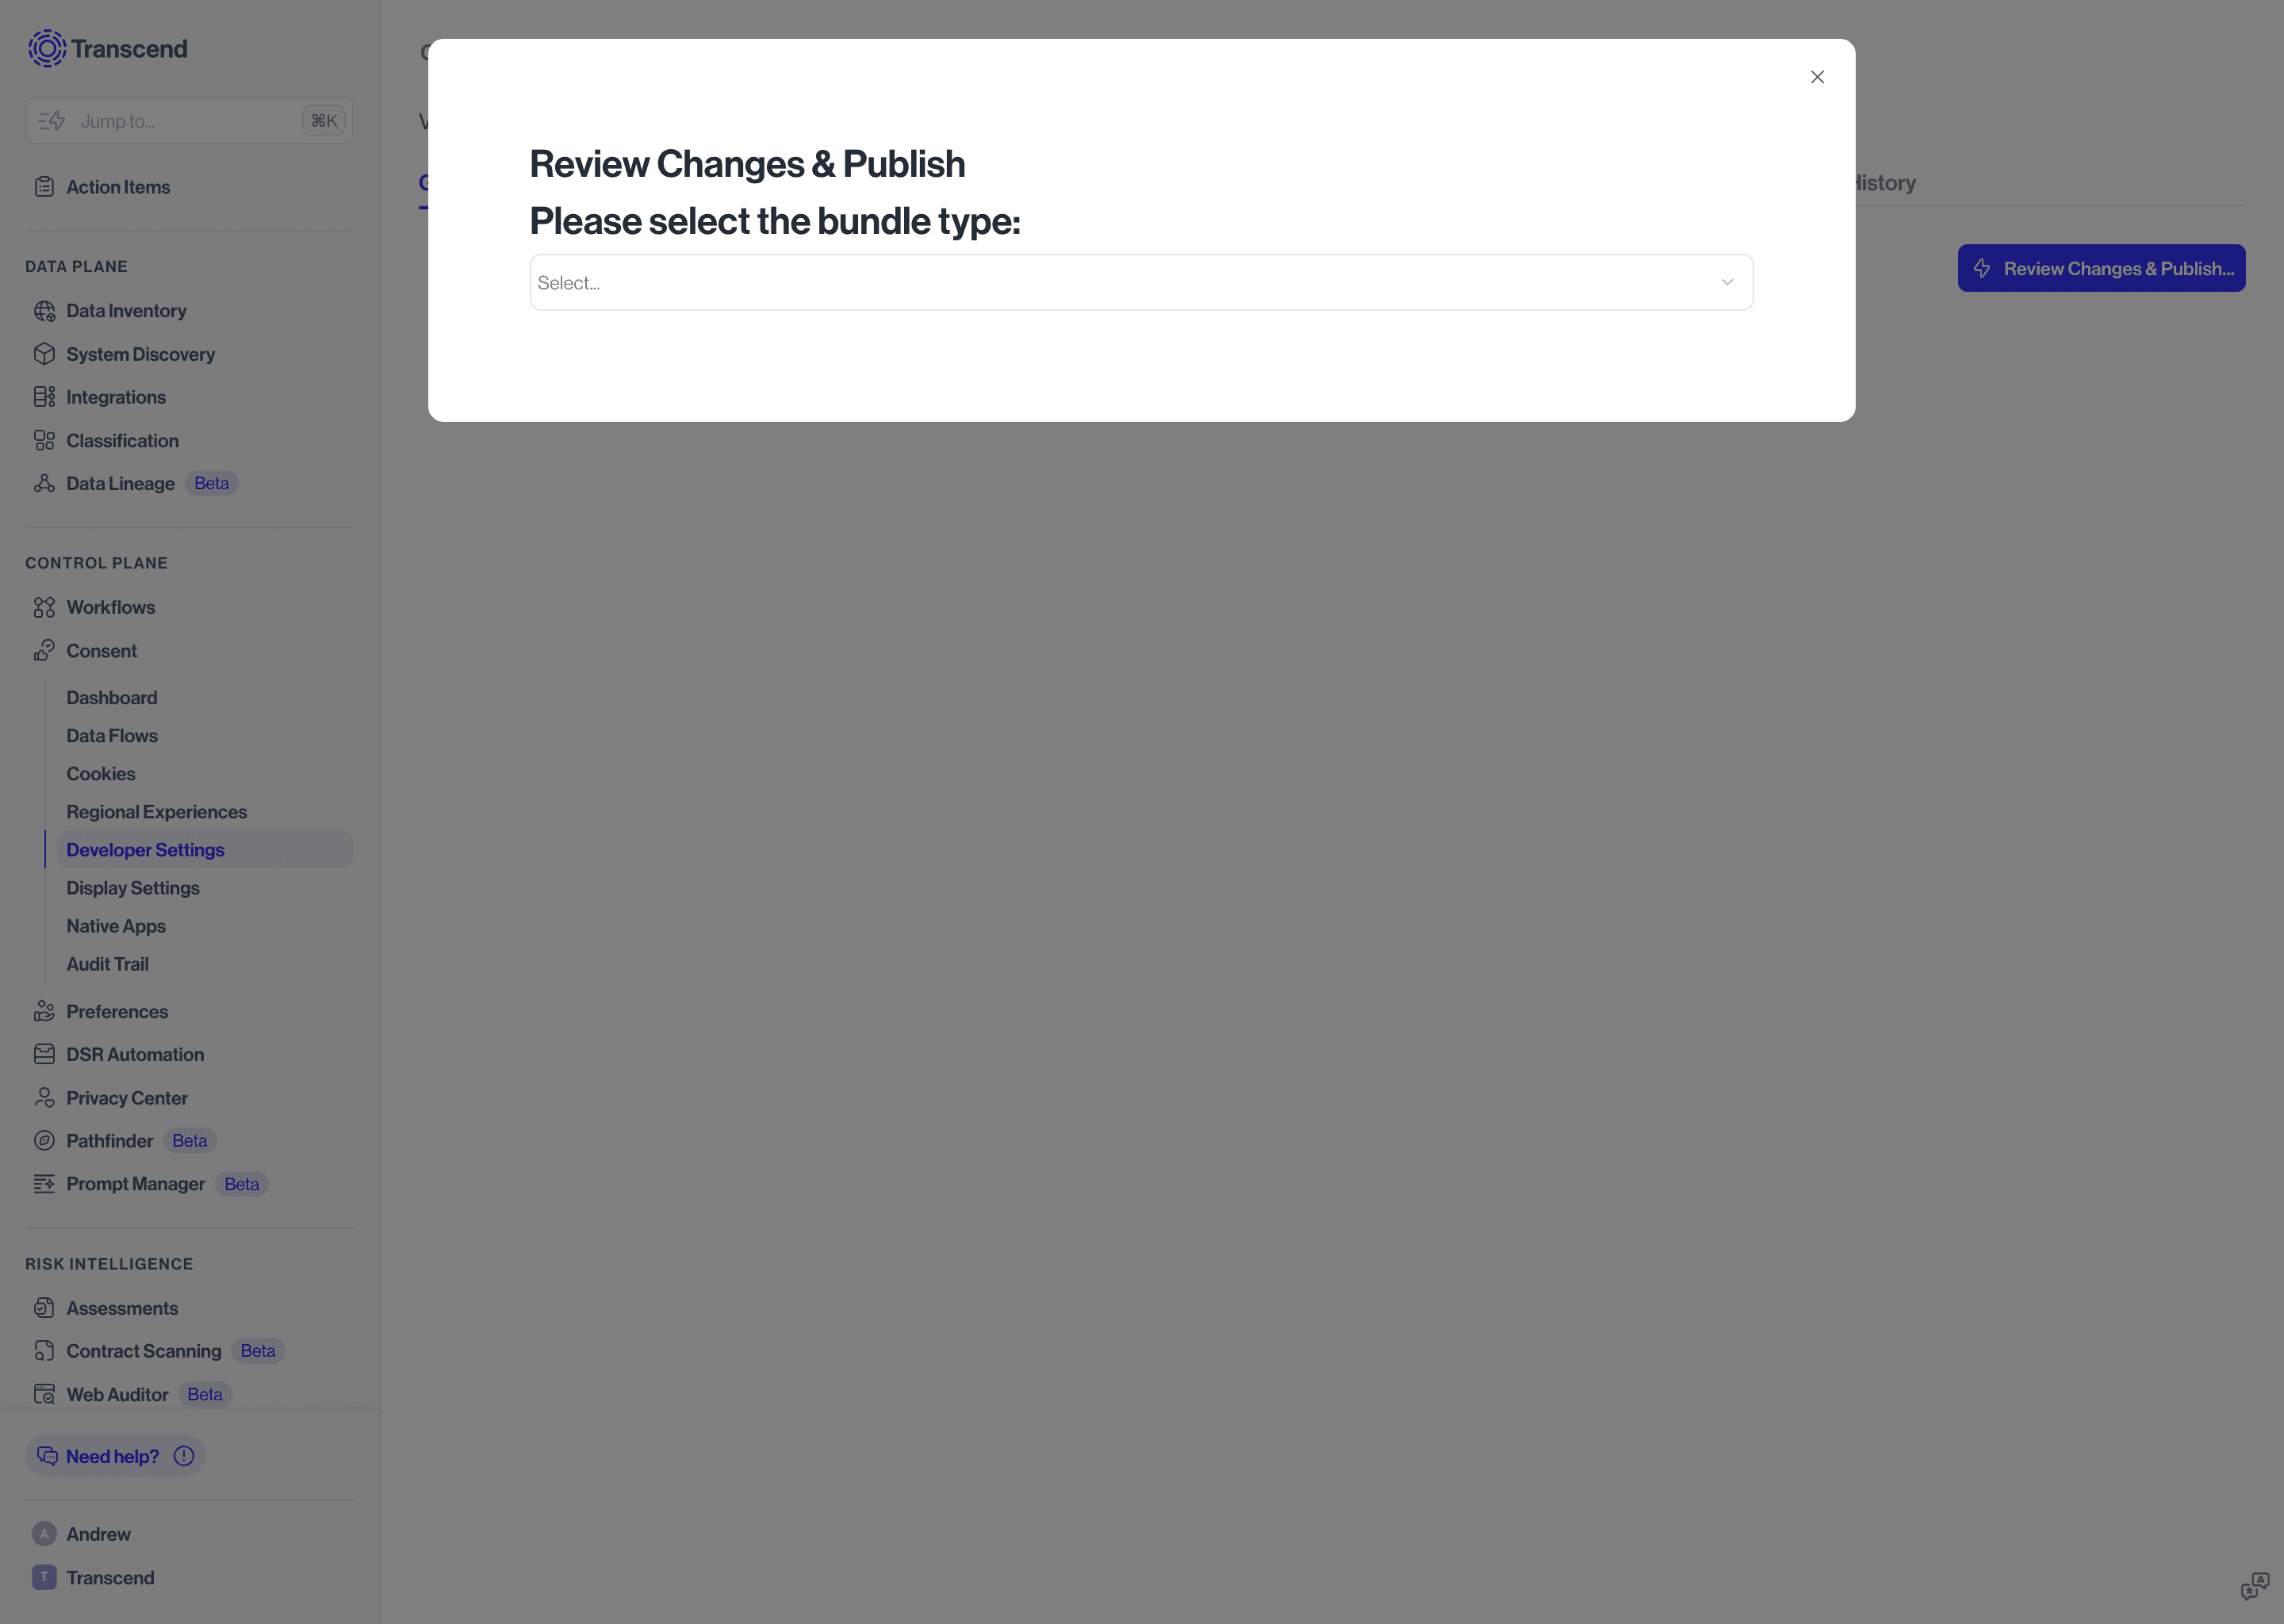
To publish changes for either bundle, click "Set Changes Live". You will be prompted to choose which bundle type you would like to apply the changes to:
When you publish a new consent bundle, you should confirm your website is working as intended. It can be useful to trigger an automated notification or run tests each time a change to the consent bundle is made.
The best way to do this is to register a webhook.
To do this:
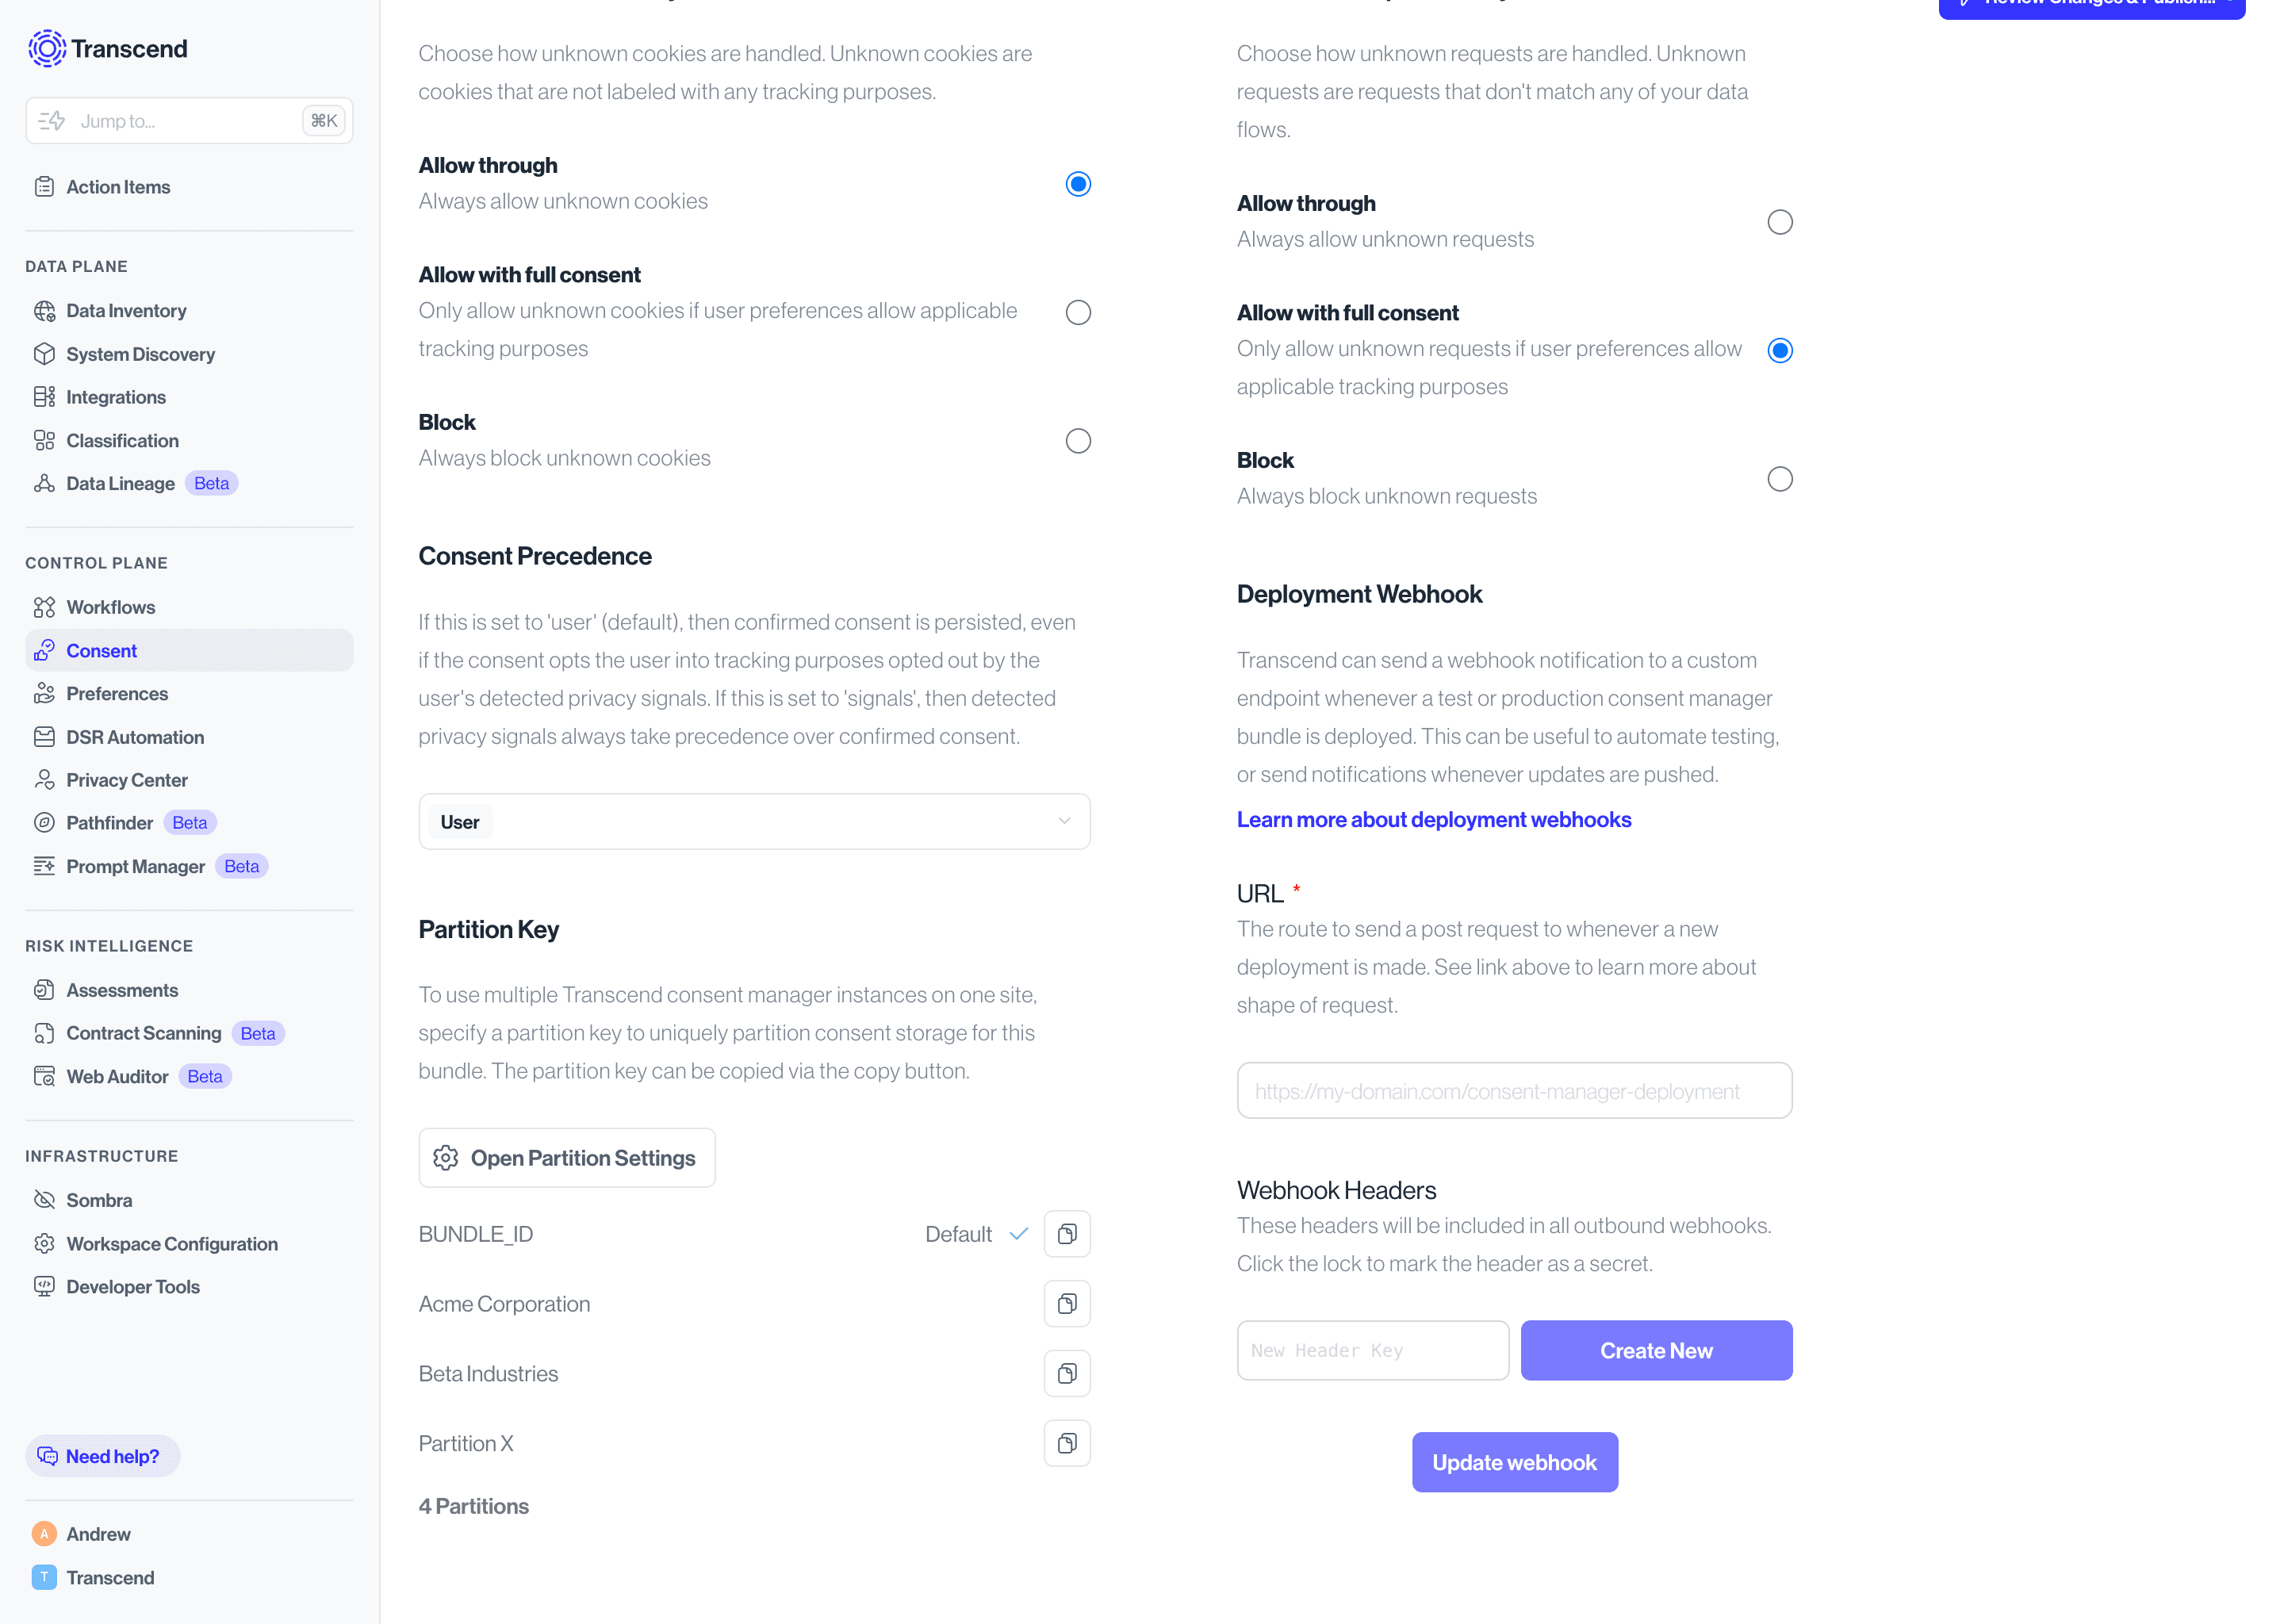
- Naviate to Consent -> Developer Settings -> Advanced Settings in the Transcend Dashboard.
- Under "Deployment Webhook" register the webook that can receive a POST request defined by the following shape
- (Optional) Add authentication headers to the webhook.
For example, you could add bearer token authentication by first generating the following secret pair:
KEY_BIN=$(openssl rand 32)
KEY=$(echo -n "$KEY_BIN" | base64)
KEY_HASH=$(echo -n "$KEY_BIN" | openssl dgst -binary -sha256 | openssl base64)
echo "Add as x-transcend-token header on app.transcend.io: $KEY"
echo "Validate hash at the endpoint receiving the webhook: $KEY_HASH"
Then verify the token on your webhook handler. Here is some sample Node.js code to verify a token generated by the shell command above:
  const transcendToken = headers['x-transcend-token'] as string;
  if (!transcendToken) {
    throw new Error(`Expected 'x-transcend-token' header`);
  }

  // Hash the provided authorization token
  const inputHash = crypto
    .createHash('sha256')
    .update(
      Buffer.from(
        transcendToken.replace('Bearer ', '').replace('bearer ', ''),
        'base64',
      ),
    )
    .digest();

  // Compare the HMAC signature with the Slack signature
  const isEqual = crypto.timingSafeEqual(
    inputHash,
    Buffer.from(process.env.KEY_HASH, 'base64'),
  );

  if (!isEqual) {
    eventManager.warn(`x-transcend-token did not match incoming hash`);
    return {
      statusCode: 401,
      headers: { 'Content-Type': 'application/json' },
      body: JSON.stringify({
        error: `Invalid x-transcend-token value`,
      }),
    };
}You can also install our simulator userscript to test Consent directly in production, without actually having to change anything in production. This is useful if your site makes any requests that use different domains on production as opposed to dev & staging.
Userscripts are JavaScript files that are injected into websites to add or change functionality on the website. A userscript manager browser extension is required to install userscripts. Think of userscripts as mini browser extensions that require a host browser extension.
We recommend the Tampermonkey userscript manager for installing userscripts. Tampermonkey is available for all modern desktop browsers and some mobile browsers (e.g. Firefox on Android).
You can install Tampermonkey for your browser of choice via the following links:
Once you have installed Tampermonkey, you can click “Install userscript” under Developer Settings. If you are in a Chromium browser, such as Chrome or Edge (Chromium-based), you will also need to enable "Developer mode". This can be done by navigating to chrome://extensions/, toggling on "Developer mode", and finally restarting your browser. You may also need to enable “Allow User Scripts” in the Tampermonkey extension settings.

It is recommended that you don’t use the airgap.js userscript on a site that already has airgap.js installed. If you already added the script to your site, you can enable debug logging by setting the attribute data-log="*" on your airgap.js script tag.
Once you have userscript installed, you can visit your site with the Tampermonkey extension enabled, and open up your dev console. You should see logs like this:

The first link/button you see in the console will bring up the default UI that airgap.js ships with. The pop-up/banner will vary based on your location/data rights.