SaaS Tools
We have first-class integrations with the most popular third-party SaaS tools. Check out our Data Connections Directory to see our list of integrations.
If you have questions about the integrations we support, please reach out at support@transcend.io.
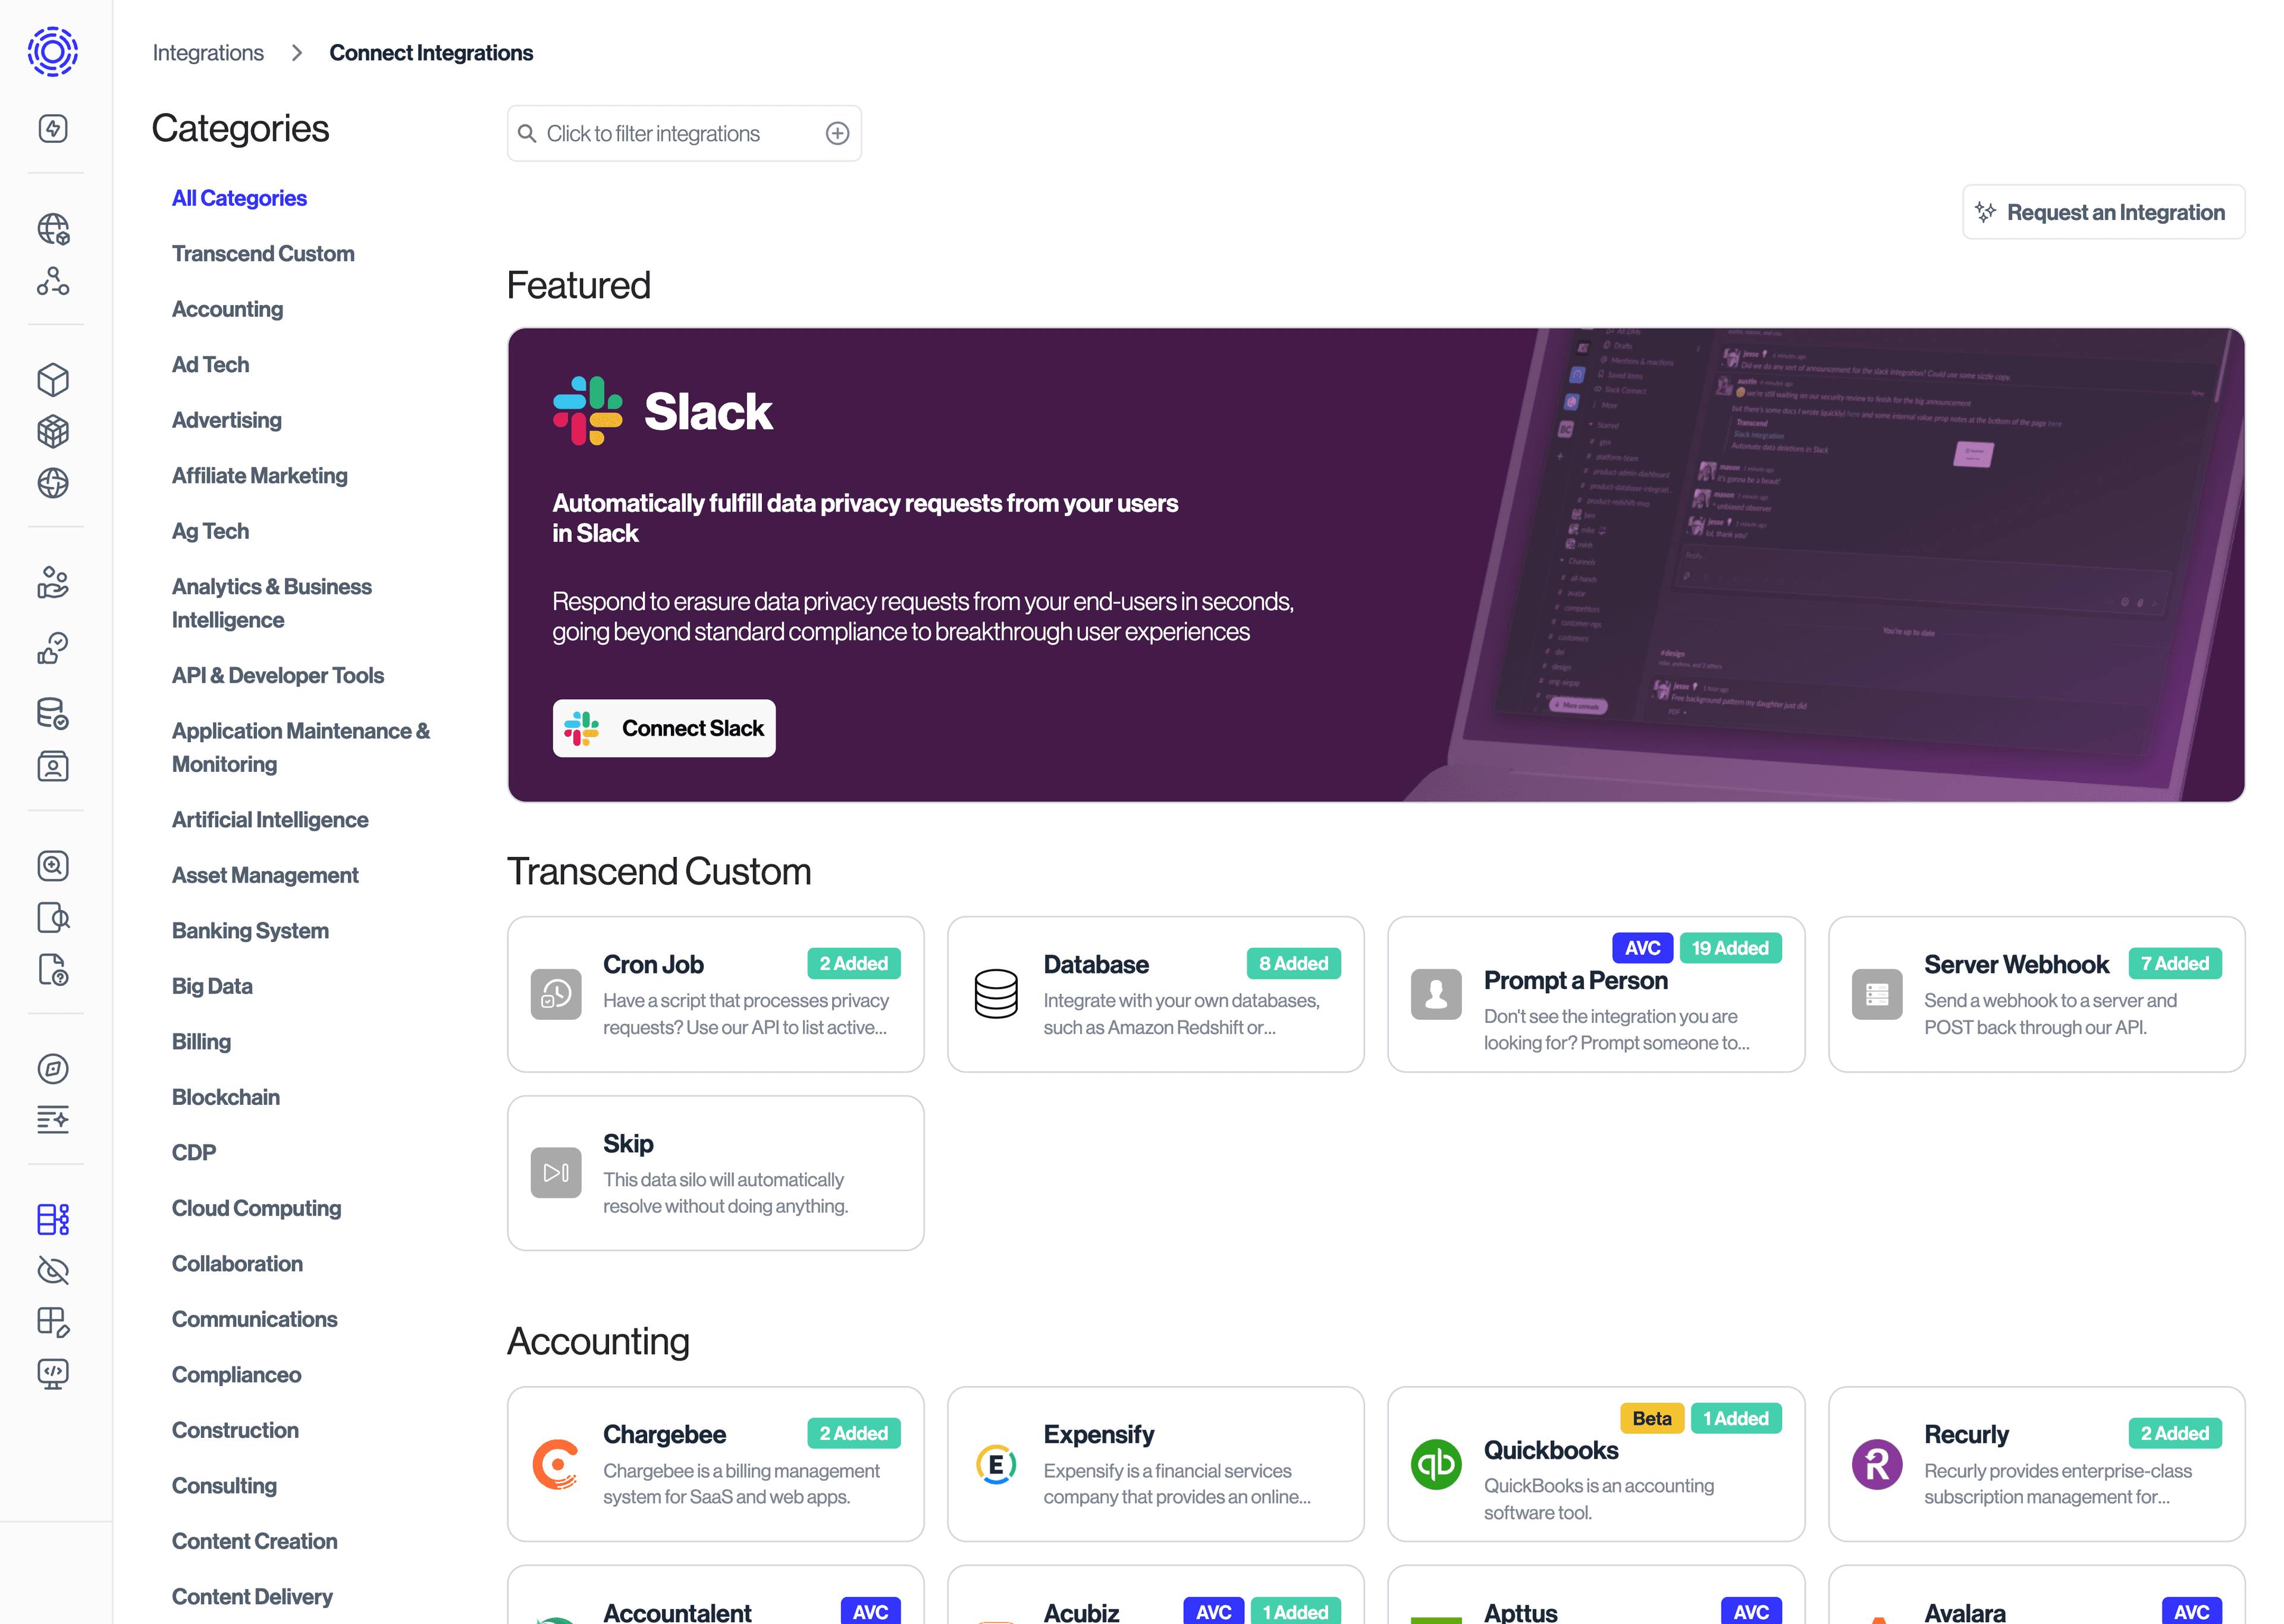
- Adding an integration To connect a new system to Transcend, go to your Integrations on the Admin Dashboard and click "Add Integration".
- Follow the integration-specific instructions - documentation for connecting an integration to Transcend can be found inside the Admin Dashboard, including a step-by-step walkthrough.
Note: Transcend encrypts all API keys and other pieces of sensitive information used to connect your integrations. We use Diffie-Helman key exchange so that our backend servers never see your plaintext keys. These keys can only be decrypted via our encryption gateway, which can live within your firewall.
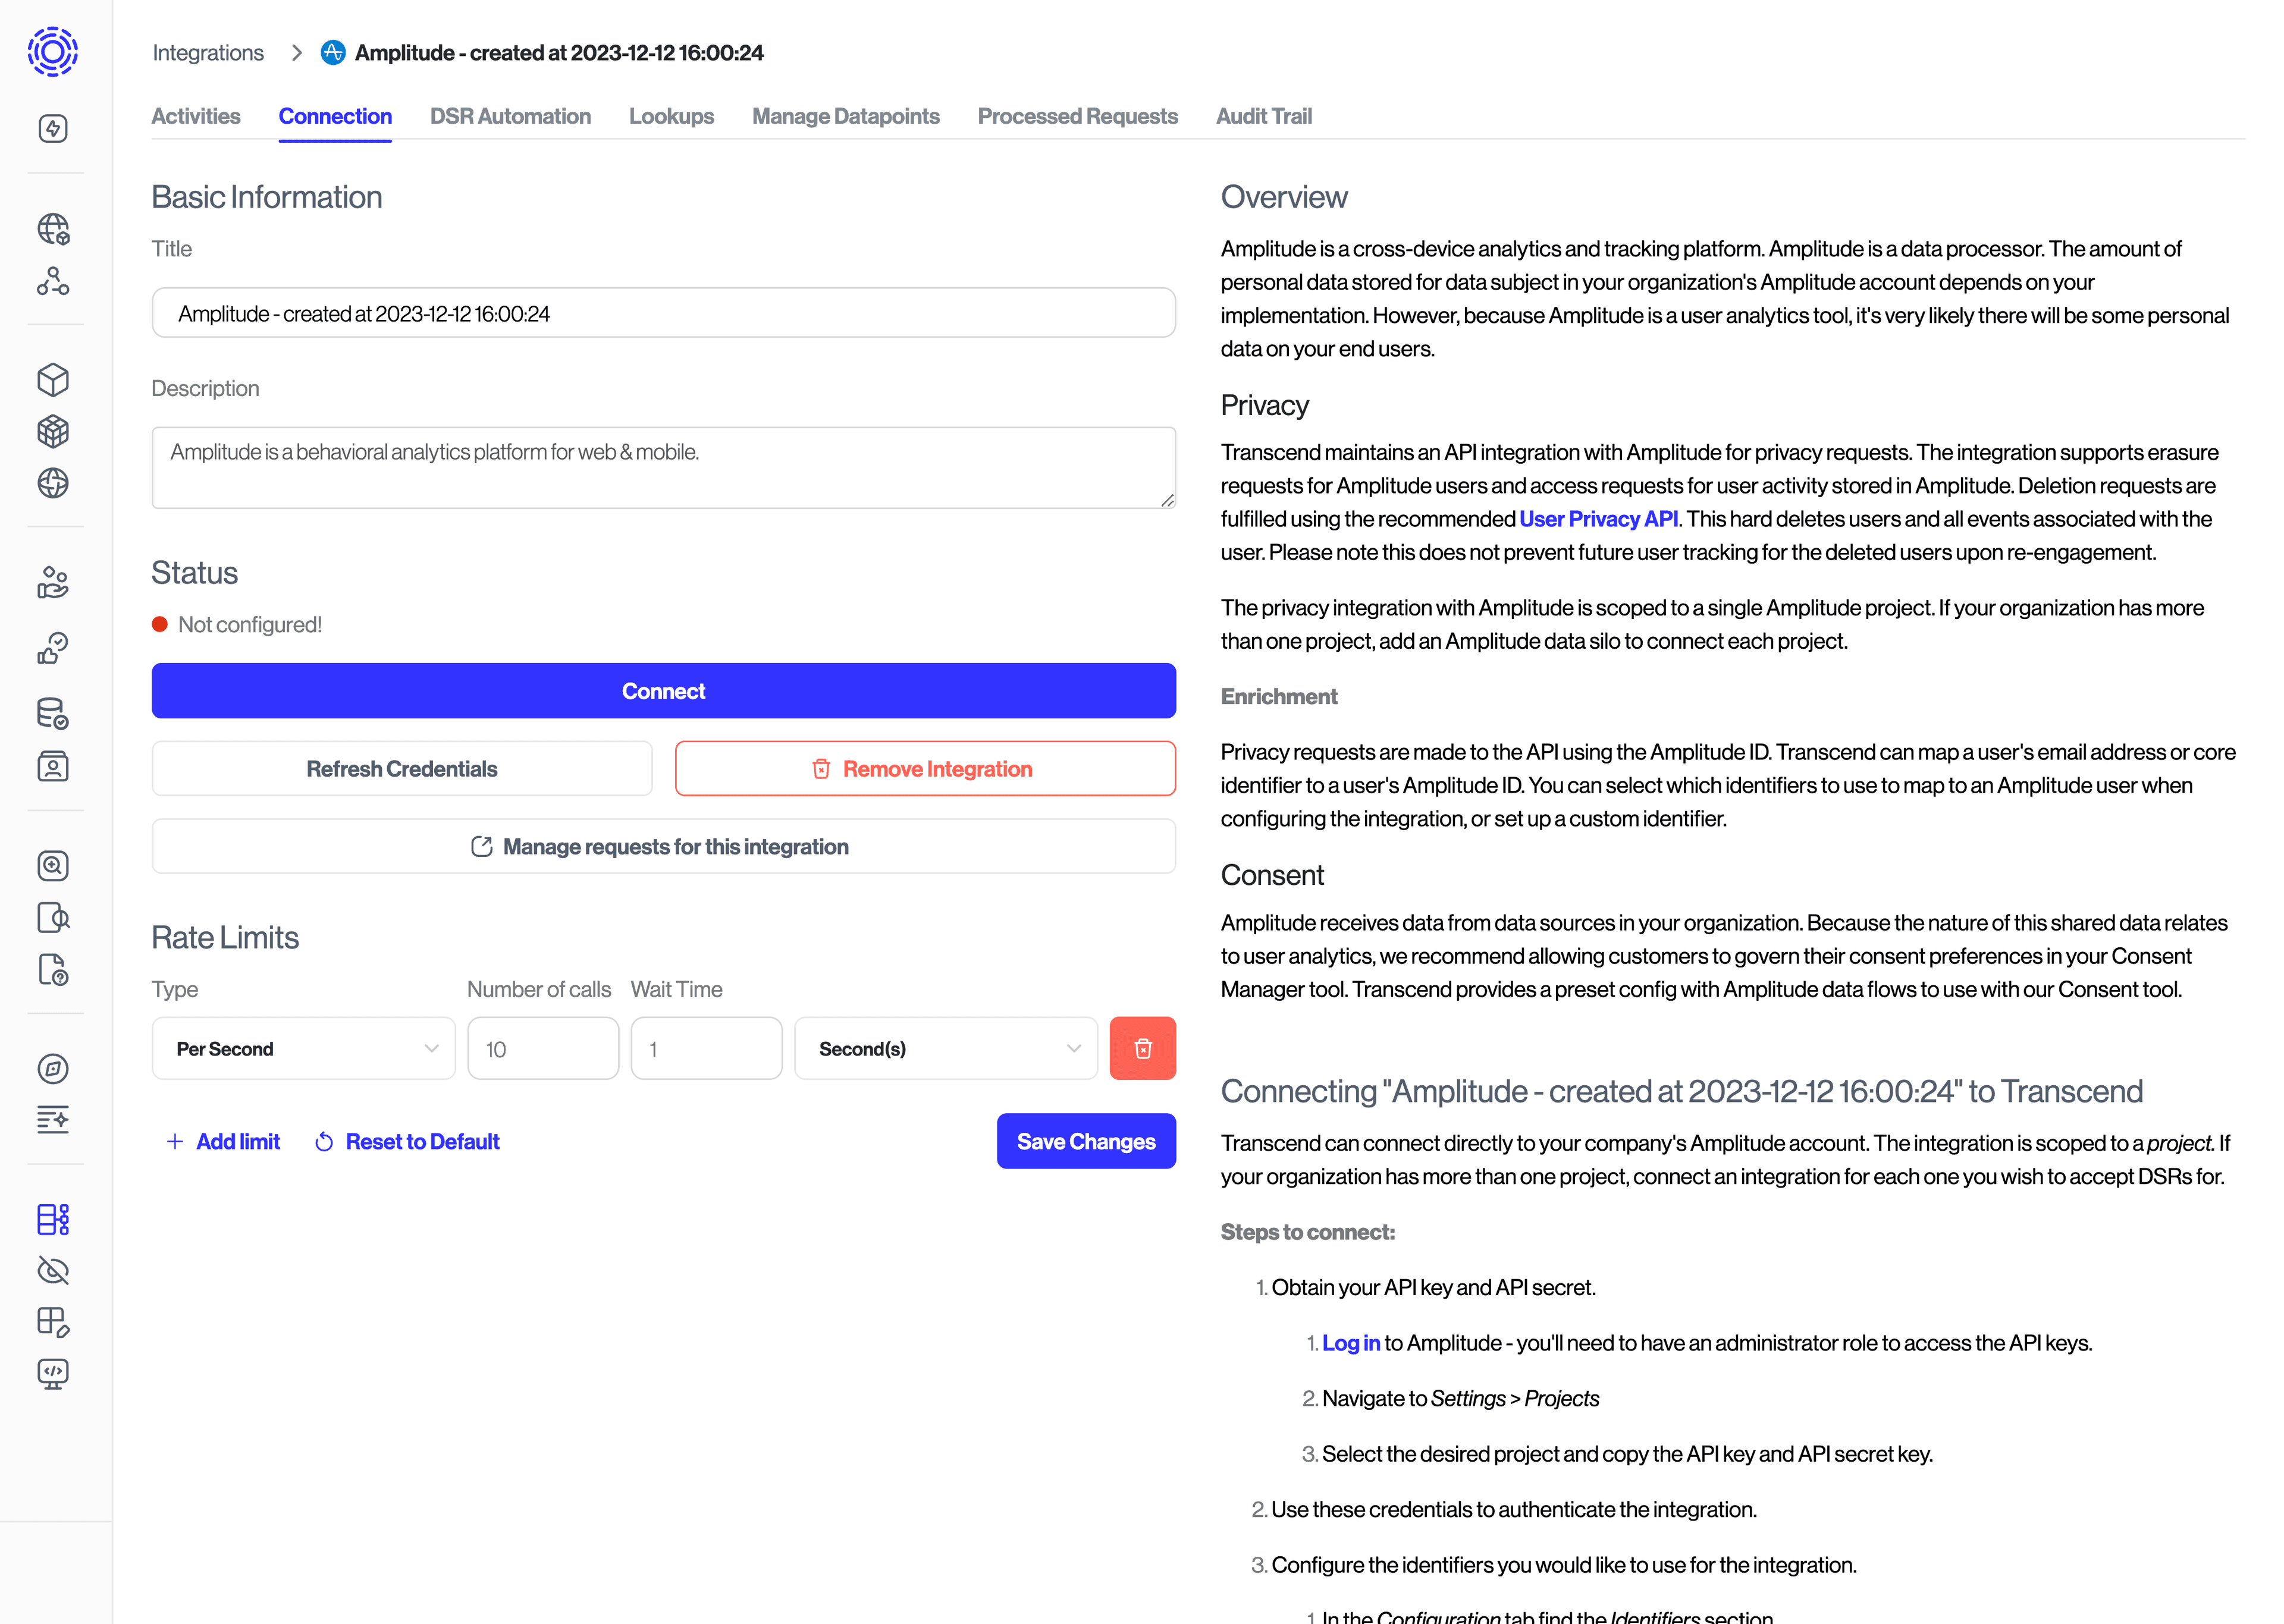
Once you've connected the integration, you will want to review the configuration before turning that request on for incoming production DSRs. To do this, search for your integration on the Integrations page and click on its card to adjust its settings.
- Configure datapoints - First, you'll want to click on the "Manage Datapoints" tab and determine which datapoints you want to enable and for which data actions. If you have questions about why a data action is/is not configurable, please reach out to support for assistance.
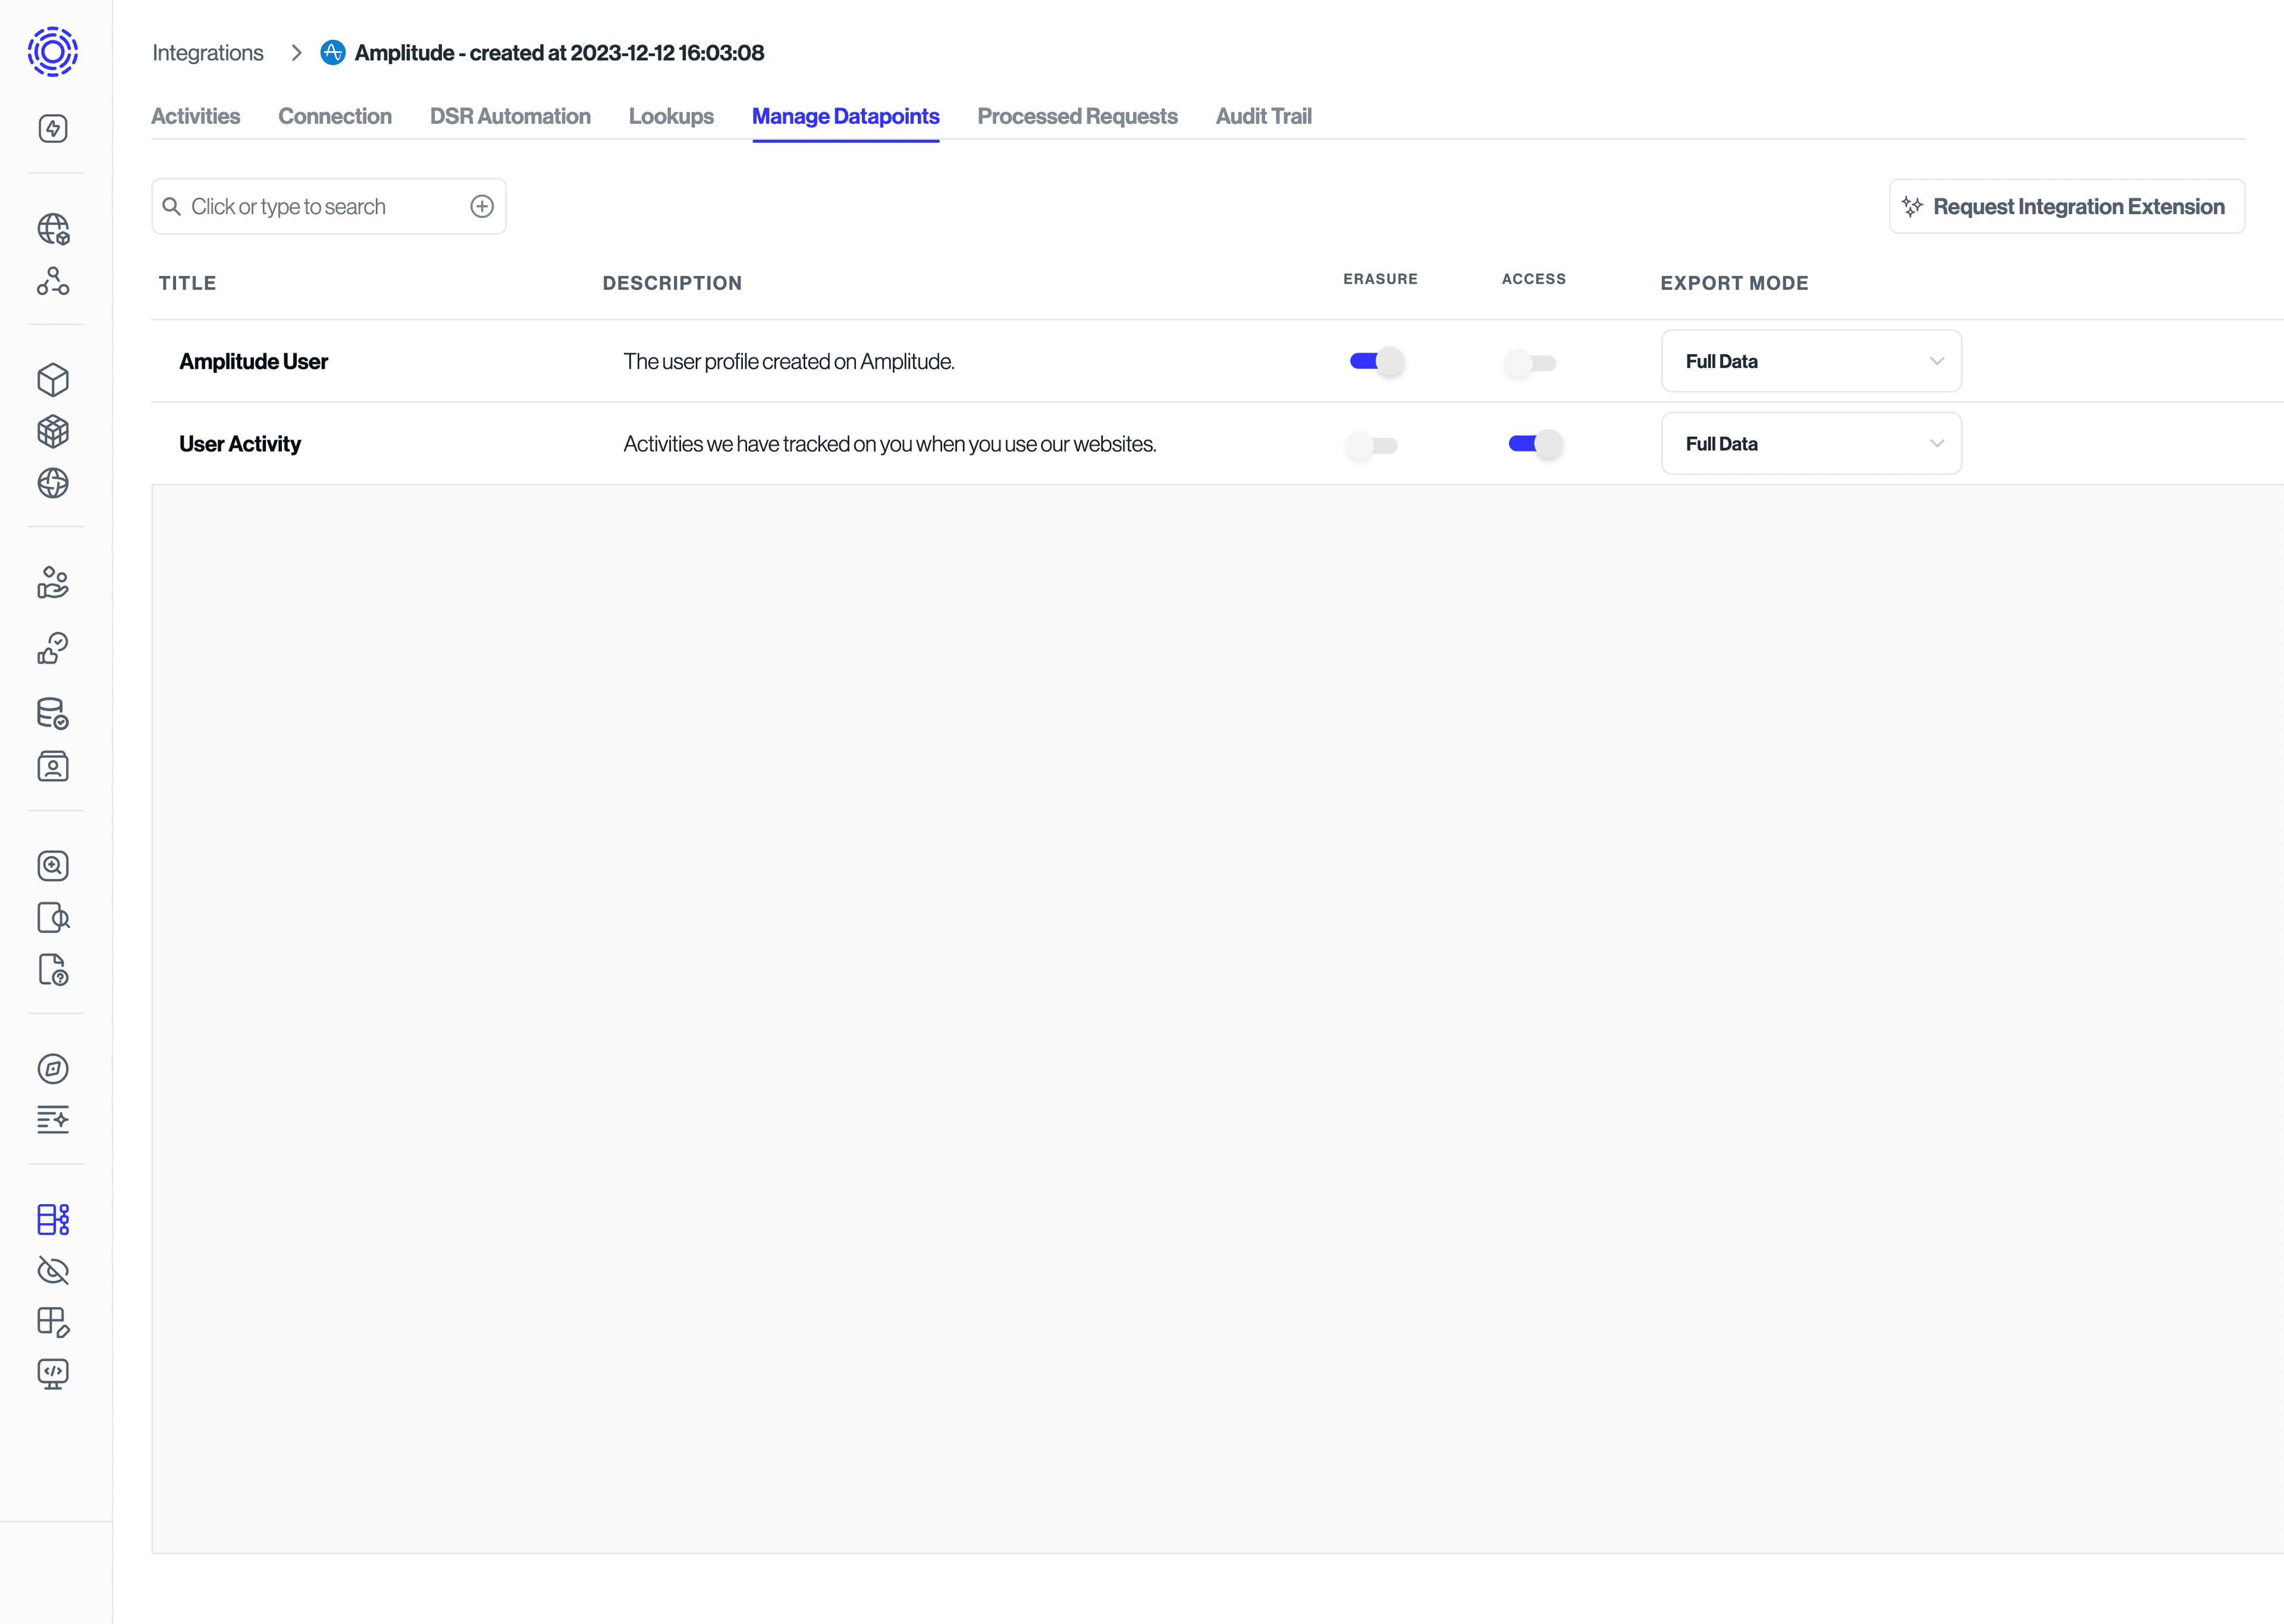
- Configure data category tags - You'll need to map the datapoints in that silo to your Data Practices displayed on the Privacy Center. In the same "Manage Datapoints" tab, select the desired "Data Category Tag" for each piece of data. Each tag is used in two places: a) A header on the left sidebar of the Privacy Center's "Data Practices" page. Any data corresponding to datapoints with that tag will be displayed within that header's section. b) The name of a sub-folder of the download zip archive in an Access request. That subfolder will include all data associated with that tag.
Note: If you don't have your Data Practices set up yet, follow the steps outlined here to configure them.
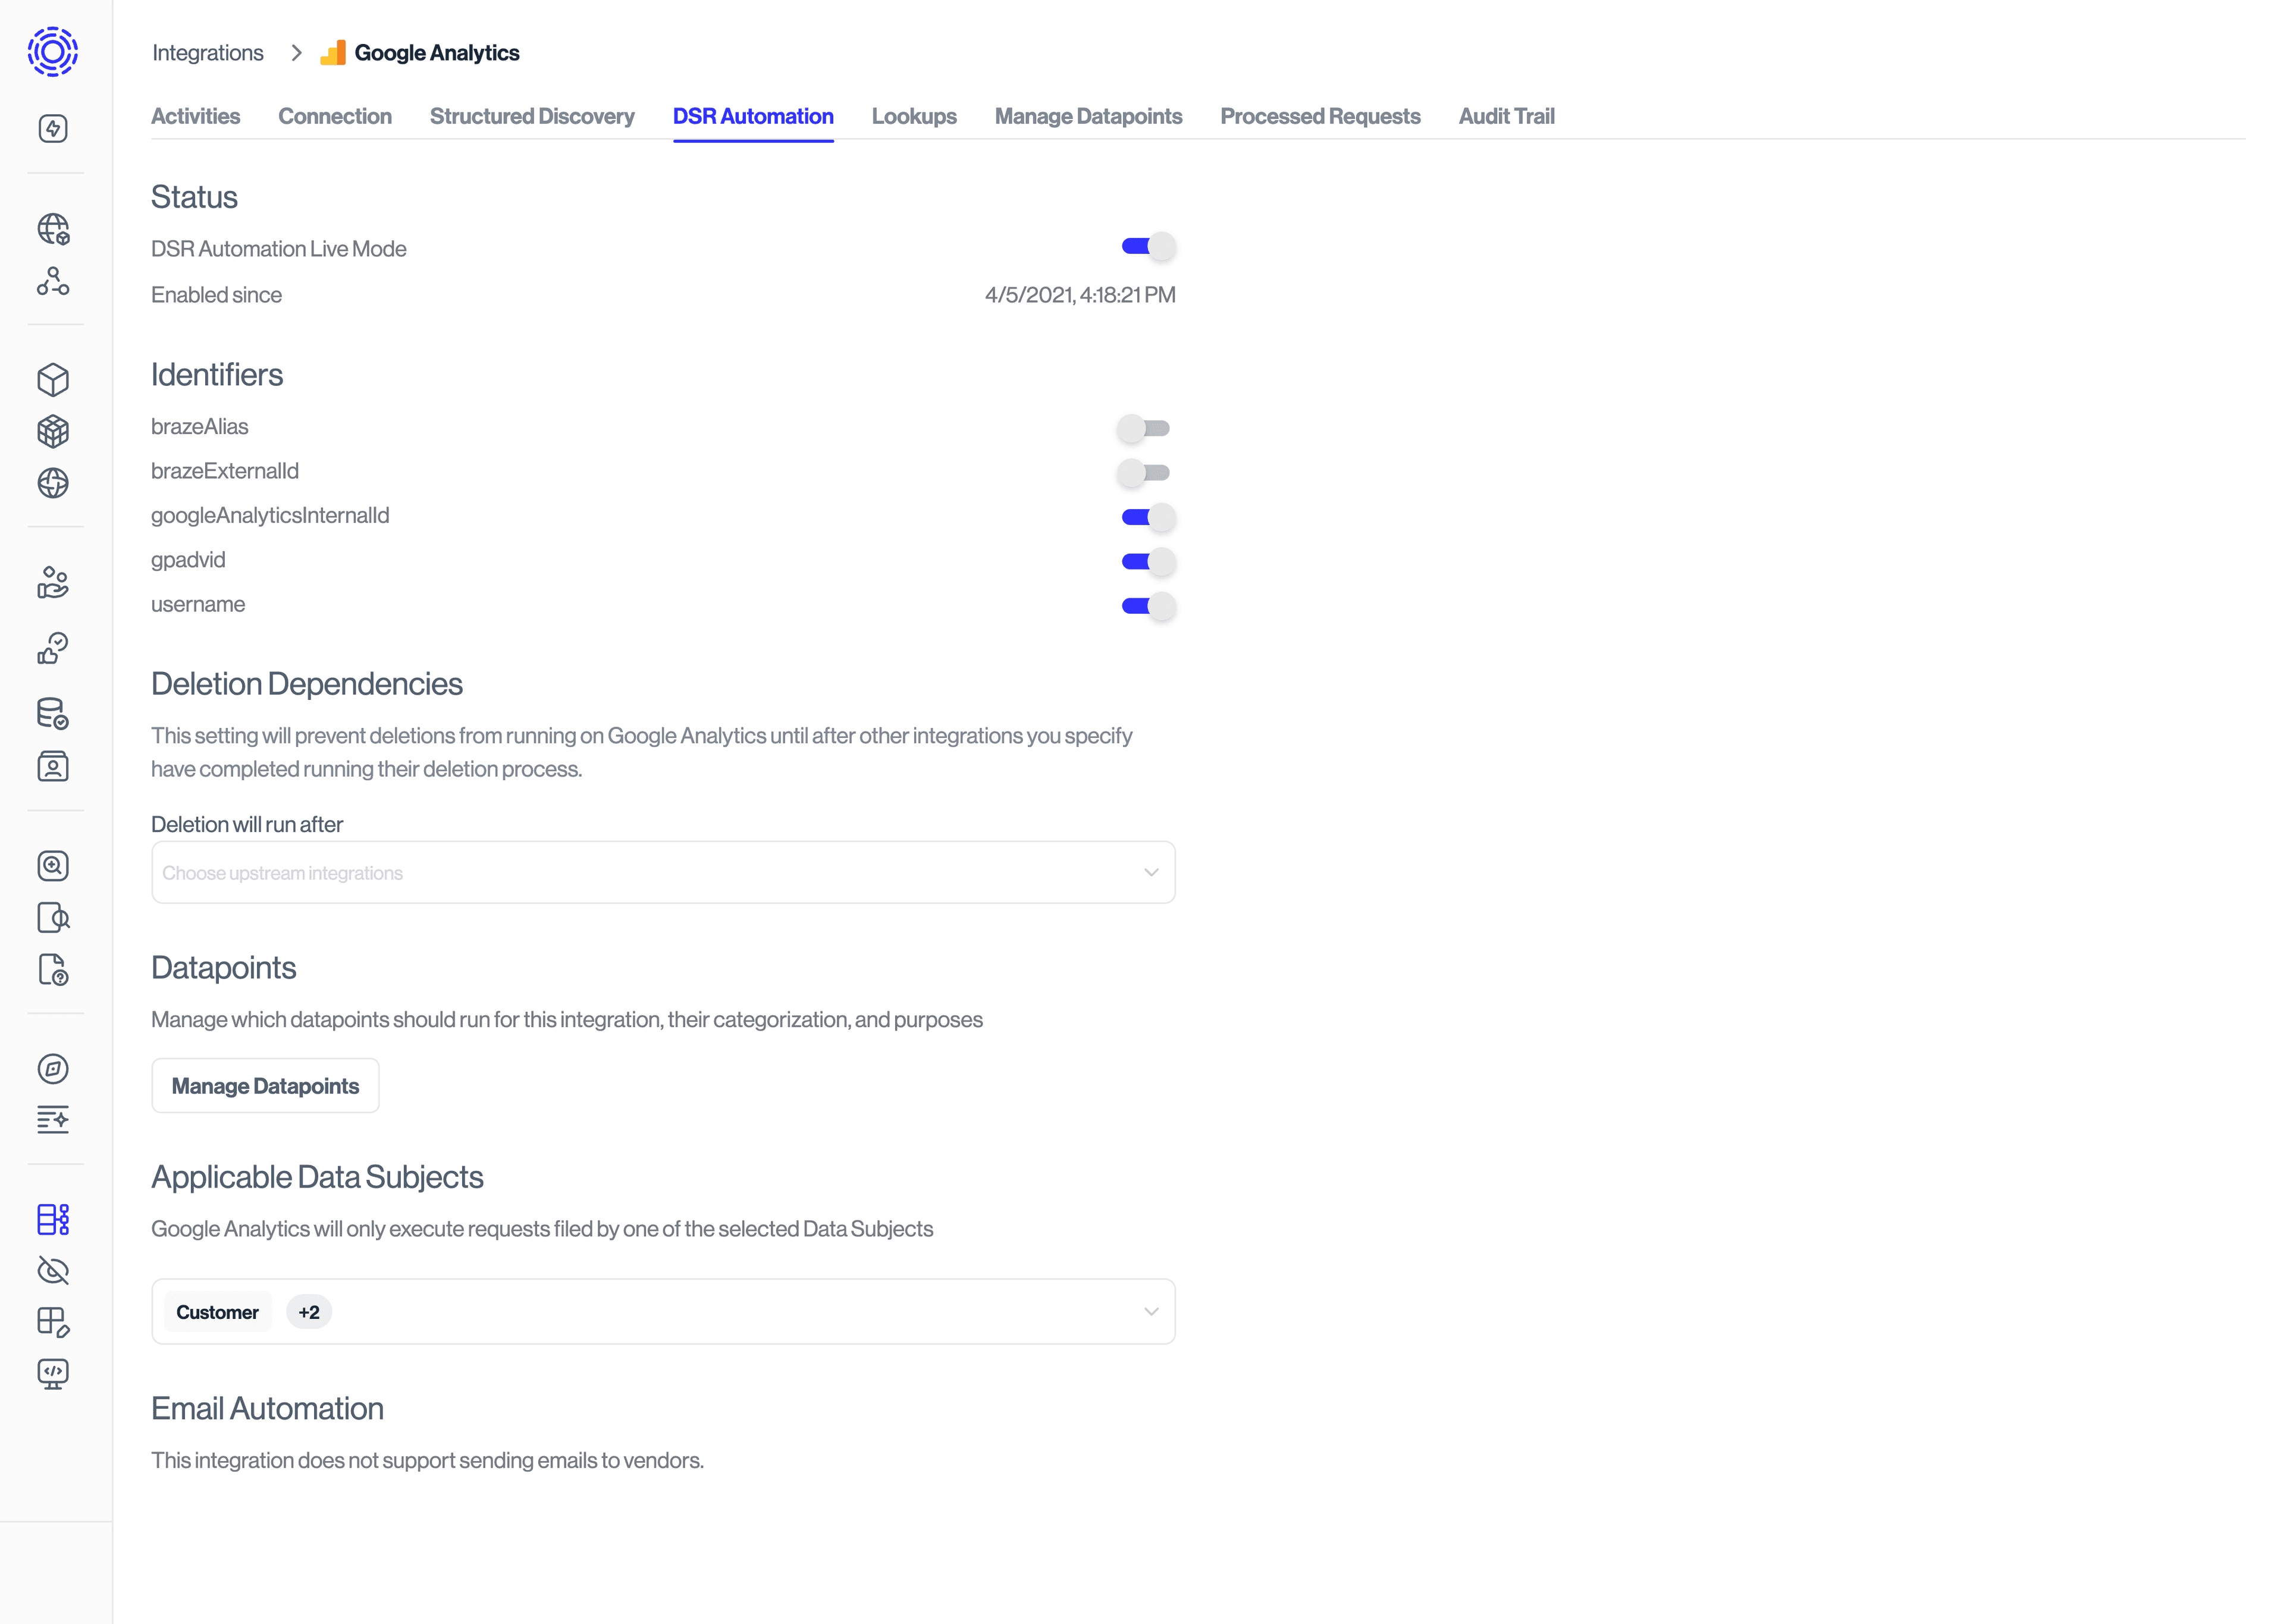
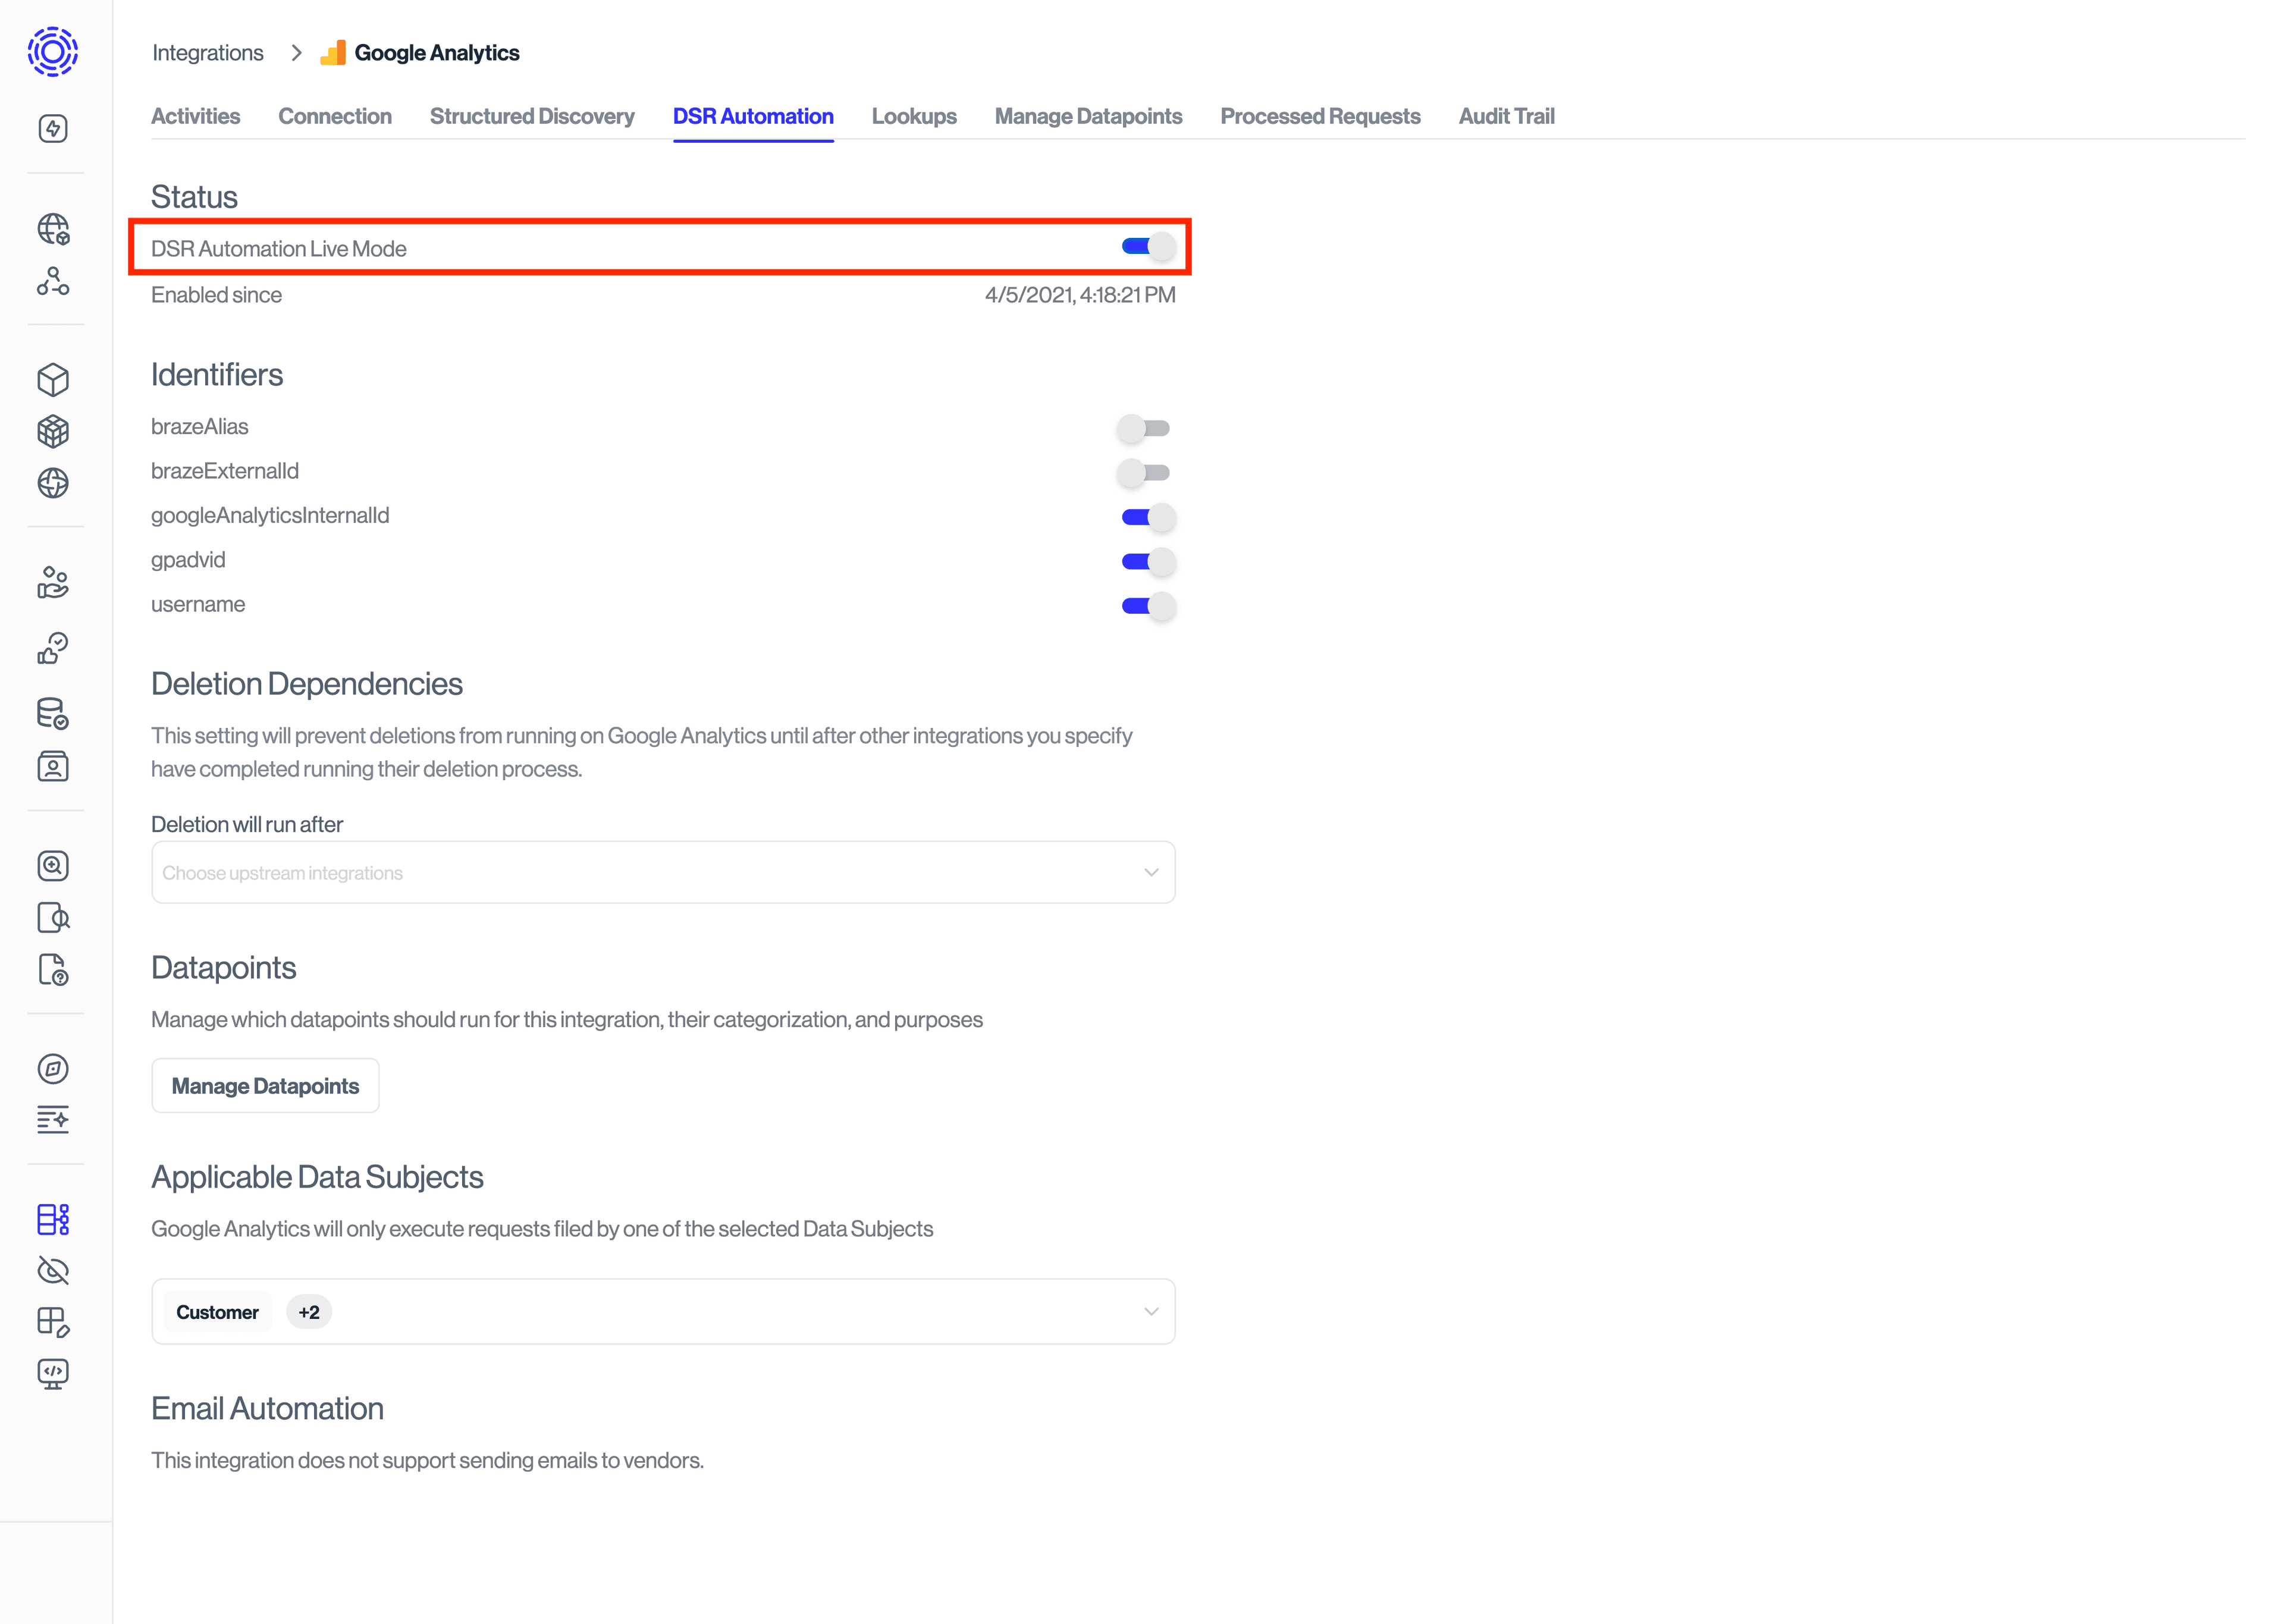
- Map identifiers - Next, navigate to DSR Automation and ensure that the desired identifiers for the integration are enabled. These are the lookup values we will use to map a new request to this integration. As an example, if Transcend should search data subjects by email address, you'd check the box to enable the "Email Address" identifier. If identifiers are not enabled correctly, Transcend may not be able to process requests for certain users. Note: some integrations require setting up an Identity enrichment webhook.
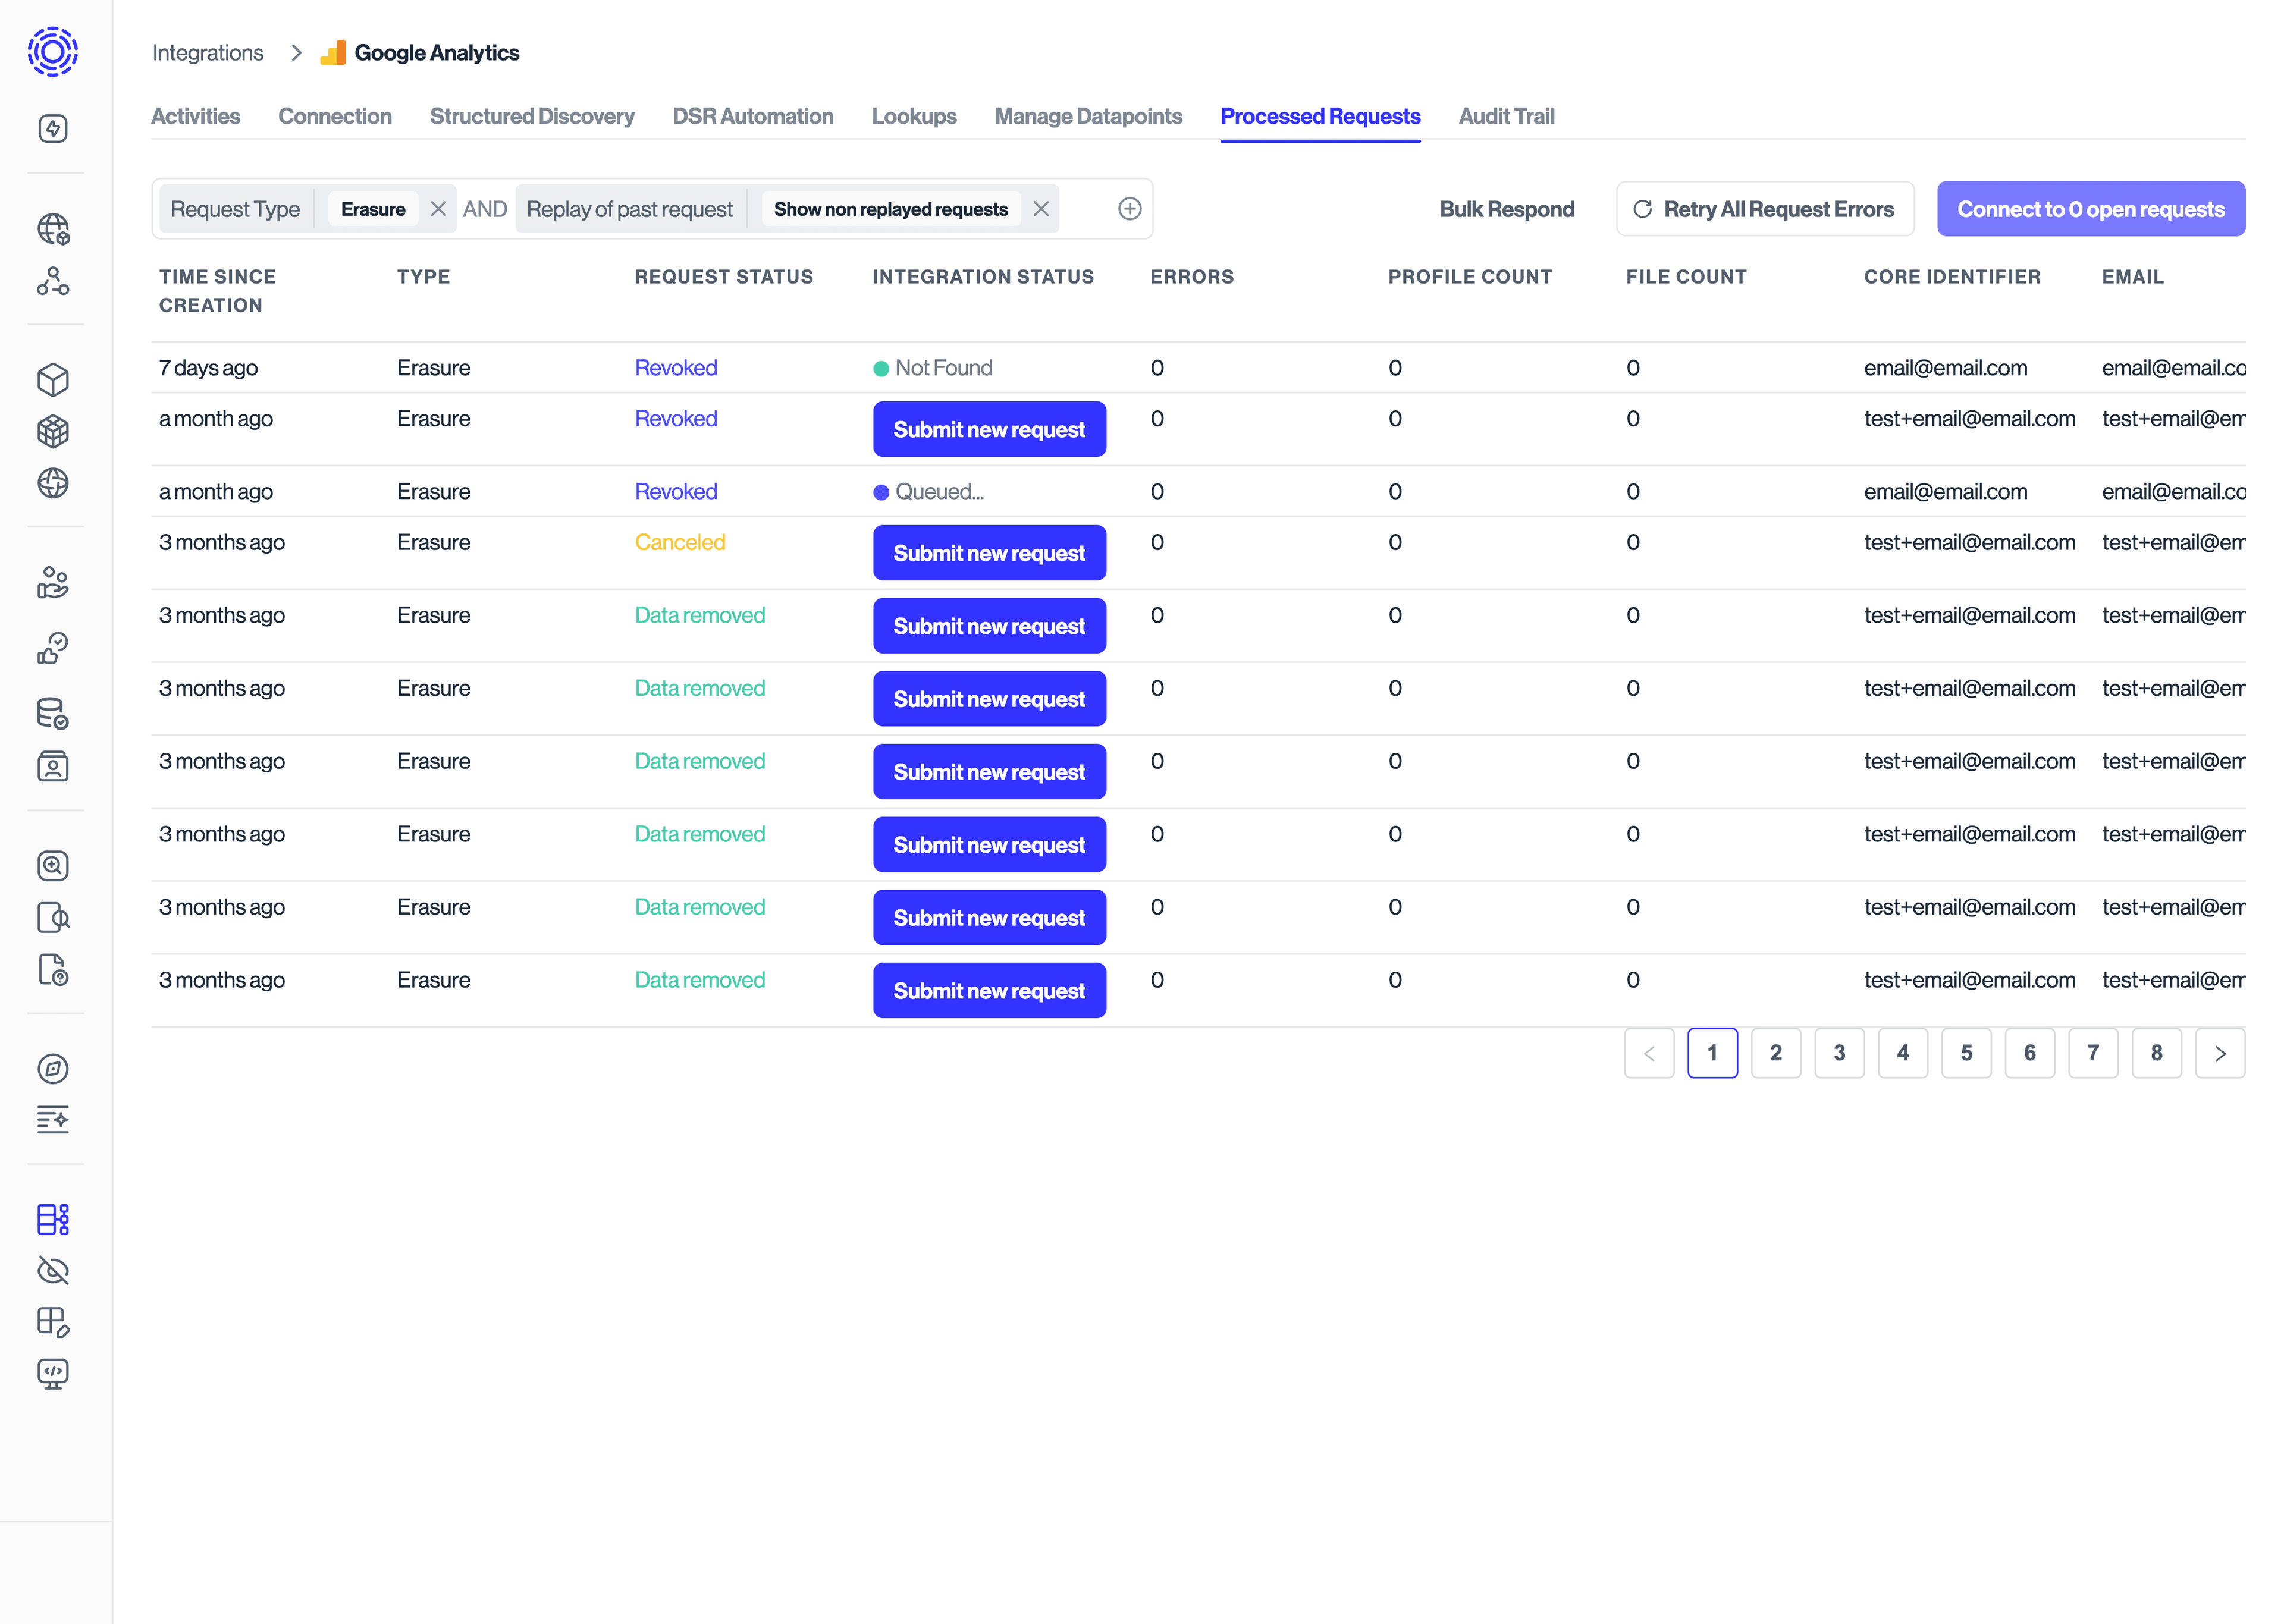
- As an optional step, you may want to test your integration on one or more requests before turning on "DSR Automation Live Mode" which will enable that integration for any applicable incoming request. To run a test request, open the "Processed Requests" tab. This view will show a filter of all existing data subject requests that could be processed by your integration, given the settings configured in the "Manage Datapoints" tab above. The filter settings are defaulted to remove requests that are unlikely to need processing (canceled requests, requests for action types that are not configured to run on this integration, etc.).
You can run a test request using one of the following methods:
a. Select a previously closed test request and click the "Submit new request" button. This will queue up a new DSR to run against just this one integration.
b. Submit a new Data Subject Request and selecting the option to mark the request as a test request. Test requests will process on all systems in your Integrations regardless of whether the integration is marked as "live".
Once the request has been created, you may want to check the status of the request and potentially expedite the request if you have configured a waiting period. When viewing a request, you can check the "Integrations" tab to visualize how the request is processing the integration you are testing.
- Turn on live mode - Once you have successfully tested your integration, you can toggle the "DSR Automation Live Mode" switch under the "DSR Automation Tab" and requests will start feeding into your newly configured integration.
- Run the integration against past requests - Your organization may have a backlog of requests that are actively open, or requests that have been completed that you wish to process against this newly connected integration. Once you've toggled the integration into live mode, the same interface used in step 6 will now default to showing you all production requests that could be processed against your integration.
Some options you have for processing past requests:
- Clicking the button "Connect to X open requests" will queue up your new integration to run against all active requests that can be processed by your integration. In most situations, you will likely want to click this button.
- You can additionally filter the view and click the "Connect to request" button to associate the integration to a request on an individual basis
- The remaining requests shown will show a button "Submit new request". These are past requests that are already closed. When you click this button, a new data subject request will be made with the same email and core identifier as the closed request. This request will be in silent mode (the data subject will not receive any notification about the request), and the request will be associated back to the original parent request for auditing purposes.