Preflight Check: Phone Number Verification with Twilio
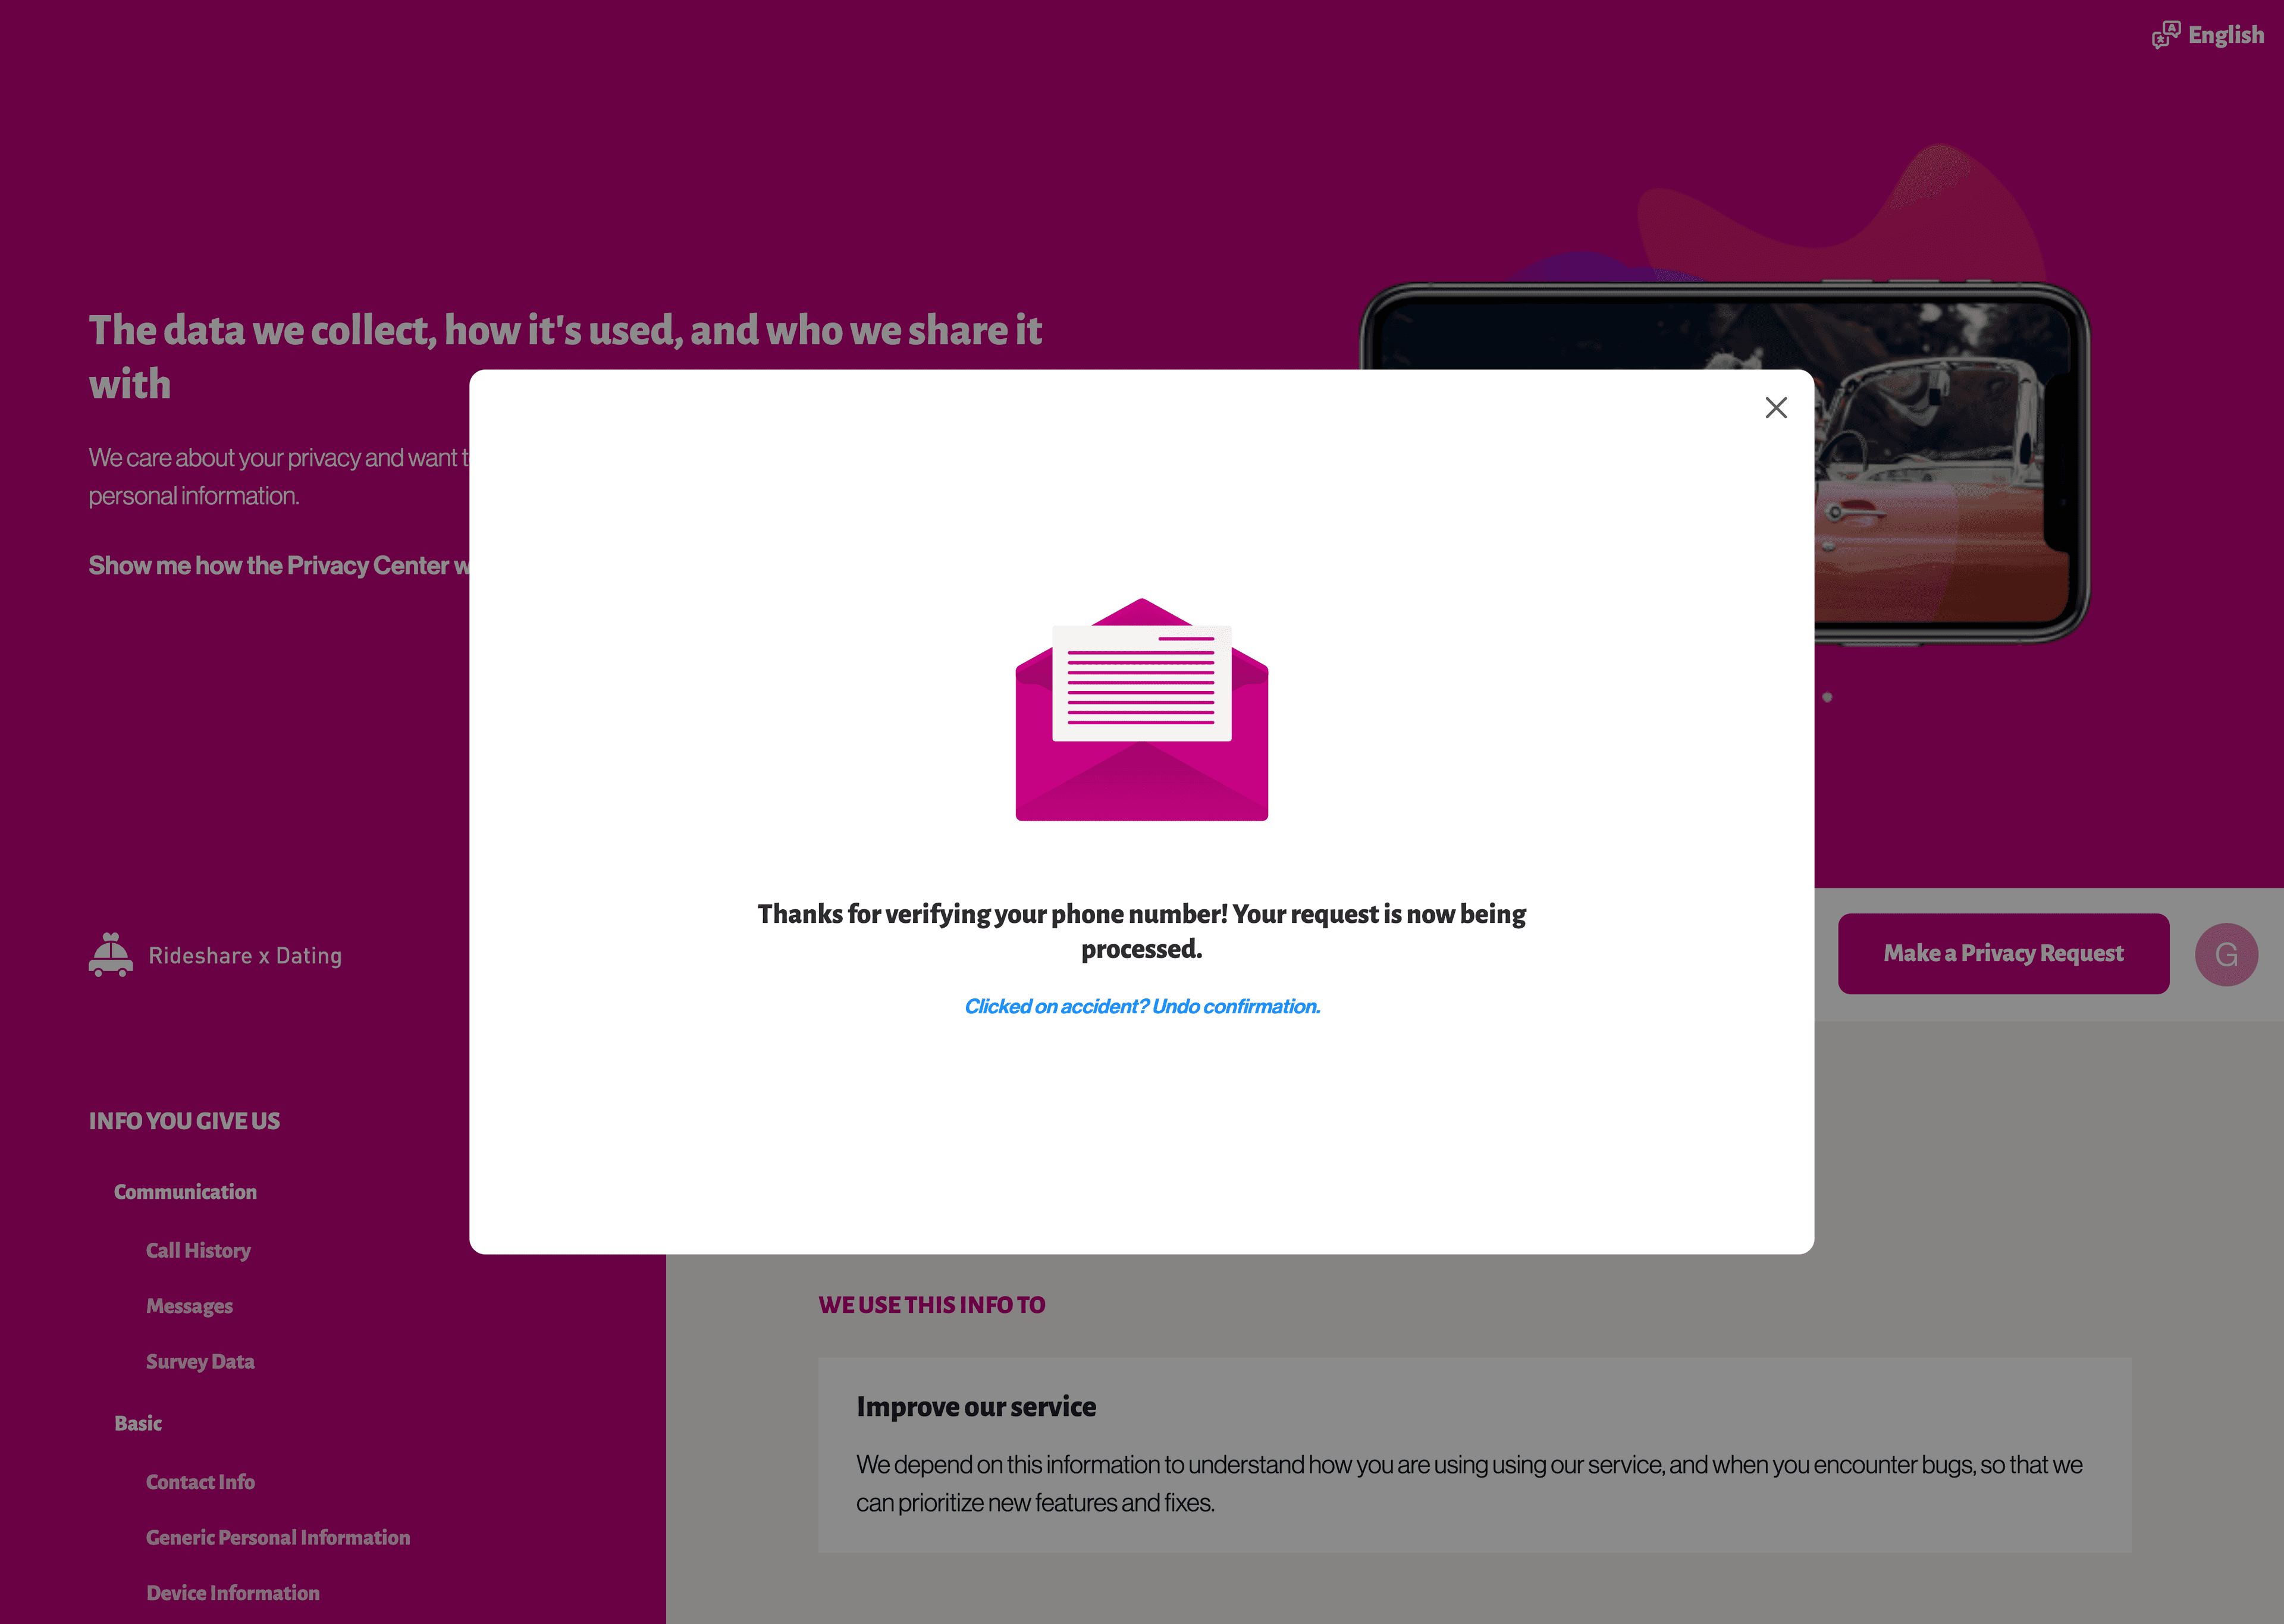
If you need a method to identify a data subject by a phone number, the Twilio SMS preflight check may be a good choice. This preflight check works by leveraging your Twilio account to send a 2FA text code to a mobile cell. The data subject will click a link that confirms their identity and redirects them back to the Privacy Center.
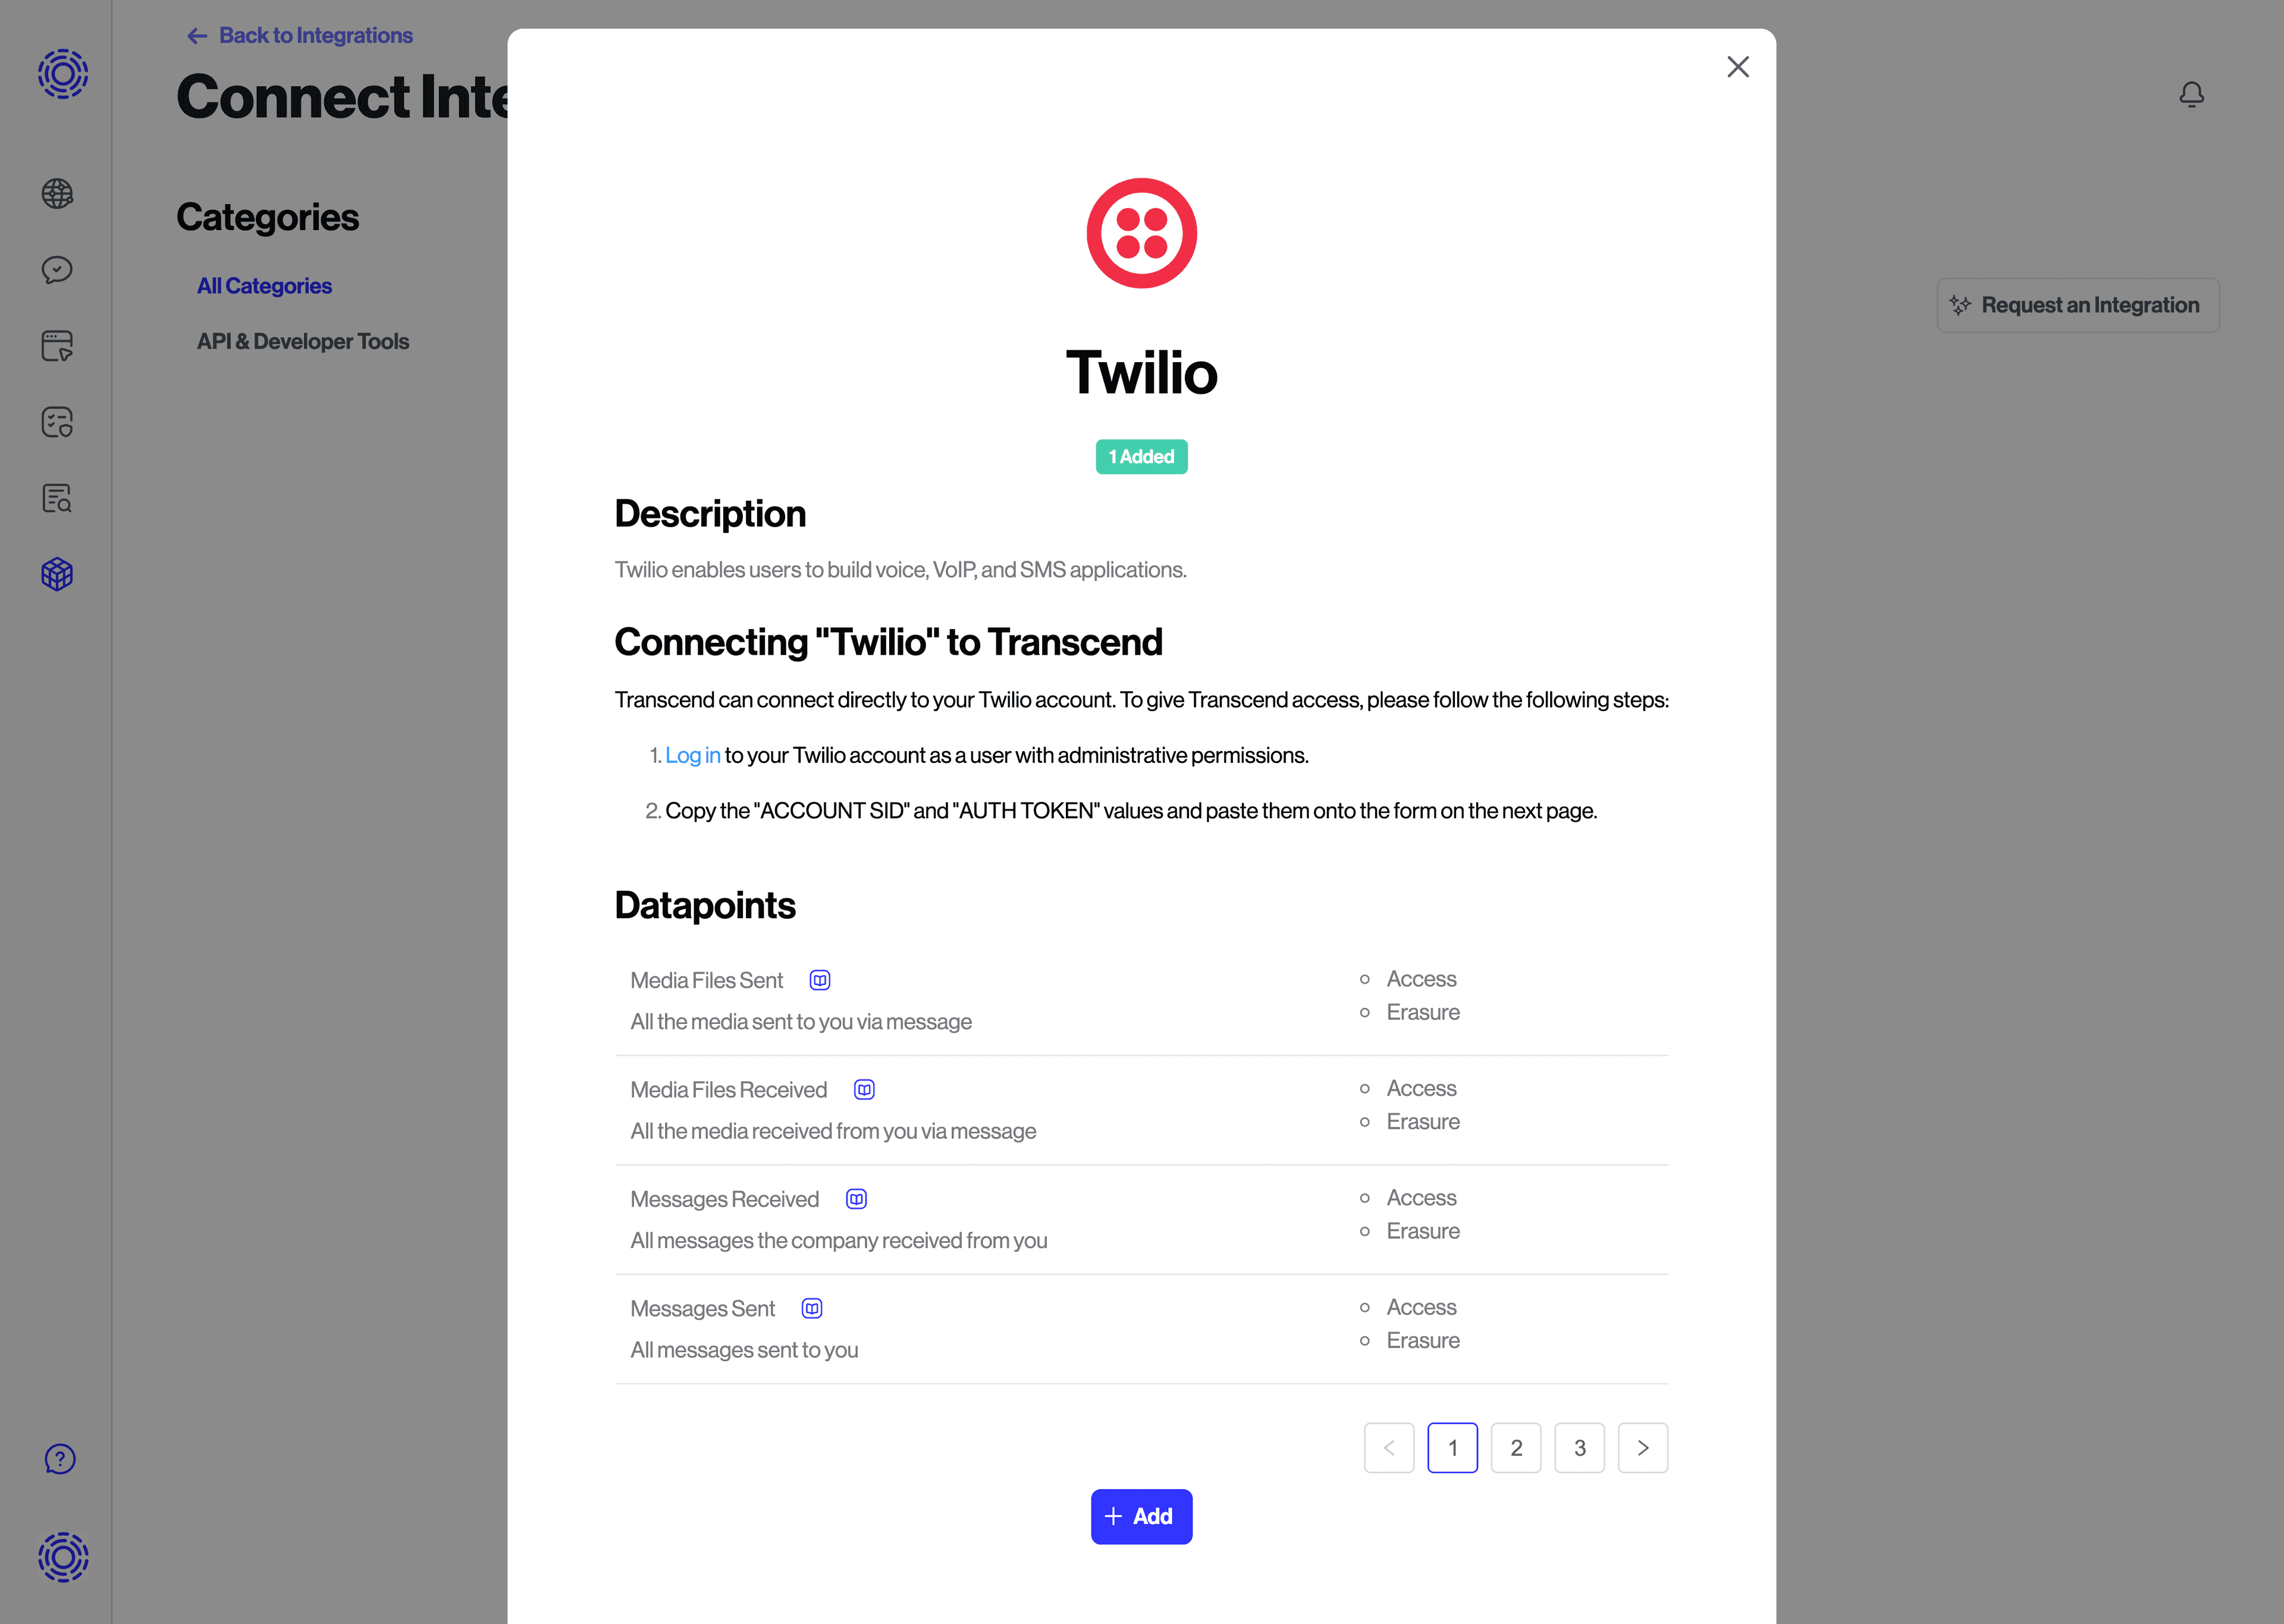
To set it up, first set up a new integration with Twilio.
After that, create a new template inside Email Templates with the Internal Title equal to 'Phone number verification' if there is no template with that name.
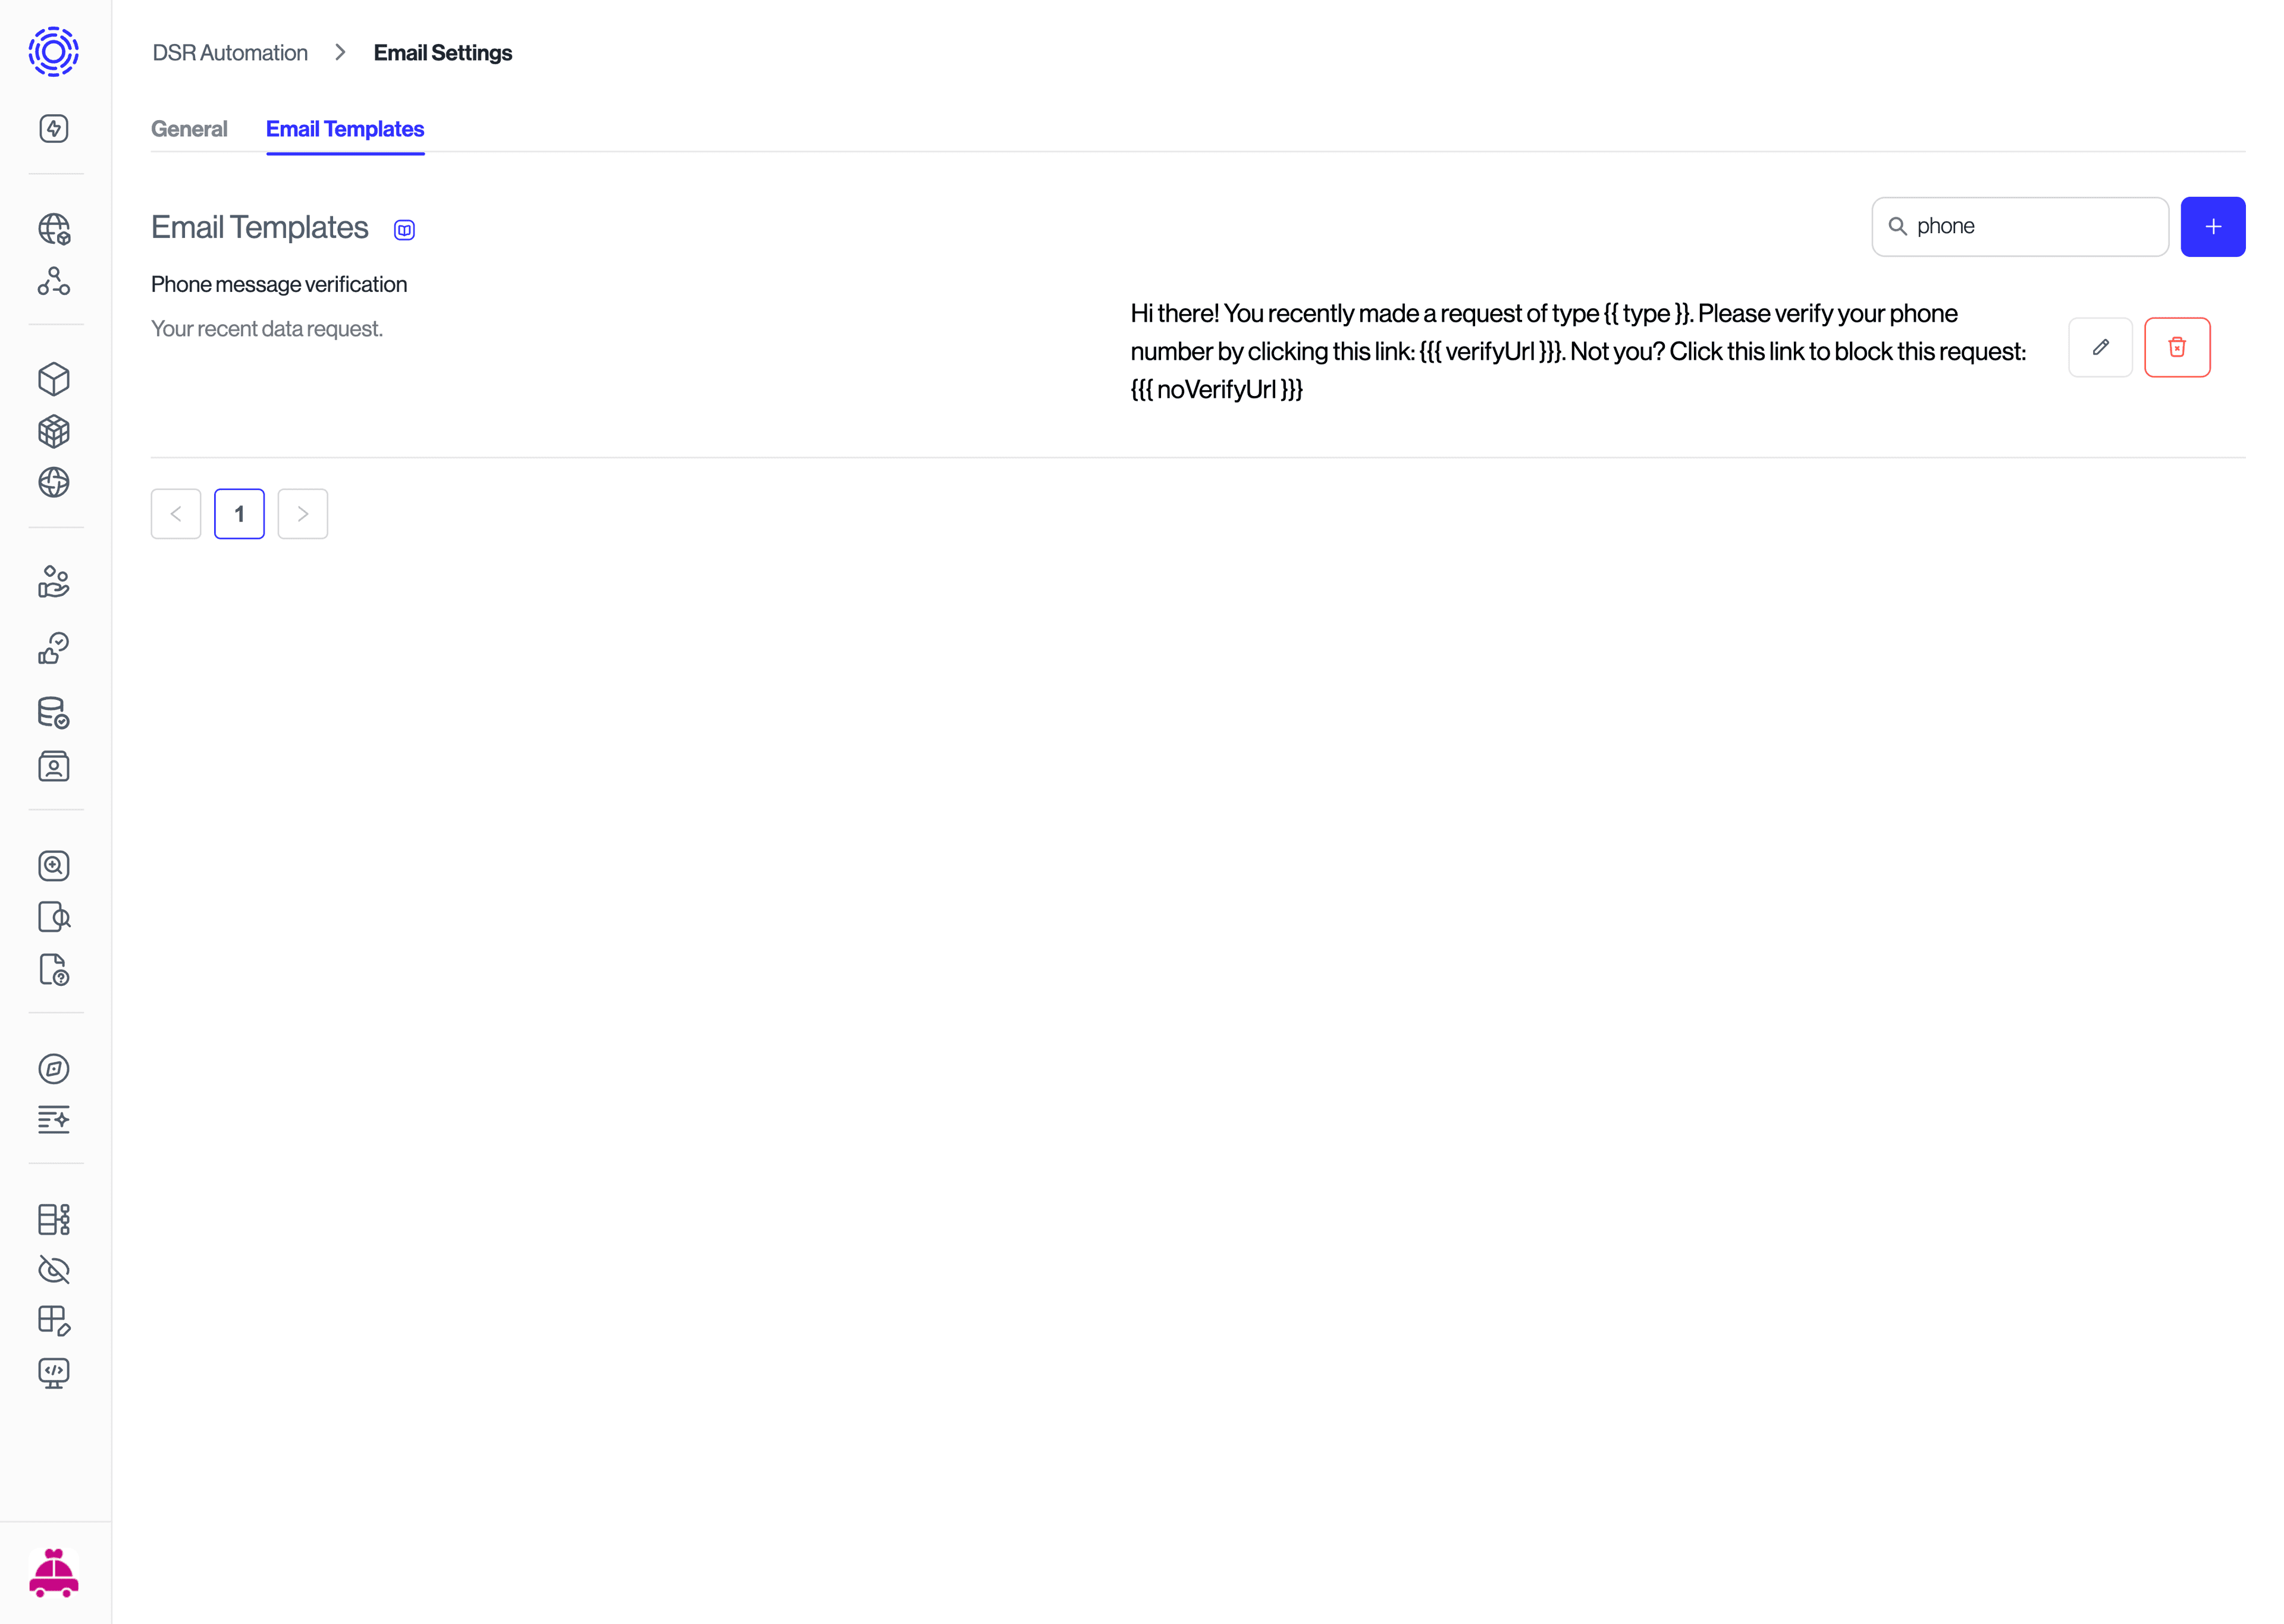
Add a 'Message Subject' and a 'Message Template'. The 'Message Template' can include {{{ verifyUrl }}}, that will be filled with the verification URL that the user will click to verify their phone number, and {{{ noVerifyUrl }}} to reject the verification request. {{{ verifyUrl }}} is a variable that will be filled by our platform with the verification URL that the user will click to verify their phone number. {{{ noVerifyUrl }}} is a variable that will be filled by our platform with the URL that the user will click to reject the verification request. One example of a message that you can use is:
Hi there! You recently made a request of type {{type}}. Please verify your phone number by clicking this link: {{{ verifyUrl }}}. Not you? Click this link to block this request: {{{ noVerifyUrl }}}.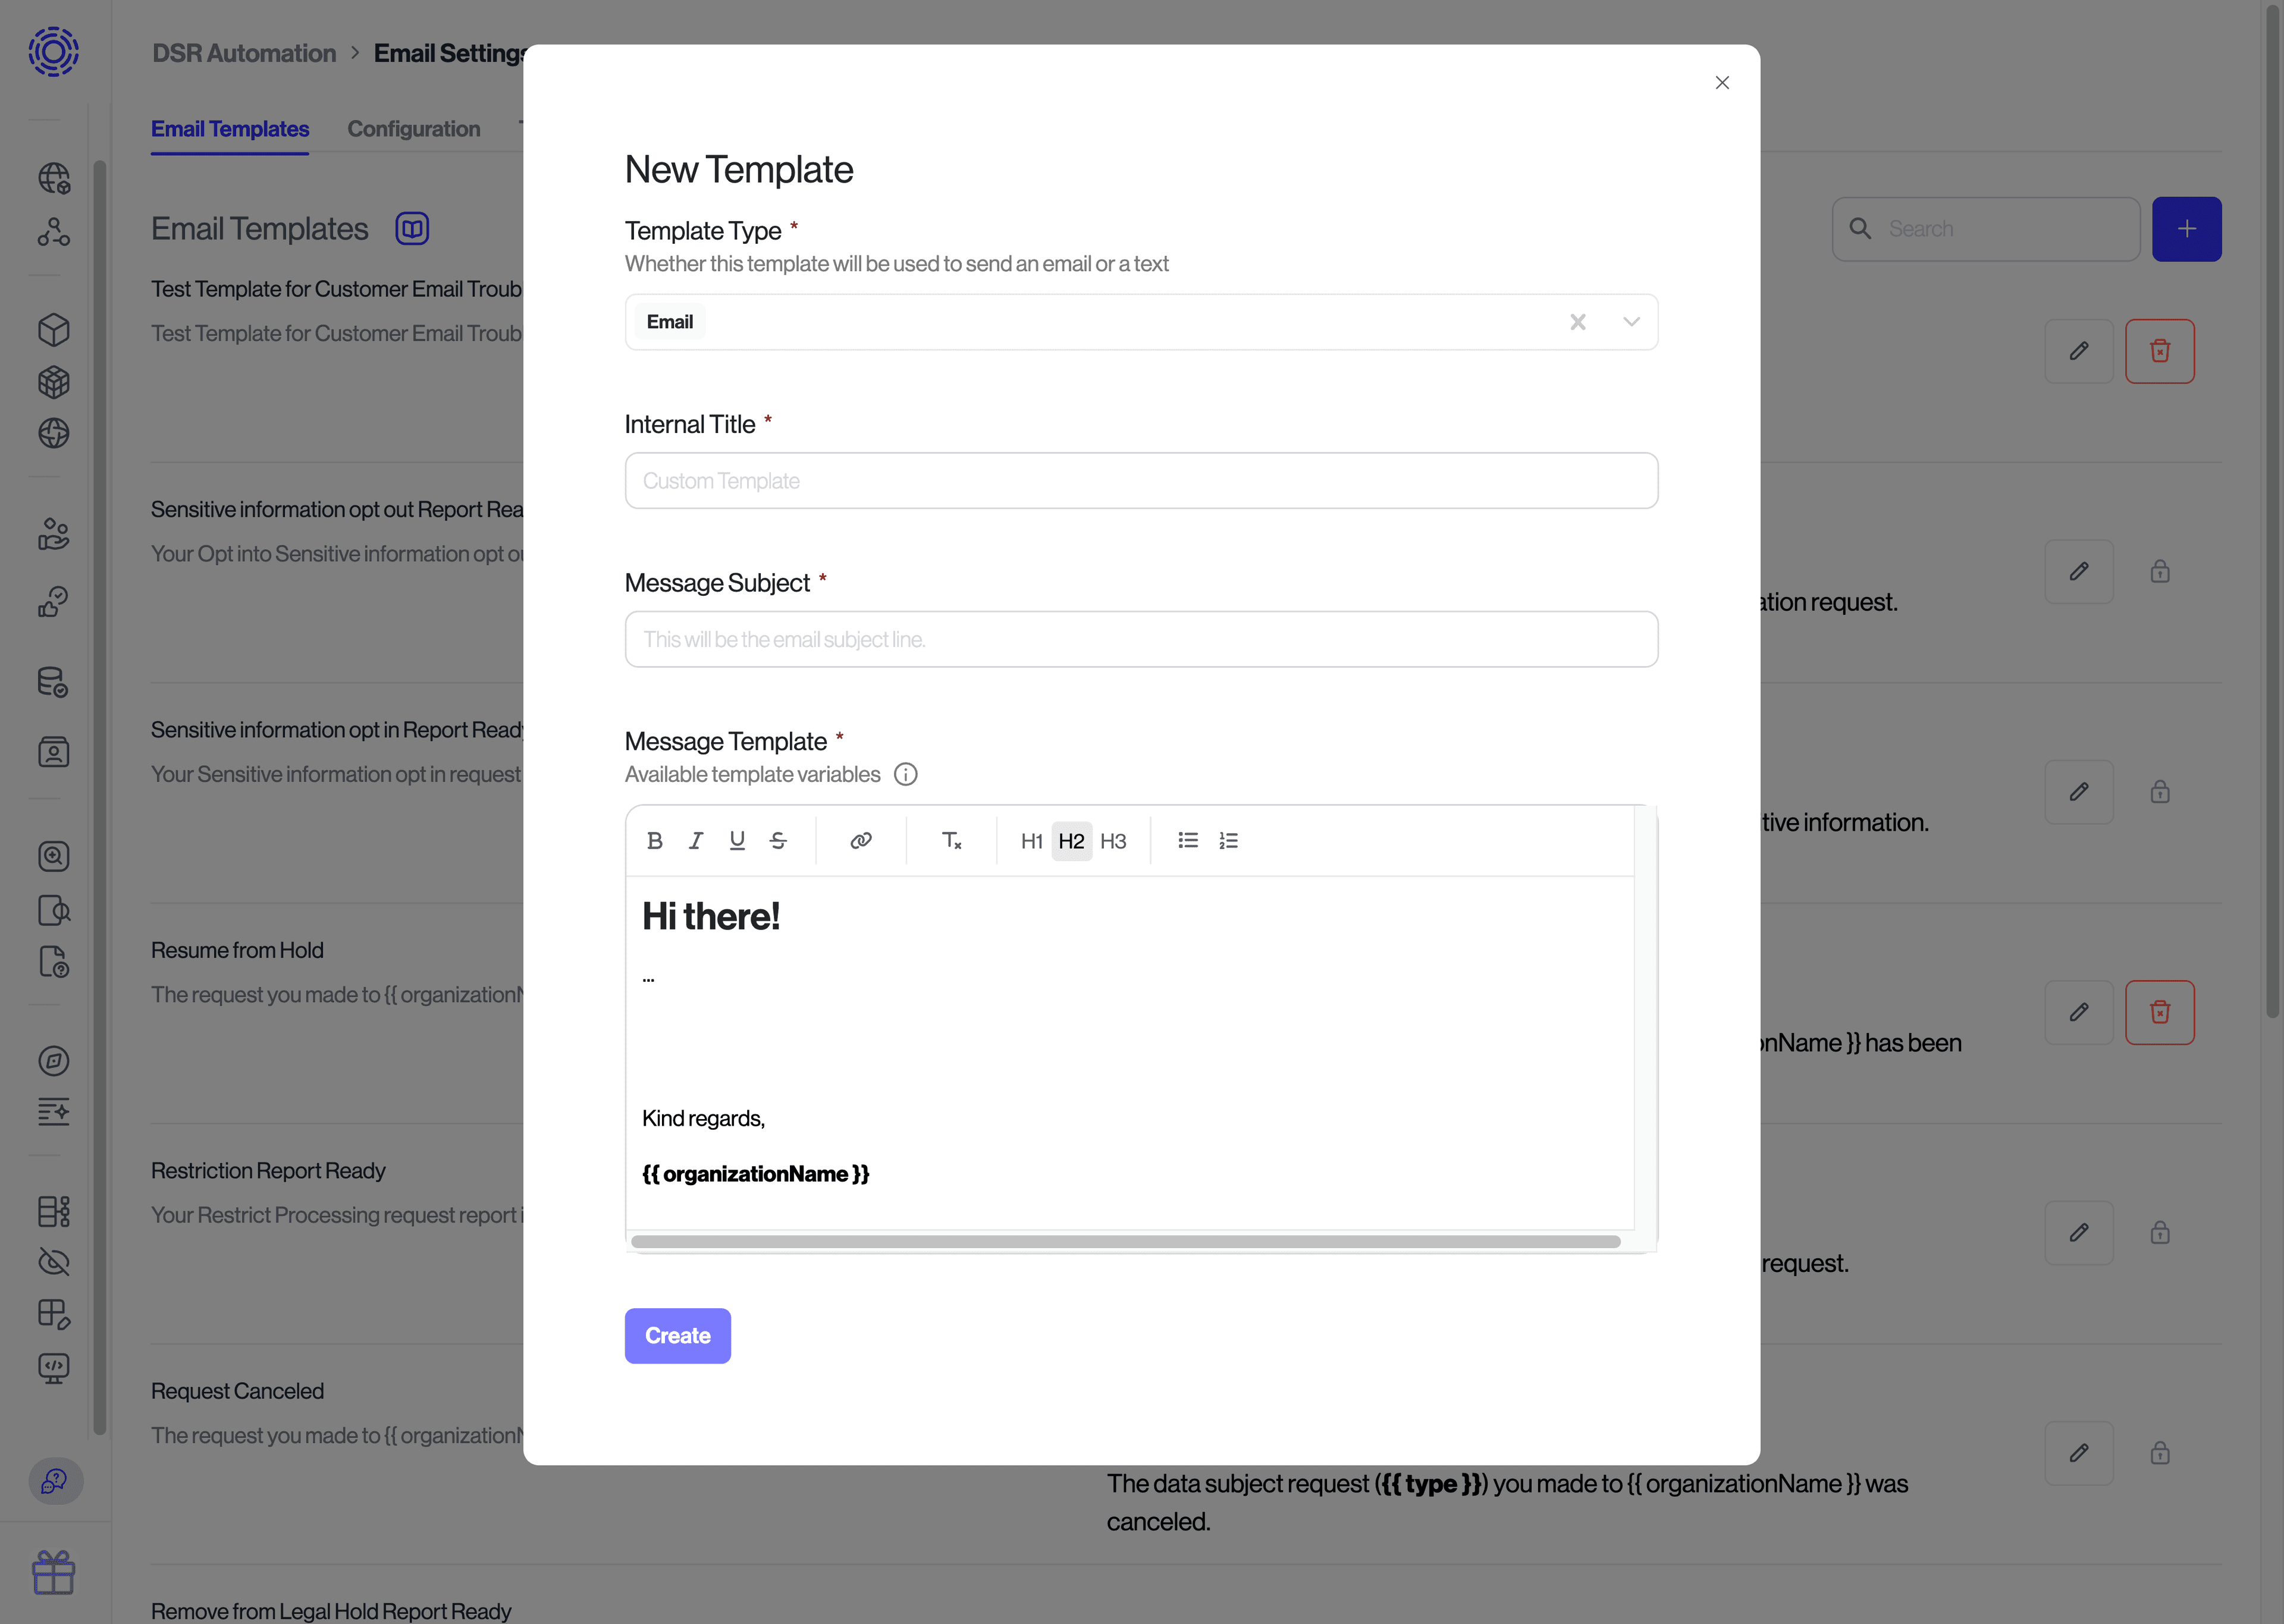
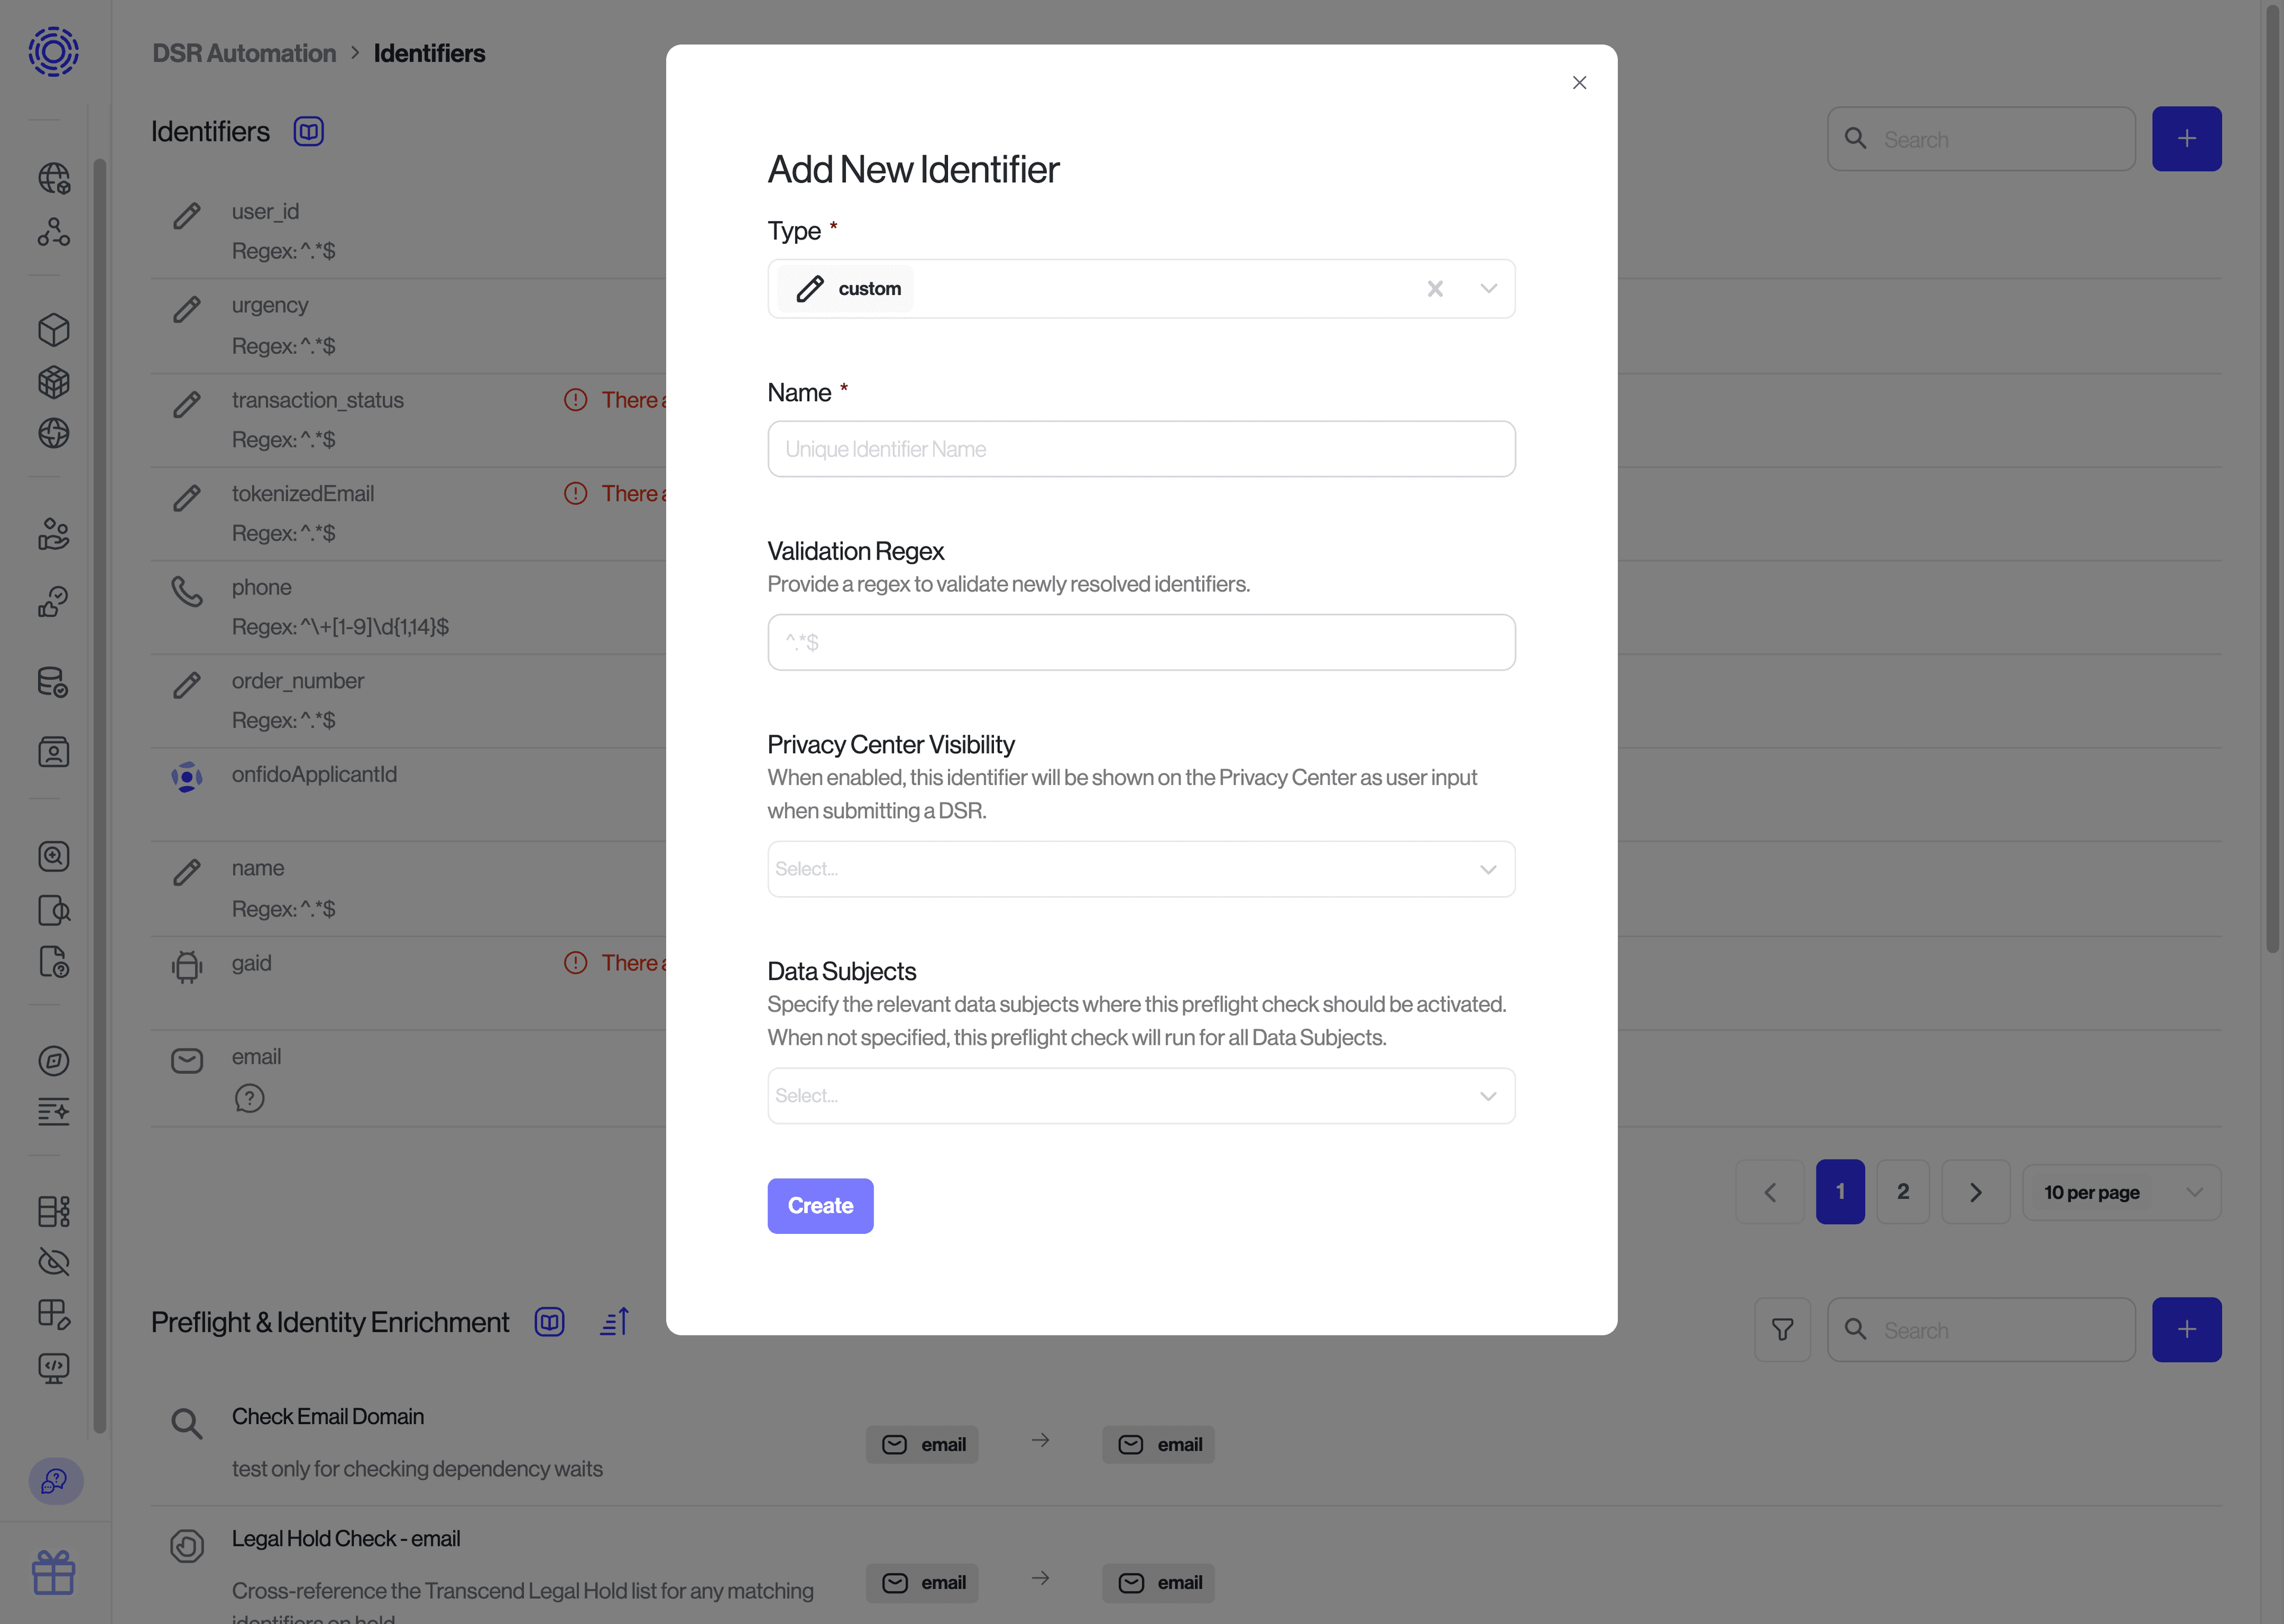
Next you'll want to make sure you have a phone identifier created. If that is not set up yet, go to the Identifiers and create a new one. You'll want to enable that identifier to be visible on the Privacy Center by setting the Privacy Center Visibility setting.
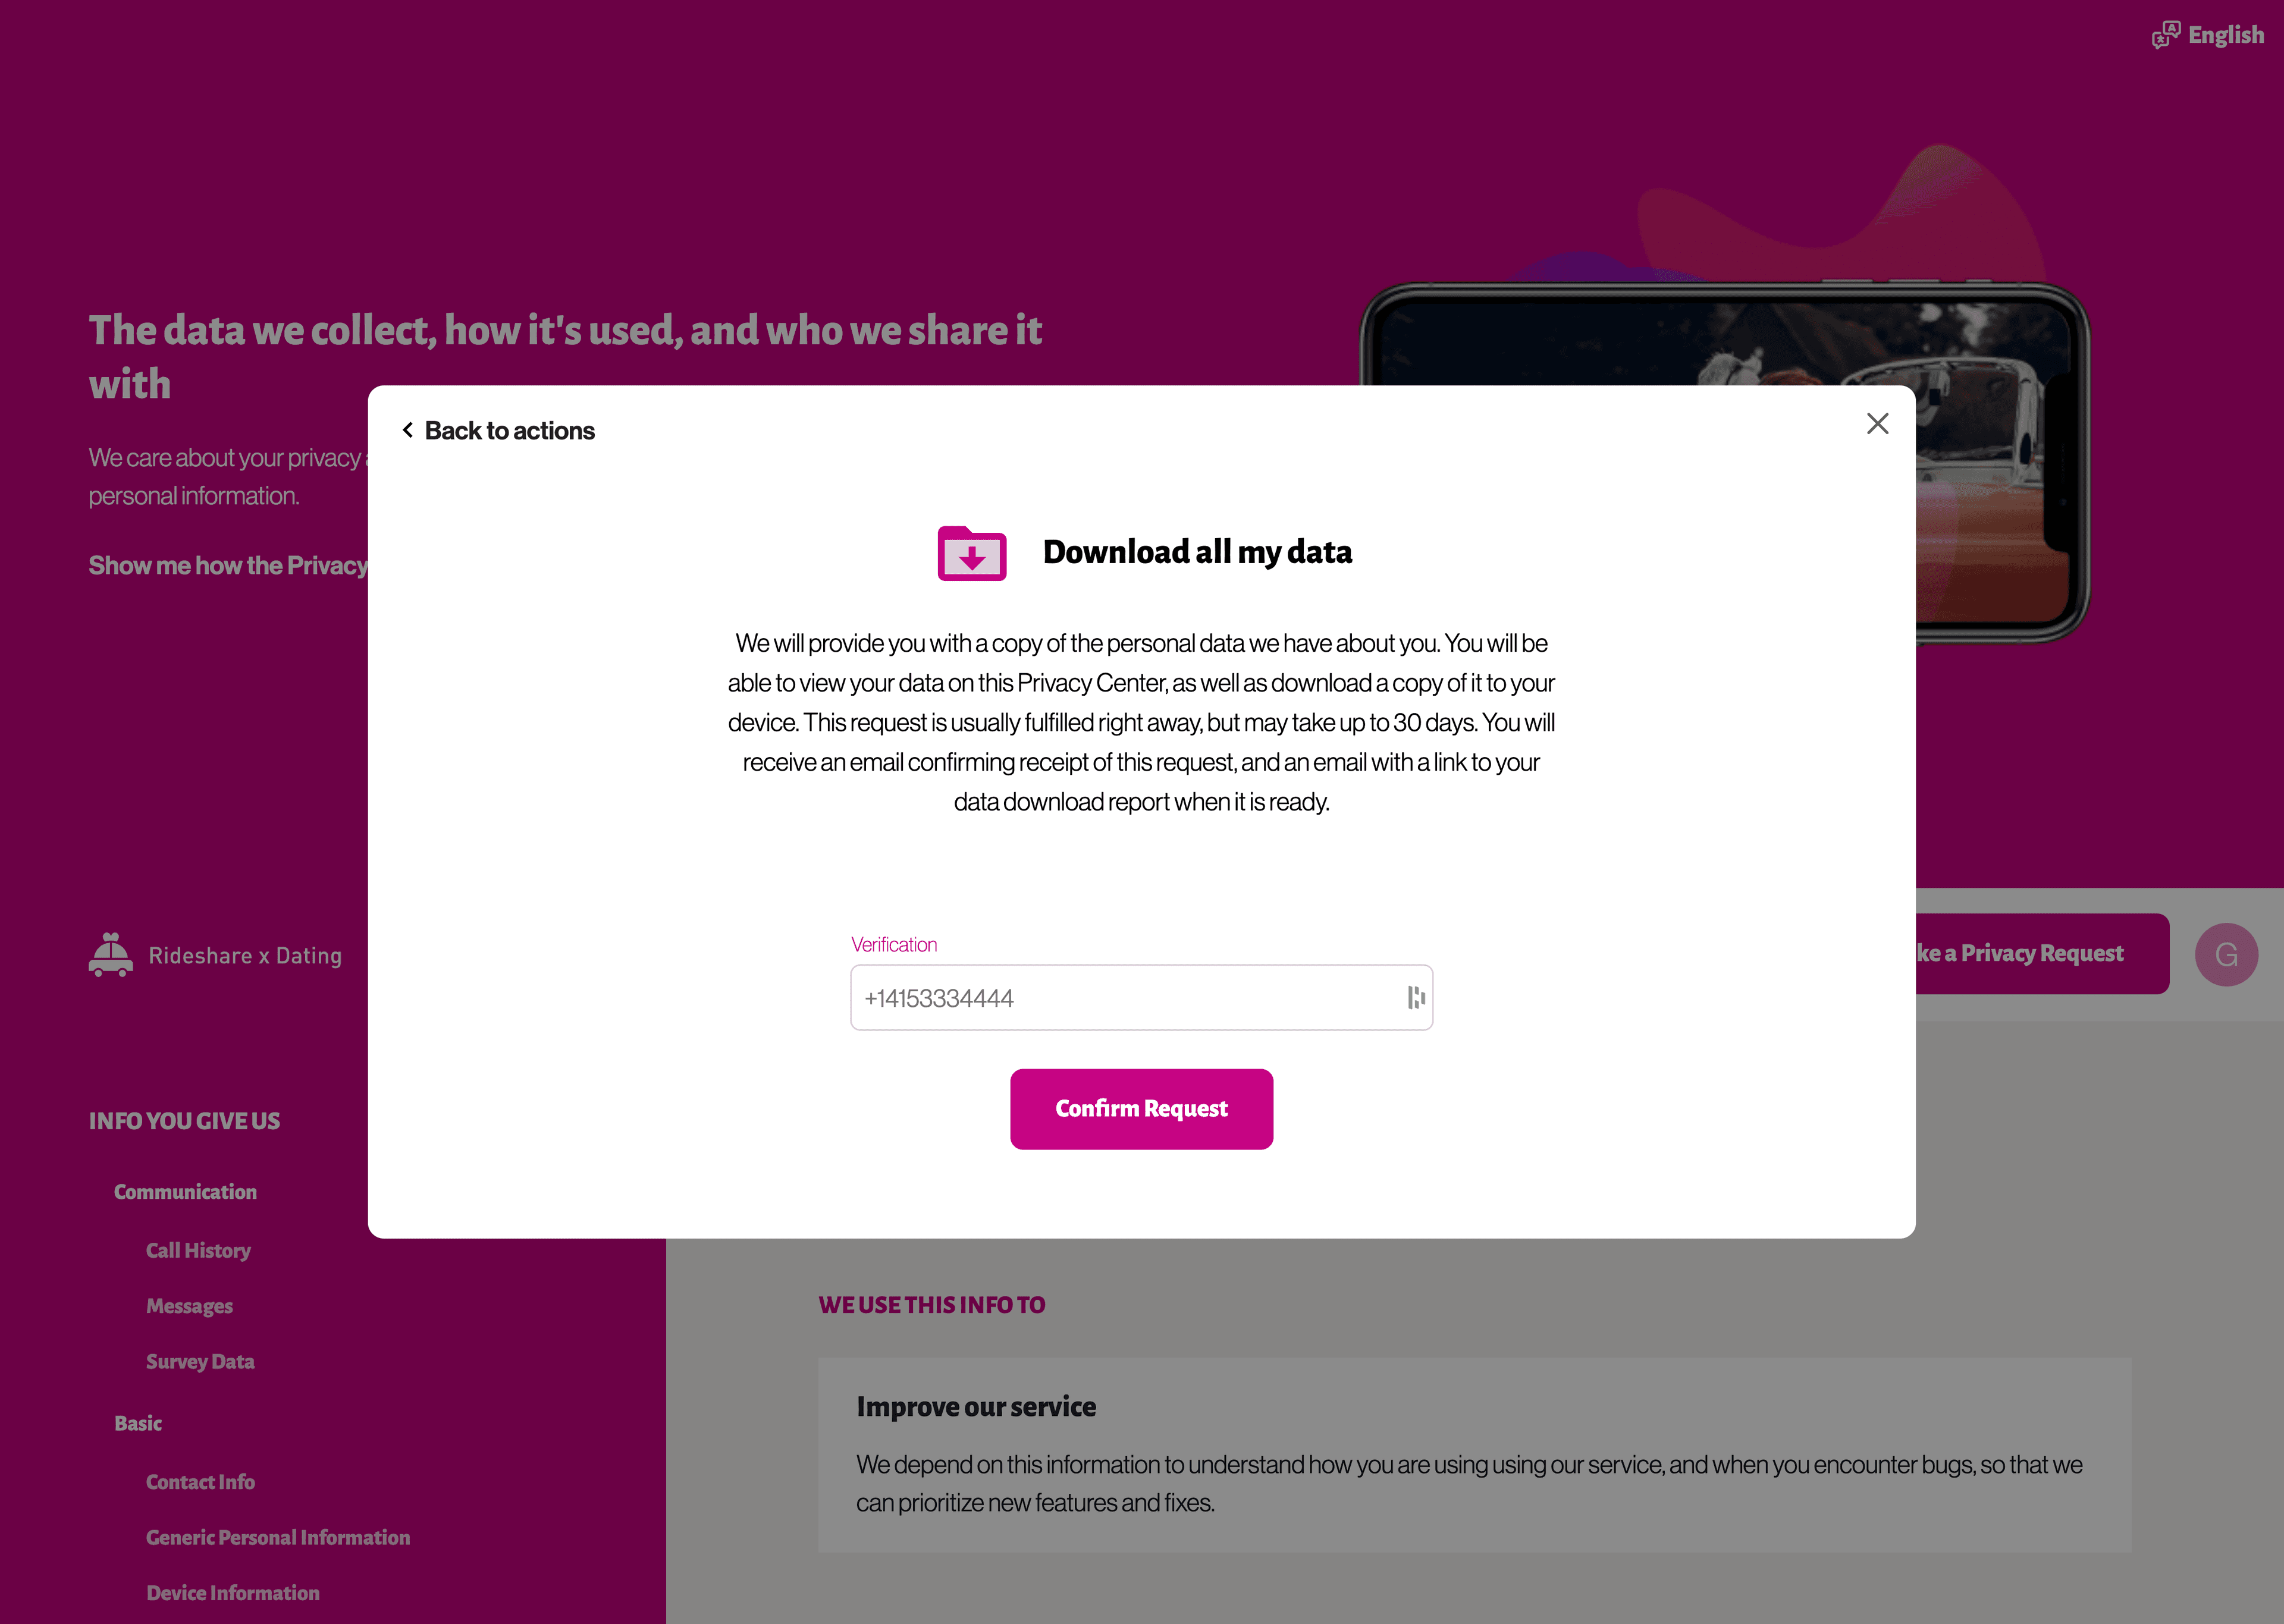
This will expose the identifiers in the Privacy Center confirmation form:
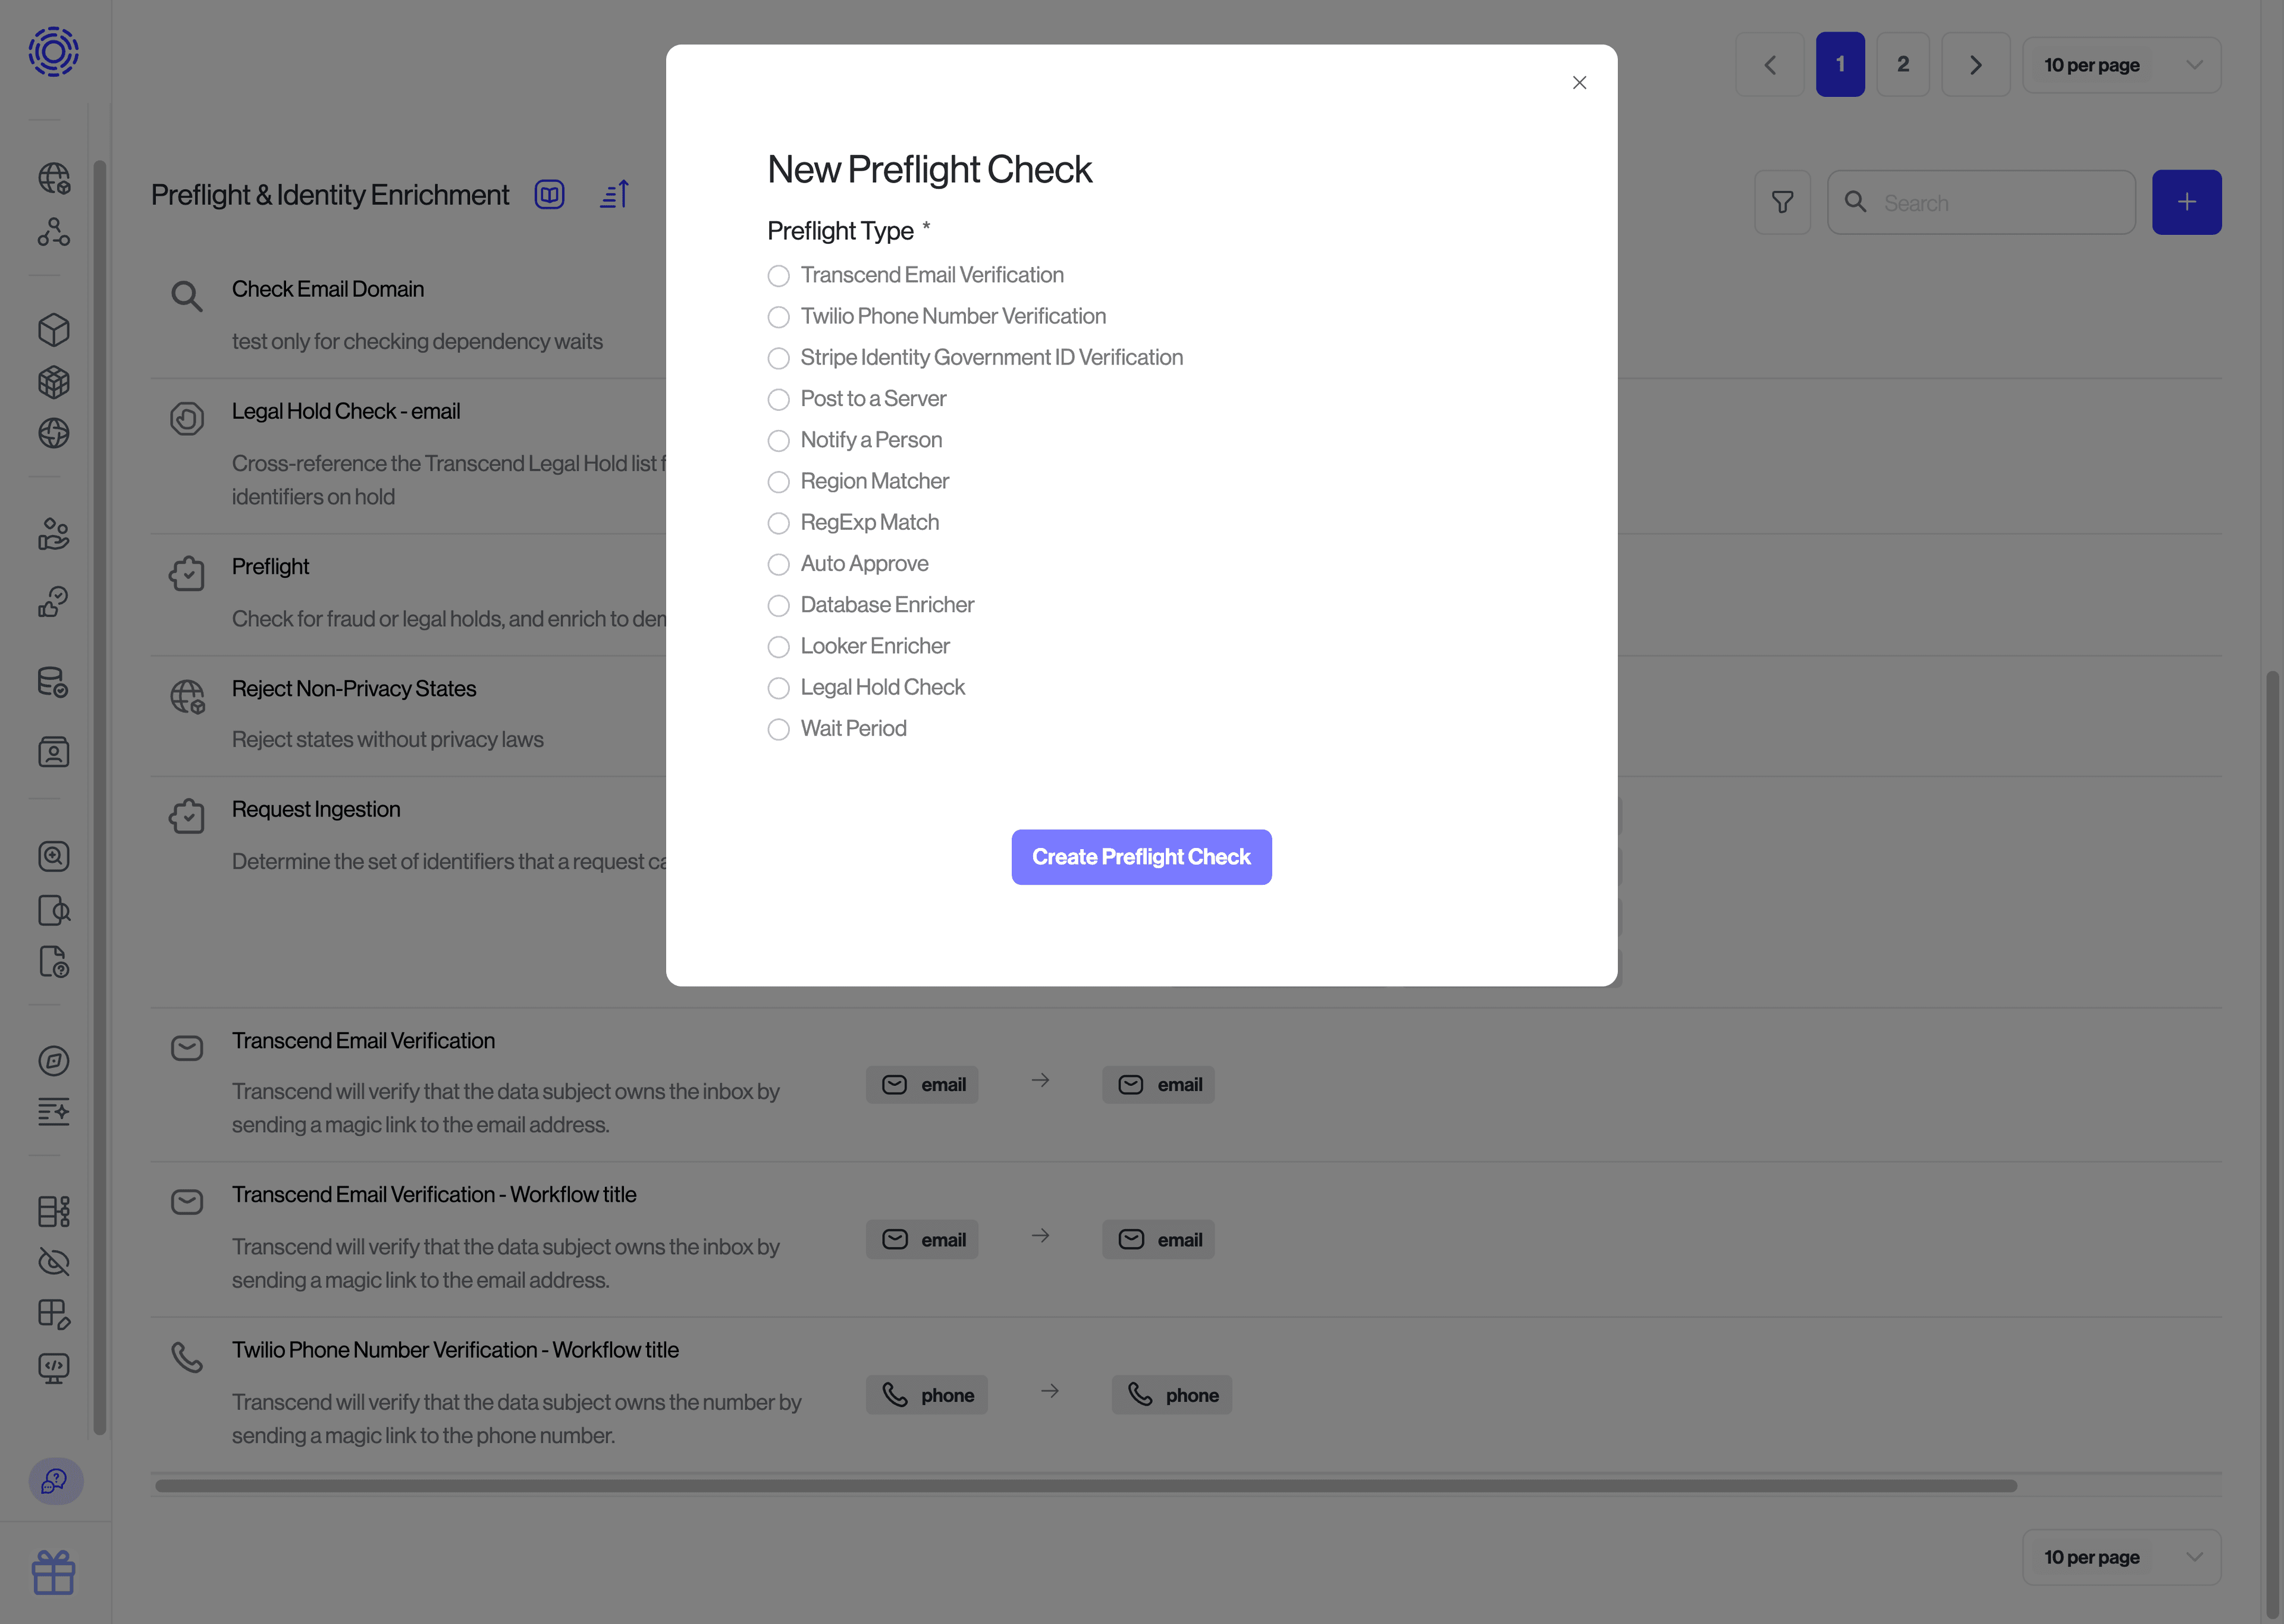
Next, go ahead and create a new preflight check with type "Twilio Phone Number Verification".
The "Twilio Phone Number Verification" preflight step has the following configuration settings that are commonly customized:
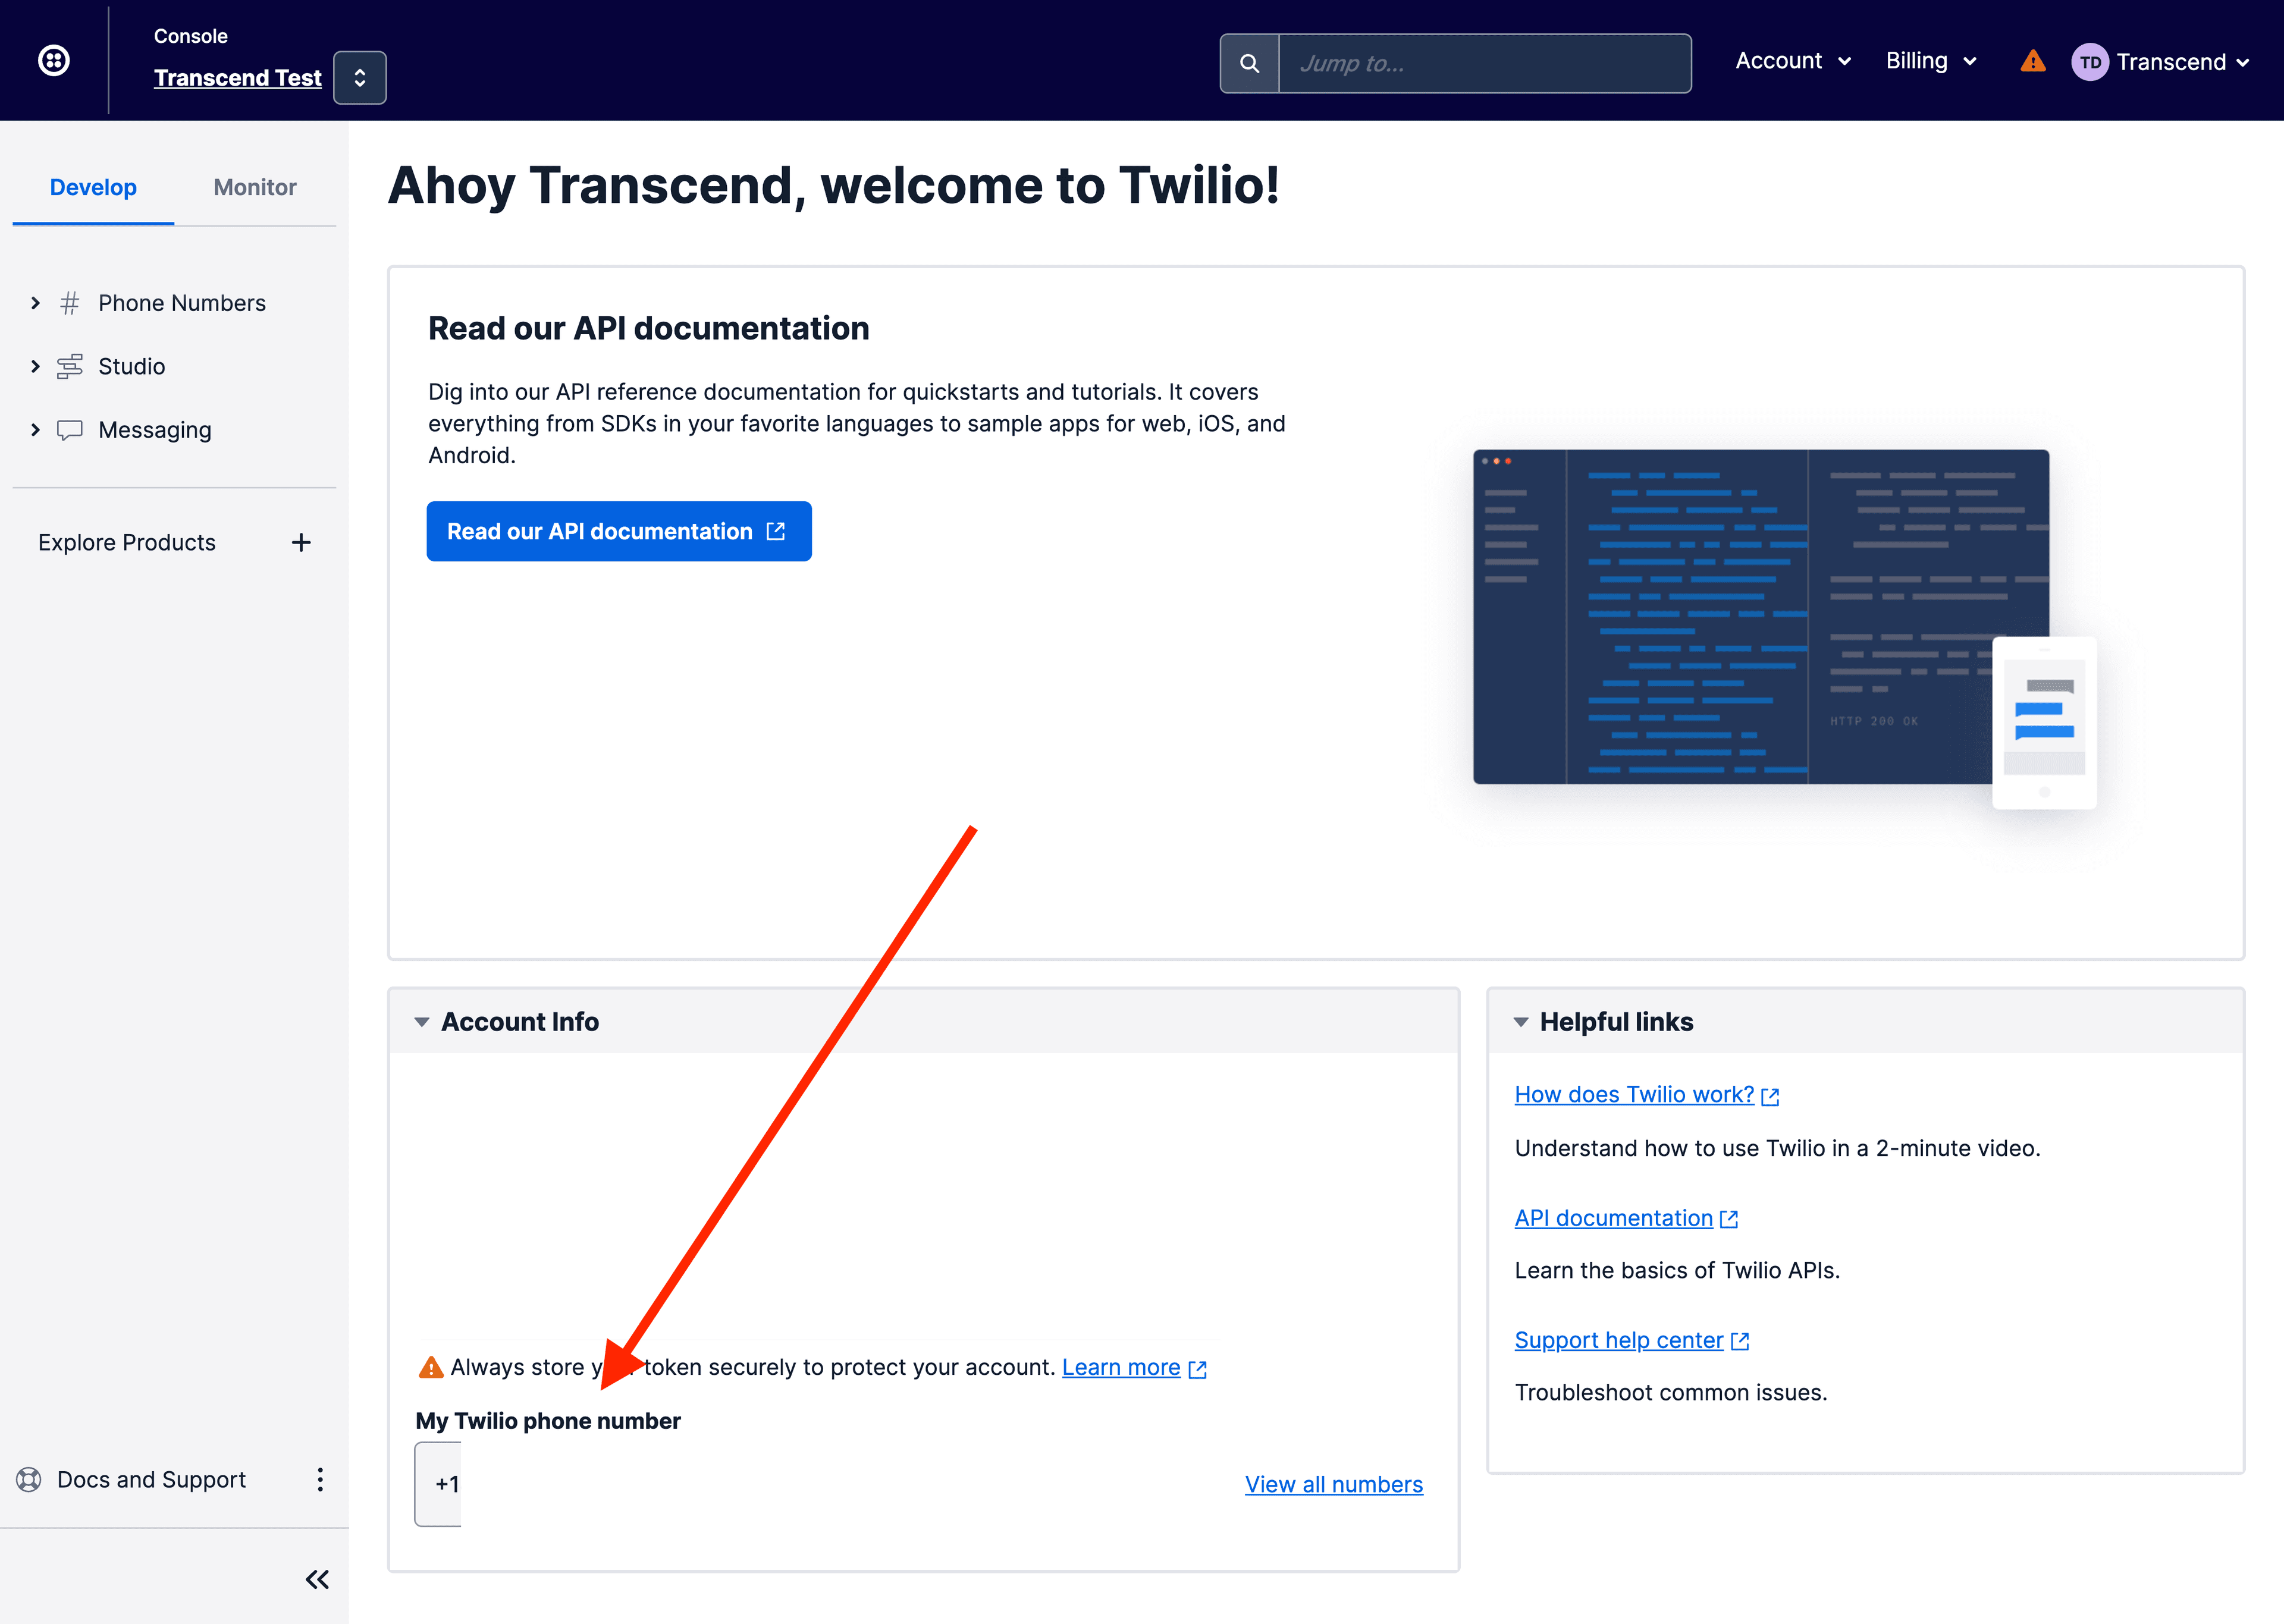
Twilio Integration: The Twilio integration to use to send texts, set up previously in step 1Verification Template: Provide the template that should be sent to the identifier that is being verified. This same template will be sent for all verification attempts when the verification is set up as a drip campaign. This was set up in step 2.Expiration Duration: The amount of time (in hours) until the identifier will be considered not verified. After this verification window is hit, the default behavior is for the request to throw an error and generate an action item.Request Verification Failed Template: Provide an email template that should be sent to the primary email for a request after the "Expiration Duration" window passes. When a template is specified, the request will enter a "Verification Failed" status, and the request will have to be re-submitted by the data subject, or restarted by an admin. It is common to provide an email template that instructs the data subject that their request was canceled, with additional instructions explaining how to re-submit the request.Request Continuation Template: Provide an email template that should be sent to the primary email for a request after the "Expiration Duration" window passes. When a template is specified, the unverified identifier will be removed from the request, and the request will continue being processed for all other verified identifiers. Note: This cannot be set in combination with the "Request Verification Failed Template". If both are set, the "Request Verification Failed Template" is used and the request enters a "Failed Verification" state.Twilio Phone Number *: For each region that data subjects may be, add a phone number for that region. You can find these numbers on Twilio's console. The number should have the ability of sending SMS messages. For each region that you want to support, add a phone number with the specified region. For example, if you want to add support for the US, add a phone number with the number+1XXXXXXXXXX. If you want to add support for the UK, add a phone number with the number+44XXXXXXXXXX, and so on.
You can additionally configure the "Twilio Phone Number Verification" preflight step to send a "Drip Campaign" where the text message specified by Verification Template is sent multiple times. In order to set up the "Drip Campaign", you will want to update the Expiration Duration to be longer enough to run the Drip Campaign, and then set the following settings to define the length of time between consecutive texts being sent.
Drip Campaign - Reminder Template 1 Duration: The amount of time (in hours) that should wait between first and second texts. Note that in order for this drip campaign email to be sent, the "Expiration Duration" settings must be greater than this duration.Drip Campaign - Reminder Template 2 Duration— The amount of time (in hours) that should wait between second and third texts. Note that in order for this drip campaign email to be sent, the "Expiration Duration" settings must be greater than the sum of this duration and "Drip Campaign - Reminder Template 1 Duration".Drip Campaign - Reminder Template 3 Duration: The amount of time (in hours) that should wait between third and fourth texts. Note that in order for this drip campaign email to be sent, the "Expiration Duration" settings must be greater than the sum of this duration, "Drip Campaign - Reminder Template 1 Duration" and "Drip Campaign - Reminder Template 2 Duration".
When the preflight check is set up correctly you will see it under the "Details" tab of the request:
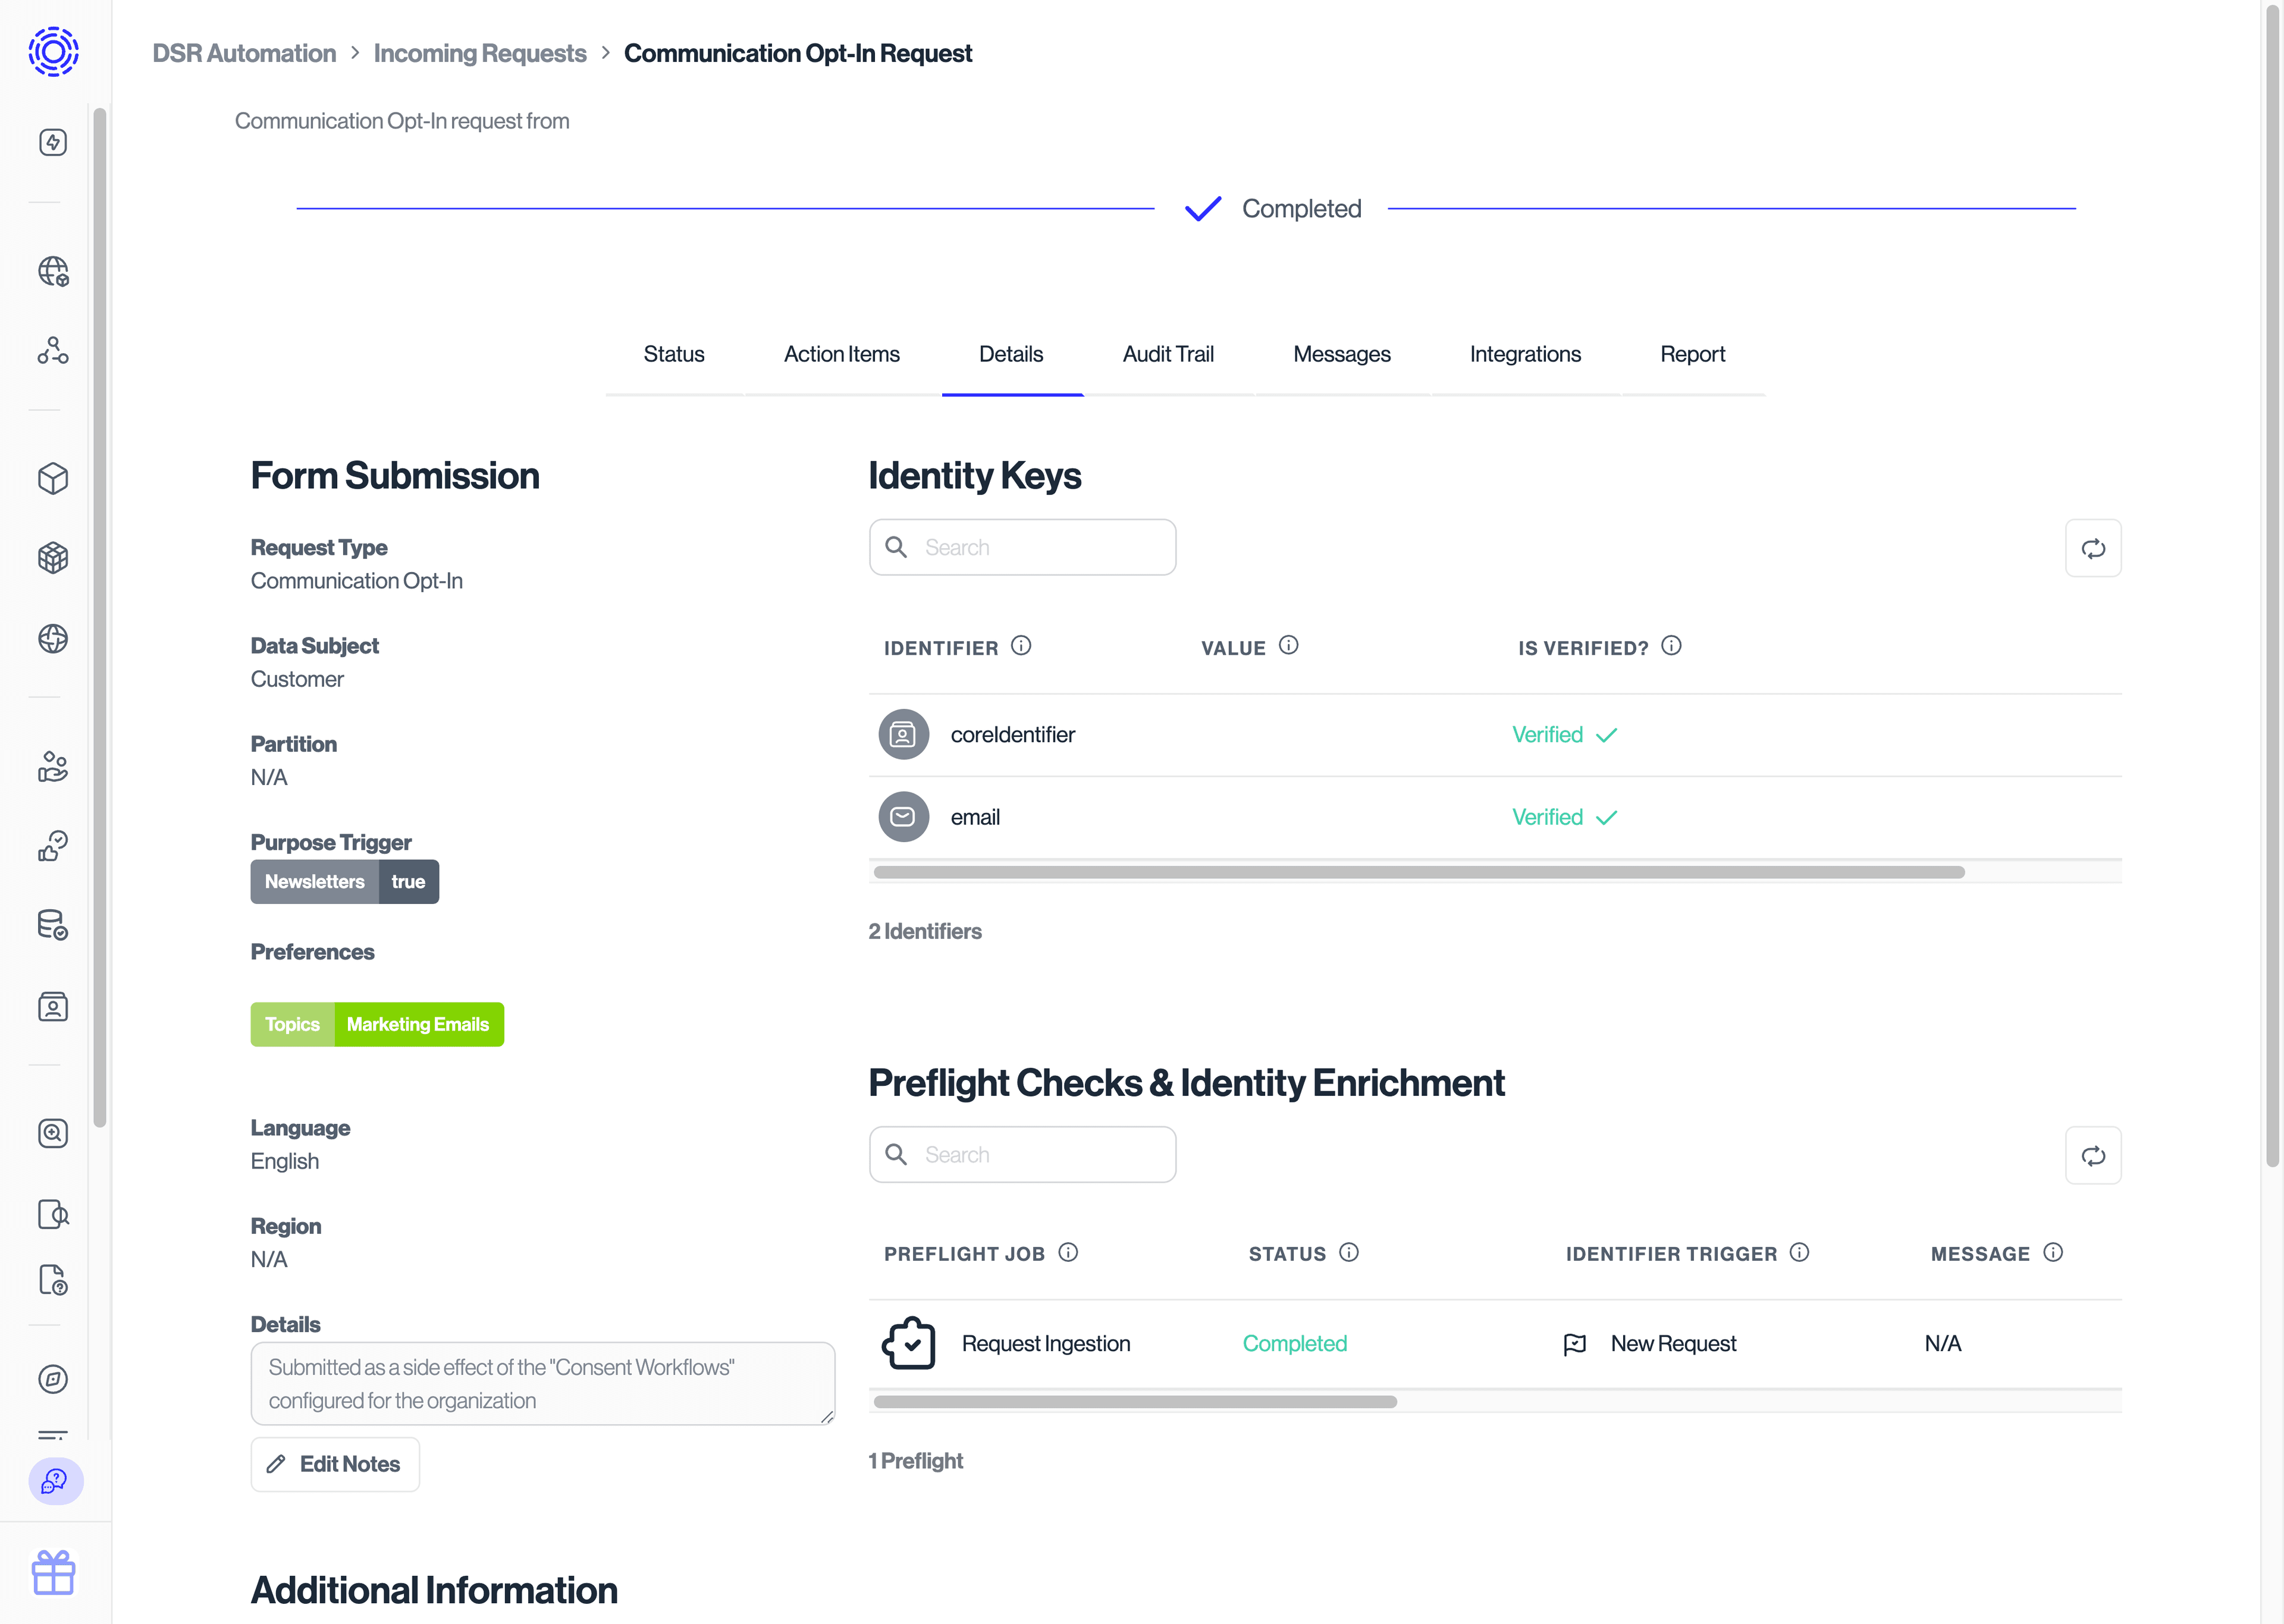
When the preflight check is run, a text will be sent to the data subject's phone number. The data subject will click on the link and the phone number will be verified, completing the phone number verification.
