Preflight Check: Government ID Verification via Stripe Identity
The Government ID verification preflight check can be used to authenticate data subjects by having them verify their government ID using Stripe Identity.
How it works: To support this form of verification, you will need to add a preflight check. The preflight check will send a verification link from Stripe Identity to the data subject's email. The integration will then check the status of the verification once every 12 hours for completion or cancellation.
To set this up, set up a new integration with Stripe.
Next, edit the default email template as needed inside Email Templates with the title "Government ID verification" or create a new template.
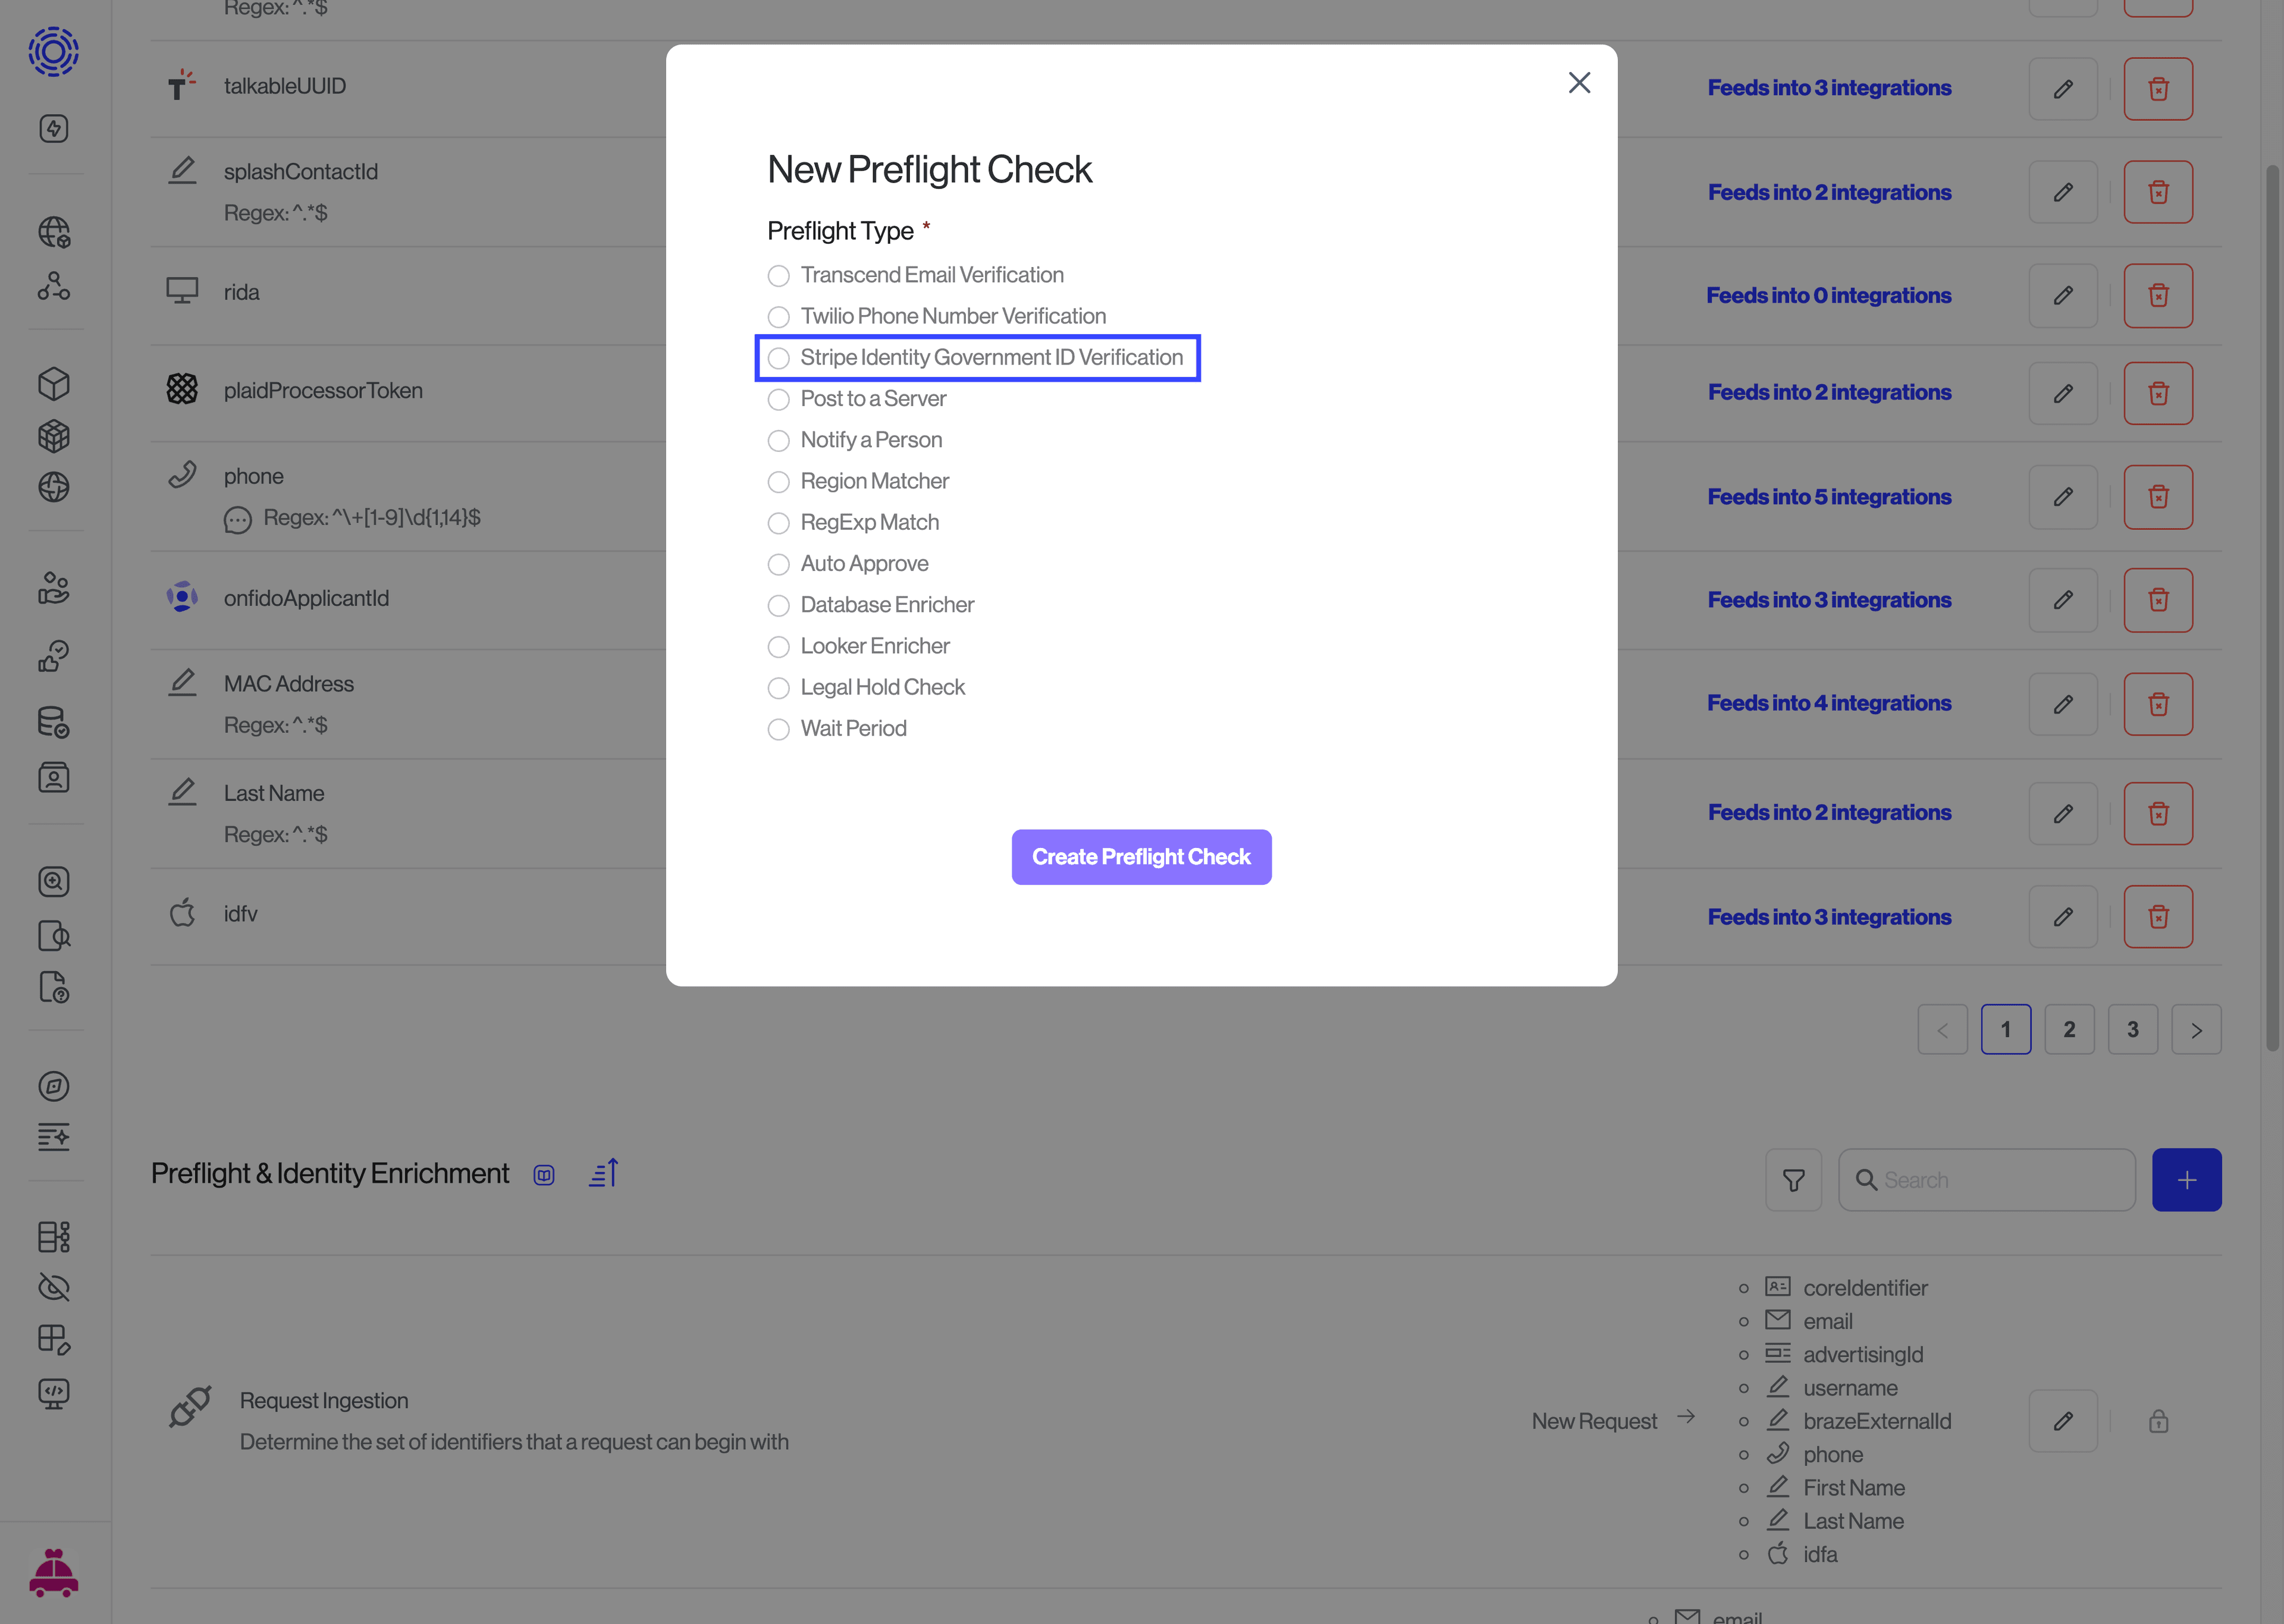
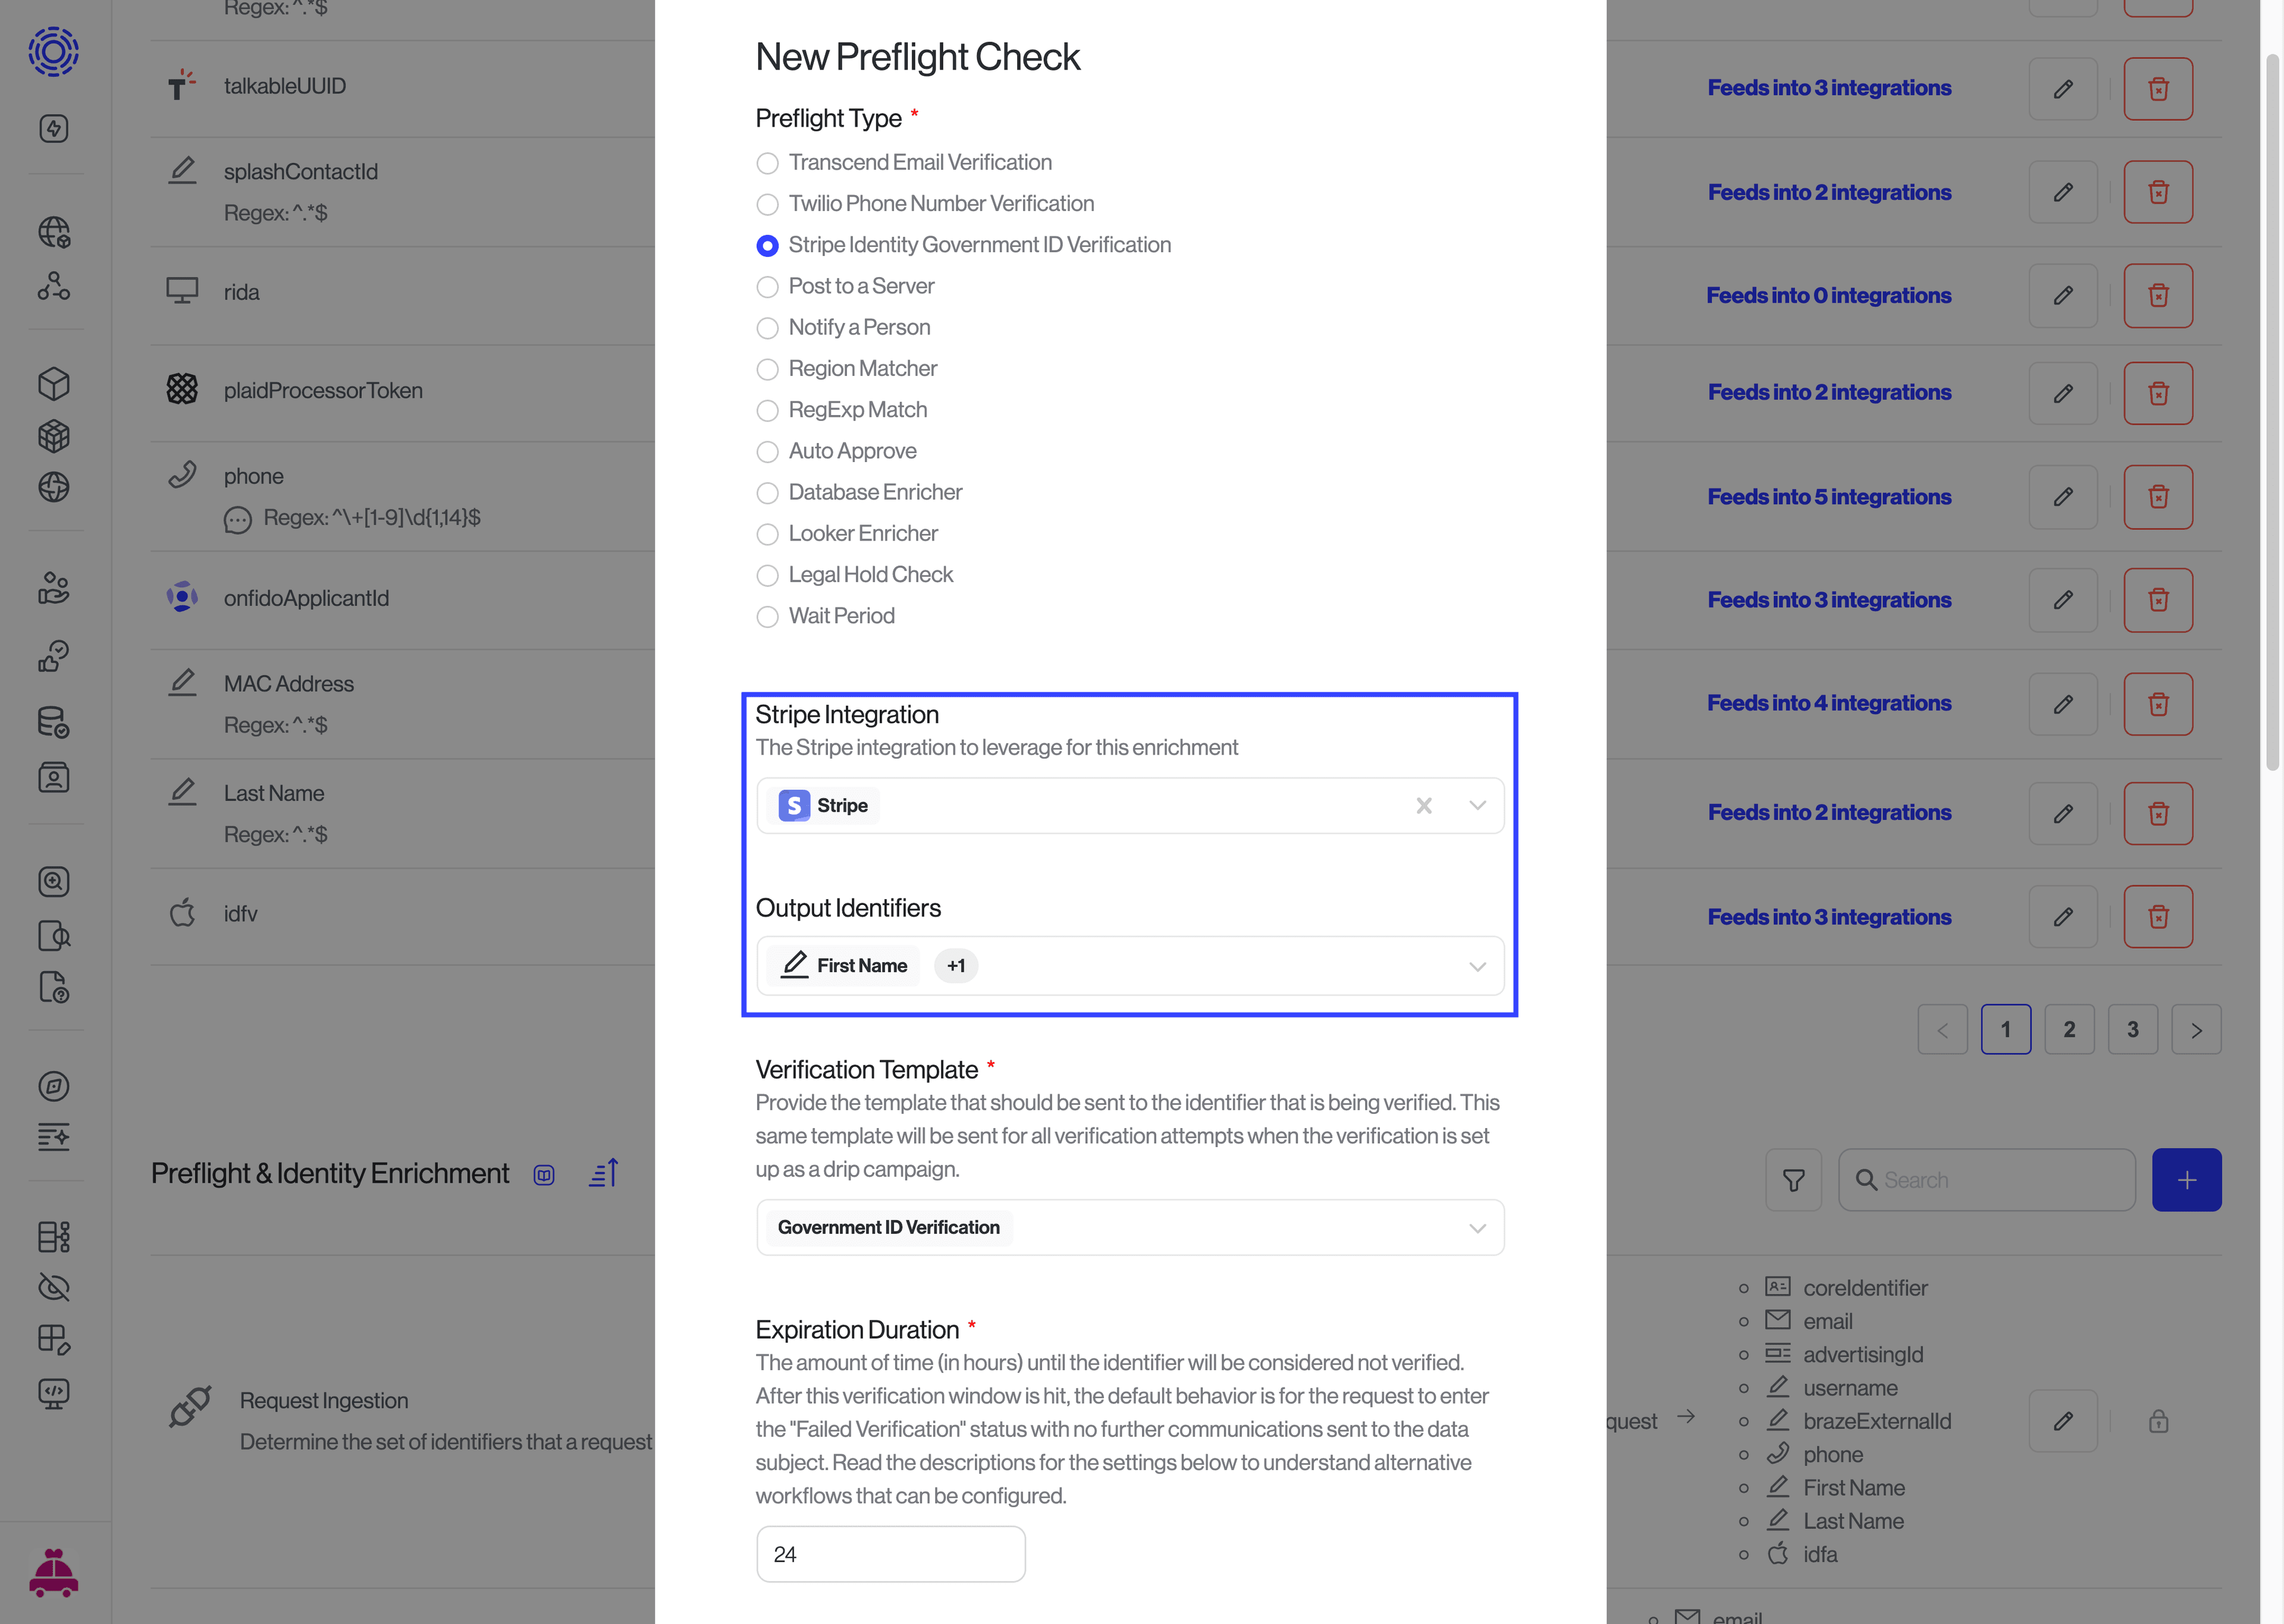
Then, set up the preflight check in DSR Automation -> Identifiers page by creating a new preflight check with type "Stripe Identity Government ID Verification". After filling out the fields as needed including adding the Stripe integration and the email template in the form, hit "Create Preflight Check". After that, you will have the proper setup for running new requests with government ID verification.
The preflight check will run when a request is sent and send a verification link to the user's email. On the customer side, the user will be emailed a link to verify their government ID with the template specified.
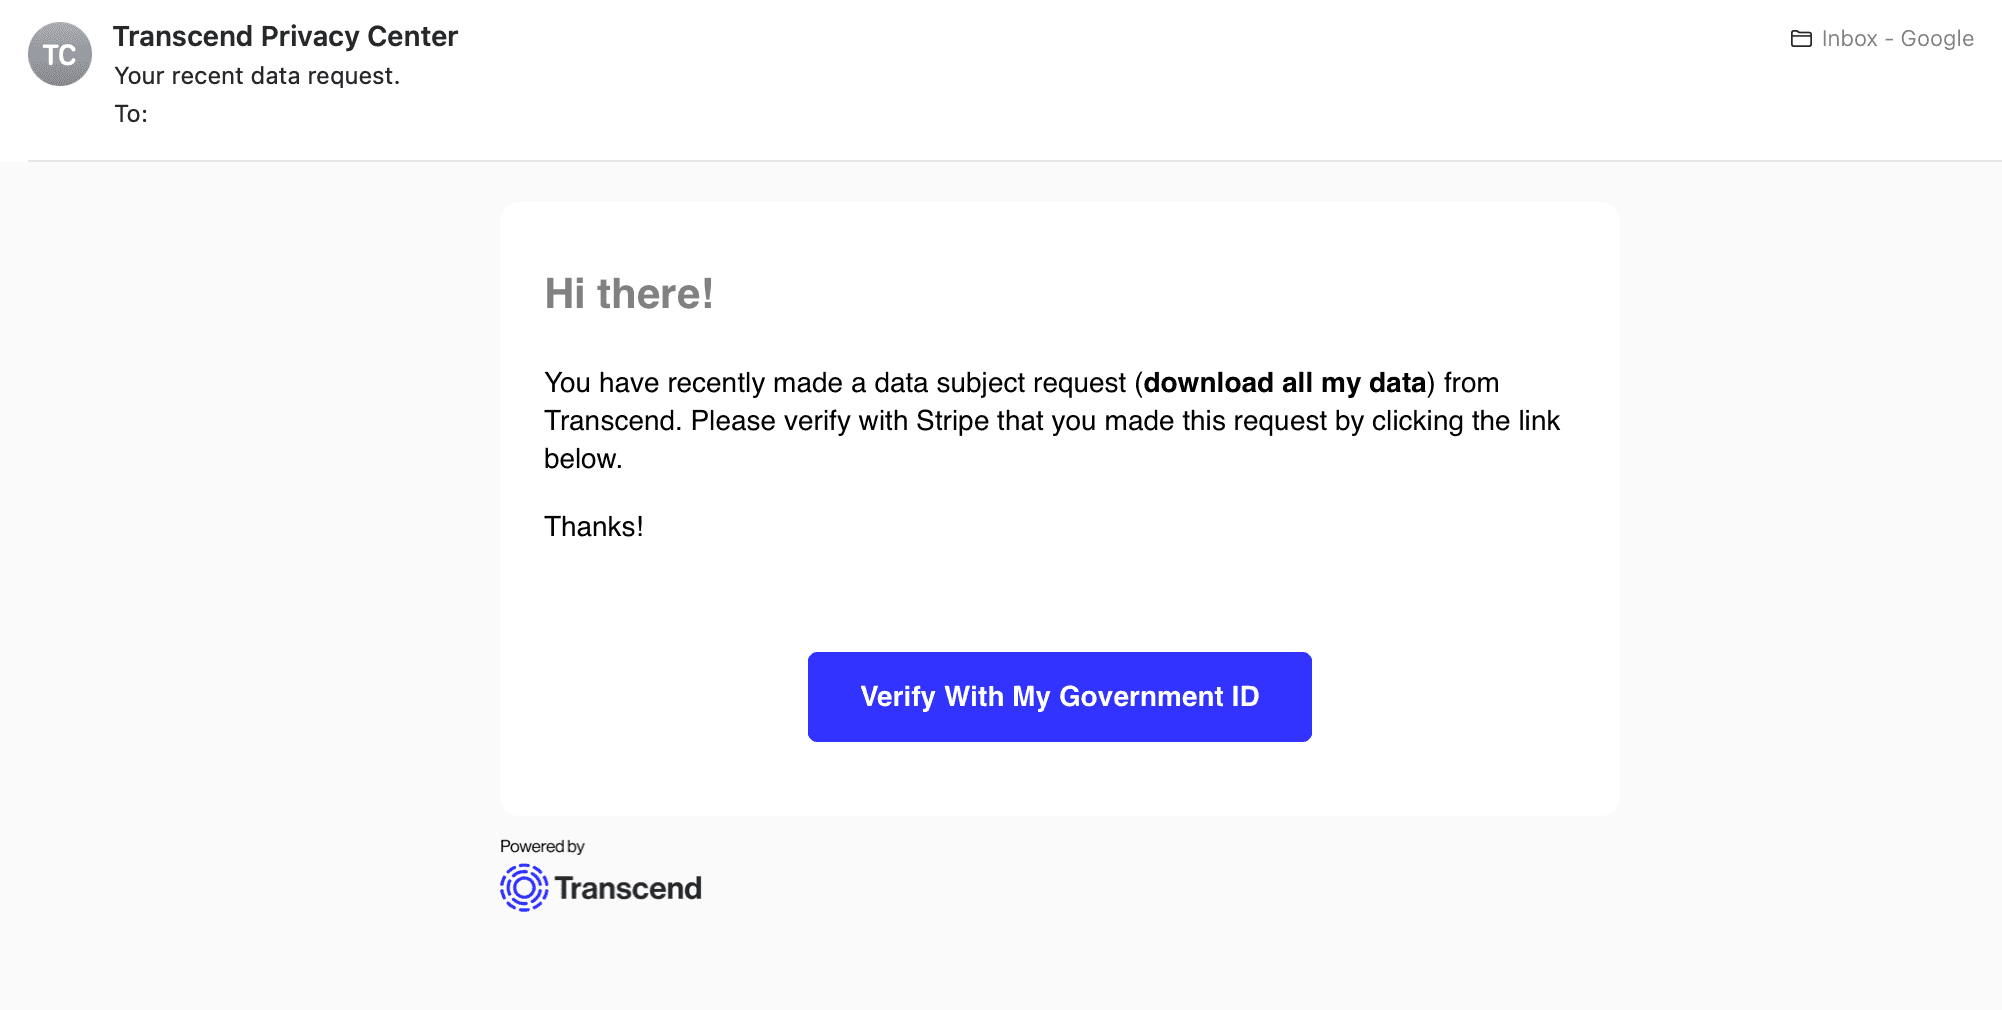
If the user clicks the link and completes verification successfully, the status of the request will resolve to show that ID verification was successful.
With this basic configuration, the data subject will be prompted to upload their government ID. If that ID is authenticated, the request will proceed.
You can also add an additional layer of security, by matching first and last name provided by the data subject or a different enricher, with those present in the government ID they provide. This will ensure that the person submitting the request, is the same as the one on the Government ID.
To do so, you will need to do the following:
- Ensure that you are collecting first and last name from the data subject as part of your form. You can create new identifiers to do so. You will be using these identifiers to cross-reference what is returned by Stripe ID.
- On the modal, scroll down to the "Output Identifiers" section, and select your first name and last name identifiers. If left empty, the enrichment will fall back to its original behavior.
- you will then see an option for "Field to Identifier Mapping". This is where you will select your output identifiers that should match with the identifiers provided by Stripe.
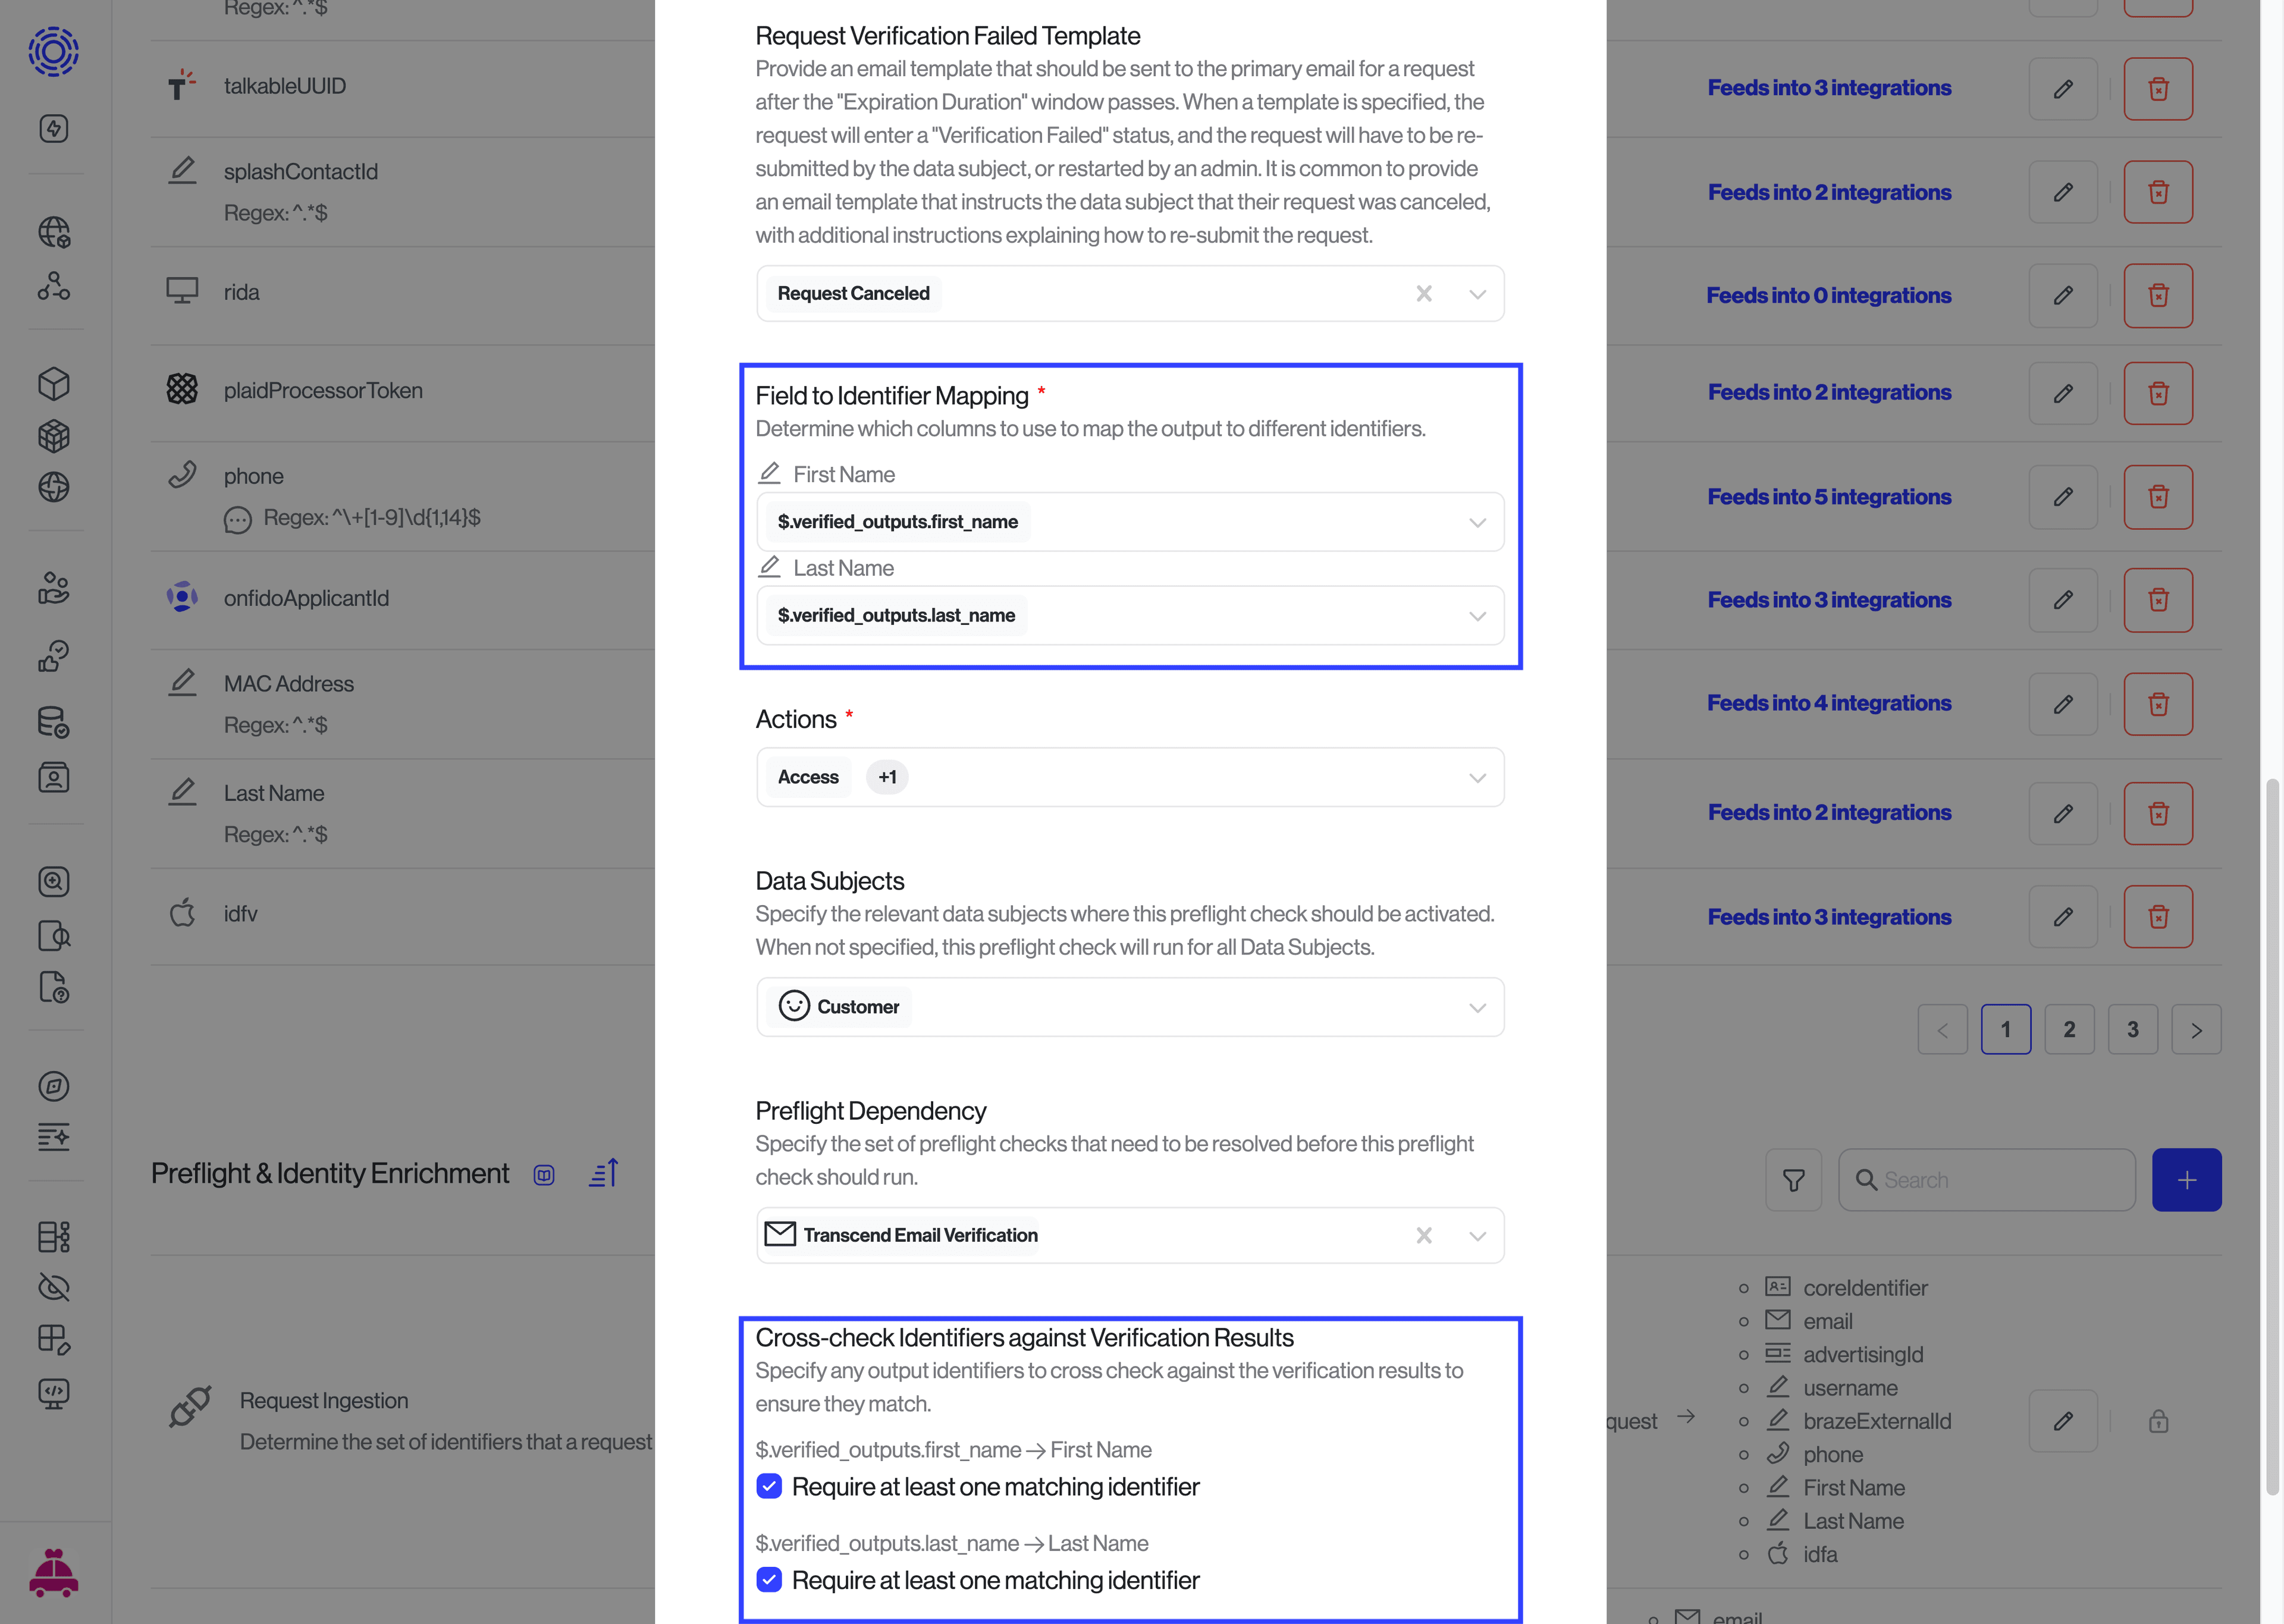
- Next, towards the bottom of the modal, you can see the option to “Cross-check Identifiers against Verification Results” - check the boxes to “Require at least one matching identifier” if you'd like to require a match between these mapped identifiers. If these options are not selected, the integration will fallback to its original behavior.
- Continue configuring your enrichment according to your preferences before saving your changes.
Requests that meet the criteria specified in the configuration, will now send a link to the Stripe ID verification workflow, return the identifiers from the government ID that they provided to Stripe, and match those identifiers with those provided by the data subject. If you've configured a match to be required between the identifiers provided by the data subject, and those provided by Stripe, the request will only proceed if there is a match between those identifiers.